If you’ve install macOS Catalina on VirtualBox you’ll notice a small screen resolution which we fix macOS Catalina screen resolution that can be VirtualBox Catalina resolution, which doesn’t expand when you switch to full-screen mode. Unlike VMware, when you’ve finished the installation, you will install VMware Tools on macOS Catalina which fixes most of the things that one of them is screen resolution. Plus enhances performance, graphics, and video settings. But unfortunately, that’s not applicable here. Don’t worry, there’s another trick to it. Here’s how to fix macOS Catalina screen resolution on VirtualBox.
One of the most important parts of using an operating system is its screen resolution. When you have a huge screen resolution or even if it’s not huge, it’s definitely bigger than the default screen resolution of the operating system you install. In this case, you would likely wish to experience the complete resolution when you’ve a larger screen.
Table of Contents
How to Fix macOS Catalina Screen Resolution on VirtualBox
This happens after you install, when you switch to the full-screen resolution mode, wait for a precious wallpaper to cover your entire screen, but instead, the wallpaper remains at the same resolution instead the side screen will be covered will the black screen. It’s really annoying. Let’s see how to fix macOS Catalina screen resolution on VirtualBox.
Step One: Switch Off macOS Catalina
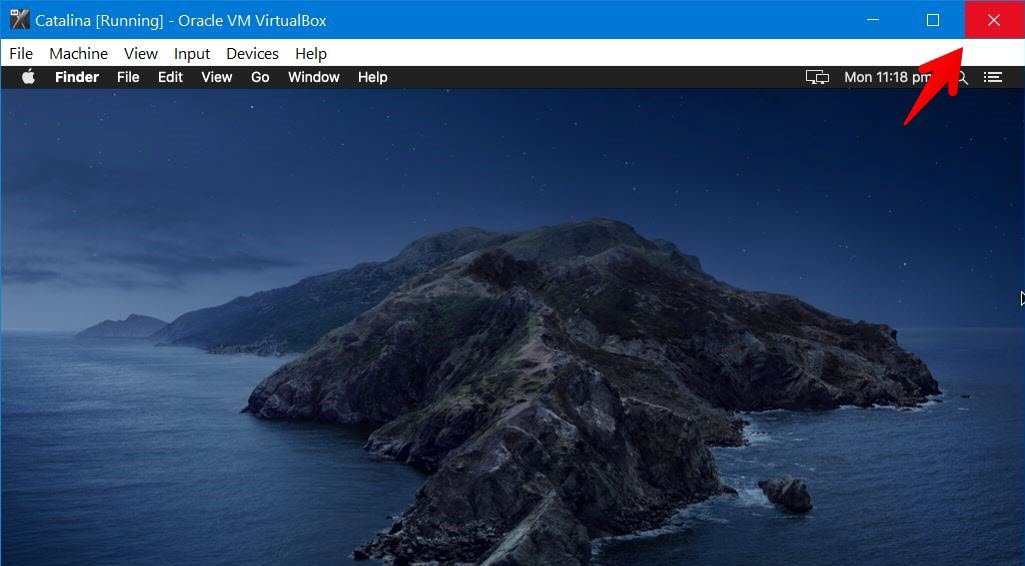
First, shut off the virtual machine by clicking on close on the VirtualBox. This is super-important.
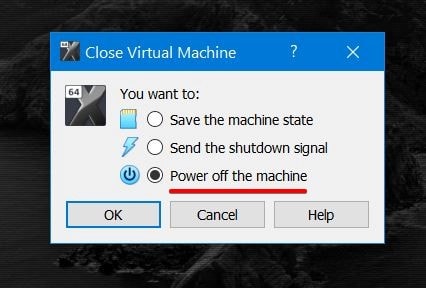
When the close virtual machine prompts up, click Power off the machine then click OK.
Step Two: Edit Catalina Screen Resolution Key
At this point, you’ll need a single file of the screen resolution key and modify it for your virtual machine.
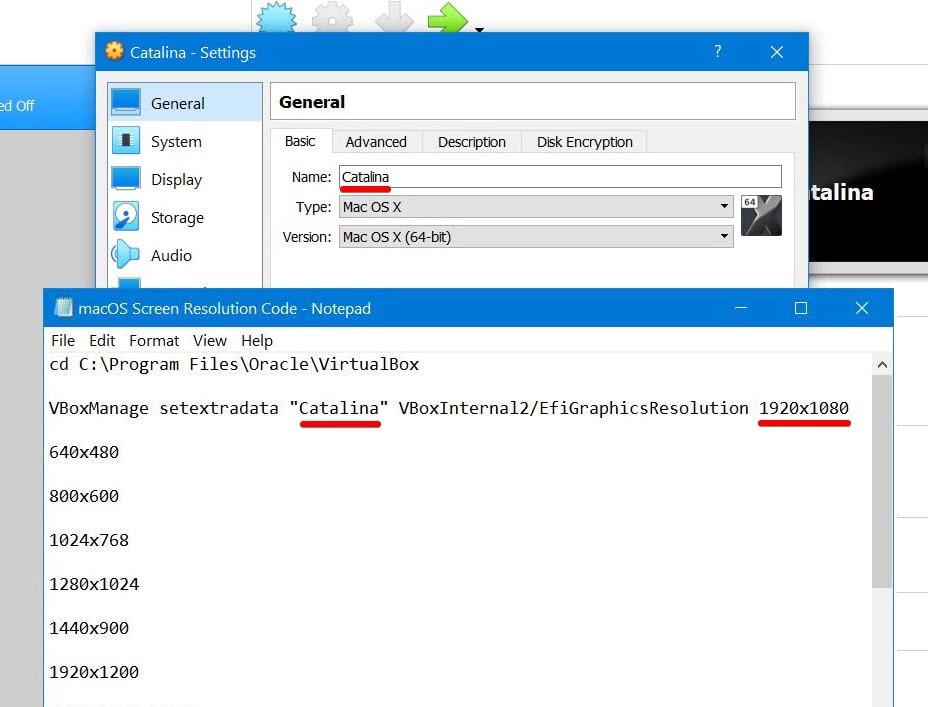
For that, you’ll need to download the macOS Catalina Screen Resolution. Once it is with you, open it and replace “macOS Catalina” with your virtual machine. I guess it would be macOS Catalina or only Catalina, in which case, you’ll only need to do a simple edit
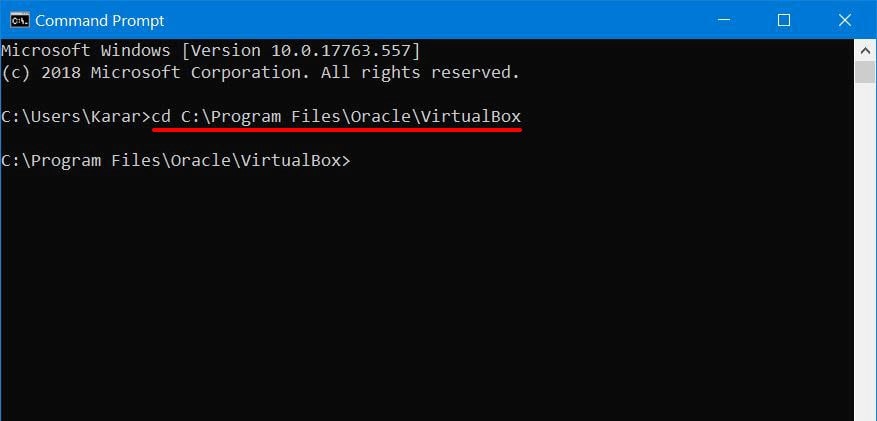
cd "C:\Program Files\Oracle\Virtualbox"
VBoxManage setextradata “Your Virtual Machine Name” VBoxInternal2/EfiGraphicsResolution X

1280x7201920x1080
2048x1080
2560x1440
3840x2160
1280x800
1280x1024
1440x900
1600x900

VirtualBox doesn't support 1366x768 so you can use 1280x720 with "Scaled Mode".
Next up, modify the screen resolution which is “1920×1080” with the resolutions tested below.
Step Three: Close VirtualBox
While the virtual machine is closed, now you need to exit from VirtualBox. These two are really important to be closed, so make sure they aren’t open. Otherwise, this would probably make the virutal machine unusable.
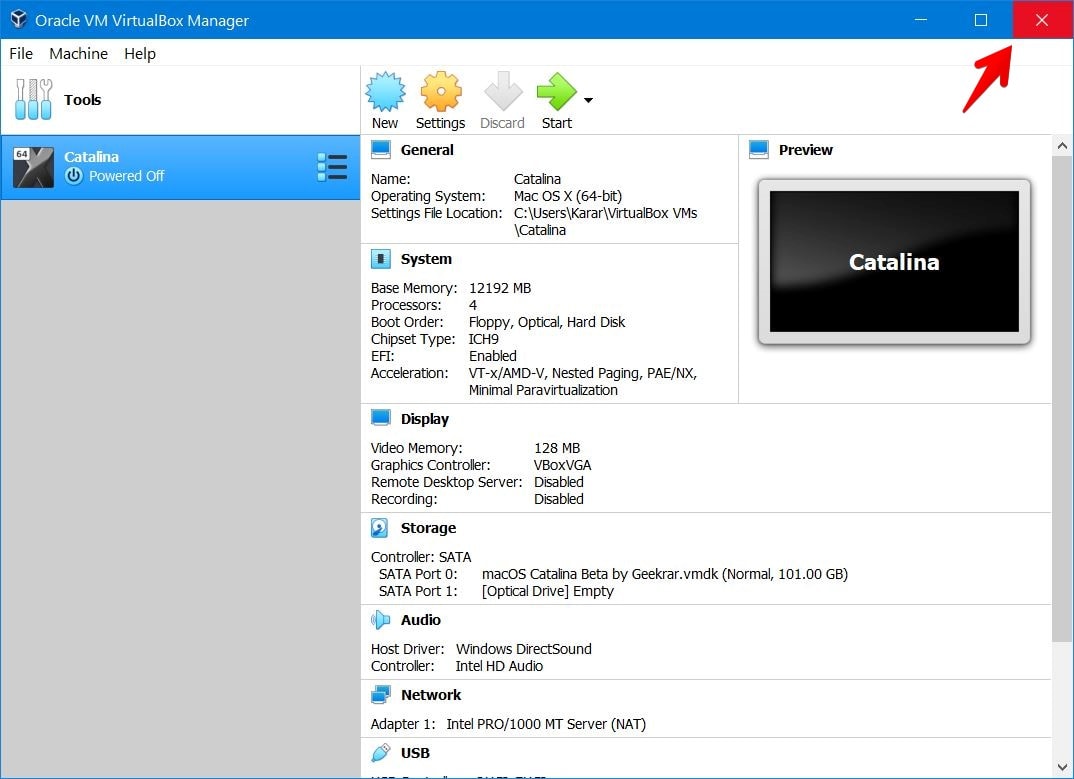
Step Four: Apply Fix macOS Catalina Screen Resolution
The commands are ready to apply now. The only step to fix Catalina screen resolution is now to apply the commands which are very important.
When you’re done, open Command Prompt without administrator privileges.
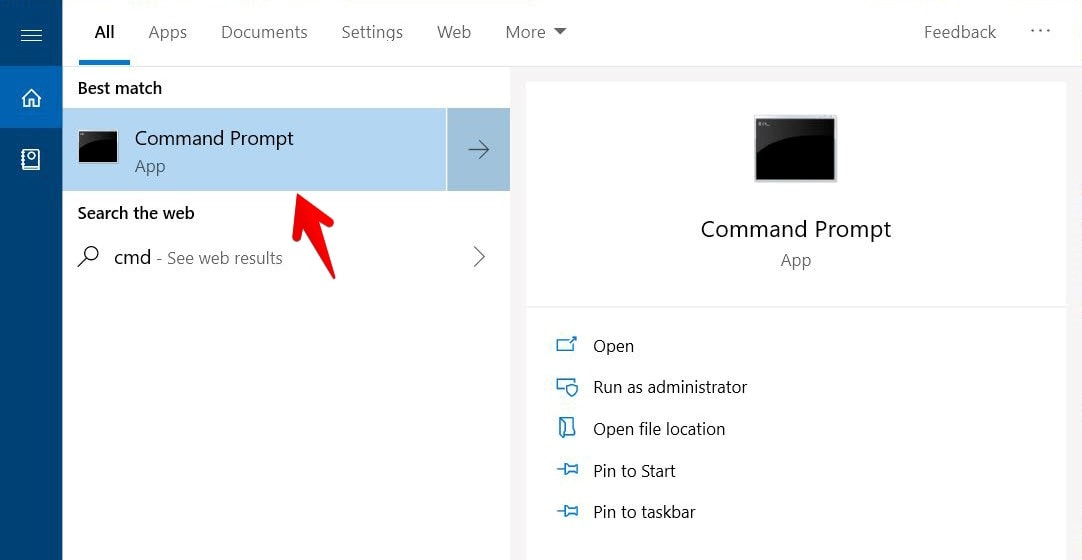
On this window, in order to locate the VirtualBox, copy and paste the first line of the command.
Now copy and paste the next line of the command and hit Enter. This will change the default resolution to your desired resolution.
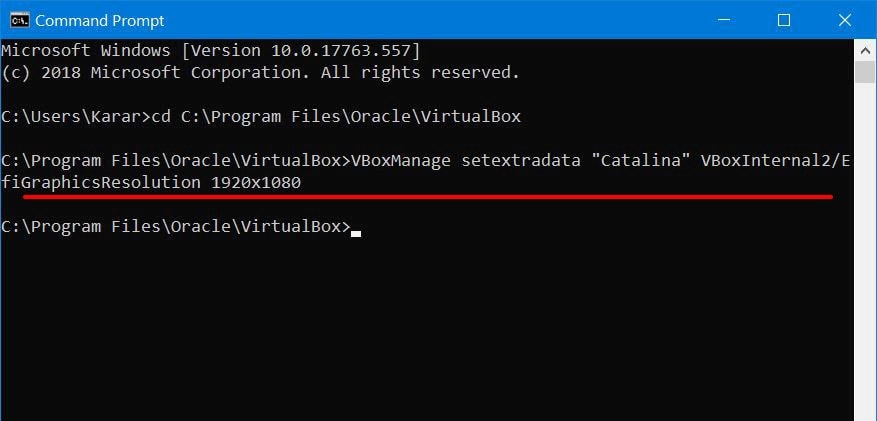
And there you go! With this simple trick, you’ve fixed the macOS Catalina screen resolution permanently.
Step Five: Switch on macOS Catalina
This should work properly without any issue if you’ve done all the steps correctly.
To try and see everything, switch on the macOS Catalina machine from VirtualBox.
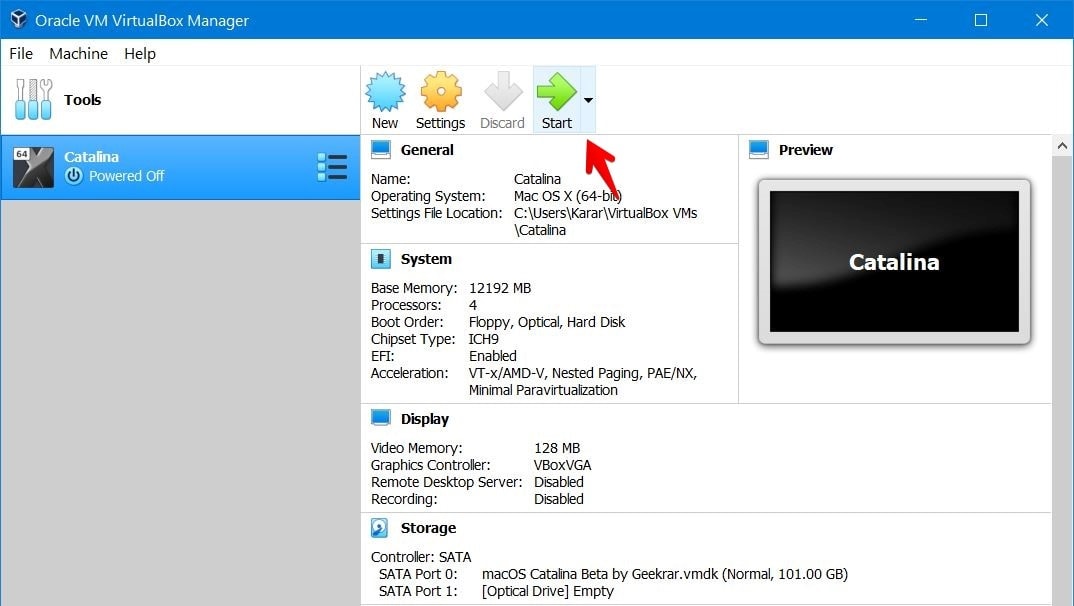
Without you switch to the entire resolution, it will automatically start in your preferred resolution. Simply sign in and you’ll enjoy the perfect resolution.
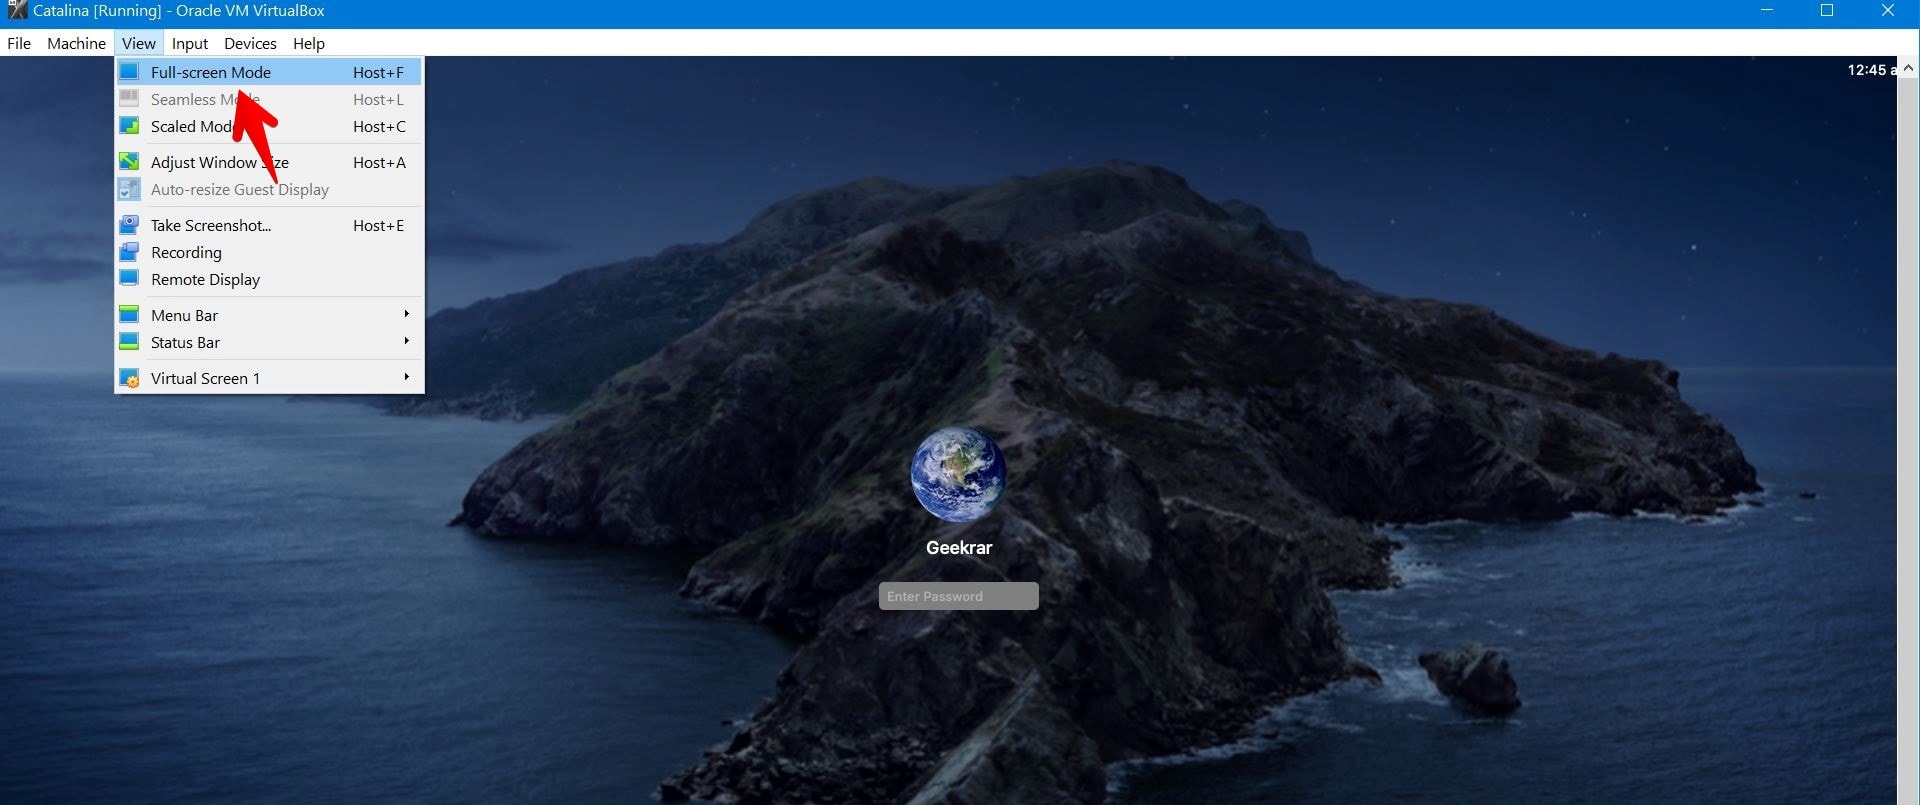
To experience the seamless resolution, from the top menu, click on View and click on Full-screen Mode. It will perfectly cover your entire screen without a side black cover.
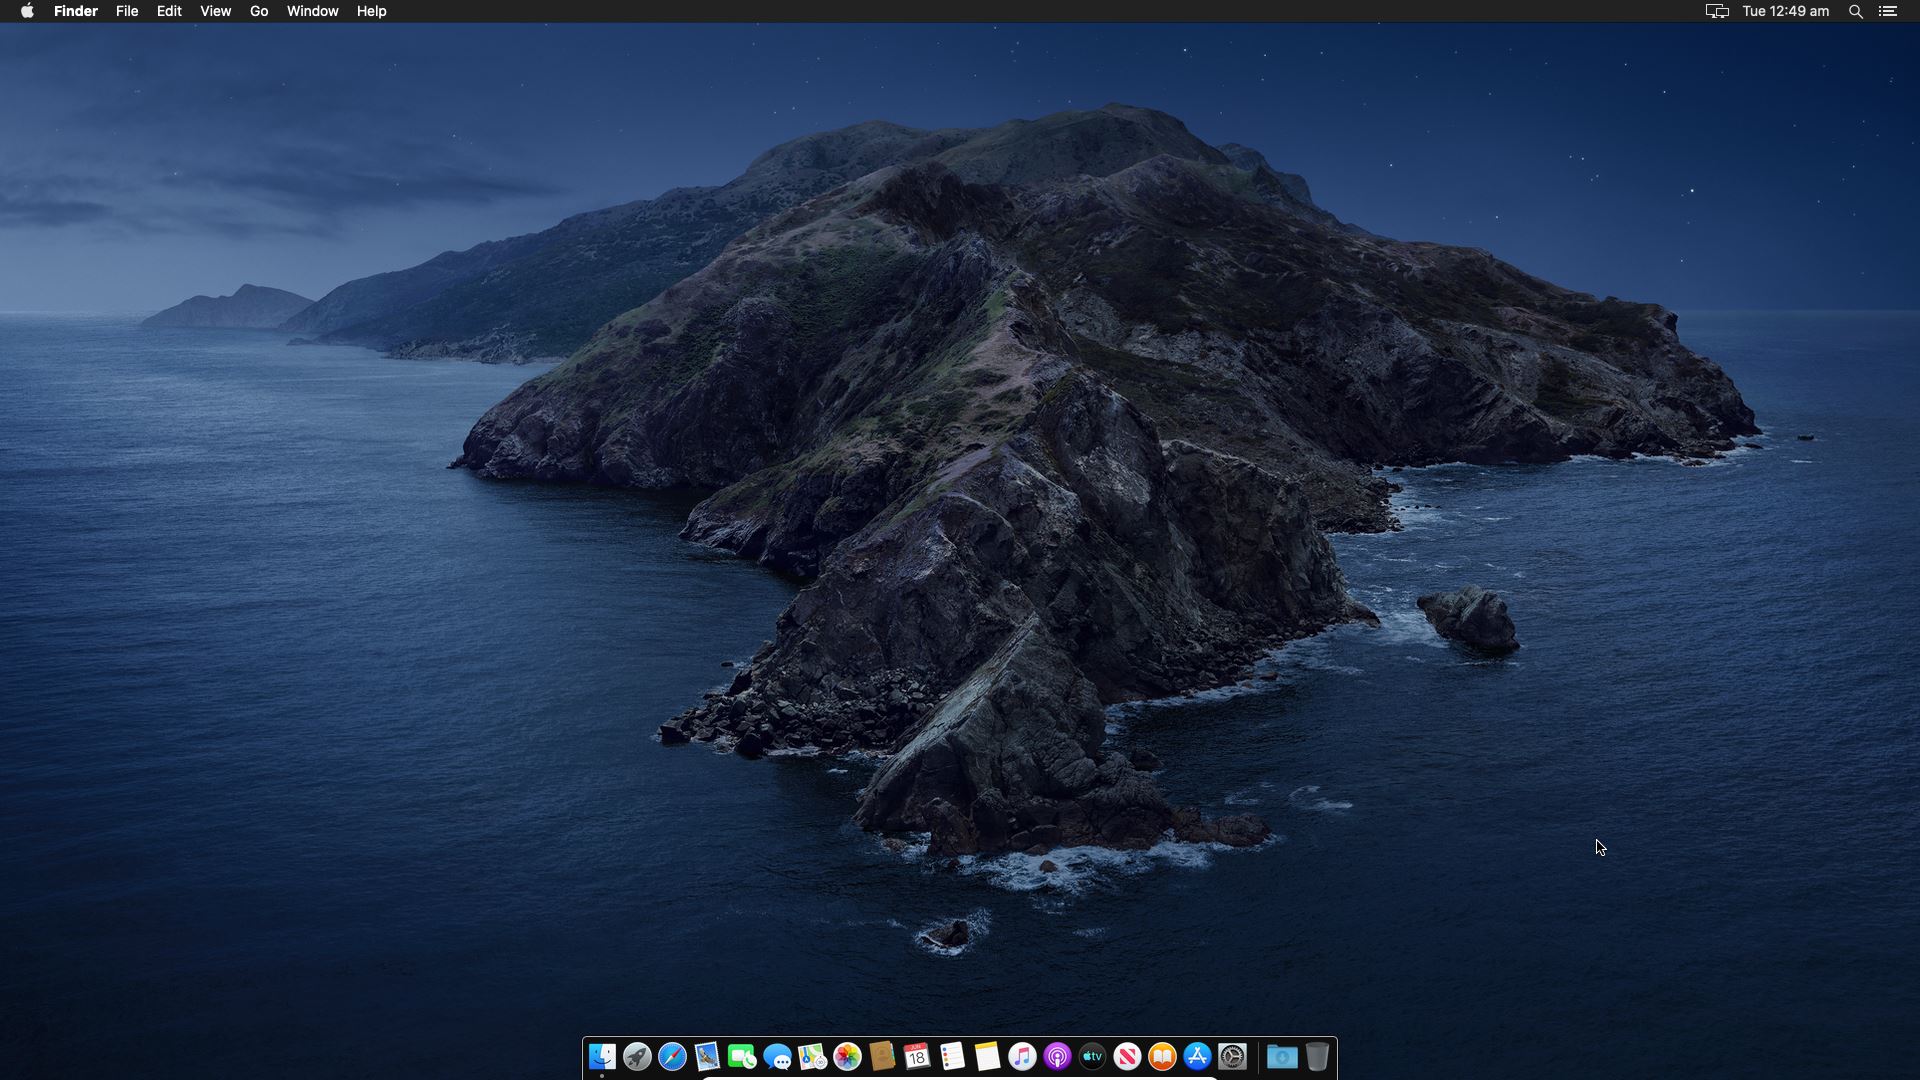
You’ll see the gorgeous Catalina wallpaper across all across the edge of your screen.
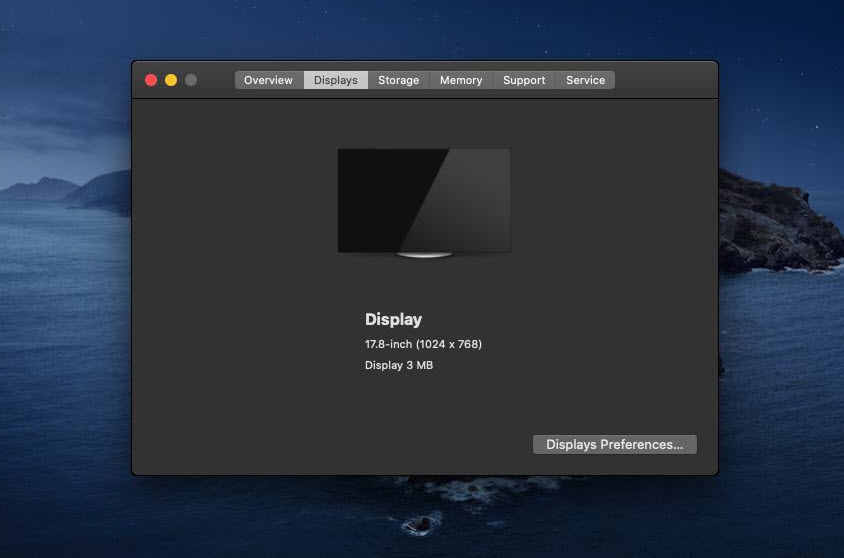
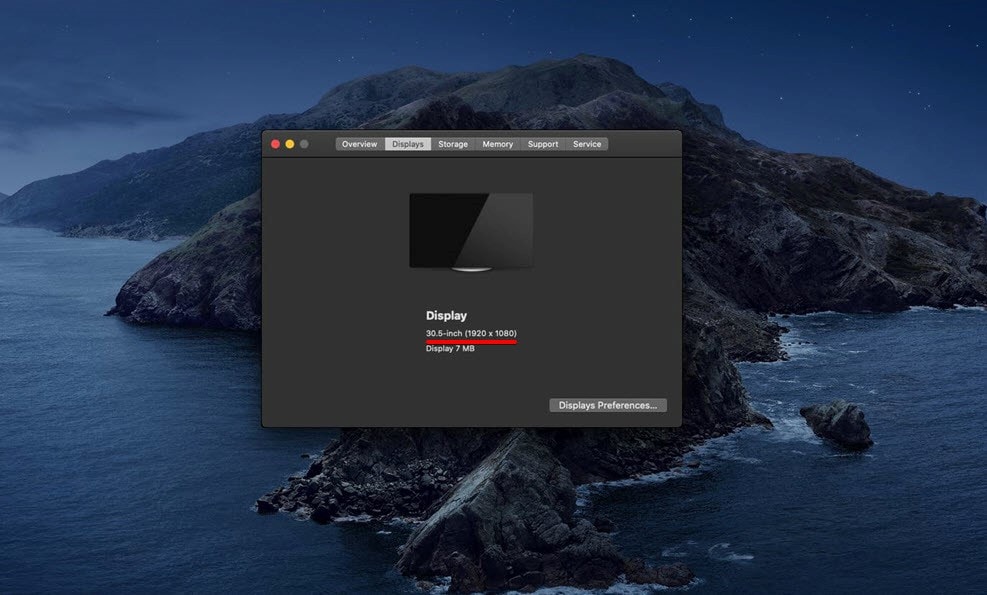
To check, from the top click on the Apple icon and select About This Mac.
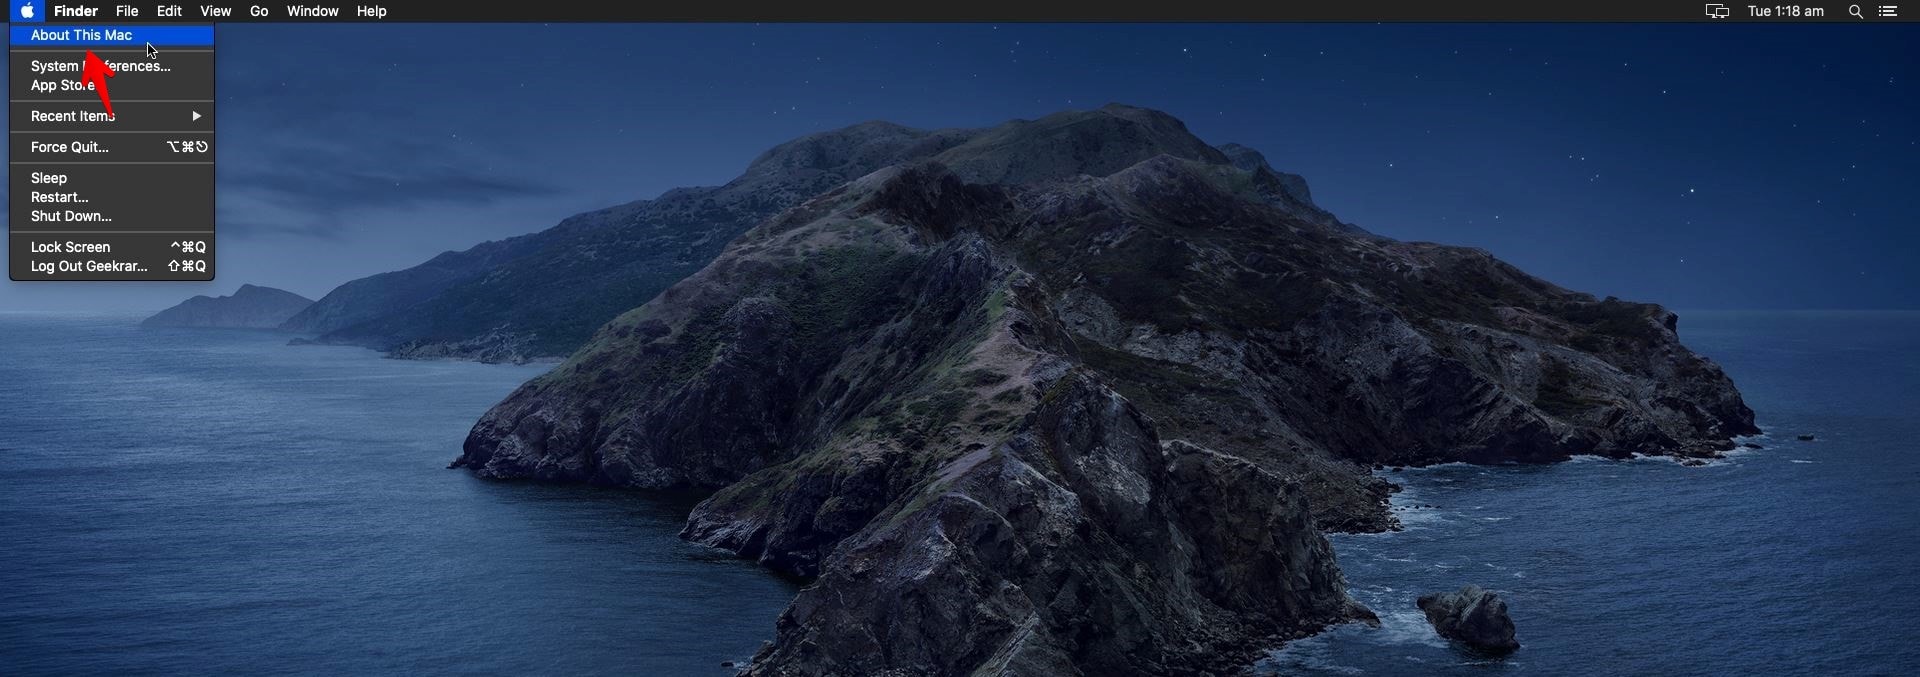
From the menu, click on Display tab and the screen resolution will be in front of you.
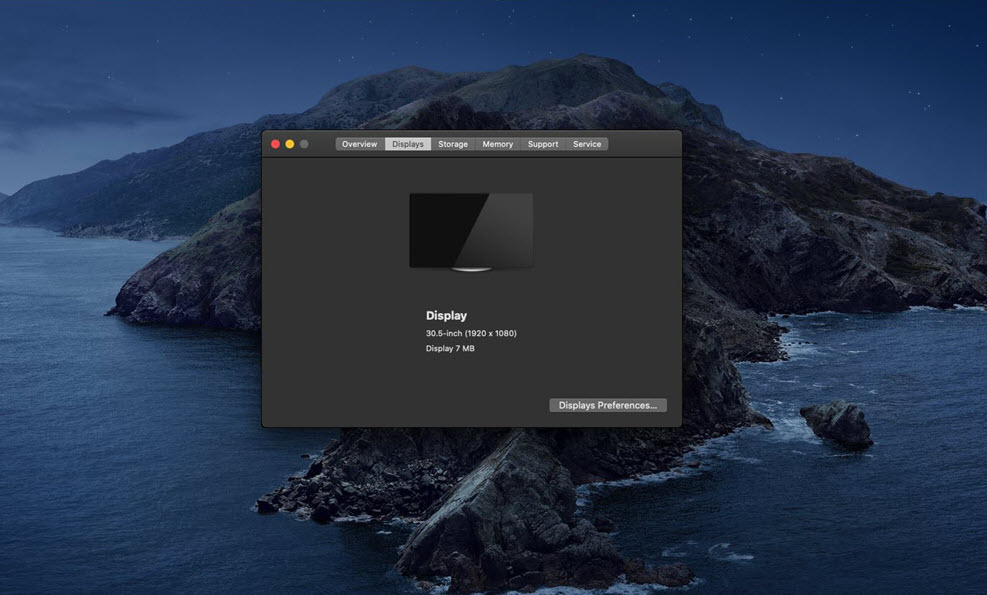
The resolution will completely fit and there’s no problem at all. If it’s smaller or doesn’t cover your screen, you may change the resolution with the steps we did and change the screen resolution this time. This is the perfect way to enjoy the ideal Mac. That’s all of how to fix macOS Catalina screen resolution on VirtualBox.
If you are looking for other issues, you can visit Brighter Guide







All perfect. Then I go to appleid.apple.com website to create my AppleID and password, but when I log in to macOS Catalina it shows the ad: “This Apple ID is valid but is not an iCloud Account”. What I can do?.
Thanks and have a good time…
create a icloud account with the same password and name then try logging in
make sure you have a lower case x and no spaces 1920×1080
Everything works except the audio. I will try with VMware next
I am not sure, but it is not working for me. Please help.
this one works for me, other guide suggest using EfiGopMode, that doesnt work, thank you !
You guys rock! I’m a bloody beginner and I set up Catalina on VirtualBox just with your guides. (Lots of hickups)
Though, the audio is still not working…
Anyhow, thx. alot!
install guest additions