


Upgrades are fun but concern for some. Whether you’re a Windows or Mac user, upgrades are one of the most interesting parts of every operating system. Like every operating system put out a new version of their operating system every year or two, you can upgrade to the most recent version of it all the time. As before the eventual release of the operating system, the operating system is revealed at the event that will end up with the testing version out. After a considerable time, it will be entirely out which is the complete version that will be available everywhere. With all the news and reports you had heard about, it should probably include those super cool features, from the tiny one to the most important and huge changes. Upgrade macOS Mojave to macOS Catalina on VMware & VirtualBox
These are all the enjoyment part as upgrades aren’t as easy as it seems like for newbies. But it shouldn’t be like that as every operating system make things easier. With all of those, even with the most advanced operating systems, you’ll find it a concern mostly due to losing your files especially if you’ve installed the operating system in a virtual machine. In this case, most users find it easier to do an installation separately with a bootable USB mostly or in some other ways. From now on, no worries, because we’re here to help. Here’s how to upgrade macOS Mojave to macOS Catalina on VMware, VirtualBox and even on an actual Mac.
Things You Might Want to Know Before
Upgrading can be difficult but upgrading an operating system on a virtual machine can be considerably difficult for those who haven’t done before. As Apple release a new version of their operating system every year or two which is entirely new with all its features. This year, Apple has dropped the all-new macOS Catalina ahead of the previous version macOS Mojave.
As its out and even before it, you could probably install macOS Catalina on Windows and you could do it now. But if you’ve macOS Mojave installed on VMware or Mojave on VirtualBox on your computer, you can definitely take advantage of it and without losing a single setting, you can upgrade to the newest version of the operating system which is macOS Catalina.
Just in case if you’re concerned of your files or other things, we’ve the most definite solution that is snapshot. Whether you’ve installed Mojave on VMware or VirtualBox, you can certainly take a snapshot which creates a copy of all the things including files and everything. When something goes wrong, you can easily restore it within some click. Here’s how to take a snapshot on VMware or how to take a snapshot on VirtualBox. With this done, there’s nothing else to worry about. Take it as a complete backup.
As far as upgrading macOS Mojave is concerned, upgrading to macOS Catalina doesn’t require many things except the macOS Catalina image from the App Store. It’s not difficult as well as installing on Mojave Windows that you did. However, there are several things that users might want to know. Is my device compatible to upgrade and run macOS Catalina? The answer is quite easy and short, it is, yes, you can definitely upgrade regardless of which version and edition of Windows you’re using. Particularly, the compatibility list that Apple revealed doesn’t apply to the macOS installed on Windows that are on a virtual machine, so there’s nothing to worry about. Here’s how to do it.
Upgrade macOS Mojave to macOS Catalina
Whether you’re running macOS Mojave on VMware or VirtualBox, you can definitely upgrade to the new macOS Catalina with these steps. There’s no difference between upgrading from macOS Mojave to macOS Catalina on VMware and VirtualBox. So let’s get started.
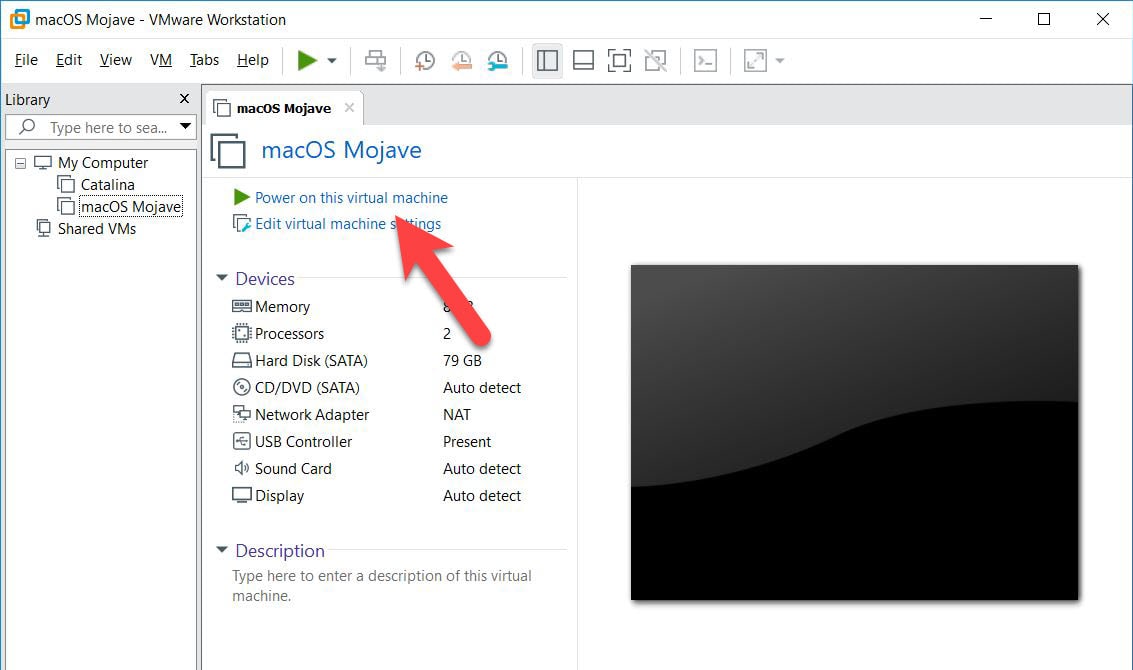
First off, switch macOS Mojave on VMware or VirtualBox as usual.

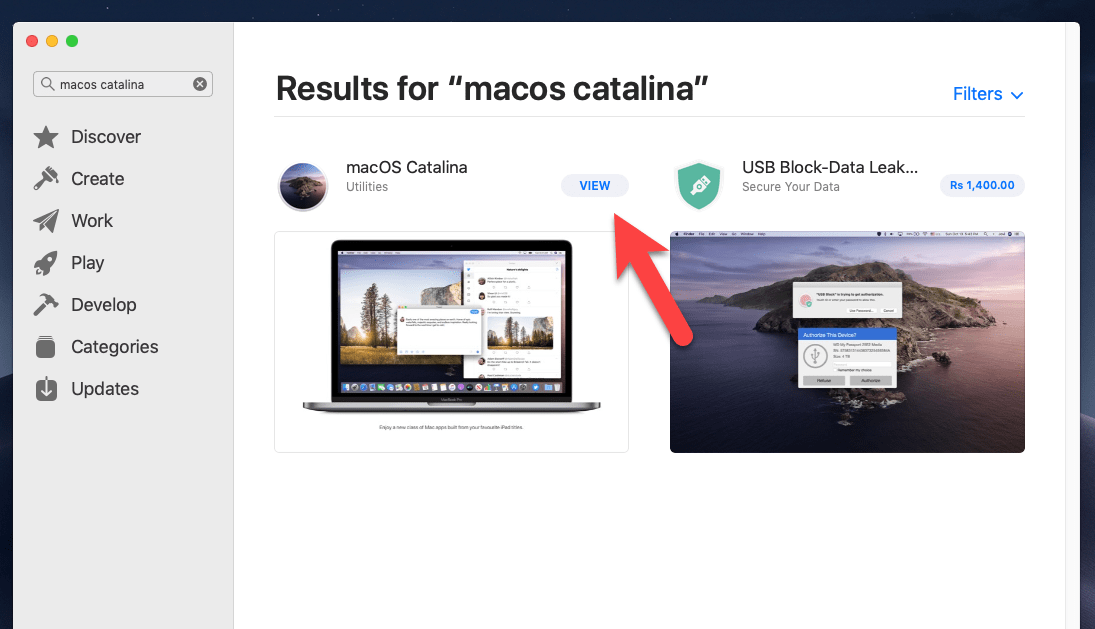
Next, open App Store and search for macOS Catalina. Then from the results, click on view on macOS Catalina.

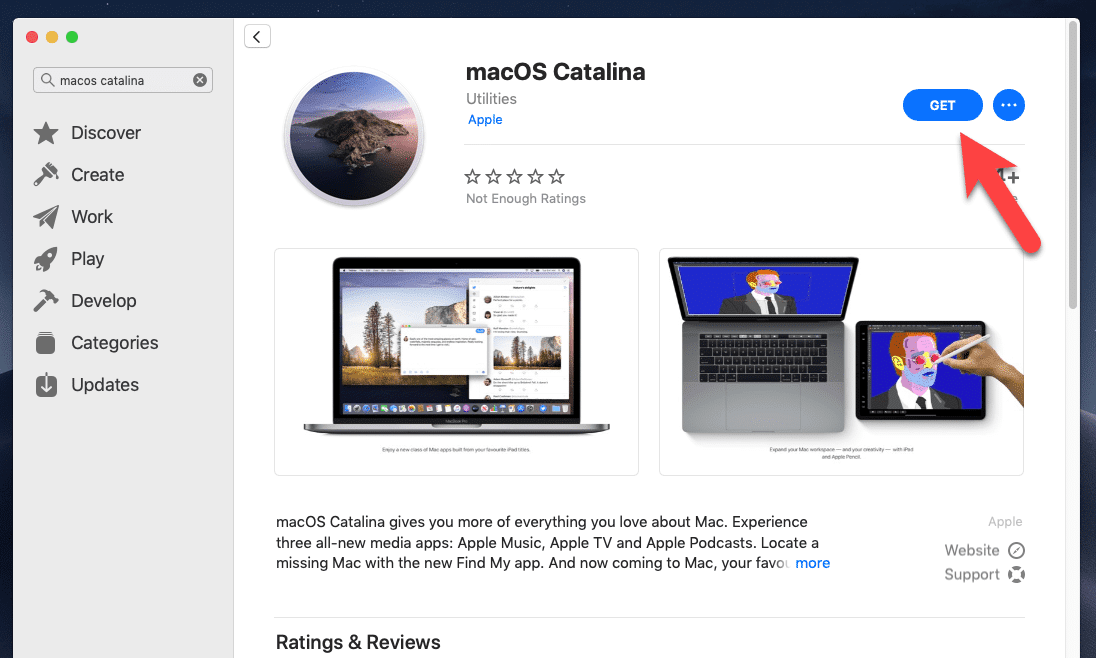
Now click on Get then wait.

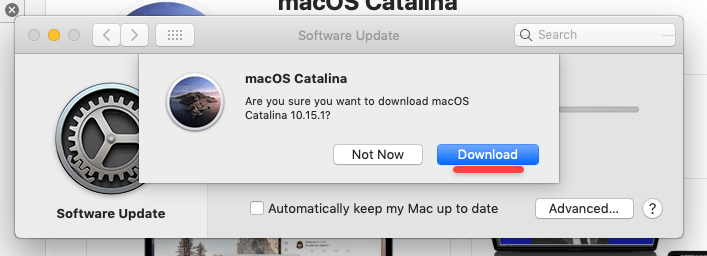
When the Software Update opened and the pop up prompts up, click on Download.

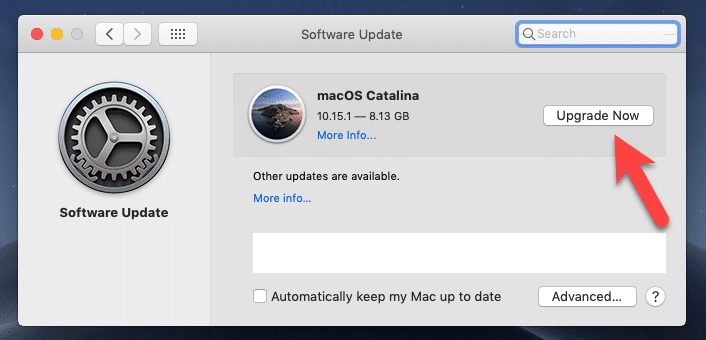
Then click on Upgrade Now. It will immediately start downloading, so it will take much time.

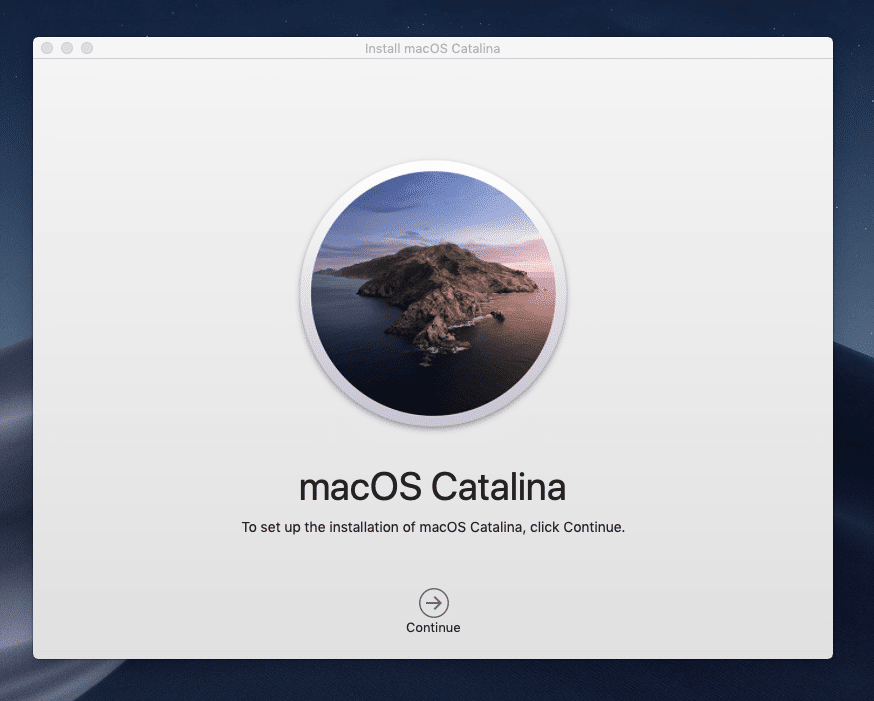
Once the macOS Catalina is there, click on Continue.

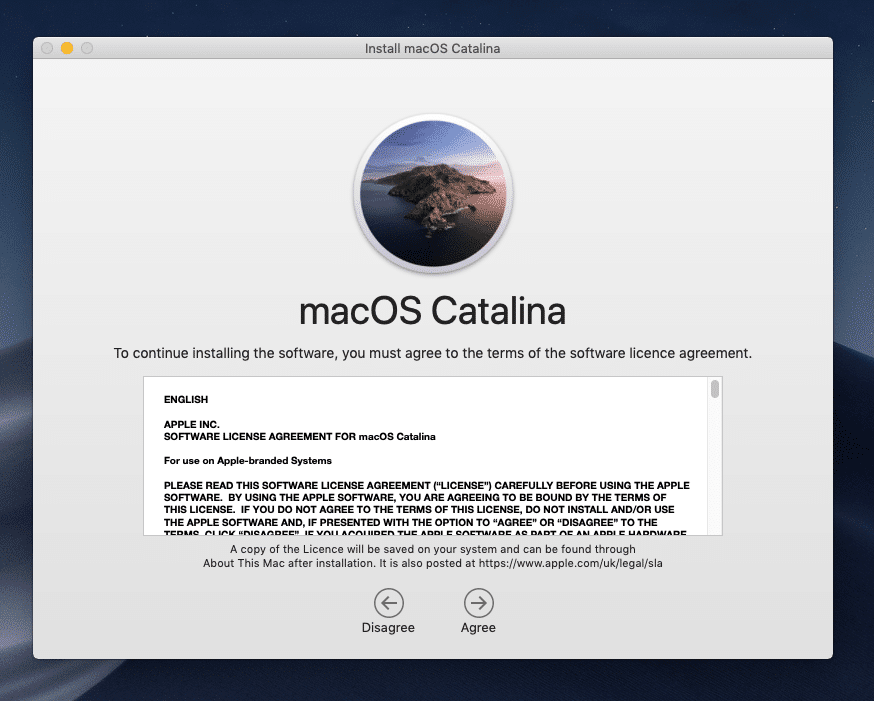
On terms & conditions, click on Agree.

Then click on Install.


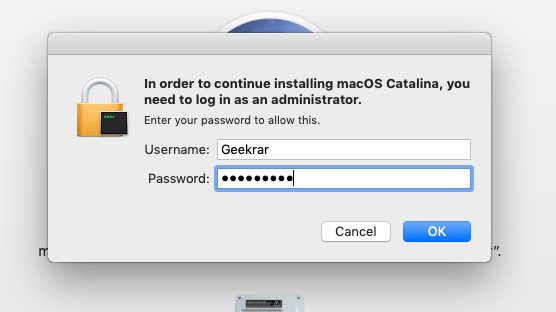
Enter your credentials and click on OK.

The installation will now begin.

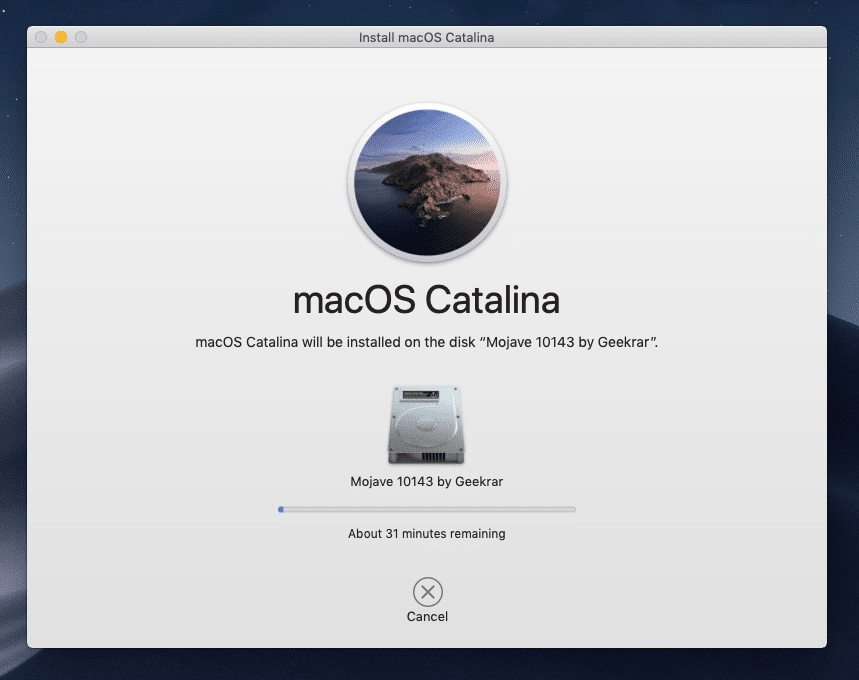
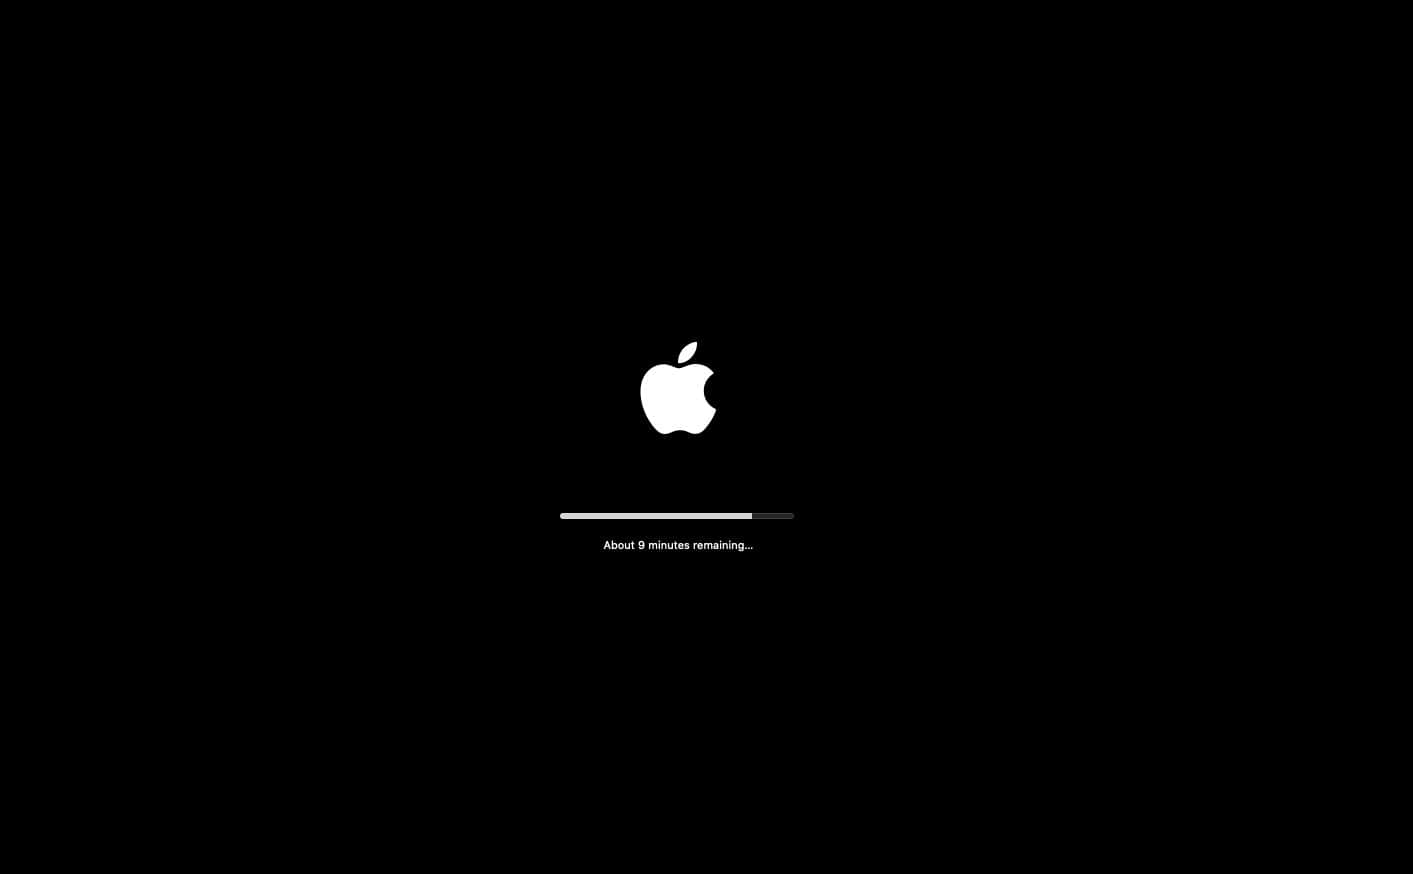
So it will reboot once or twice but probably take quite considerable time, so simply wait.

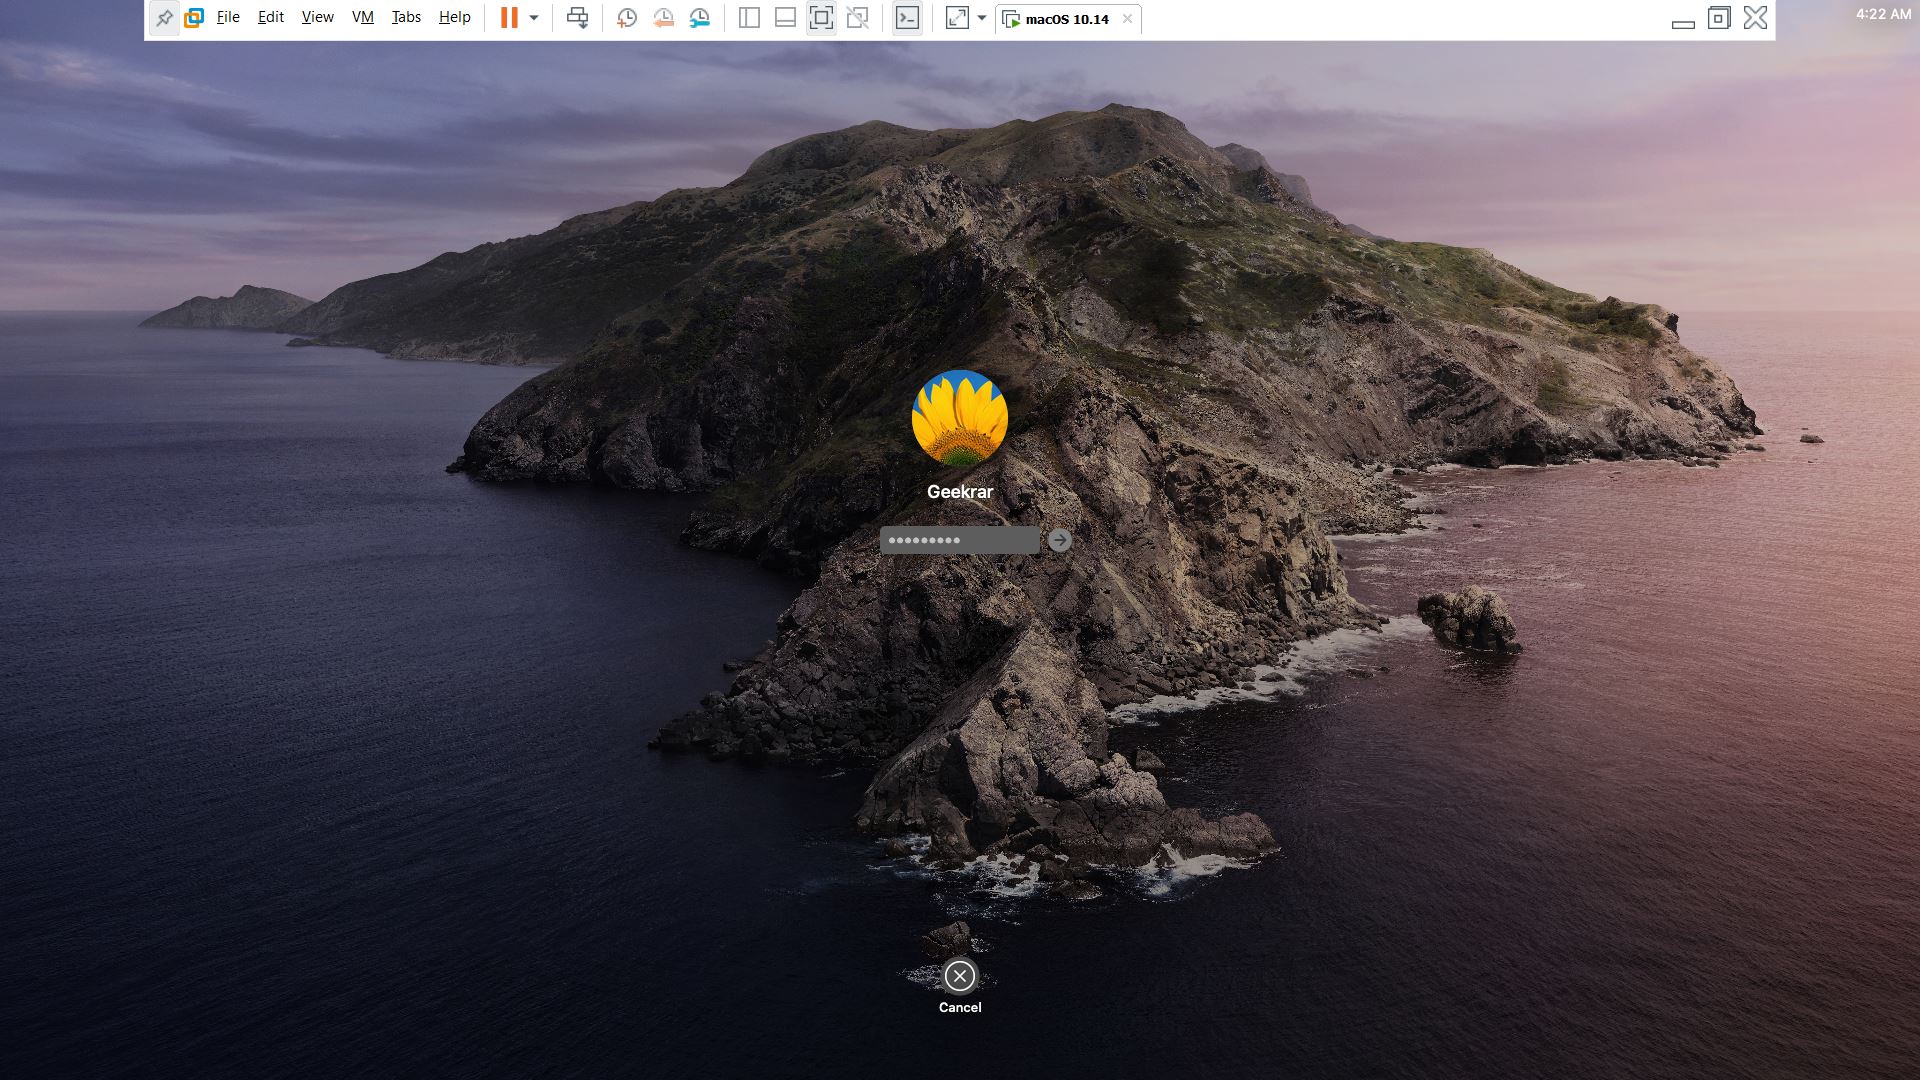
After its done, you’ll need to log in, so enter your password then hit Enter.

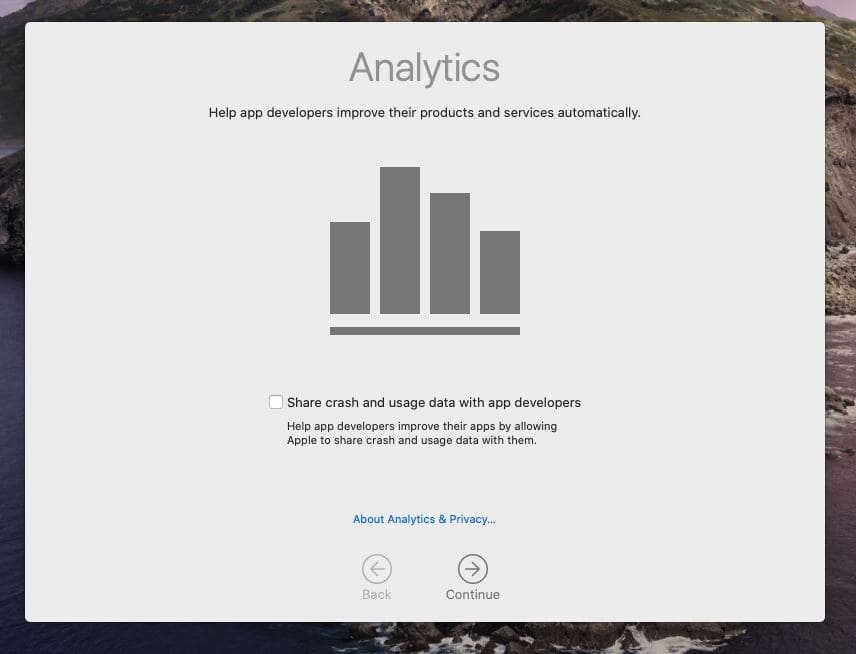
On this window, click on Continue.

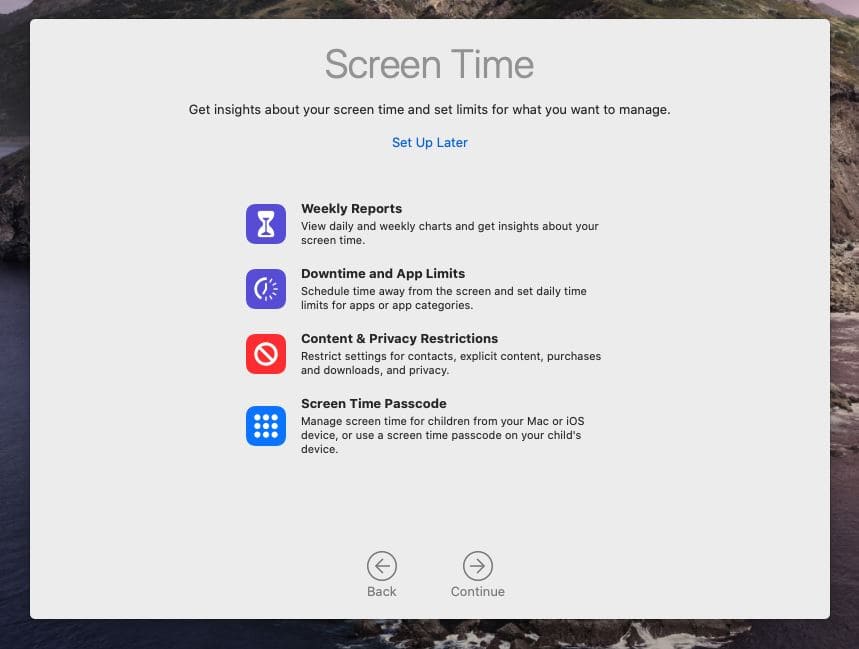
Again, click Next.

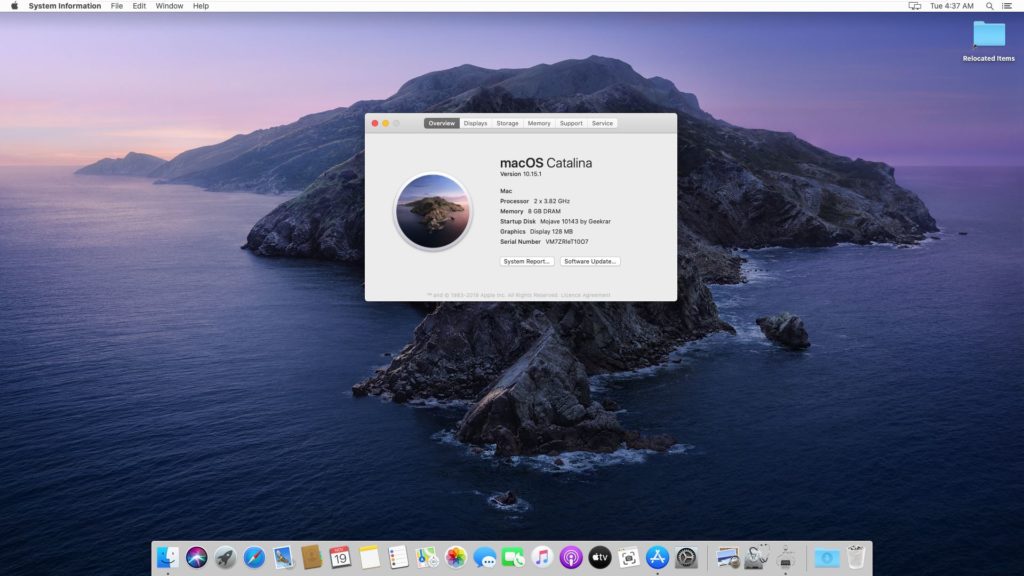
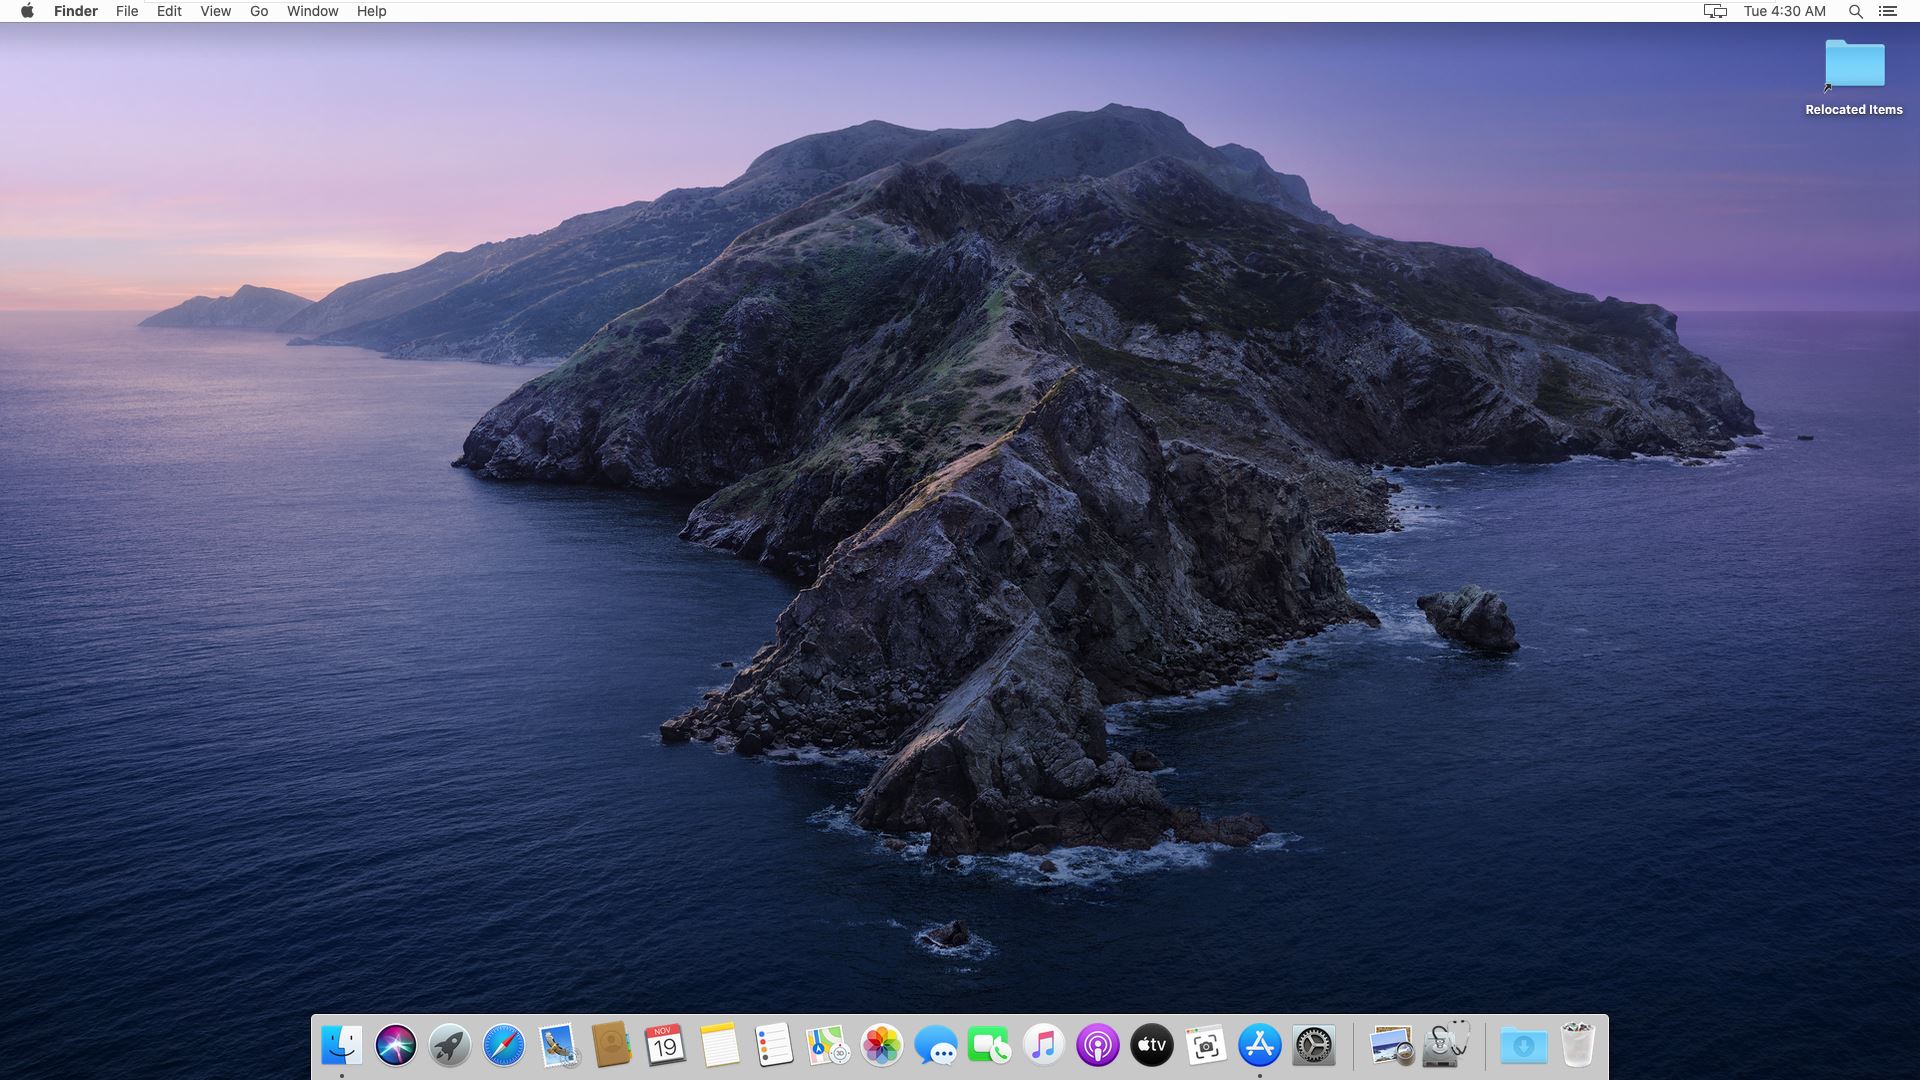
All done. The macOS Catalina desktop is now there and all your files and items are at their previous place even the trash box with the files there. For your confirmation, take a look at the files in the Finder and all the other places you had files.

That’s it. It was really fun, wasn’t it? Let us know in the comment down below.