


Whenever Apple reveals a new software update specifically macOS, they limit it to some recent hardware versions such as Macbook or other Apple products. As usual, Apple rolled out the software for developers first and rolled out for everyone next with a public beta. The second public beta has now started and the Mac users have a perfect chance to experience the upcoming software to their Macs. Similar to every time, Apple will continue the process until they have set off the complete version. Even after they have done that, they will definitely work to improve, fix security vulnerabilities and bugs if some left. Here’s how to Create macOS Catalina Bootable USB Installer in Windows.
Typically, the installation is always easy on a Mac and there’s less to do for it. Well, there are some circumstances which you would need to consider. These are computer compatibility, bugs, and security patches, some features not working and a few more. Assuming these, you could use this opportunity to give your Mac a fresh update.
As for a Windows user which is Apples unwilling preference, these circumstances don’t exist. But instead, there are some other challenges for them but it’s easy for one of the methods at least. There are no hardware requirements but only collecting a few files. The difficult but important one is figuring out a macOS Catalina VMware or VirtualBox image which you could use this image. When you’ve those, you may certainly install macOS Catalina on your Windows PC whether on VMware or install macOS Catalina on VirtualBox (However, if you have an AMD CPU, you might be only able to install macOS Catalina on VirtualBox on AMD System on Windows at least for now).
This is entirely done on virtual machines which are out of your operating system. That means it’s entirely safe and even if it has bugs or whatever, there’s no risk in it when installed on a virtual machine. They are completely in a safe sandboxed separate environment with all the important features with it. This includes taking a snapshot (which creates a current copy of the virtual machine) that’s easier than backup. These all end on the virtual machine app. The two most popular one is, VMware and VirtualBox. They are incredibly fit for installing and running virtual machines. After all, they’ve support and besides that, there are dozens of instructions and helps out there. So let’s Create macOS Catalina Bootable USB Installer in Windows.
But a virtual machine mightn’t be very helpful compared to running an operating system actually. But that doesn’t end with this. Making use of Hackintosh would do the job done for you but requires a couple of hours time, research, quite a bit of knowledge, doing it upon your risk and maybe a few hundred dollars (It isn’t fixed yet since we can’t figure out if your existing computer is compatible).
The term “Hackintosh” refers to creating a non-Apple Hardware to run macOS which is preferably an Intel system. This is, however, separate from installing macOS on virtual machines. This has its own procedure which is quite different from installing macOS on virtual machine. However, it has lots of problems and circumstances with it but at the end, you’ll experience an entirely macOS running on your PC. This was incredibly difficult to do until the end but now, it’s much easier with the programs and has to do with UEFI which isn’t quite complicated. The procedure breaks down into the following steps. Start Create macOS Catalina Bootable USB Installer in Windows.
First of all, instead of buying an expensive MacBook Pro or iMac, you would need to choose the compatible parts for creating a successful Hackintosh (we’ll try to cover it as soon as possible). The next one is an empty HDD but better SSD drive which you’re going to install there. Now for installing it as a typical installation, you would need a macOS Catalina bootable USB drive.
Creating macOS Catalina bootable drive for Hackintosh is the most daunting part that if almost anything goes wrong is likely something wrong with the bootable USB installer. However, there’s no way as for installing macOS actually on your PC without a bootable USB, not like installing macOS on a virtual machine. There are different ways to create macOS Catalina bootable USB installer for Hackintosh as we’ve have done one of those before. In this post, we’ll discuss another method to Create macOS Catalina Bootable USB Installer in Windows, let’s get started.
Table of Contents
Prerequisites
Whether you want to install macOS Catalina on PC for saving some thousand bucks or would like to try macOS out, you’ll need to Create macOS Catalina Bootable Installer Windows. Creating a macOS Catalina installer costs some clicks for downloading some required files.
- A single USB flash drive that is at least 12GB or more. For placing files particularly a copy of macOS Catalina and a couple of more files would definitely require a USB flash drive of more space. For making use of this, we’ll format the drive which will erase everything stored on the drive. Before going further, make sure you’ve taken a backup.
- For this process, we’re going to need to access to a system running macOS. This doesn’t really matter where macOS is running on. This could be macOS running on a real Mac, on a virtual machine or on a Hackintosh PC. For this purpose, we’ve the instructions to install macOS Catalina on VMware or install macOS Catalina VirtualBox. This works!
- A copy of macOS Catalina Image. Figuring out Catalina image is easy. There are several ways you could get Catalina image but we recommend getting one from App Store. Since Catalina is in beta mode, you can get a copy from Apple’s beta software program.
- EFI Partition for first install macOS X. This partition is used to boot macOS X on PC. For this, we’ve created, configured and prepared it entirely ready so you can use it to boot macOS on a typical PC.
- The PostInstallation Tools contains a set of useful tools which is used to configure the USB. This is the complete set.
These files are more than important for succeeding with this process. Grab them and be ready! Not only that, but be prepared spiritually with accepting and fiddling with some problems, patience, tolerance, and thirst of proceeding the installation up to end. That’s all what you need. Ready to move ahead? Let’s do Create macOS Catalina Bootable USB Installer Windows.
Starting Off
For this to work, we need to access to a system running macOS. That doesn’t actually matter which system does macOS runs at and how it runs. The first thing could be a real Mac running macOS. The second one could be non-Apple hardware which could mean Windows. If you’ve a Mac, that’s fine, you’re okay to skip. If you don’t, here’s what you can do.
On Windows, there are several ways of installing a macOS successfully. The most popular one is utilizing the power of virtual machines. This installation process is easy. Here’s how to install macOS Catalina on VMware or install macOS Catalina on VirtualBox.

Step One: Download macOS Catalina From Apple’s Website
As you have access to a system running macOS, you can download the Catalina image from Apple. There are a couple of ways to obtaining a copy of the Catalina installer image but we recommend obtaining one from Apple’s official website which is more preferable.
While Catalina is still in beta mode, you could grab it from Apple’s beta software program quite easily.
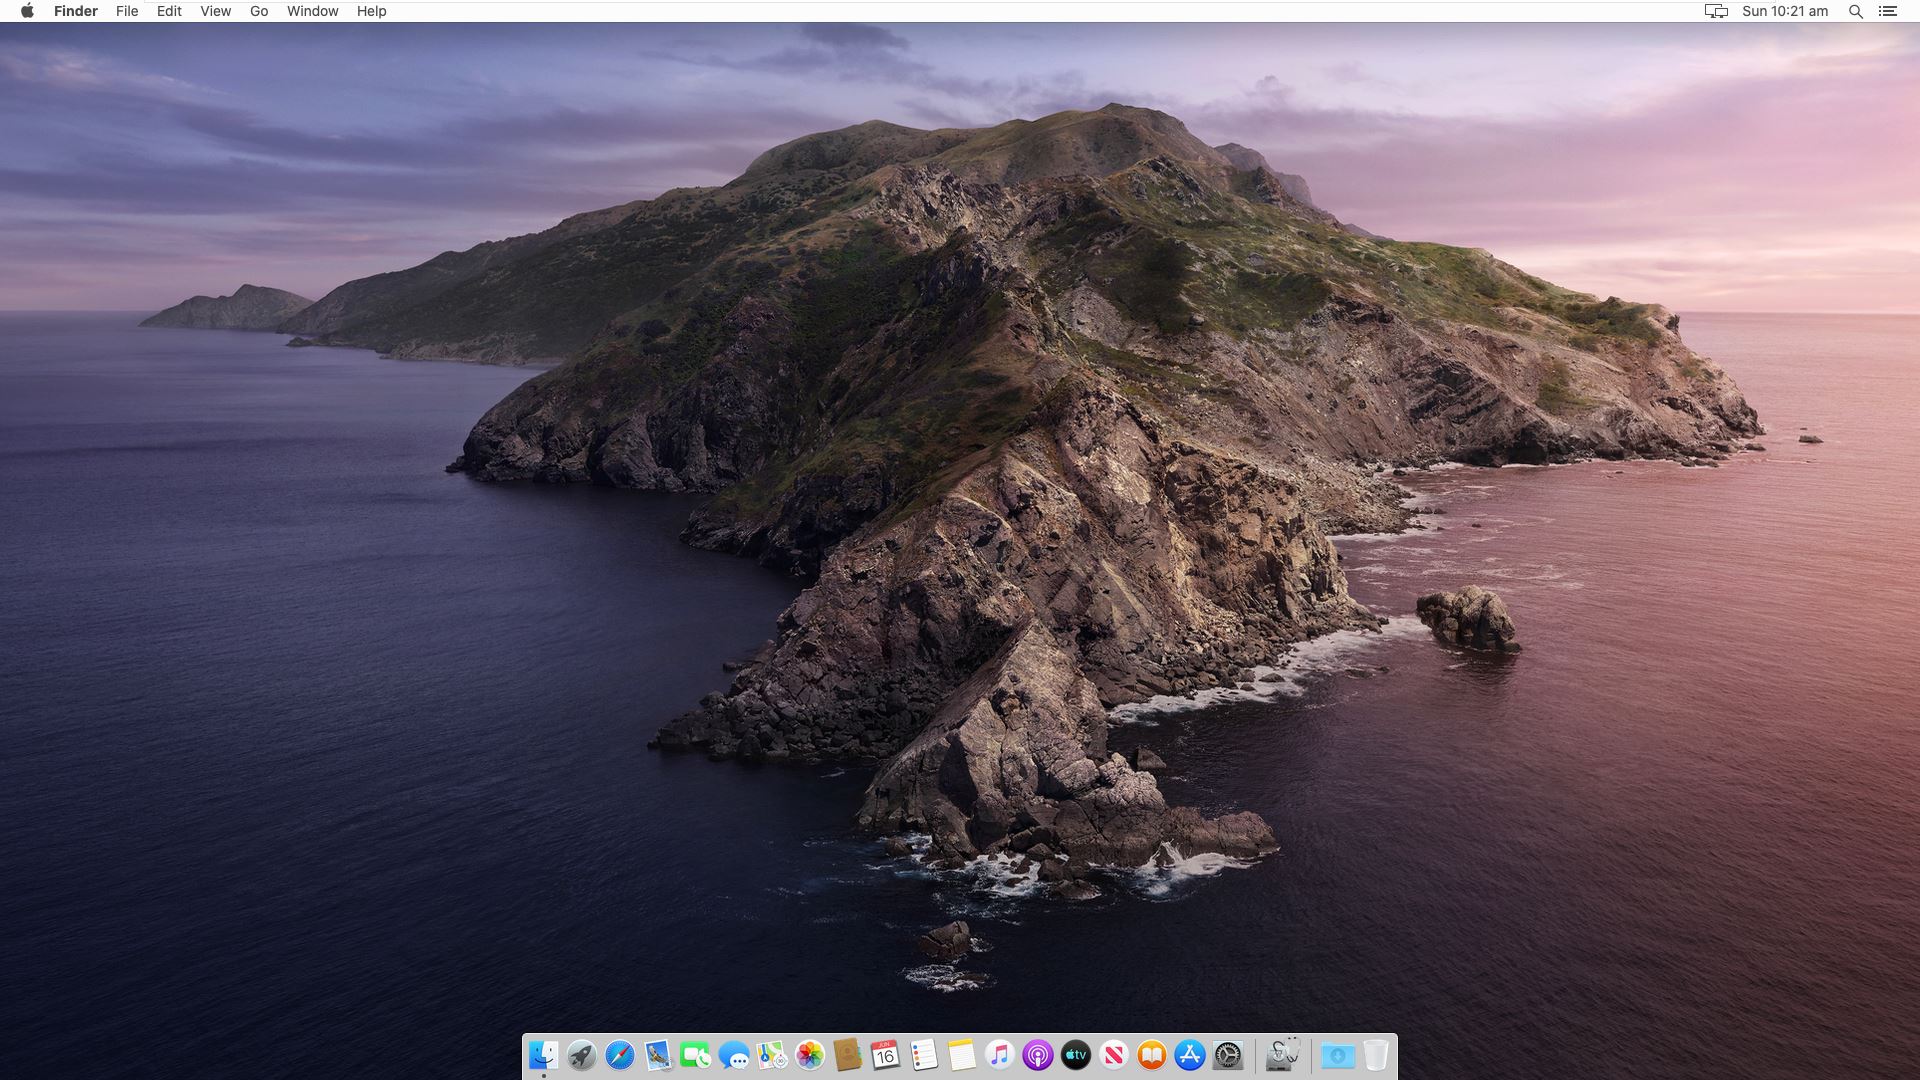
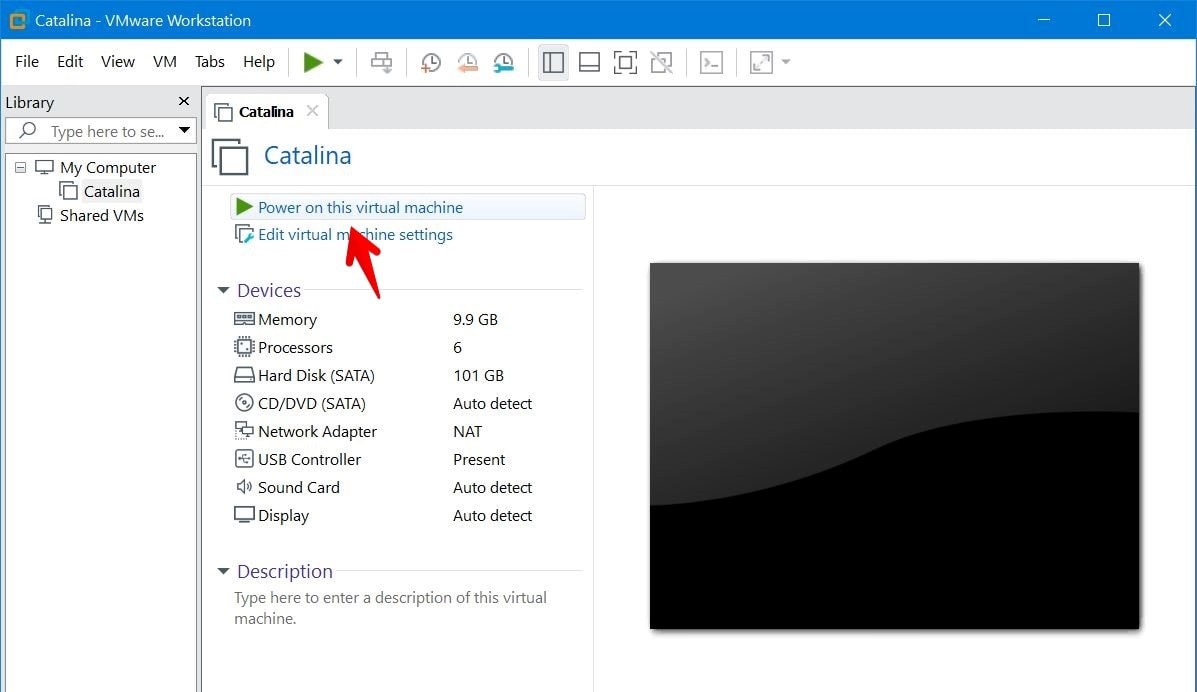
If you’re on Windows, start up macOS Catalina from VMware or VirtualBox. If you’re on Mac, simply power it on.

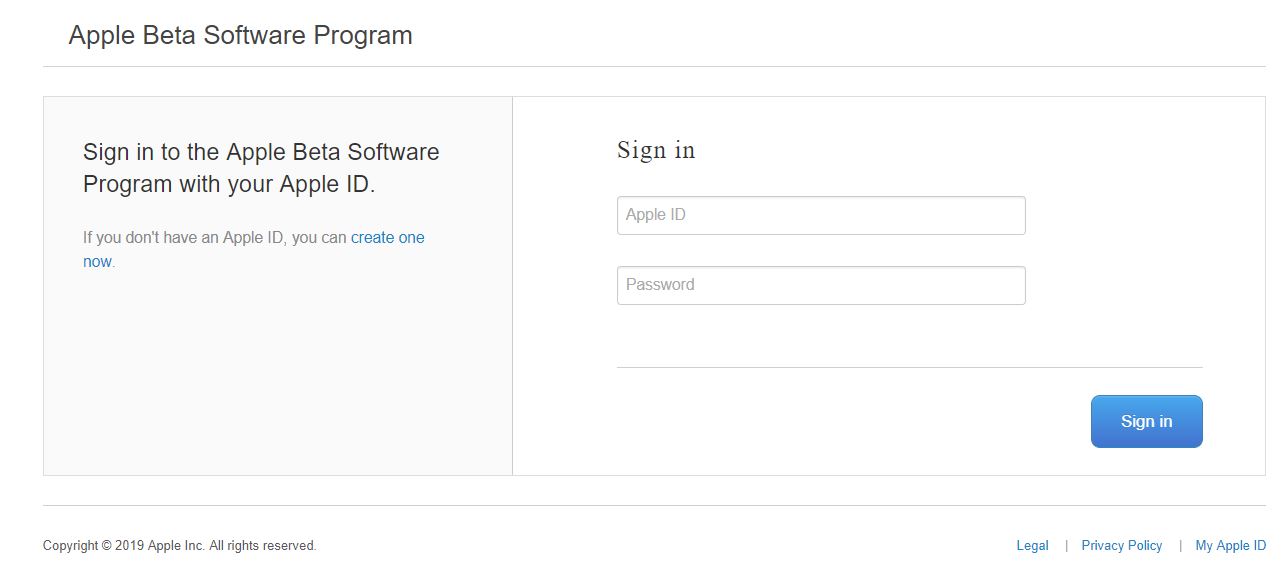
Navigating to Apple’s beta software program is easy. When you’re there, sign in with your Apple ID.

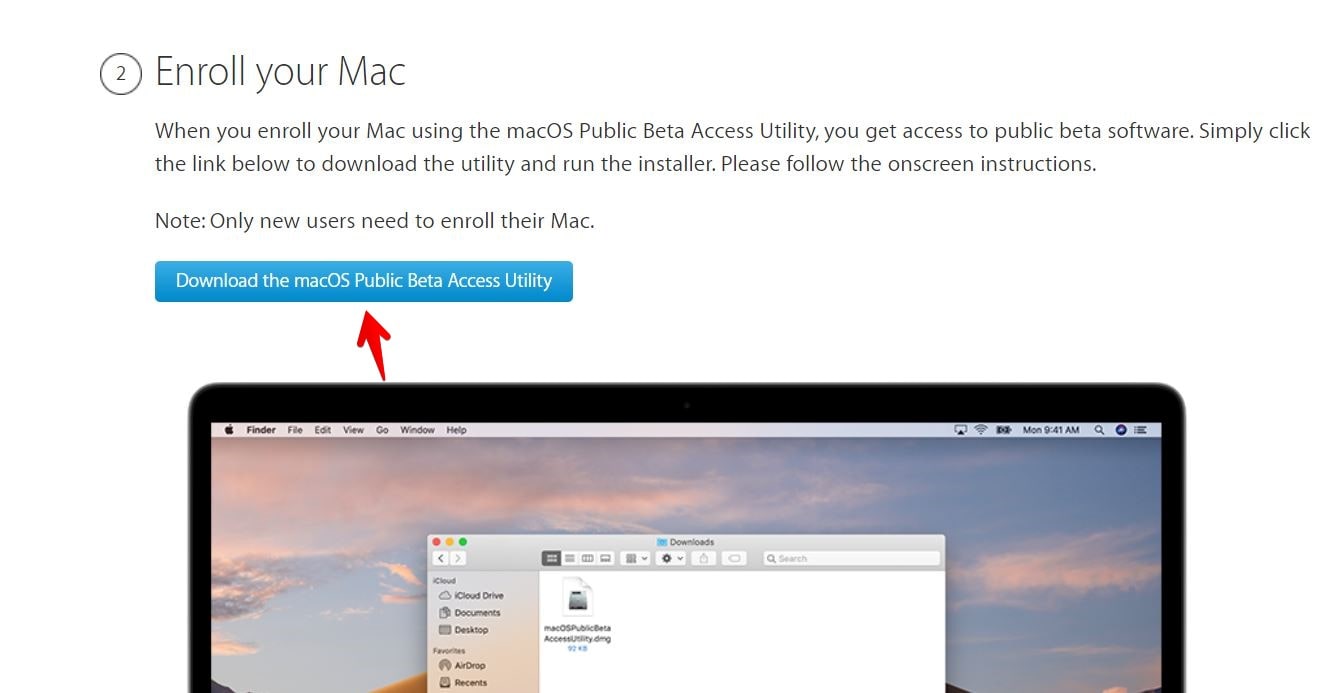
In the next window, navigate to enroll your device and scroll to click the Download the macOS Public Beta Access Utility.

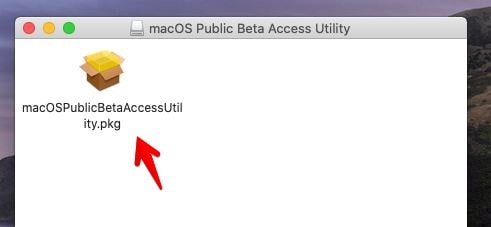
Now, open macOS access utility package and click on it.

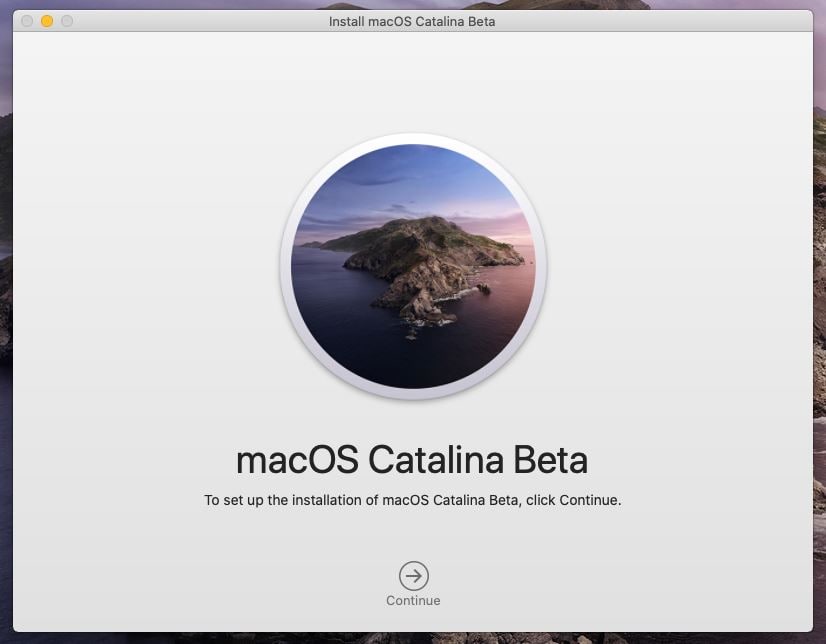
With proceeding with a few prompts will lead you to the Install macOS Public Beta Access Utility wizard which is for downloading macOS Catalina.

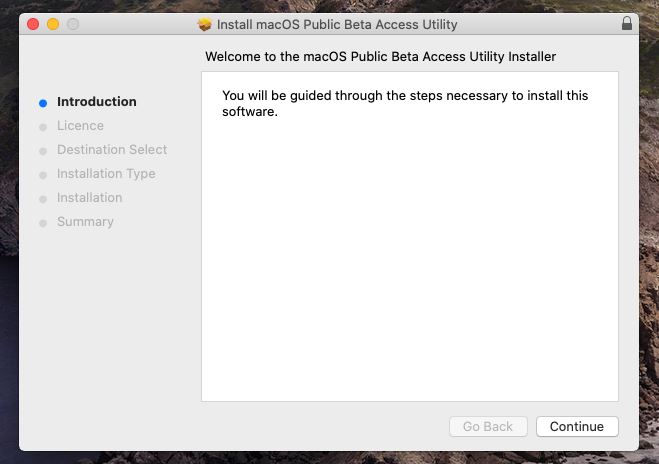
When you’re done, simply close it.

Step Two: Format The USB Installer Drive
Since we’re going to create the bootable USB Drive, we’re going to need to format the USB correctly. Here’s how to do it.
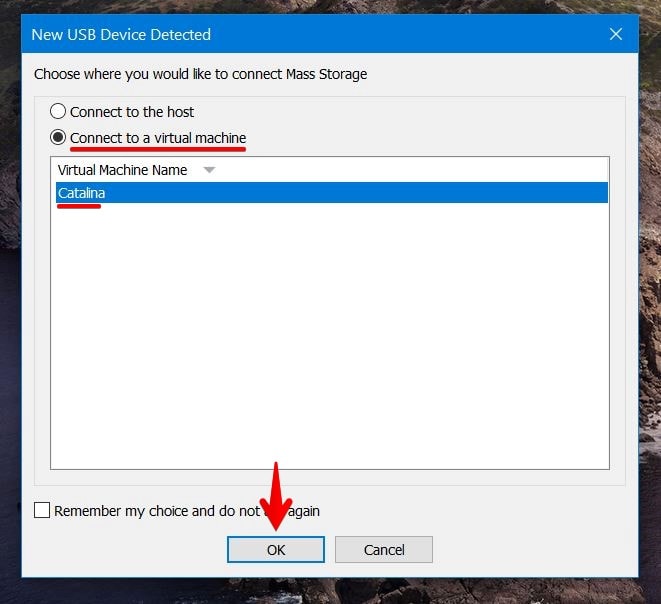
Insert the USB flash drive into your Mac or Windows PC and on virtual machine, a pop up will request for choosing where to connect the drive. Select Connect to a virtual machine and then select Catalina and click OK.

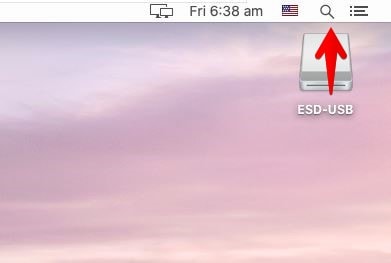
When the drive is connected, open Spotlight from the top-left menu.

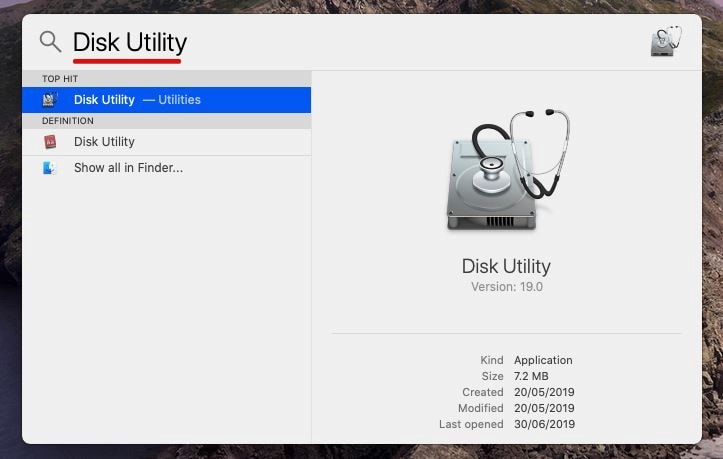
Now type Disk Utility and hit Enter.

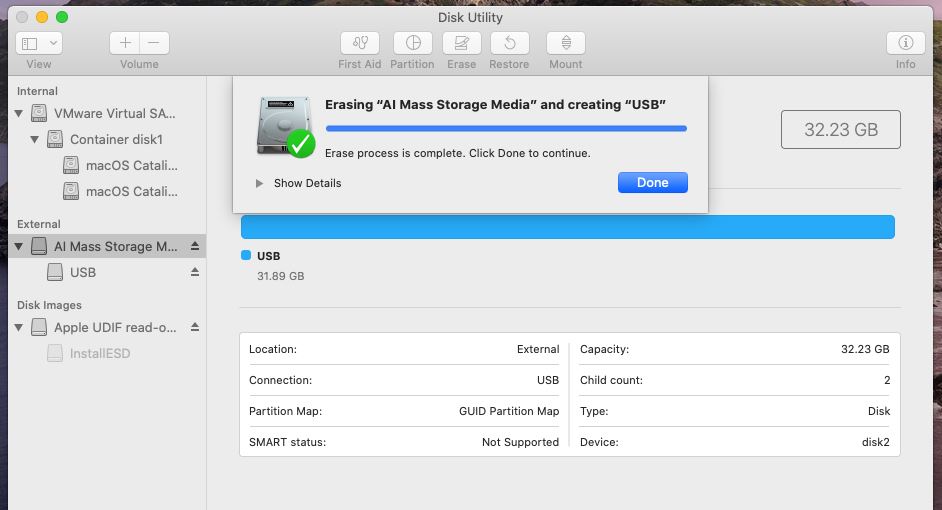
The Disk Utility window will appear, at this point, type a name for the USB, in this case, I’ll write USB and for the format select Mac OS Extended (Journaled) and for Scheme select GUID Partition Map.

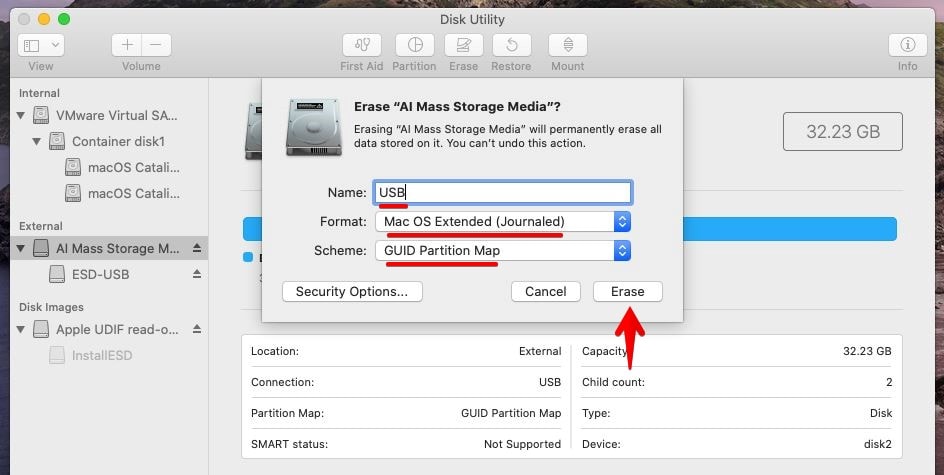
At the end, click Done.

Step Three: Create macOS Catalina Bootable USB Installer in Windows on Terminal
The USB installer has now been formated, it’s time to create and copy the installer with a command on Terminal.
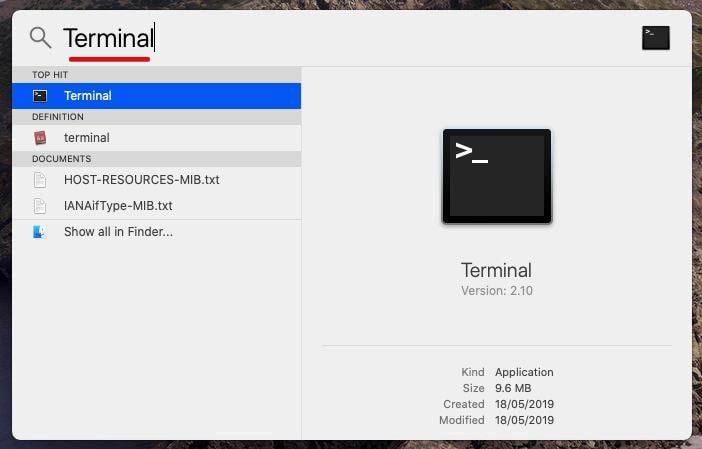
For this purpose, open Spotlight and type Terminal.

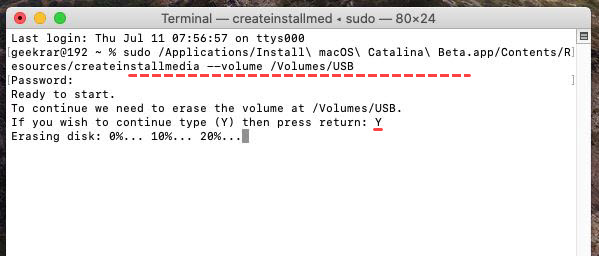
Now copy the following command and paste it into the Terminal then hit Enter. For confiriming the process, press Y and hit Enter. This will take a little long especially the copying, be patient.
sudo /Applications/Install\ macOS\ Catalina\ Beta.app/Contents/Resources/createinstallmedia –volume /Volumes/USB

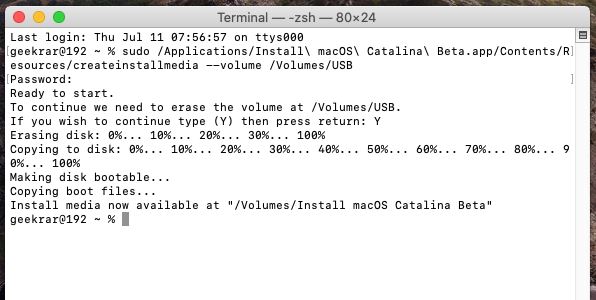
Once it’s done, close the terminal. The USB installer is now ready for installing macOS on a Mac but not on PC. Continue with the steps for completing the creation process for PC.

Mount & Paste The EFI Partition
After you’ve done that, you will need to mount and paste the provided EFI partition. The partition is created now, but we’ll delete and paste our customized working EFI which will result in booting macOS X.
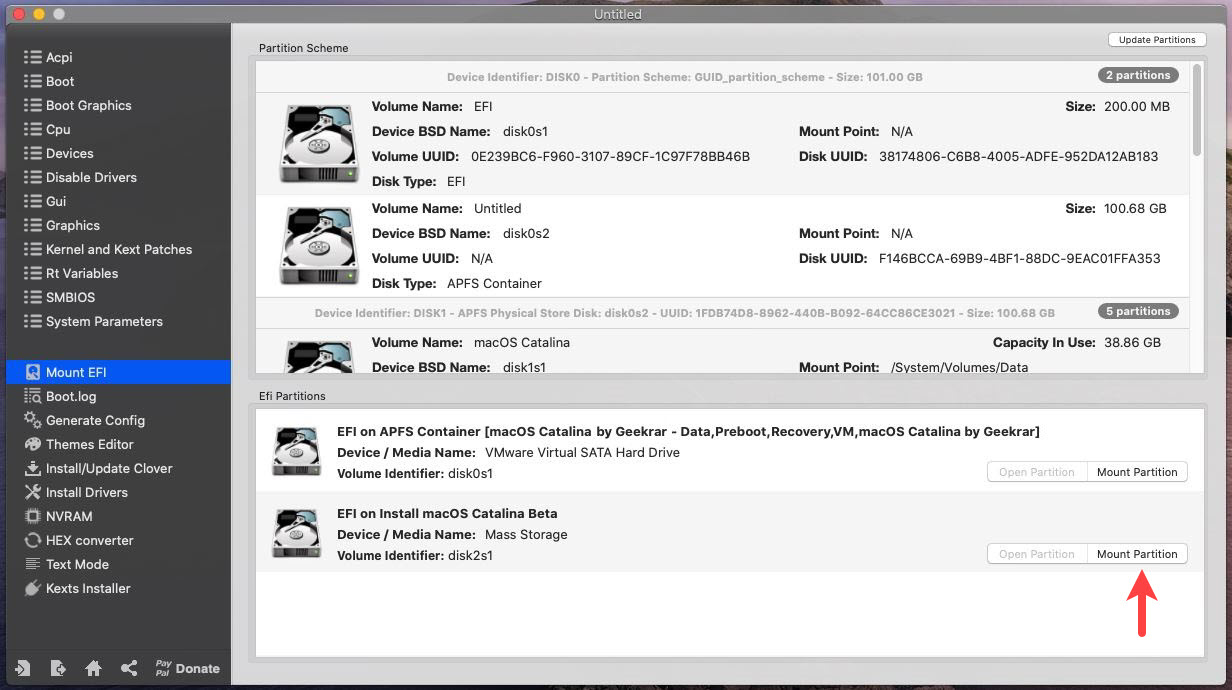
To accomplish this, open the Clover Configurator we’ve provided and chosen the Mount EFI option from the side menu, scroll down and click on Mount Partition on the EFI on Install macOS Catalina Beta. When asked, enter your credentials and hit Enter.

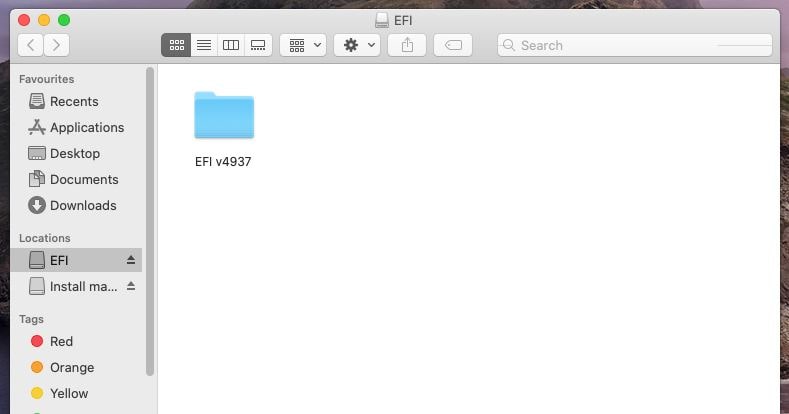
Mounting the drive will provide the EFI folder where you can place the preconfigured EFI we’ve provided. So, open the EFI folder and copy and paste the EFI we’ve provided. This will help you boot into macOS successfully.

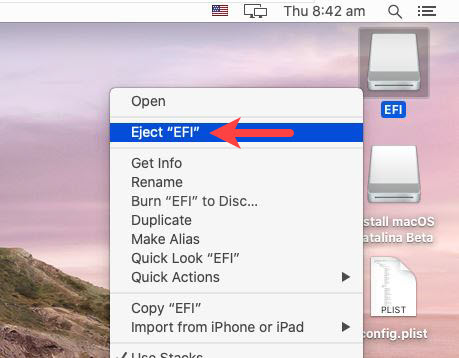
That’s it! You’re done! Simply right click on the drive and select Eject.

At the very end, on this pop-up click Eject All.

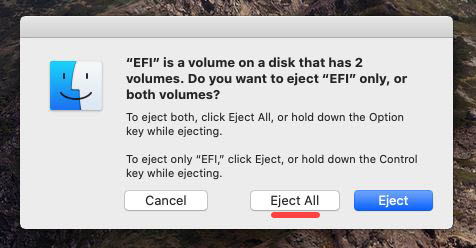
That’s all there is to it! The USB installer is now completely ready to boot macOS on PC. If there’s something left or would like to tell us, we are happy to hear.