


Got ready to upgrade from High Sierra? If you’re curious enough to know of those extra-cool features, here’s how to upgrade actually without reinstalling your operating system. Here is Upgrade macOS High Sierra to macOS Mojave on VMware & VirtualBox.
If you’re a heavy user of macOS operating system on Windows, specifically macOS High Sierra, you’re probably considering to upgrade to the most recent release (that is macOS Mojave of now) just like a typical Mac. The best thing is that I’m going to give you the words that you can definitely upgrade to the highest version on macOS operating system within a few easy steps.
Other than that, if you prefer installing macOS Mojave separately on Windows instead of upgrading, we’ve caught you up, go ahead and figure out how to do that.
As you might know, every year Apple releases a whole new operating system that is entirely new with super unique features from scratch. This year, the major release is out and entirely out to every single Apple computer out there. However, you can get to the greatest version offering from Apple automatically or within App Store by searching macOS Mojave. There, you’ll be able to download it for free and once downloaded, you can install or upgrade from previous versions of macOS you’re using.
Assuming you might have questions as a Windows user, you’ll discover answers of your question you’ve had, for e.g can I upgrade, should I upgrade and more. So let’s talk about this. Upgrade macOS High Sierra to macOS Mojave on VMware & VirtualBox.
Just to make you know you a little thing before continuing the upgrade process, it’s always a good idea to backup your important personal files. This is important, just in case when you’re in trouble, or things do not go as planned, you’ll have the withdraw option whenever you want. So, if you do have a backup, that’s great, otherwise, take your time and struggle with it until you’ve done it.
Table of Contents
Should I Upgrade?
Whenever a new version of macOS is released, upgrades are immediately available from the previous version. In other words, upgrades are as well available before the official release through beta versions that are only available for developers, so it is not advised to enroll and try the testing mode unless you’re a developer or you’re doing it for a specific thing.
In this way, when the ultimate version is out recently, you might assume there are no bugs or fixes at all since the beta and testing mode has ended but actually there is. Basically, every time when a newer version of software or operating system is out, there is enormous sort of bugs and fixes going on there. This will continue for users (at least for some users who are affected) until a period of time has passed and it is recognized, later on fixed.
If you’re wondering this is not going to likely happen with this, you’re totally wrong because we’ve seen kinds of this with Apple specifically not long before with iOS 12 and before that. Or with Windows that had deleted users personal files when updating. It’s a thing to be considered.
The good news is that it’s not day one neither day two not even the first month. Until now, a huge amount of users have already installed, upgraded and started using as their daily routines, so there should be zero of problems. The bottom line is, if you’ve decided and got ready to upgrade then it’s probably the best time to upgrade I recommend.
Can I Upgrade?
As a macOS user on Windows, Apple has their own terms, conditions and things they want for the operating system they develop, including macOS Mojave. The thing is, when Apple releases an operating system (as this year released macOS Mojave) Apple prevents a bunch of devices that run previous versions of macOS and are outdated and as well as not supported by Apple.
With that said, you’ve absolutely the question in mind that is my computer or PC compatible? The answer seems to be quite difficult because your computer doesn’t include to even approach Apple computer but in fact, it is not. Because this has nothing to do with your computers since that only applies to older Macs. Whatever version and edition of Windows you’re using, you’ll always have the option to upgrade. Here is Upgrade macOS High Sierra to macOS Mojave on VMware & VirtualBox.
All you need to do is download macOS Mojave Installer from App Store and proceed with the installer. In this tutorial, I’ll walk you through upgrading and installing step by step with instructions including problems you may encounter, so let’s do this thing.
Upgrade macOS High Sierra to macOS Mojave
When a new release is available, macOS may inform you via software update or some sort of notification. In case, if you did not receive update, you can manually find out. With the update, you’ll first need to get the installation files and do the process.
It’s worth knowing that the steps are similar and work for both Mojave installed on VMware Workstation/Player and VirtualBox.
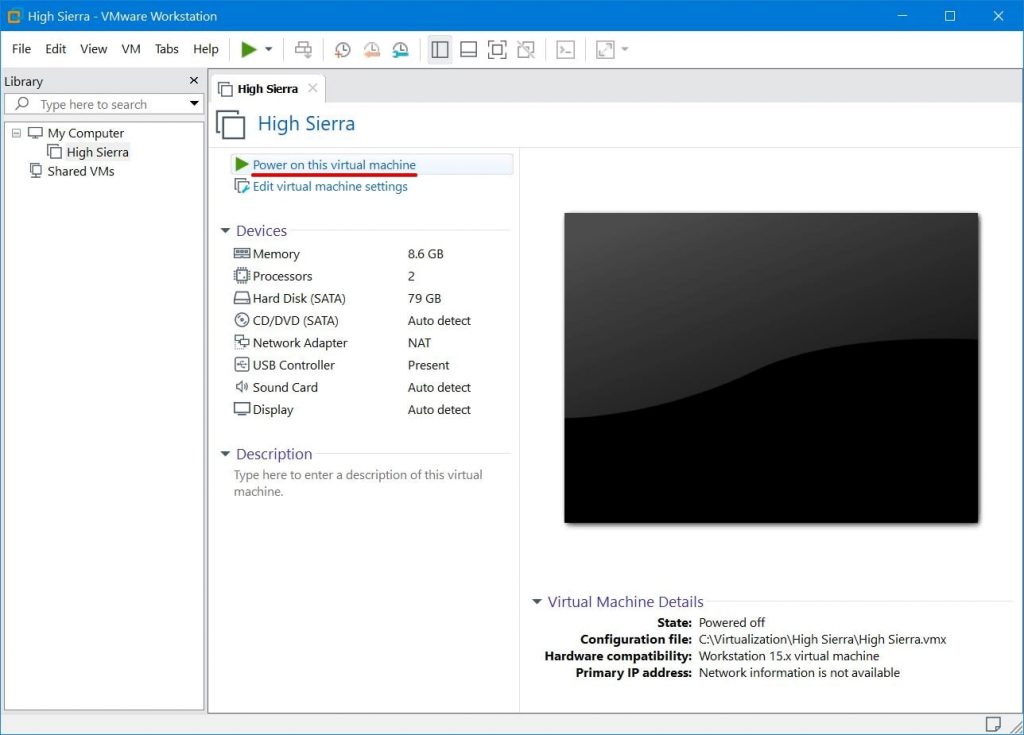
At the very first, fire up Mojave virtual machine on VMware or VirtualBox.

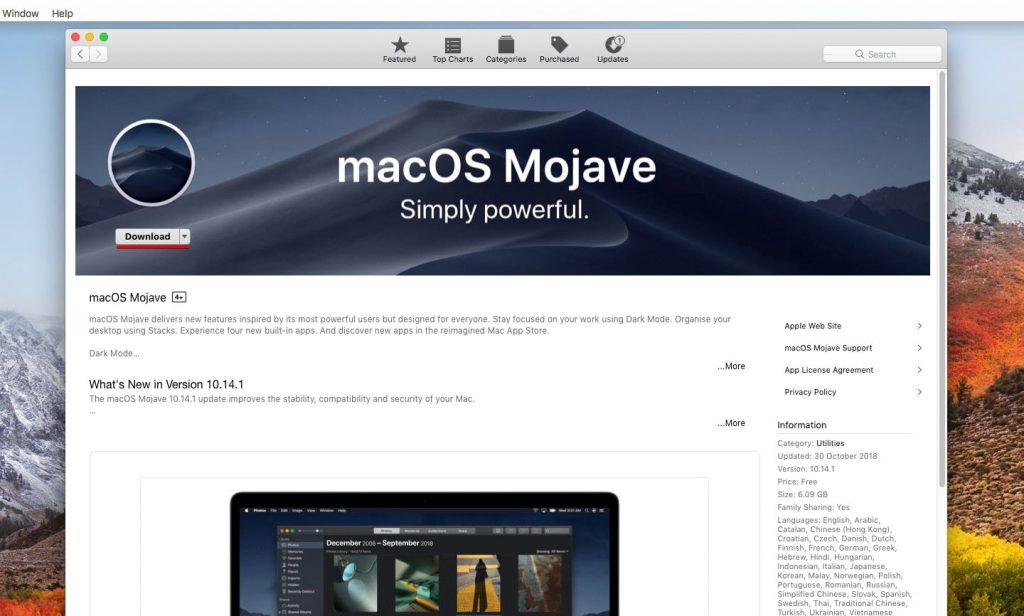
Once you’ve logged in, head to App Store and search for “macOS Mojave” and download it. This is a small file that is about 14MB it will take no longer than a moment, wait for it. When it’s done, the installer will launch immediately.

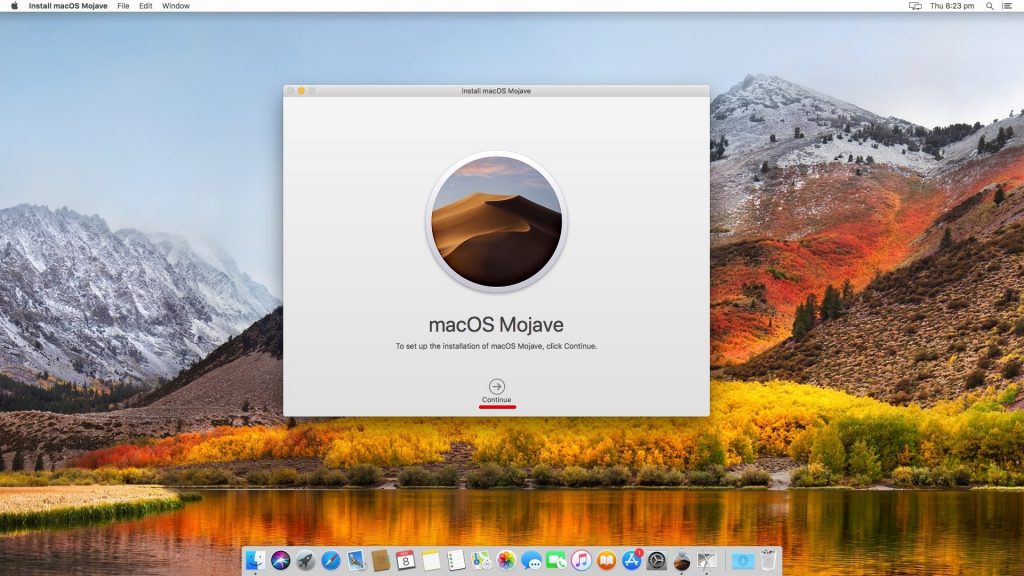
Continue with the installer and go ahead.

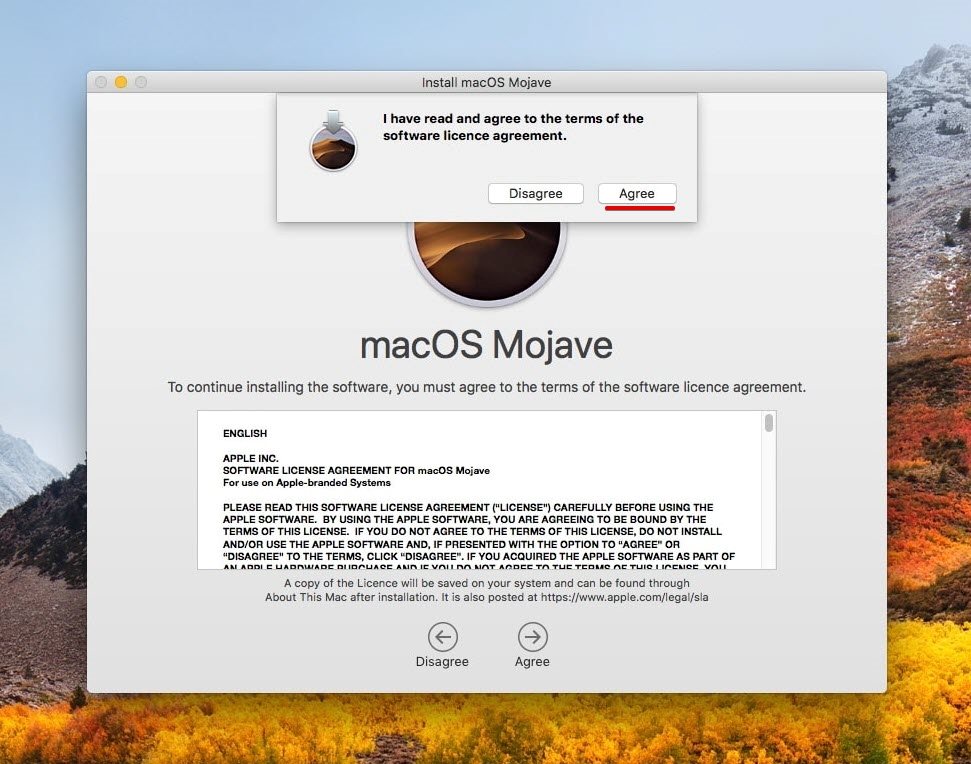
The terms and conditions will appear, click Agree.

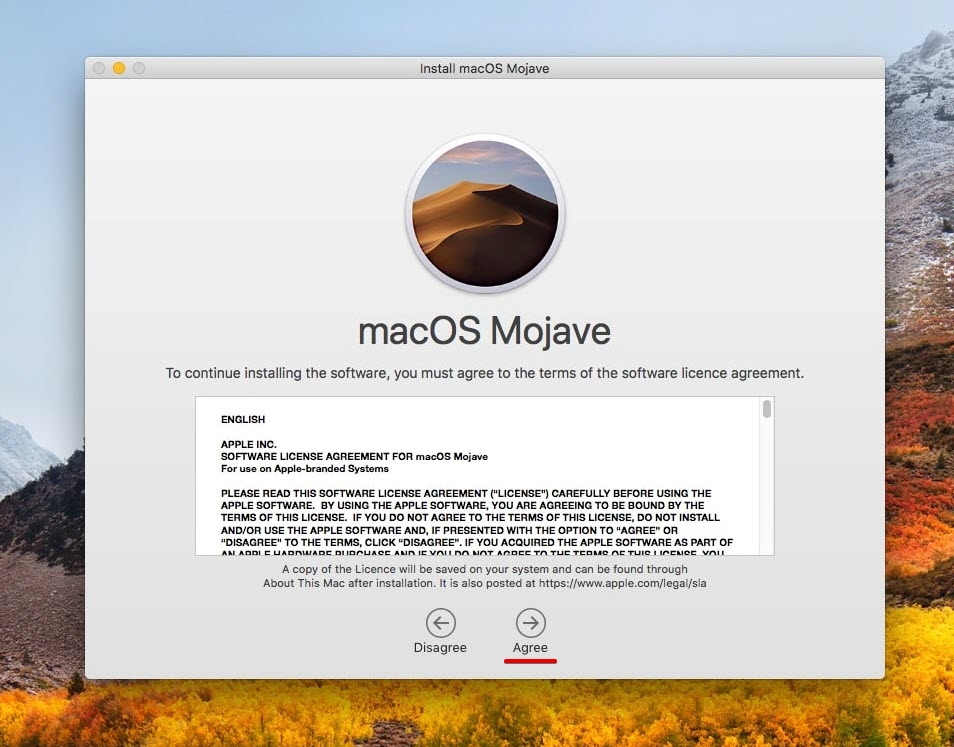
Simply Agree.

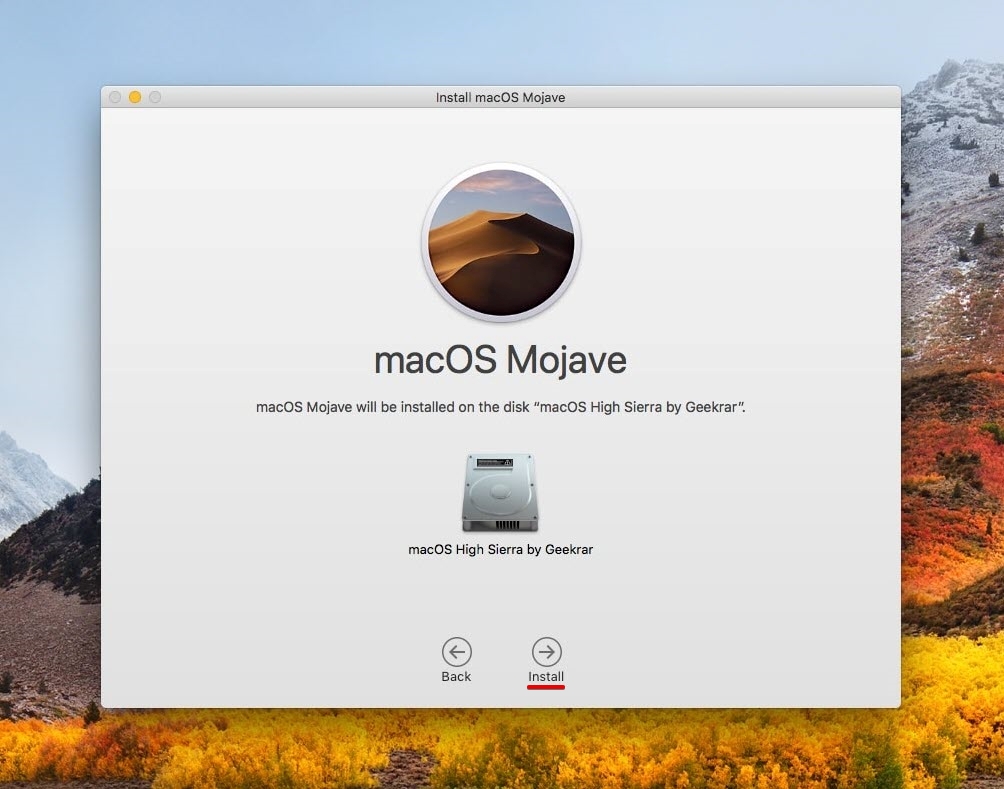
The installation disk will appear, select the only disk you’ve and Install. Don’t worry: This is the virtual disk (not your physical disk) on which the macOS High Sierra is already installed, so your data is safe.

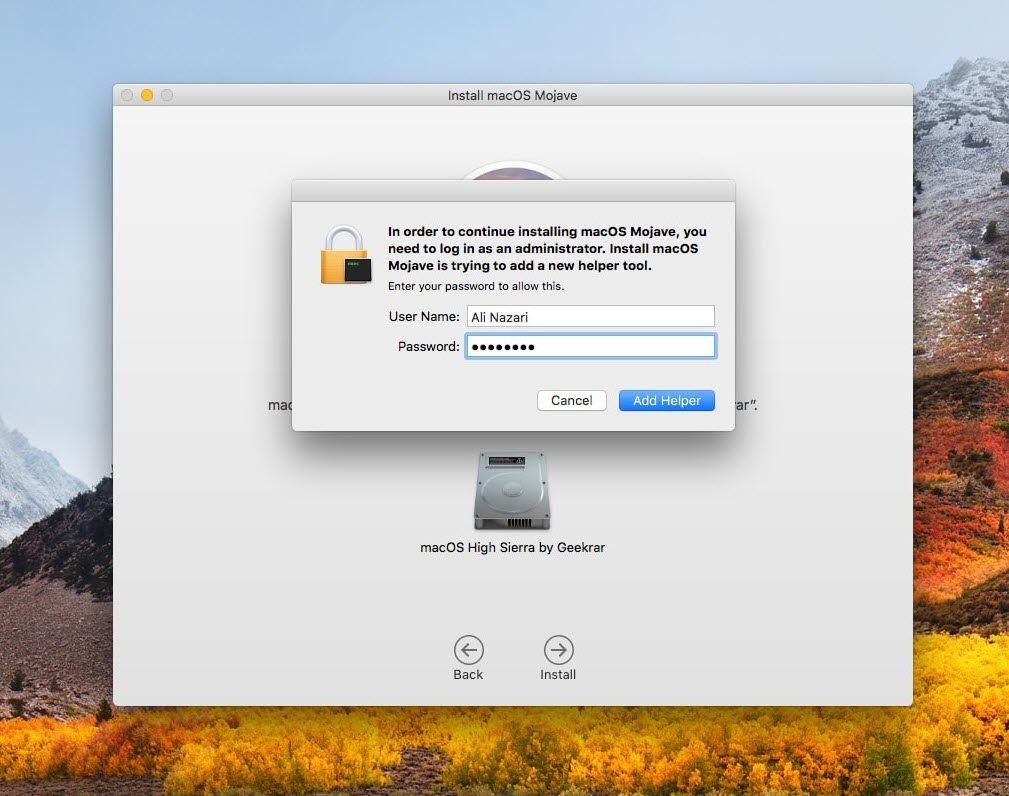
To run the installing process, the macOS Mojave will add a helper tool that you’ll need to enter your credentials as administrator.

Eventually, the installer will run and begin installing. This will download the macOS Mojave installation files and stuff, so this will take long (vary on your internet connection). Keep in mind that on High Sierra on VirtualBox, you’ll be asked for restart, so don’t worry just Restart.


After installing from there, your Mac will automatically restart maybe more than one time and will take some while, also with booting on the Apple logo. The things should go smoothly without any problem and you’ll need to only wait.


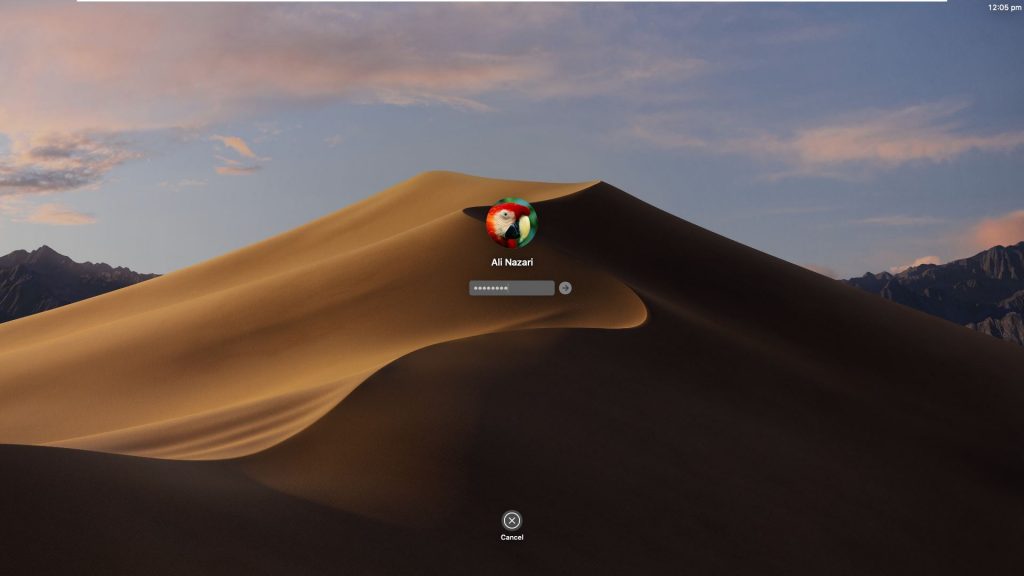
When the process is done, you will log into powerful macOS Mojave with its gorgeous background wallpaper.
Before you go further, you’ll need to take some steps to actually start using something. You’ll be asked for sharing your Mac analytics with Apple, feel free to choose and Continue.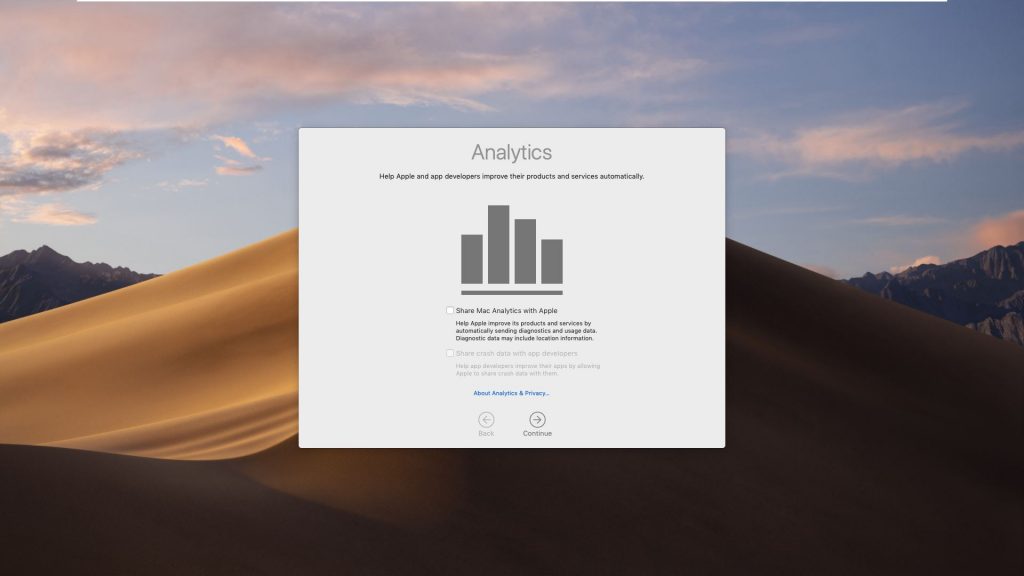
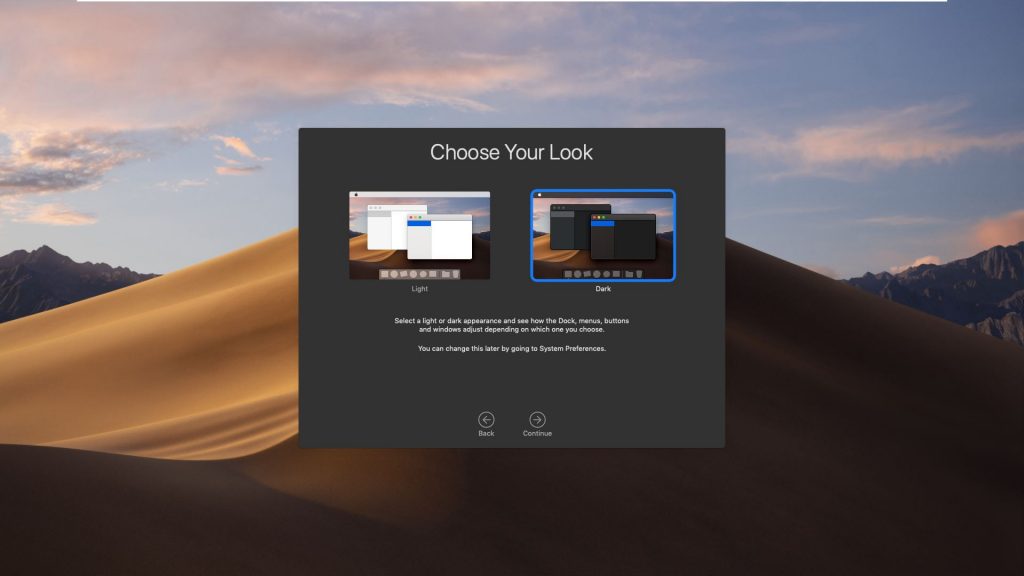
Choose the look you like, in my case, I’d like to try the unique look which is dark and Continue.
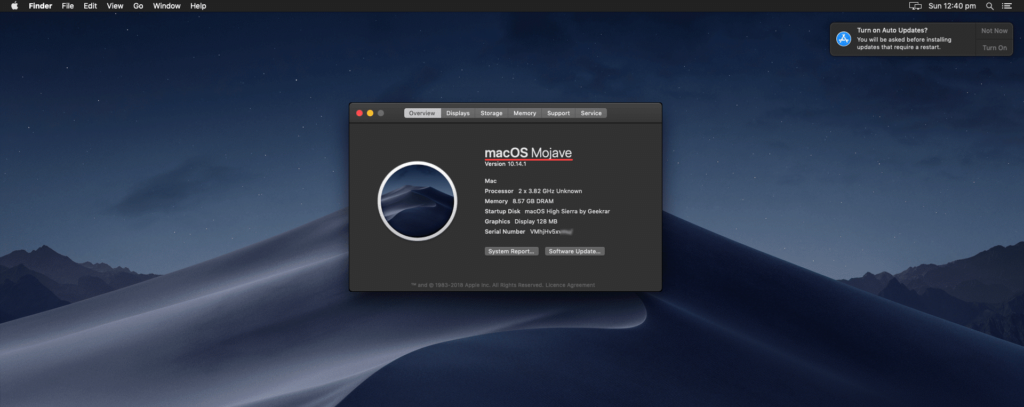
Congrats! You’ve the latest version of macOS Mojave up and running. Also, your files should be as it was and you do not need to install VMware tools or do anything else, just enjoy. In order to confirm which version you’re using, click on the top-left corner, then click About This Mac.
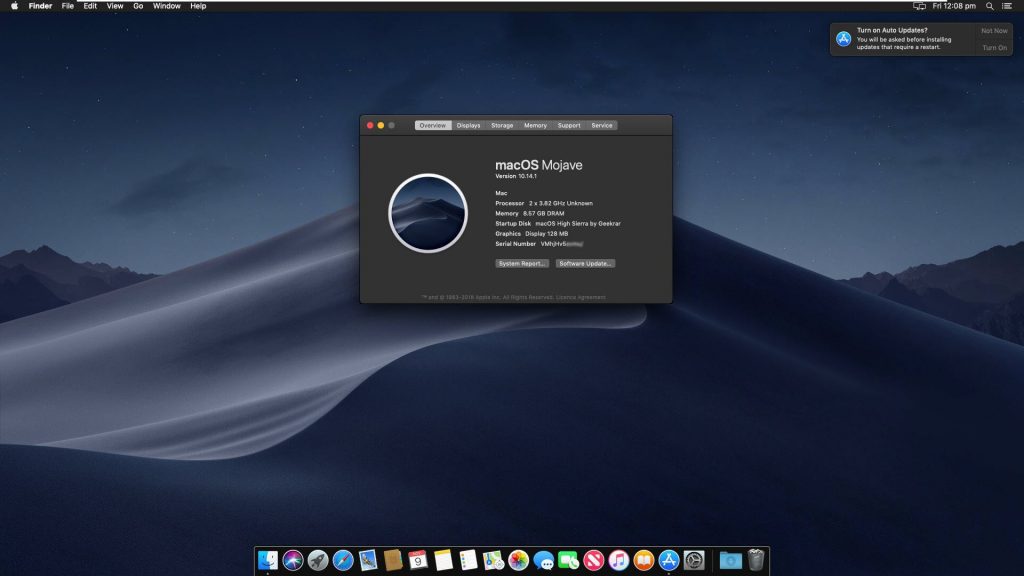
This will pop up complete information of your Mac including OS and version. All right! Everything seems fine and furious. If you have suggestions, ideas or concepts for us, we are happy to review it.