


While installing macOS Catalina is certainly possible and is particularly to install Catalina on macOS, it’s even possible to install macOS Catalina on VMware and install macOS Catalina on VirtualBox. Despite these, there are two methods to install macOS Catalina on VMware, and also two methods to install macOS Catalina on VirtualBox. First, one is install macOS Catalina on VMware with a simple method, the second one is to install macOS Catalina on VMware with a new method. The next one is to install macOS Catalina on VirtualBox simply and install macOS Catalina on VirtualBox in a new method. Install macOS Catalina on VMware fusion on macOS.
Table of Contents
Installing macOS Catalina on VMWare on Windows
For installing macOS Catalina on VMware or installing macOS Catalina on VirtualBox in both the methods, even installing macOS Catalina on Mac, it requires macOS Catalina ISO For VMware & VirtualBox for installing on Windows. This can be done also with macOS Catalina VMware & VirtualBox image which is macOS Catalina VMDK file. But for installing on Mac, it requires download macOS Catalina from App Store or macOS Catalina DMG file which is different from macOS Catalina ISO For VMware & VirtualBox file.
So installing macOS Catalina on Mac isn’t only possible but there are a couple of ways to do it which is also done with macOS Catalina DMG file. Even installing macOS Catalina on Windows is possible (that isn’t supported by Apple) which is done in several ways but with virtual machine apps like VMWare Workstation or Player and Oracle VirtualBox. Now for installing macOS Catalina on VMware, we need a few more things. Since VMware doesn’t support installing macOS, we need to install the patch tool which will help installing macOS by providing the option. Another thing we’ll need for the installation is macOS Catalina ISO For VMware & VirtualBox or macOS Catalina VMWare & VirtualBox image which is macOS Catalina VMDK file.
If there’s some problem with it or would like to download from somewhere else, we’ve even provided to download macOS Catalina ISO Image. After it’s done, extract this and we will be ready to install macOS Catalina on VMware and install macOS Catalina on VMware with a new method. While installing macOS Catalina on Windows might be a little problematic, but for sure, we have the fix Mouse & Keyboard Stuck on macOS Catalina on VirtualBox and also fix macOS Catalina Screen Resolution on VirtualBox and fix macOS Catalina Screen Resolution on VMware.
Including these, we’ve covered up with fix boot loop when installing macOS Catalina on VMware and also fix EFI VMware virtual sata… when installing macOS Catalina and also Fix macOS Catalina install.nsh isn’t recognized as an internal error. Except this, we’ve covered up with the complete fixes for fix macOS Catalina problems and errors on VMware and fix macOS Catalina problems and errors on VirtualBox which includes all the fixes and problems.
Steps to Install macOS Catalina on VMware Fusion on macOS
As far as installing macOS Catalina is concerned, we could install it in different ways in different places. When it comes to install macOS Catalina on VMware Fusion, it’s also possible and works super fine. For those who aren’t familiar with, we install macOS Catalina on VMware Fusion which is VMware’s app particularly for macOS, so we’ll install macOS Catalina on VMware Fusion on macOS. Just like installing macOS Catalina on VMware on Windows, it’s pretty similar to it or we could even say it’s even simpler, even it doesn’t require patch and editing the vmx file, so it’s super easy. Here’s how to install macOS Catalina on VMware fusion on macOS.
Apart from it, while Macs mostly use SSD which is much faster than a typical HDD, the performance of install macOS Catalina on VMware Fusion will be faster and better compared to Windows. But while virtual machines are always a virtual machine, so they will be also hungry and hungrier so it depends on how much resouces would you prefer to allocate for it. We’ve done a super useful tutorial for speeding up slow-running macOS Catalina and also speed up slow running macOS Mojave which works for both virtual machine and actual Mac. So without taking much time, we’ll get started. In this tutorial, I’ll show you how to Install macOS Catalina on VMware Fusion on macOS.
What You’ll Need
For this process, we’ll a couple of things.
- VMWare Fusion – While Windows and macOS are a different and separate operating system, they require different software. While VMware Workstation and Player is for Windows, VMware Fusion is for macOS. That is the only difference except for a few minor differences. Even the installation and most of the other things are pretty much like the same.
- macOS Catalina VMware & VirtualBox Image – For installing macOS Catalina on VMware Fusion on macOS, we’ll need macOS Catalina VMware & VirtualBox image that we’ve provided. This file is completely safe, secure and even we’ve provided it in two sections and uploaded to into two places.
Once you’re done with that, extract the files and let’s jump into it.
Step One – Install VMware Fusion on macOS
Just like VMware Workstation and Player, VMware Fusion is a virtual machine app in Mac. There are two versions of it, a free and pro which is a paid version. While it’s works perfectly fine for running Windows on Mac which it offers, but beside it, it will also work for installing and running macOS on it. It’s super similar to VMware Workstation and Player and you’ll find most things real quick.
Installing VMware Fusion is pretty easy and takes a few minutes only. Here’s how to do it.
Before we get started, we need a few things to know. First, make sure you’ve enabled Intel VT-x on Mac or if you’re trying this on a virtual machine such as VMware and VirtualBox, make sure it’s on otherwise it will make a serious problem.
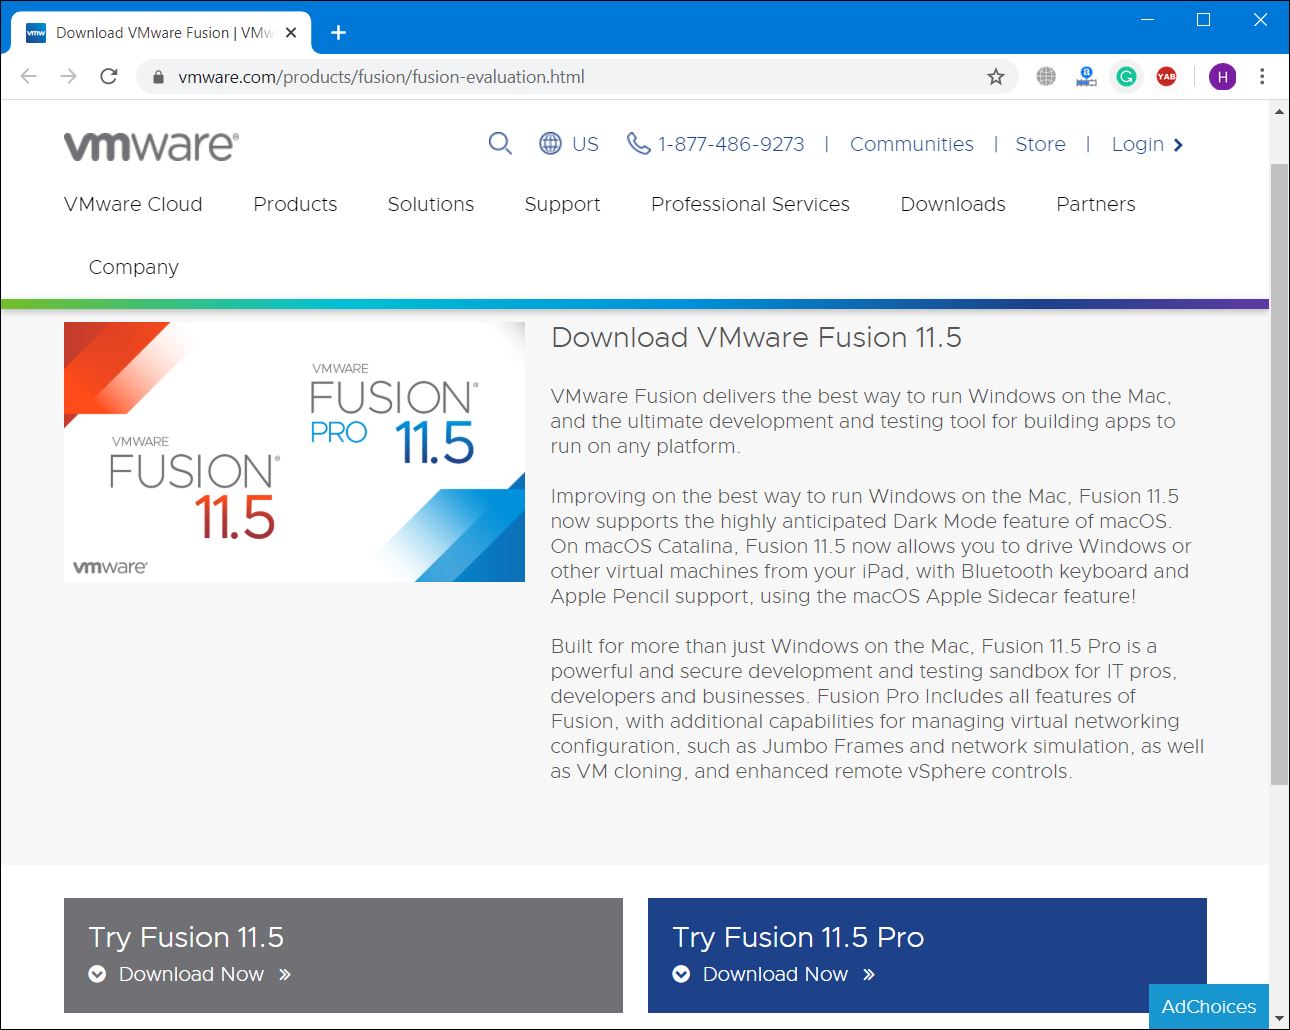
Goto VMware Fusion window or here for free download and click on Download.

Once when it has done than extract it and open it. Double-tap on the first window and it will launch the installation.

Now proceed with the installation and when you’re done, click on Finish.

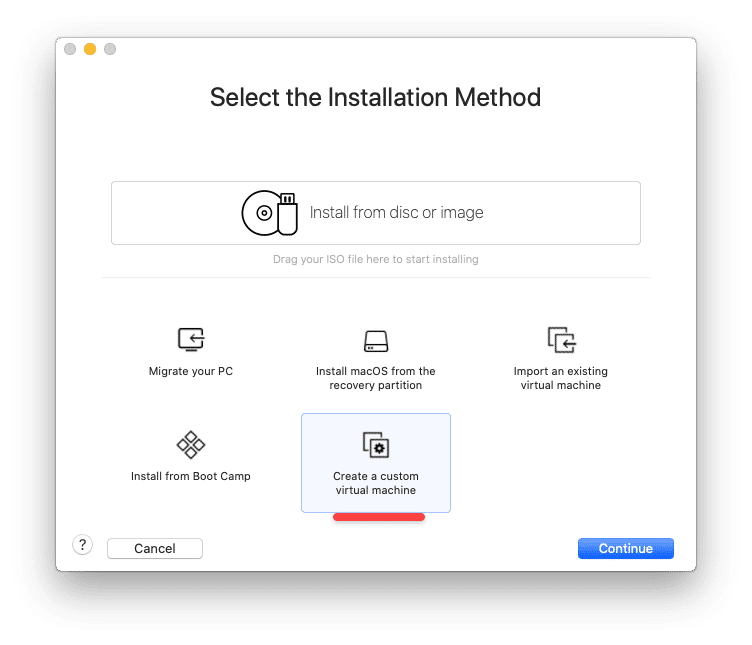
When the installation finished, click on Create a new custom virtual machine and click on Continue.

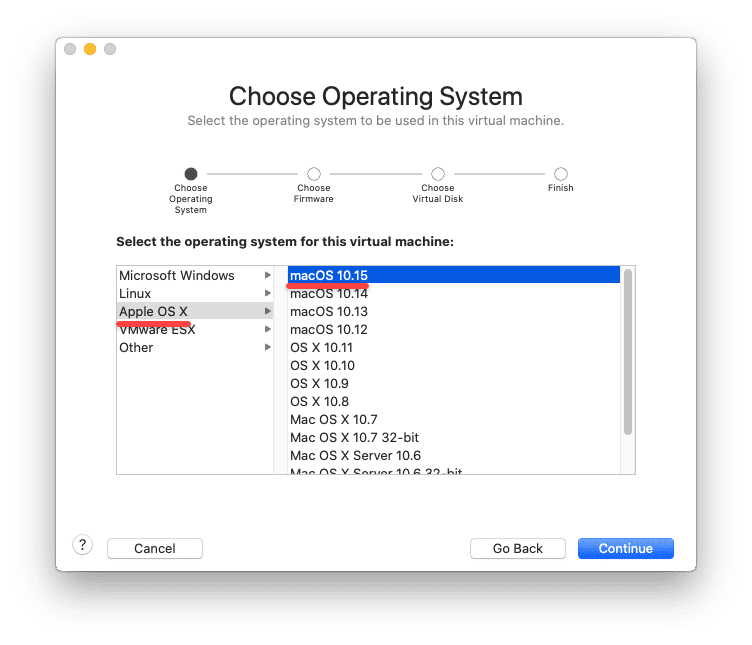
Now select an operating system. For this case, we’ll choose Apple OS X then macOS 10.15 for the version then hit Continue.

Then click on Use an existing virtual disk and click on Choose virtual disk… and browse and choose macOS Catalina VMware & VirtualBox Image file which is macOS Catalina VMDK file. At the end, click on Continue.


On the finish line, simply click on Finish.

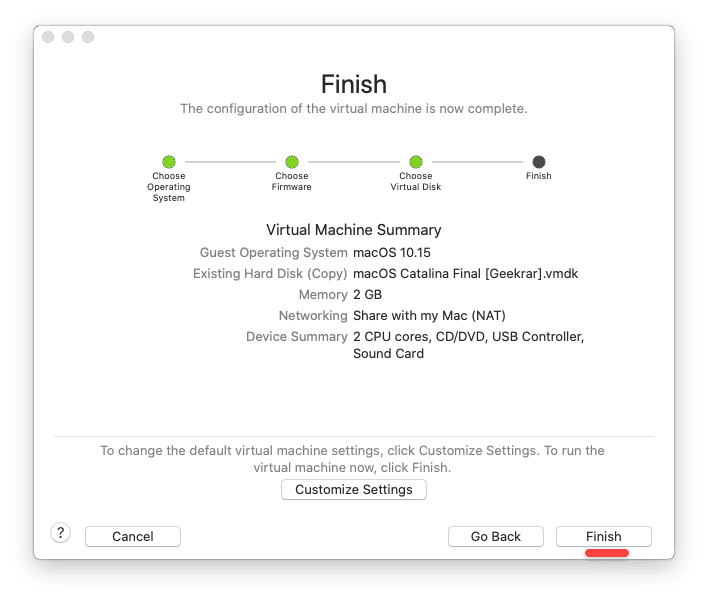
When this popped up, name the machine and click on Save. So the machine will begin creation which will take some time.


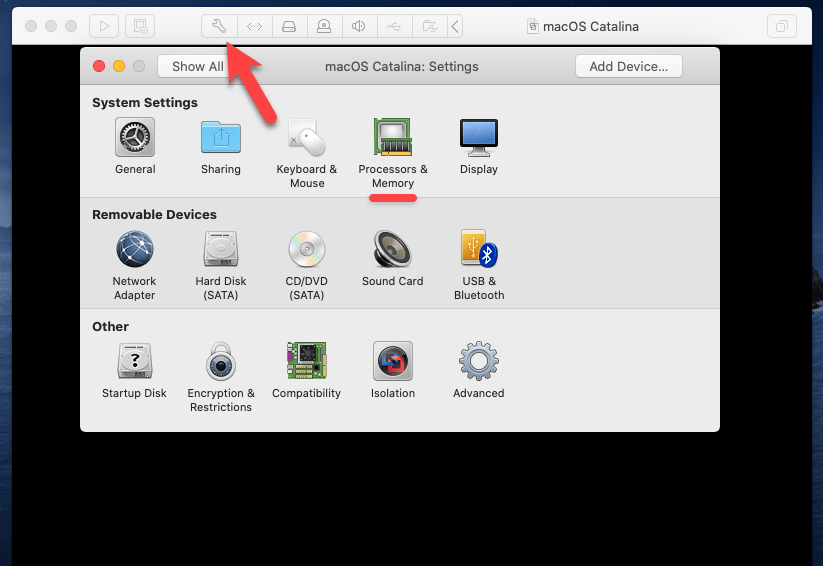
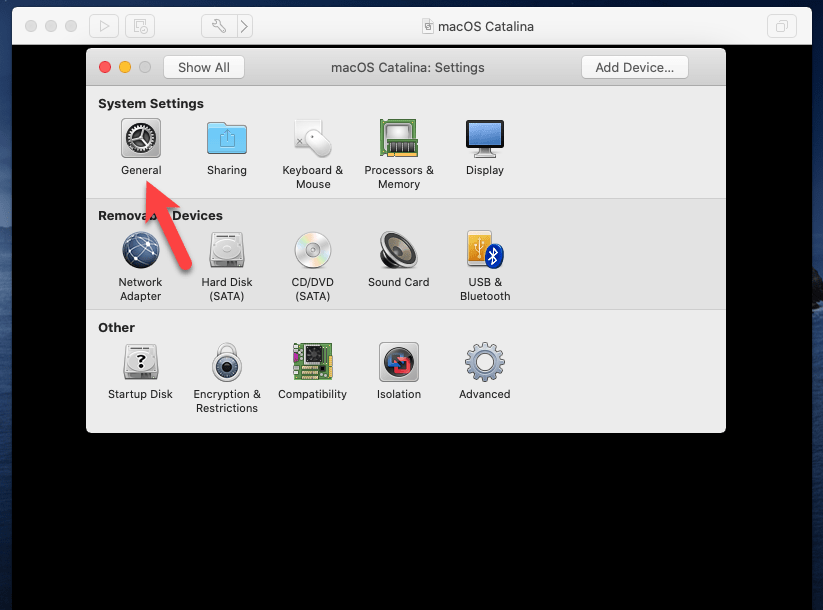
Once it’s done, click on Settings and then Processors & Memory.

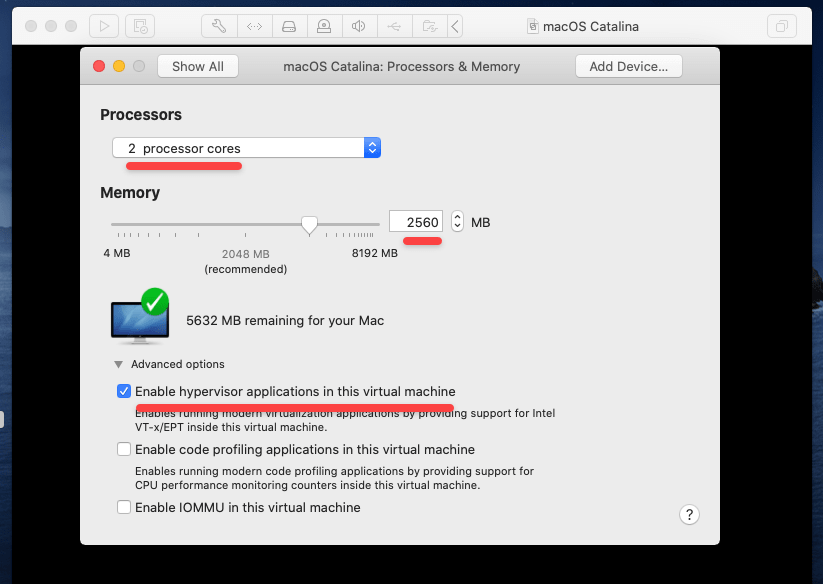
In this window, increase the processor, and memory to at least to 2.5GB or 3.0GB, and also turn on the hypervisor and when it’s done, click on Show All from the top.

Now click on General.

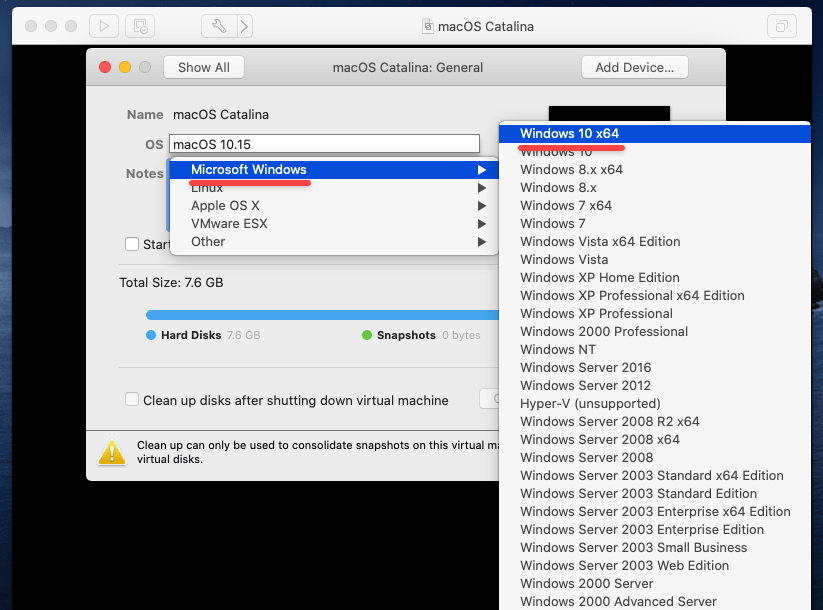
Then click on macOS 10.15 and it will pop up this window. Select Microsoft Windows then Microsoft 10×64

Now click on play to start up the machine.

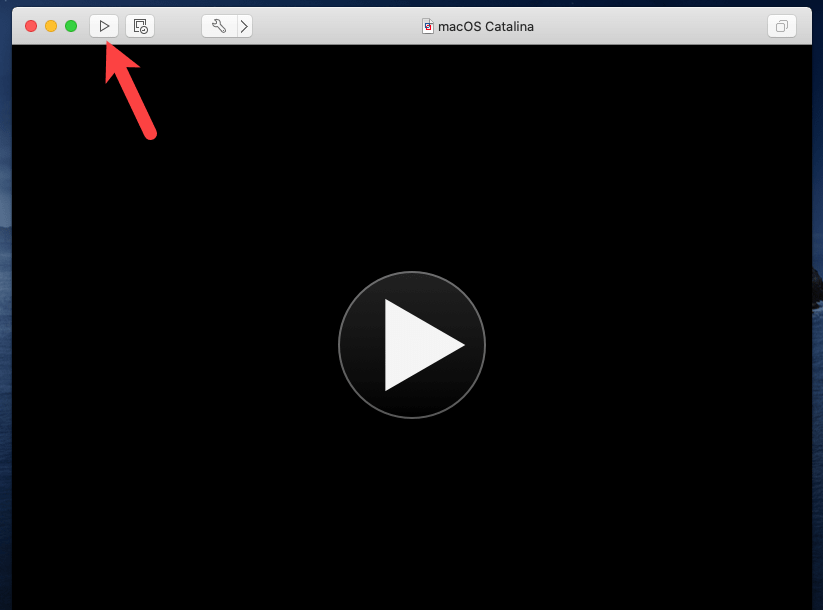
Once it finished loading, it will straightly install macOS Catalina on VMware Fusion, so it will take some wait, be patient.

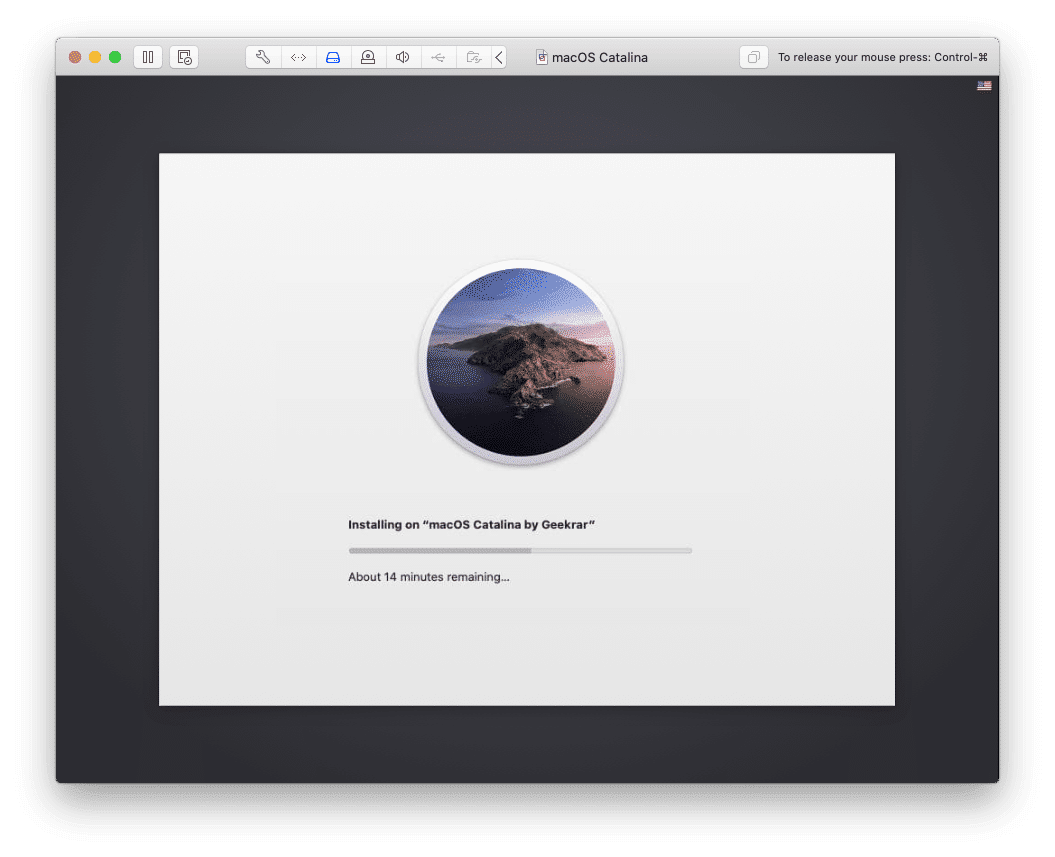
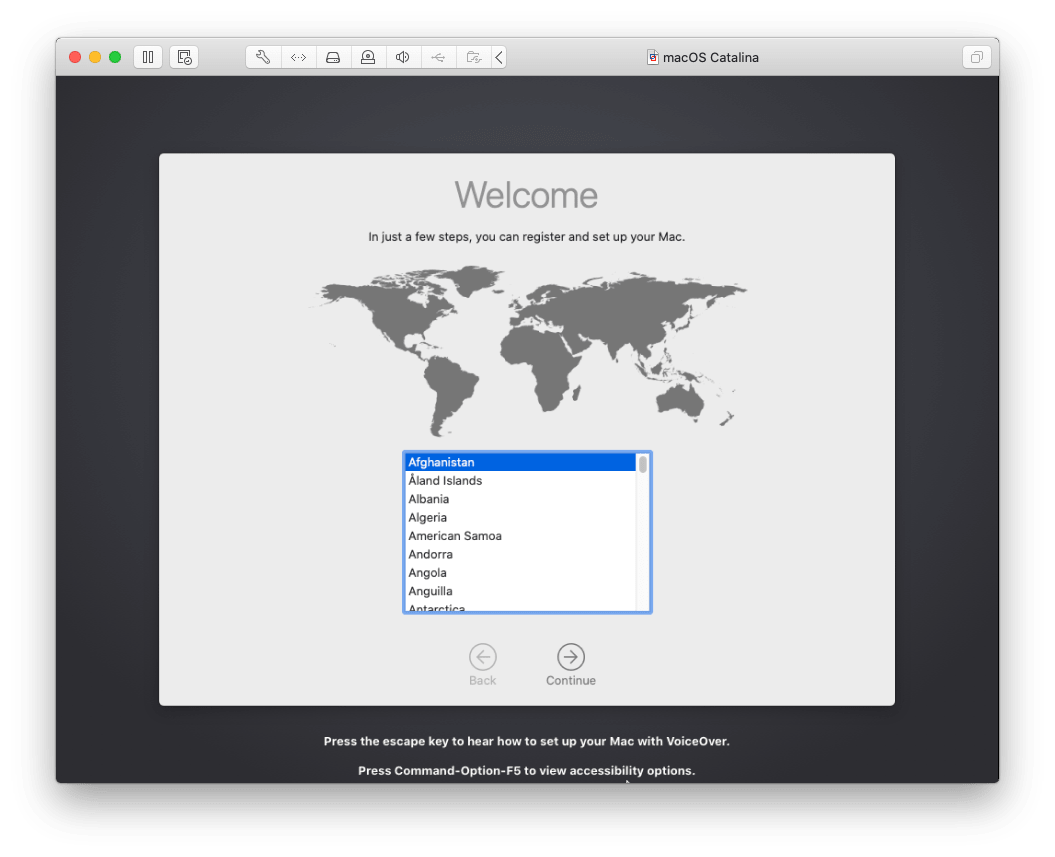
So when it’s done, it will reboot which will appear into this window. Proceed with this installation window and it will be all done.

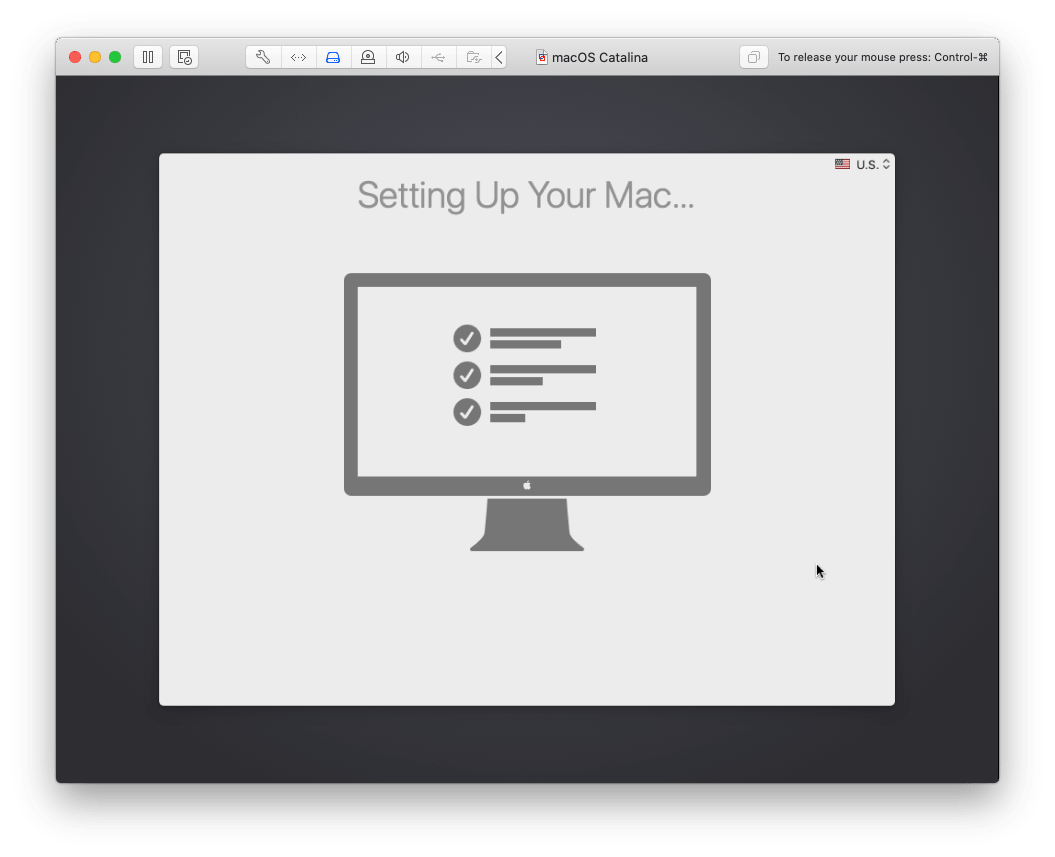
When you’re done with everything, the Mac will take a while for setting up things.

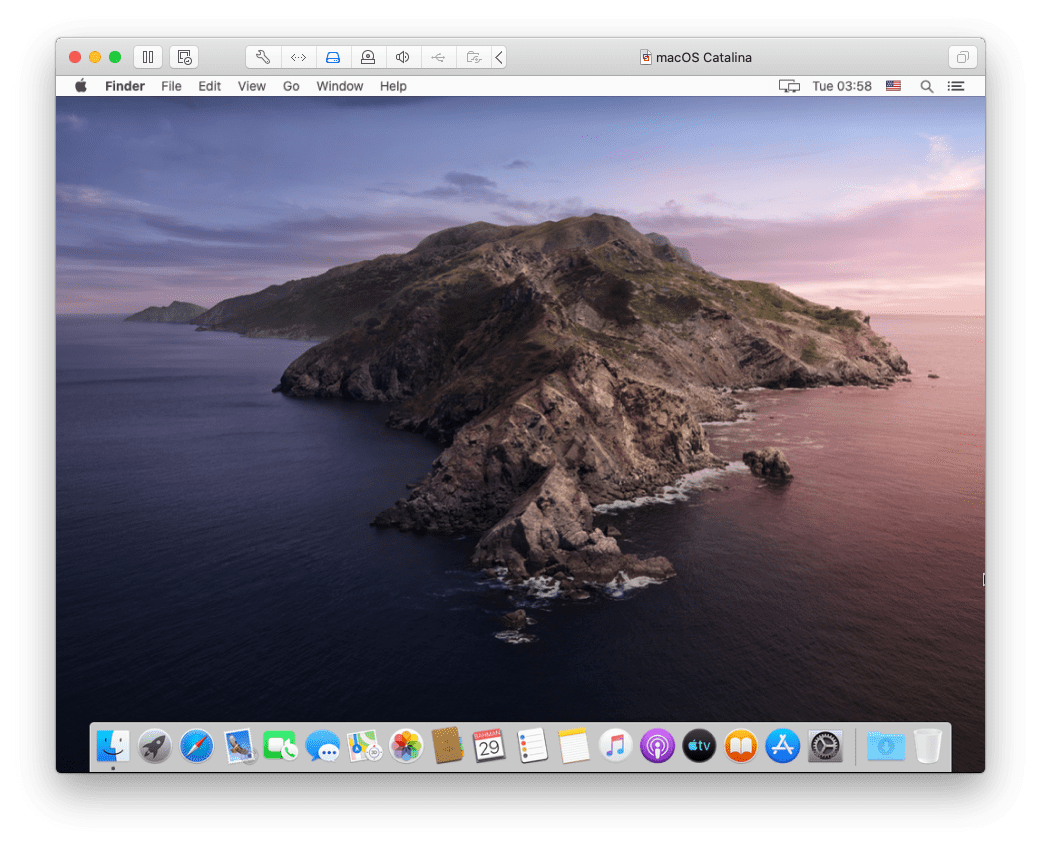
And that’s all done. The macOS Catalina has now eventually installed on VMware Fusion and there’s nothing left.

And that’s pretty much all to there it is. If there’s something remaining or would like to add or give a suggestion, I’m happy to know.