


Whether you’ve installed Windows or macOS wherever on your computer, you’ll definitely need the mouse and keyboard to work with. As these two components are one of the most important parts of the computer physically, we could never do something without them. That doesn’t matter whatever the operating system you’ve installed or work with. from here Fix Mouse & Keyboard Stuck on macOS Catalina on VirtualBox
If you’ve just installed macOS Catalina on VirtualBox (that macOS Catalina can be also installed on VMware) and would like to make use of it, you’d probably notice the mouse and keyboard stuck problem. This happens mostly when installing macOS Catalina when you’re at the setting point which usually is at the welcome screen. Fix Mouse & Keyboard Stuck on macOS Catalina on VirtualBox
If you’ve tried some of the common fixes which were all you know, that wouldn’t solve the problem. At that point, there’s no quick fix to this problem. While the problem has been happening from its previous versions and we’ve been fiddling with, we’ll keep doing with this one as well. So, as we’ve done earlier, we’ll fix it with the most solid and working fix which is installing the VirtualBox Extension Pack handy tool of the VirtualBox.
Table of Contents
Step One: Power Off macOS Catalina VM
First, before you do something, shut down the macOS Catalina from VirtualBox completely. This step is important to take before other steps.
Step Two: Download VirtualBox Extension Pack
For this fix, we’ll install the VirtualBox Extension Pack which is pretty simple but needs to download first. Since I’ve previously done this more than a time, it’s easier for me. Here’s how it is done.
If you’d like to get some information beforehand, you could straightly walk through the instructions above, we’ve explained almost everything.
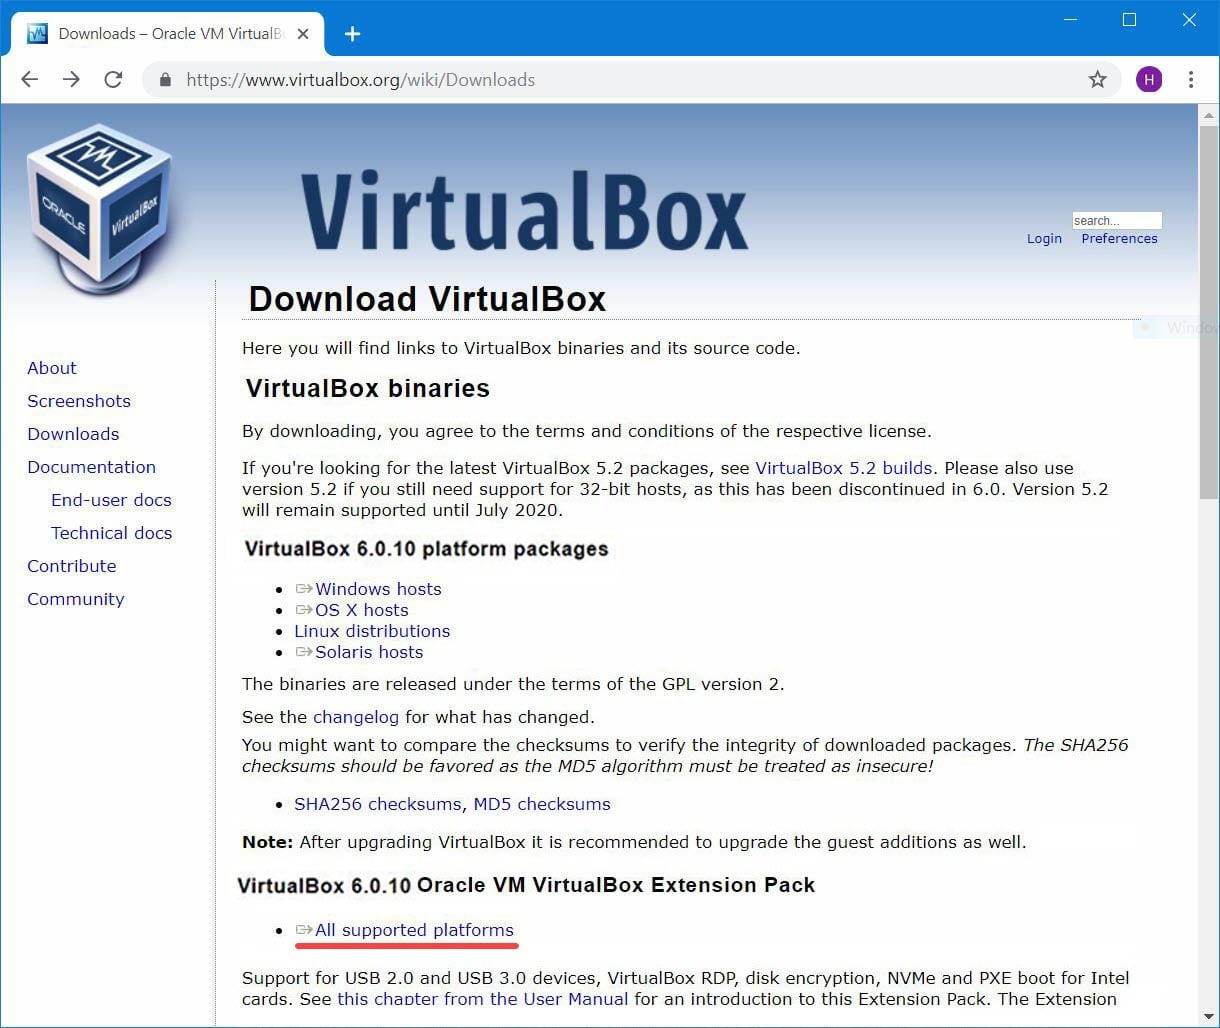
Head over to the VirtualBox download page and scroll a little, that means very little. Then click on All supported platforms under the extension pack info to start downloading the package.

Step Three: Install VirtualBox Extension Pack
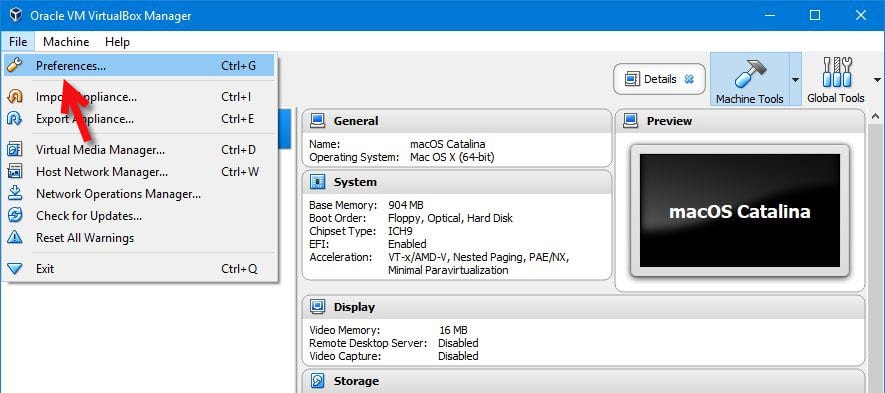
Once it’s finished, open VirtualBox and navigate to File > Preferences.

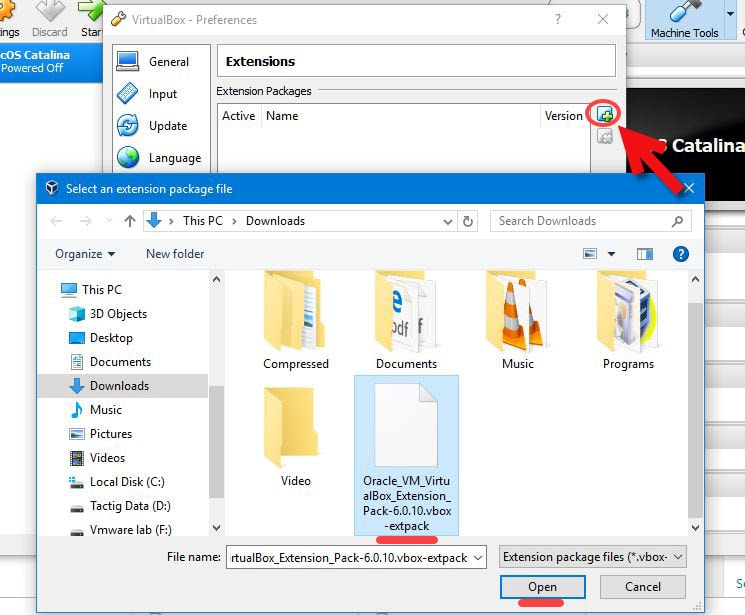
Now select the Extensions tab and click on the plus (+) icon at the right side and select the file from the files and open it.

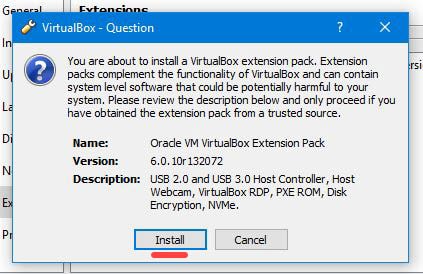
The question box will pop up, confirming whether you want to install, click Install.

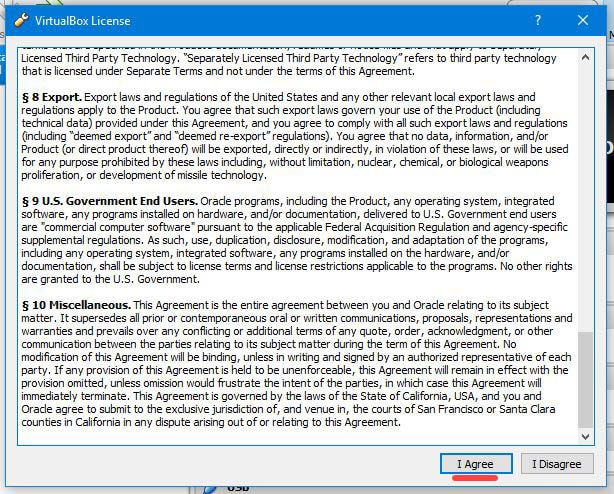
In the VirtualBox License, read the information there, scroll down to the end and click Agree.

For installing, you’ll be asked for the administrator permission and click Yes. It will be installed automatically.


Step Four: Set up USB Controller 3.0
With that installed, the package is ready to use. The feature has activated for all the virtual machines on VirtualBox. All you need to do now is enable the feature from the settings which is pretty easy.
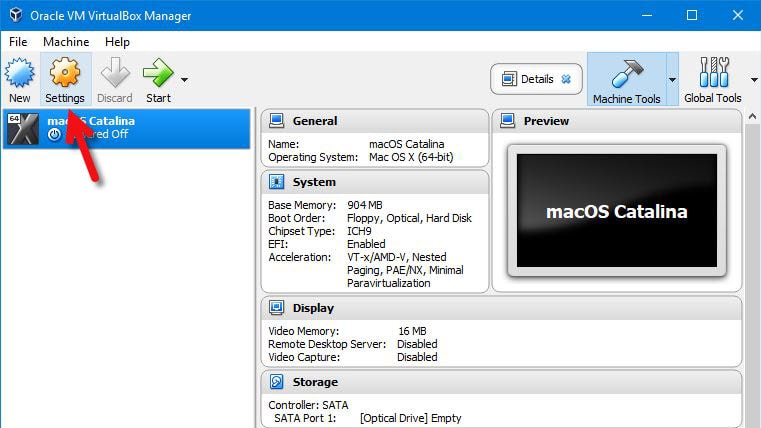
Now, open the virtual machine settings from VirtualBox.

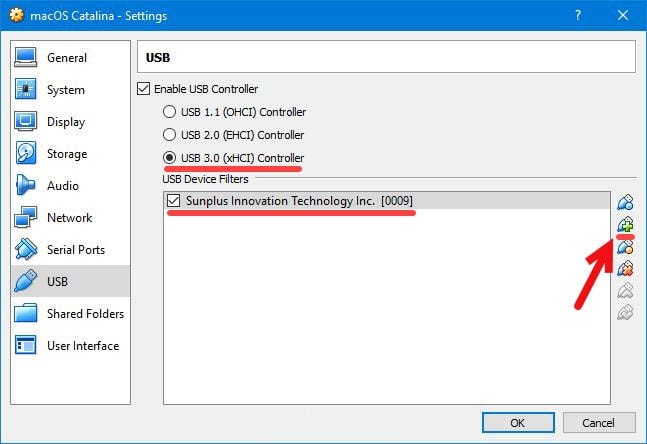
On this settings window, from the USB tab enable the USB Controller and select the USB 3.0 (xHCI) Controller then click on the USB plus icon from the left and add your USB device.
This will automatically work for the keyboard which means that the keyboard will work without you add. However, you can add for some reasons. When you’re done, click OK.

That’s all to the fix. Now start the macOS Catalina and it should work. We’ve done all to make sure you fix the problem, if there’s something missing or you would like to tell us, we’re happy to hear from you.