

The macOS Catalina is now out for a while. After some updates, it’s near to another update 10.15.3 which will soon out there. These updates will come to the point where it will make the approximately a perfect operating system out there. With that though, if you’re a tripper who would like to take a look around out of Windows, you’re definitely able to do so. Just as we did install macOS Catalina and previous versions on Windows, we could do even more than installing only. This certainly would make sense of improving the performance and experience of running macOS virtually similar to running macOS actually on a Mac. How to Connect & Sync iPhone on macOS on VMware & VirtualBox.
If you’ve installed Catalina on VMware on Windows, or it’s under process, the mouse and keyboard might be likely stuck particularly when installing. This usually happens at the installation point or might also happen even after the installation. Or chances are there that you would like to connect a USB device that is not connecting or might pop up some error. Even sometimes a USB is physically connected but it doesn’t work including USB Flash Drive or anything else. How to Connect & Sync iPhone on macOS on VMware & VirtualBox Even if the mouse lags, lacking or lagging, it’s entirely due to incorrect settings. Whatever the problem, we’ll help out for fixing it.
While the fix is pretty easy, but that’s not everyone knows about. Whether its occur when installing, or after that, we’ll bet trying it to solve. Similar to this, macOS Catalina installed on VirtualBox might have a similar problem to it. At which point, we’ve definitely fixed the problem with the instructions, here’s how to do it.
Installing macOS Catalina requires a few prerequisites, so when you’ve done those all and ready to get started, you’d probably do the steps following by next of each other. So after setting up things, when it comes to installing macOS Catalina, start up the machine, and it boots up, that’s a great news. But unfortunately, connecting a USB device mightn’t work so Here’s how to do it.
Fix Not Connecting USB & Connect & Sync on macOS on VMware & VirtualBox
There are a few reasons and solutions to not connecting USB automatically. The first one is whether the USB is working well and is properly connected. The next one is whether it’s connected to the machine or not. While the machine should connect by default but when it doesn’t, it can be due to the device not connected to the port, not connected manually, or the USB version isn’t correct. So here’s how to do this.
Before we get started, check if the USB works fine and is properly connected to the machine.
So if the problem appears as the mouse or keyboard or both doesn’t work when macOS Catalina installing, or mightn’t work connecting USB after installing macOS. This will definitely work with all versions of macOS including macOS Catalina, macOS Mojave and more.
First off, switch on Mac on VMware or VirtualBox.


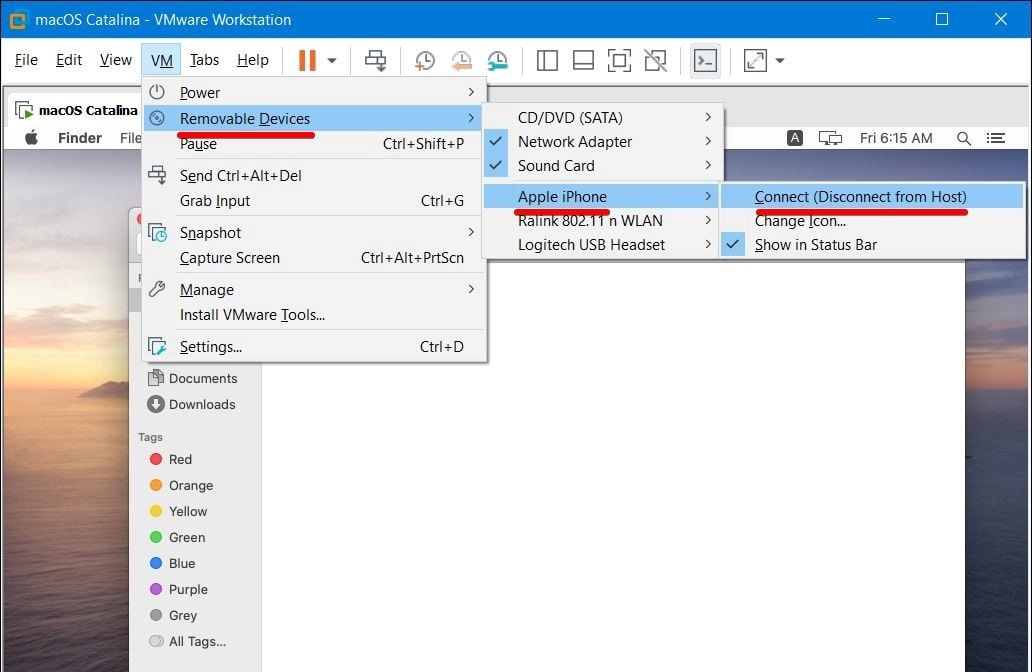
Connect your iPhone or iPad to the Mac on the machine. When its done, navigate to the Finder and click on your phone. So if your iPhone isn’t there, head to VM > Removable Devices > Apple iPhone > Connect (Disconnect from Host). It will disconnect iPhone from PC.
For VirtualBox, click on Devices > USB > Select the USB device.

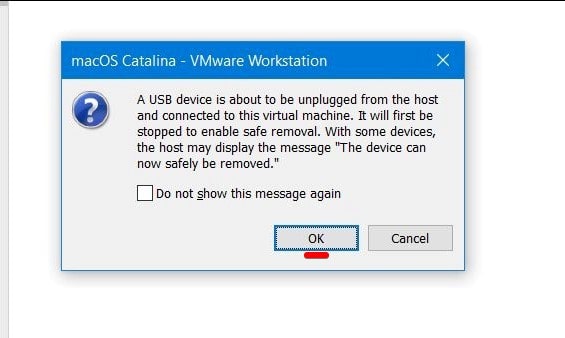
When it asks for permission, click on OK.

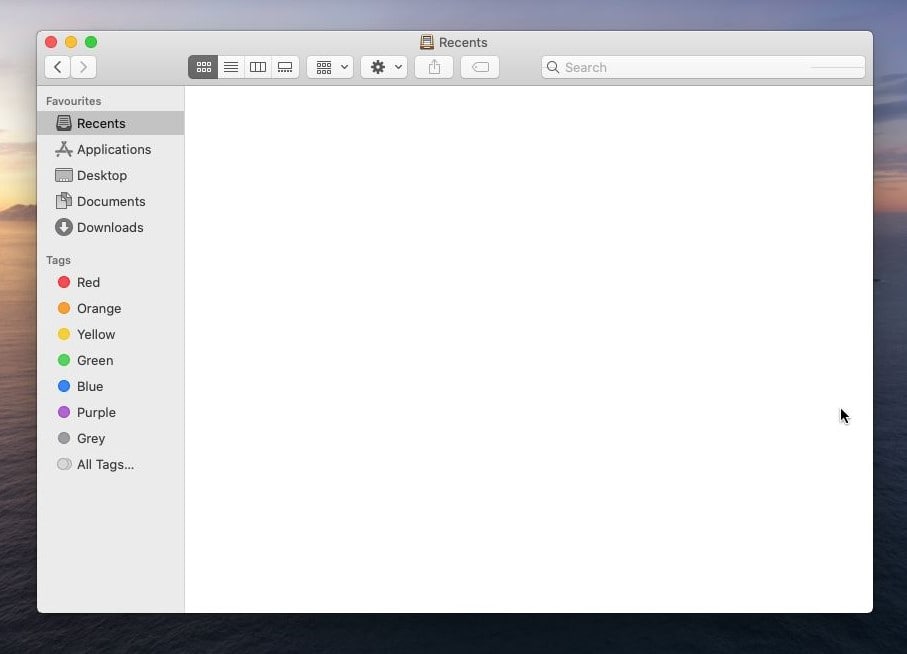
Now check if the iPhone is connected or not. If it’s connected then it’s fine. If it’s not then proceed with the next step.

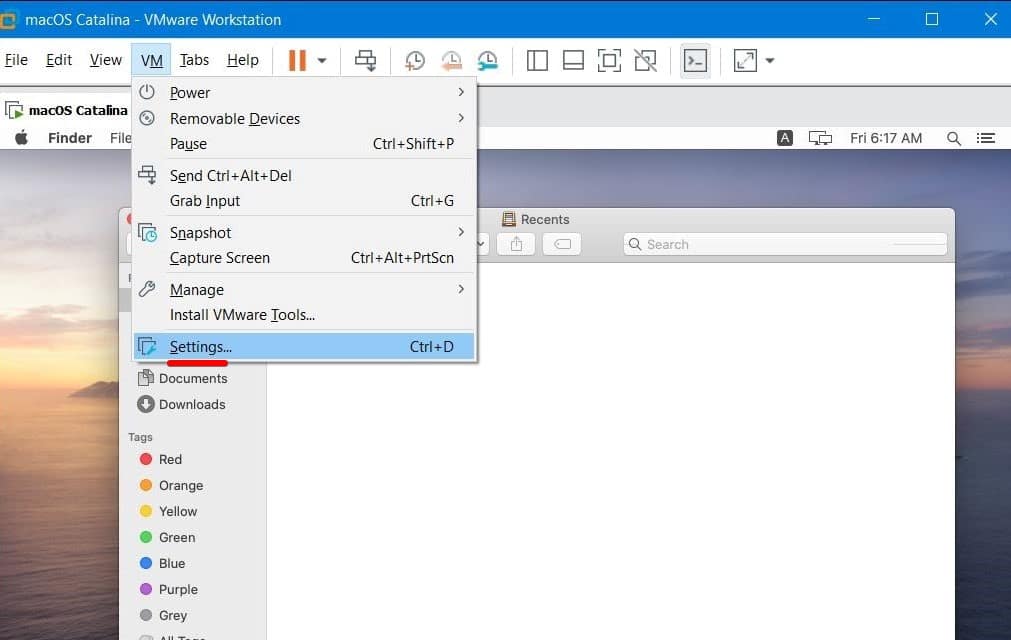
If the iPhone or other USB isn’t connected again, navigate to the VM > Settings.
For VirtualBox, head to Devices from the menu then USB > USB Settings.

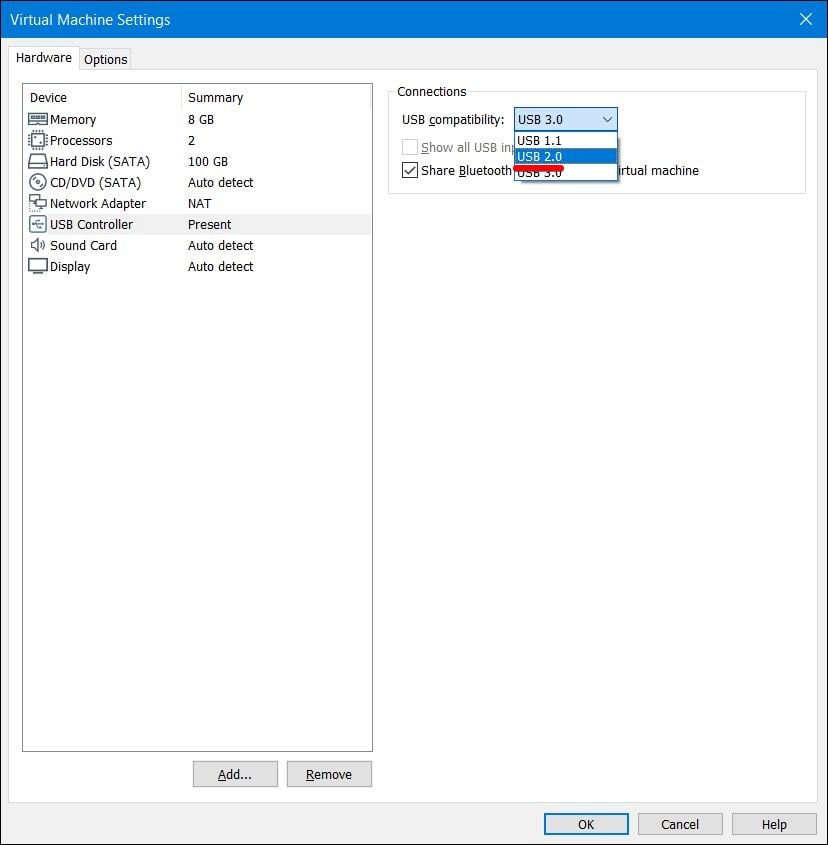
In this point, goto the USB Controller tab and select the USB version that the mouse and keyboard are connected to. For simplifying the words, change the USB version to the one that your mouse and keyboard support actually. If you don’t know about it, simply change it to 3.0 if its 2.0 now or if its 2.0 now so change it to 3.0. It should work well. In the end, click on OK.
In VirtualBox, shut down the machine then from the Settings, then USB > select the USB versions similar to the screenshot on VMware and when its done, click on OK. You can also add mouse, keyboard and other devices that are connected to the computer.

Once that’s done, navigate to the machine and the iPhone should now be connected.
Other Problems
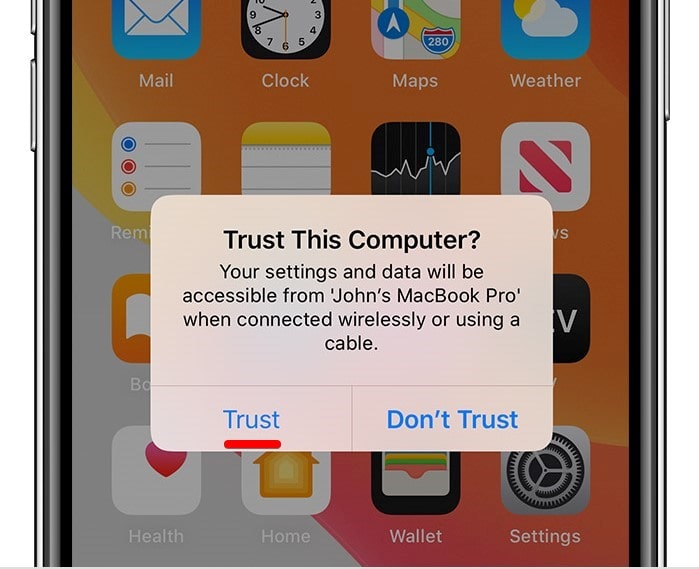
There are a few other problems that might be the reasons that causes the problem. The first one is that when connecting the iPhone use the Apple’s cable that comes with the phone and once connected open the iPhone and click on Trust when it requires permission.

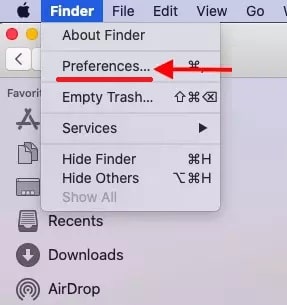
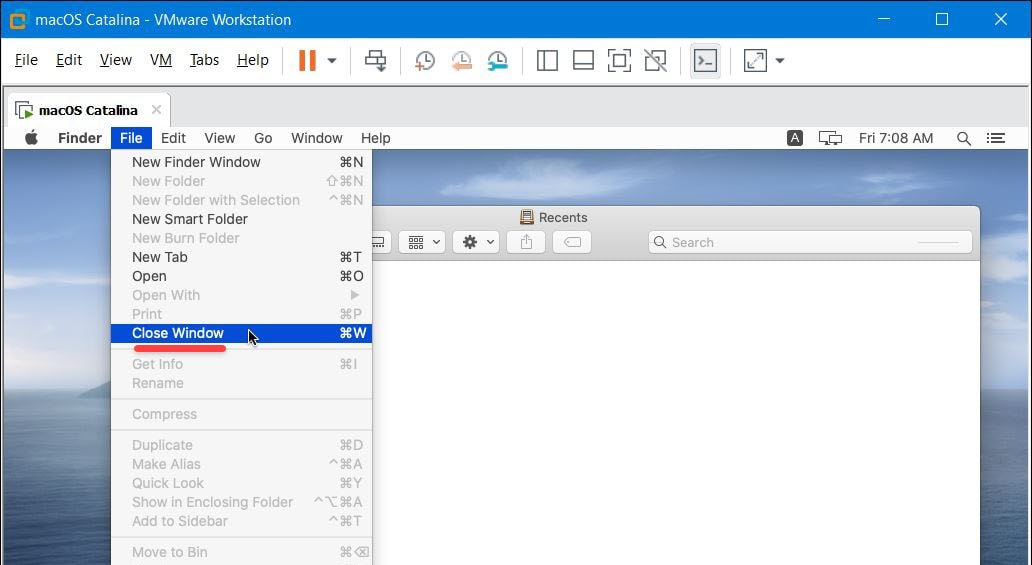
Another solution is to open Finder and click on the Finder from the top left tab and click on Preferences.

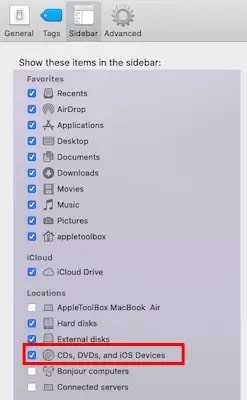
Goto Sidebar > Check CDs, DVDs, and iOS Devices.

Then from the General tab on Finder app’s preferences, disable Open folders in tabs instead of windows. So the iPhone should now be connected with a new Finder window.
Now open Finder and click on Go then Go to Folder and paste this ~/Library/Preferences/ and click on Go.


Once that’s done, close out of Finder and open it again.

And that’s it. If there’s some problem or would like to share something, we’re happy to hear it.