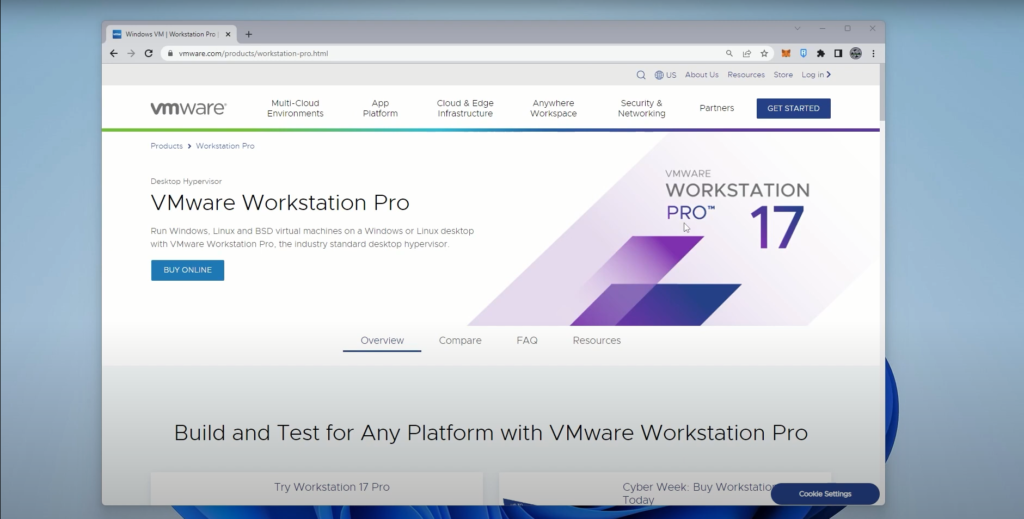
If you’re looking for an easy installation of VMware Workstation Pro 17, you’ve come to the right place! This guide will walk you through all the steps you need to take to get the virtual machine (VM) software up and running. We’ll cover the system requirements, downloading and installation, configuration, troubleshooting common installation issues, and tips for optimizing VMware Workstation Pro 17. By the end of this blog post, you’ll be ready to take full advantage of this powerful VM software. So, let’s get started!
VIDEO: How to Install VMware Workstation Pro 17
Table of Contents
Introduction to VMware Workstation Pro 17
VMware Workstation Pro 17 is the latest version of VMware’s flagship virtual machine software. It allows you to create, configure, and run multiple virtual machines (VMs) on a single physical computer. Each VM can run a different operating system, allowing you to test and develop applications in multiple environments. You can also use VMware Workstation Pro 17 to move existing VMs from one computer to another.
VMware Workstation Pro 17 is designed for professional users, with features such as support for multiple processors, up to 16 vCPUs per VM, and up to 8TB of virtual memory per VM. It also supports USB 3.0 devices, a Direct3D 10.1 graphics driver, and advanced networking features. Plus, you can use VMware Workstation Pro 17 to create and deploy virtual appliances and cloud-based VMs.
System Requirements for Installing VMware Workstation Pro 17
Before you can install VMware Workstation Pro 17, you need to make sure your computer meets the system requirements. The software is compatible with Windows 10 (64-bit), Windows 8.1 (64-bit), and Windows 7 (64-bit). You’ll also need at least 2GB of RAM and a 1.3GHz or faster processor. For best performance, you should use a multi-core processor with 2GB of RAM per core.
In addition, you’ll need at least 1.5GB of free disk space, and at least 2GB of available disk space for the VMware Tools installation. You’ll also need an Intel or AMD processor with virtualization support (VT-x or AMD-V). Finally, you’ll need an internet connection to download VMware Workstation Pro 17 and to register the software.
Downloading and Installing VMware Workstation Pro 17
Once your computer meets the system requirements, you can start downloading and installing VMware Workstation Pro 17. First, you need to go to the VMware website and download the software. The download file is about 1.2GB in size, so it may take some time to download.
Once the download is complete, you can start the installation process. You’ll need to accept the license agreement, select the components you want to install, and choose the installation location. You can also choose to install the VMware Tools, which will optimize the performance of your VMs.
Once the installation is complete, you can launch VMware Workstation Pro 17. The software will prompt you to register the product, which you can do using your VMware account.
A full Step by Step Guide to Install VMware Workstation Pro 17 can be found here.
Configuring VMware Workstation Pro 17
Once you’ve installed VMware Workstation Pro 17, you’ll need to configure the software. You can do this by clicking the “Preferences” button in the toolbar. This will open the “Preferences” window, which you can use to customize the software.
In the “General” tab, you can choose the default language and enable or disable the auto-save feature. You can also choose the default folder for your VMs in the “Folders” tab. The “Network” tab allows you to configure the network settings, such as the network adapter type and the network address translation (NAT) settings.
The “Advanced” tab allows you to configure the advanced settings, such as CPU virtualization, memory overcommit, and the maximum number of VMs allowed. You can also choose to enable or disable the virtual machine snapshots and the virtual machine cloning features.
Troubleshooting Common Installation Issues
If you run into any problems when installing VMware Workstation Pro 17, you can refer to the troubleshooting guide on the VMware website. This guide covers common installation issues, such as problems with the license key, the installation process, and the activation process.
You can also use the VMware support forums to get answers to your questions. The forums are full of experienced users who can provide helpful advice. You can also contact VMware’s customer support team for help with more complex problems.
Tips for Optimizing VMware Workstation Pro 17
Once you’ve installed and configured VMware Workstation Pro 17, you can start optimizing the software. Here are some tips to help you get the most out of the software:
- Update the software regularly to ensure you’re running the latest version.
- Make sure you have enough RAM and disk space to run your VMs.
- Use the “Snapshots” feature to quickly revert back to a previous state.
- Use the “Clone” feature to quickly create multiple copies of a VM.
- Use the “Linked Clones” feature to save disk space.
- Use the “Sharing” feature to share files between VMs.
- Use the “Host-only Networking” feature to create a private network between VMs.
Conclusion
Installing and configuring VMware Workstation Pro 17 is a straightforward process. All you have to do is make sure your computer meets the system requirements, download and install the software, and configure the settings. You can also use the troubleshooting guide and the VMware support forums to help you solve any problems you may encounter. Finally, you can use the tips in this guide to optimize the software and get the most out of it. So, what are you waiting for? Get your copy of VMware Workstation Pro 17 here and start creating and running VMs today!
