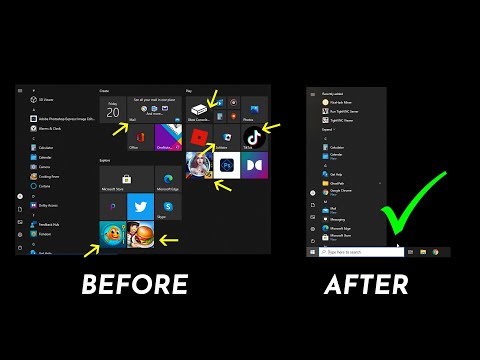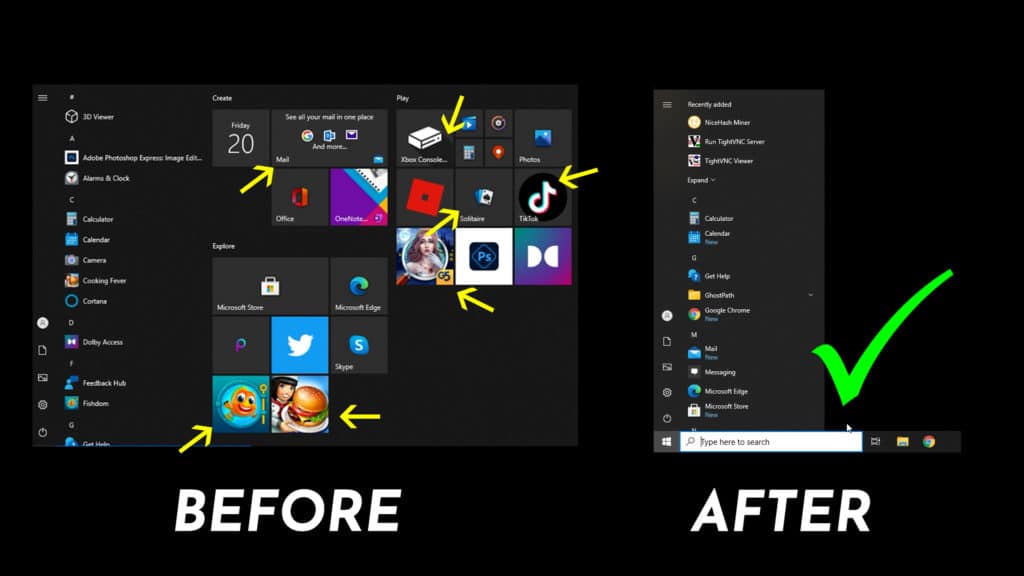
If you have struggled to find your favorite programs in a crowded Windows 10 start menu, Windows Bloatware removal is for you. Windows 10 comes preloaded with so many preloaded applications that it is sometimes very hard just to find the app you are looking for.
Bloatware not only adds confusion to the start menu but these programs’ hog resources. Many of these apps run in the background and take up processing power and disk space.
I have covered this before previously with How to Instantly Remove Bloatware From Windows 10, and it’s very effective and still works well. However, I am showing a newer and updated way by using another tool called Bloatbox from BulitbyBel. Both of these tools are free and open-source downloads that can be found on GitHub.
Bloatbox adds a user-friendly interface that’s easy to navigate and immediately takes out some of the rarely used Microsoft applications. You can then use Sycnex Windows10Debloater right from the dashboard and remove anything else that is remaining.
Table of Contents
What is Bloatware?
Bloatware is preloaded software in an operating system. These programs are usually added on and not part of the system’s original design. As a result, they slow down the device, use up processing power, and sometimes redirect you to malicious sites.
How to use Windows Bloatware Removal tool
First, to begin Windows Bloatware Removal download the Bloatbox tool here. Then extract the files to your desktop or somewhere you can quickly locate them.
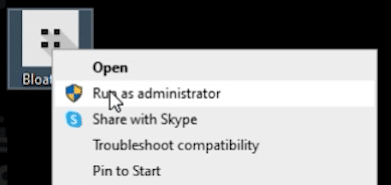
To launch it, right-click and select ‘Run as administrator’. If you do not run it as admin, it will not remove all bloatware components.

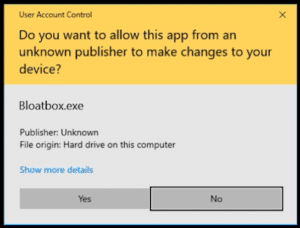
If you get a User Account Control prompt, click Yes.

You will now see the main screen for the tool.

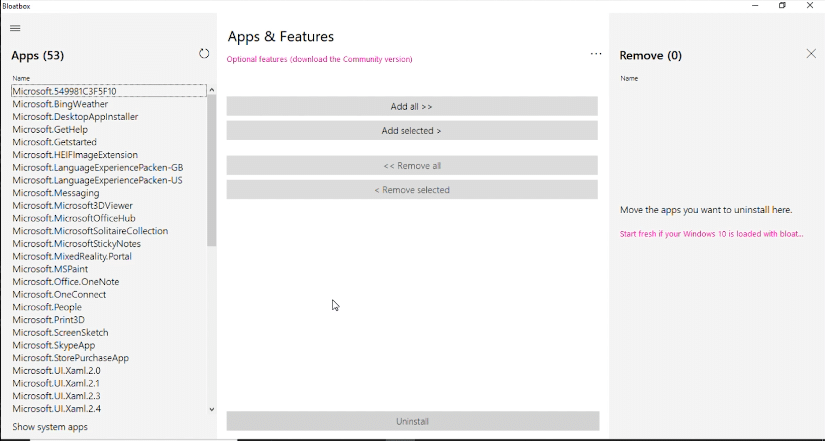
To Remove the most commonly loaded apps, select the link on the right side. This will automatically move over frequently installed underused apps in Windows 10


Now you can click uninstall, and it will remove only the applications listed on the right side. If there is anything more, you can individually select them and add them to the list.


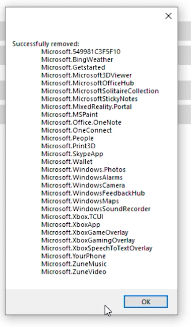
You will receive a prompt when they have been successfully removed.

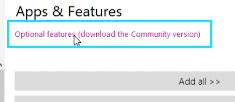
The next part is to execute the Sycnex script to remove any additional software left. Up near the top center, you should see “Optional Features”. Select this link to continue.

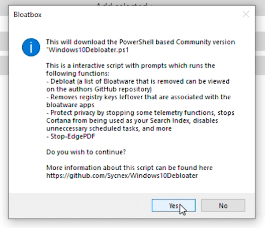
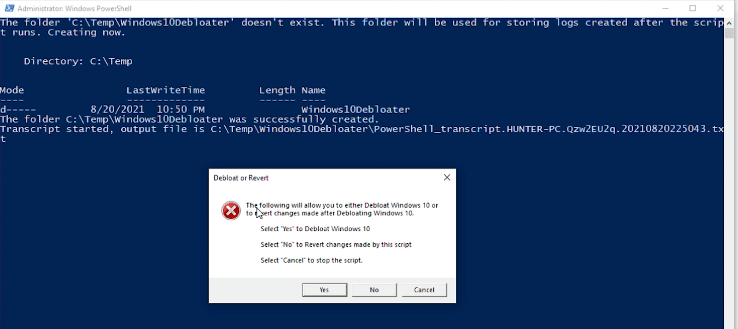
You will be prompted with a message letting you know the next piece that you will be removing. As you continue, you can either select ‘Yes’ or ‘No’ for each feature.

You will see a blue and white screen pop up. This is PowerShell, which is a component built into Windows. It will stay open as the script runs through.


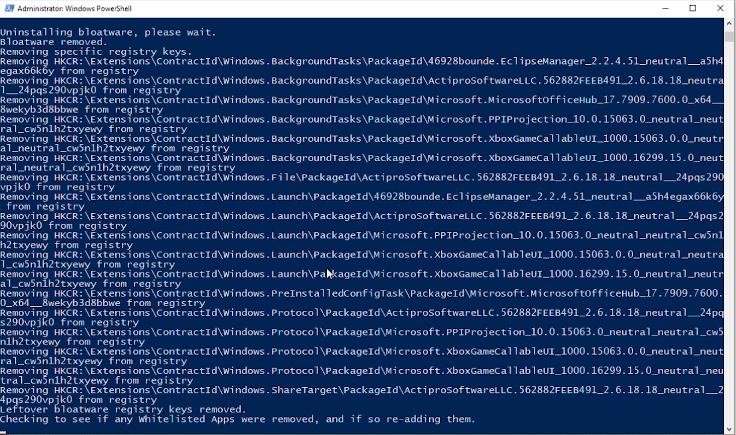
During this process, some windows open, and the start menu will open and close on its own. You can close them, and it will not interrupt the process. Just leave PowerShell running.
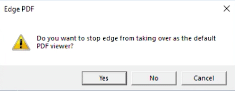
You will be prompted for a couple critical applications that some users may want to keep.
The first is using Edge as a PDF viewer.

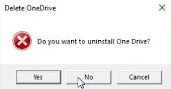
Then if you want to delete OneDrive.

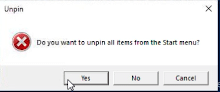
Then, unpin all items from the Start menu. This is a big one to say yes to. This removes a lot of the clutter.

Next is to install .NET 3.5. You can do this if you think it’s useful. It’s not required.

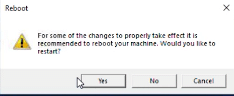
Lastly, we are prompted to restart the computer. You can go ahead with this and finalize and complete the Windows Bloatware Removal process.
Once you have rebooted your computer, you will notice that the clutter is gone, and now you have a nice and clean start menu.
If you are stuck or unsure about how to proceed, see the below video tutorial for a visual walkthrough of this process.
Video: Windows Bloatware Removal