In this article, we will learn How to Install Windows 11 Beta on an Unsupported PC or Fix the “This PC can’t run Windows 11” error.
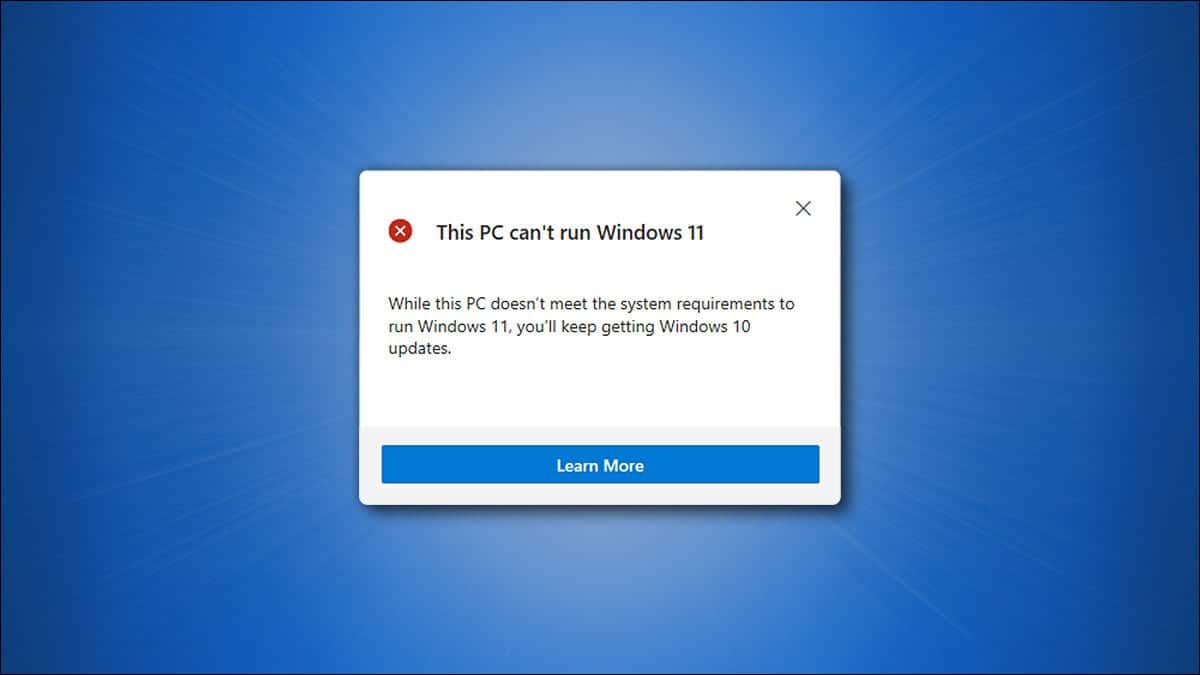
If you haven’t been an Insider before and your computer can’t run Windows 11, you’ll see the following message when trying to install it: Your PC doesn’t meet Windows’ minimum hardware requirements. When in this situation, there are a few possible avenues for you to explore in order to get the working product.
Microsoft recently announced Windows 11 and the program where people can download the beta via the Insider channel. However, there are certain limitations on which PCs can install these beta builds.
If you are on Windows 7, 8.0, or 8.1 and have installed preview builds up through June 24th, you can now install the new Windows 11 preview build without requiring a new CPU or TPM 2.0
If you missed the deadline of June 24 and your device does not meet the requirements, your channel options will be limited on the Windows Insider Program page and the following error message will appear:
Install Windows 11 beta builds on unsupported devices
Step 1: Download the Windows 11 Pro ISO Unlocked (With in-built bypass of TPM and Secure Boot).
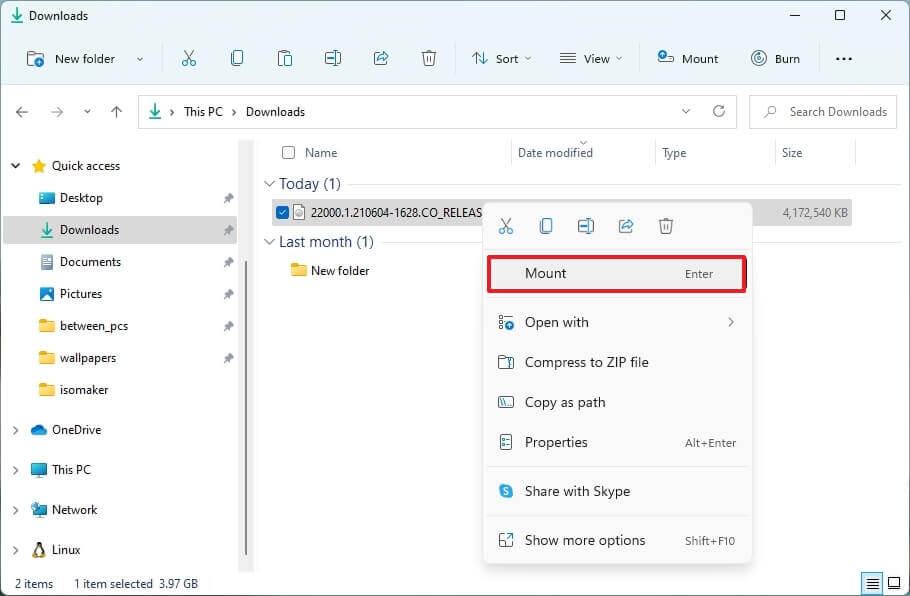
Step 2: Depending on the type of computer you’re using, right-click the ISO file and select either “Mount” or “Open as a virtual disc“.
Step 3: Installing Windows 11
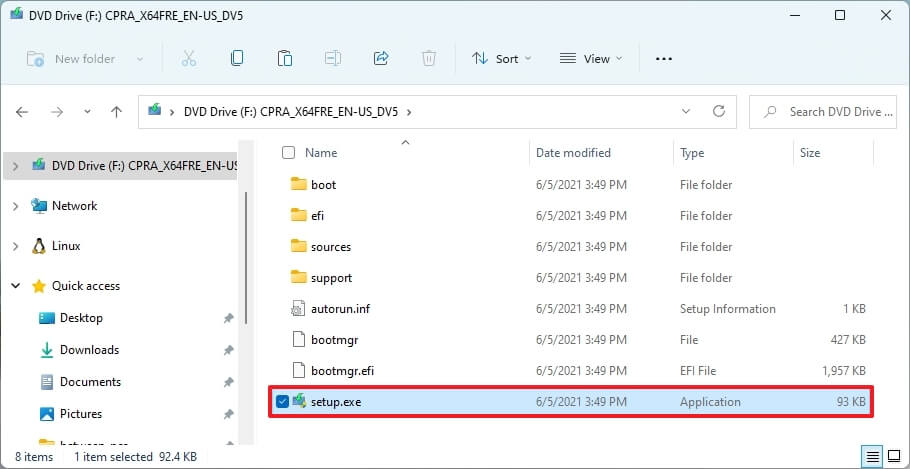
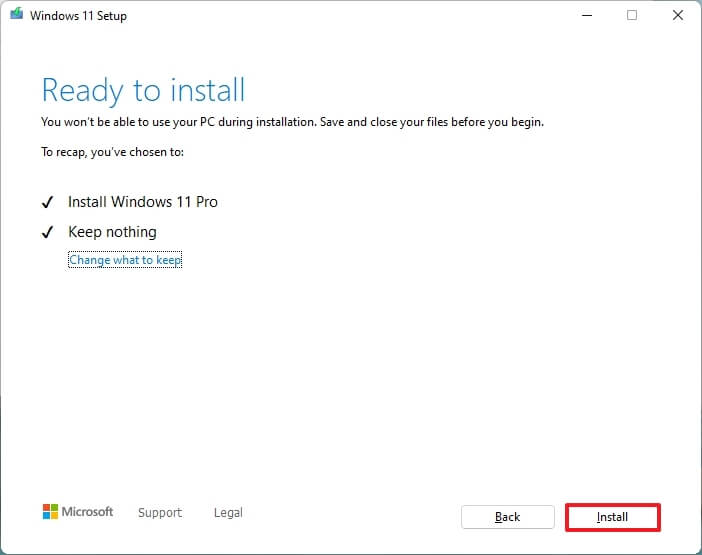
Proceed with the installation of Windows 11, the steps are very basic and simple. If you face any issues, please comment below.
Conclusion: Install Windows 11 Beta on an Unsupported PC
You will find a number of articles that will ask you to edit the registry files and make changes to your boot. I won’t suggest doing any of those.
This is the easiest method to Install Windows 11 Beta on an Unsupported PC and will help you bypass TPM and Secure Boot Error.
If you face any issues, please share them in the comment section below.

