
In this post, we’ll install macOS Sierra on VMware on Windows PC. Back to WWDC17, Apple introduced the all-time the newest update to their operating system version which is particularly ” Sierra, macOS Sierra”. It is packed with a series of new features, new updates, new design and more. Among all features, the major update goes to Siri. While Apple consistently produces iPhones, iPads, watches, and Macs, and improves its software, Apple made it’s digital assistant more responsive and better from previous. Here’s how to install macOS Sierra on VMware on Windows PC.
If you think Siri hasn’t update much from its previous version, you might haven’t known about it more yet. Since Macs have more complex things to do than iPhone, Siri is also able to perform more difficult tasks than performing on the iPhone. This makes users talk to their computers more than before, however, you can not work completely with talking to it but it’s improving.
In addition, Siri is now smarter and more intelligent that you can count on, doing things by asking Siri. While you’re at work, you can ask Siri for things like sending messages, creating reminders, searching the web, and more. This makes Siri more personalize which will make it more choices about things you search. Moreover, you can ask things for dragging and dropping or copying and pasting Siri results in your documents. However, you can also ask Siri for finding a particular file, adjusting settings, and commonly your system, software or some sort of information. In this post, I’ll show how to install macOS Sierra on VMware on Windows PC.
- Related: Install macOS Mojave on VMware
Another feature which has significantly updated on your Mac is Continuity Camera, which you can use your iPhone to shoot or scan a nearby document, and it will automatically appear on your Mac. Like you can take a photo of an object around you and it will straightly appear in your Mac. This is a new way of your iPhone connected to your Mac. This feature works within the Finder, Mail, Messages, Notes, Pages, Keynote, and Numbers.
There’s a whole lot of feature that we can talk about. Some of which are, iCloud Drive and Optimized Storage, Tabs and Picture-in-Picture videos, Hands-free unlock with your Apple watch, desktop and documents move to iCloud and more.
Usually, almost every operating system even Android or iOS, when they release newly, they would likely have some bugs and issues with it. Just like them, Sierra had some problems when it was first released, but Apple fixed it with several software releases which made the following improvements. Start with the install macOS Sierra on VMware on Windows PC.
- Related: Install macOS Mojave on VirtualBox
Table of Contents
What’s new
The macOS Sierra 10.12.6 update improves the security, stability, and compatibility of your Mac, and is recommended for all users.
The important things,
- Resolves an issue that prevents making certain SMB connections from the Finder.
- Fixes an issue that causes Xsan clients to unexpectedly restart when moving a file within a relation point on a Quantum StorNext File System.
- Improves the stability of the Terminal app.
While macOS has been from the past enough but since it’s only for Mac, nobody could imagine of running it out of Macs. And if I would say that you could try macOS out of Mac exactly on your computer, you might say, no mate, that’s not possible. Actually, that’s absolutely possible.
If you’re a guy who loves exploring or at least giving a try to the new feature, you’re nowhere far from it. While running macOS on virtual machine basically doesn’t work perfectly like macOS on an actual Mac. But it’s the perfect way to try Sierra out with all its features. This is done on a virtual machine.
To get a familiar idea of what actually a virtual machine does is, a virtual machine is basically a sandboxed separated environment from your actual operating system which has entirely everything for running an operating system. However, once you’ve installed the operating system, you can install different apps, programs and operating systems like Windows, Mac, Linux. Whatever you do or test, even some not nice things, it won’t even do a scratch to your actual operating system.
There are some nice virtual machine apps around. Among them, VMware is the fair one you’d choose. There are however two versions of VMware, one is VMware Workstation and VMware Player. The VMware Workstation is the enterprise version which is mostly for huge premium business. The VMware Player is, however, the free version of VMware which is mostly for students and individual users who explore and try new features, without commercial purposes. Whichever you choose, you may need to install it on your computer to install macOS Sierra on. Now it’s time to step to how to install macOS Sierra on VMware on Windows PC.
- Related: Install macOS Mojave on VMware on Windows PC
What You’ll Need
Before getting started, here are some things you’ll need to get. These are the files you’ll be required for the installation purpose.
Latest preview: macOS Sierra 10.13 (16A323) September 25, 2017
- Download macOS Sierra ISO File— The macOS Sierra Image is safely compressed and created which is ready for use. This file is a single part which contains the entire file.
- macOS Sierra ISO — The macOS Sierra Image is split into several parts which you may prefer for some reason instead of the one part.
- VMware Workstation or Player — In terms of virtual machine app, there’s no such like VMware. Try and install it on your computer and you might never find another similar to this app.
- Winrar – 7-Zip — For extracting and unzipping the downloaded files, you’ll need to download and install the latest version of Winrar or 7 Zip.
- Unlocker211 — For patch relevant files to VMware, you’ll need them to install macOS.
- Fix VMware Device/Credential Guard & VirtualBox – Error — If you’ve encountered an issue that indicates this, here’s how to do a quick solve.
- Fix Download Limit — If you are having an issue downloading the file, we’re always here to help, you can find the way to fix it.
When you’ve downloaded the files, extract them into a folder and you’re ready to work. There’s nothing more you’ll need, except these.
After all, the new macOS version is out, however, you can give it a try which has much interesting and more features.
Install macOS Sierra on VMware on Windows PC
There are several reasons why you would want to install macOS on your Windows computer. One of the reasons is if you’re a programmer who develops iOS or macOS apps, you need to access to on a Mac to work with XCode. Or if you’re a video editor or movie maker who loves and makes edits, you need to access to a Mac to work with iMovie and Final Cut Pro.
Whatever your reason, running macOS on a virtual machine is the cheapest and most exciting way to test out the operating system. However, running it requires a pretty powerful PC to run smoothly. We assume you have a powerful enough system which could run both the systems, the actual one and the virtual machine one. It will be good if you have at least an 8GB of RAM and a higher CPU which is i5 or above. The better your computer, the better the performance. Let’s see how to install macOS Sierra on VMware on Windows PC.
Before we straightly get into, make sure you’ve enabled VT-x or AMD-v on your computer. If you haven’t done yet, you may want to do it otherwise you may likely have some problems. When you’re done with it, let’s get into it.
Install VMware Workstation Player on Windows
At the time of writing this, the latest version of VMware Workstation is 15, but as the update goes on, if there’s the higher version of VMware, you may go with it. It will definitely work with the whole process.
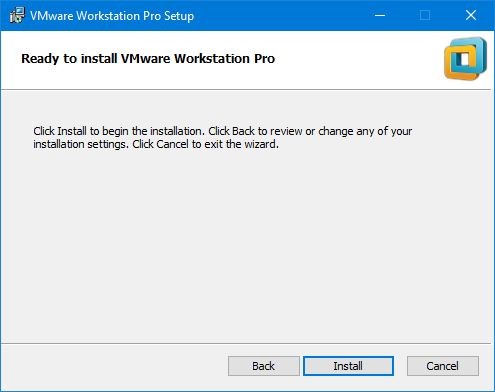
To begin, you need to install VMware Workstation or Player.
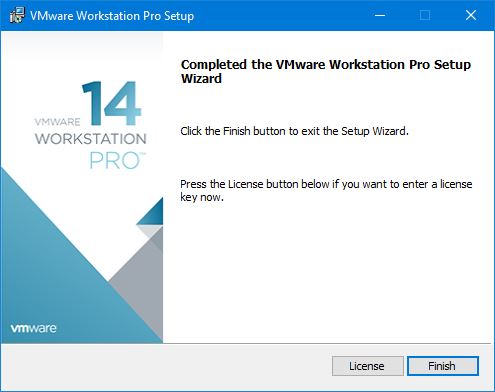
Once you’re done, click Finish to exit the installation.
Unlock VMware for macOS Installation
By default, VMware cannot run macOS on virtual machine neither VMware Player nor VMware Workstation which isn’t quite possible to run macOS unless we unlock it. In order to fix that, we need to patch the unlocker to make it compatible.
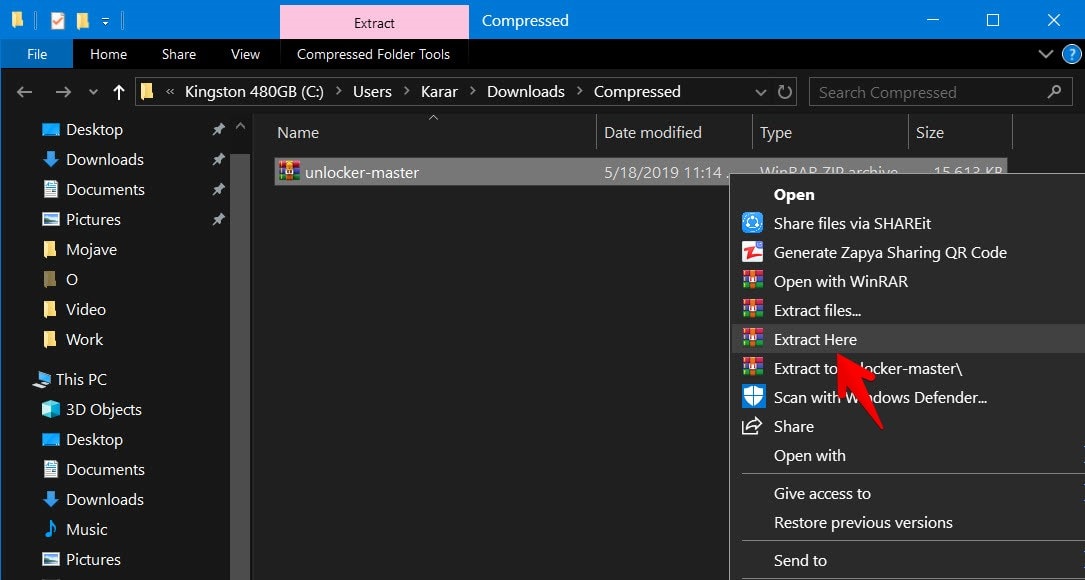
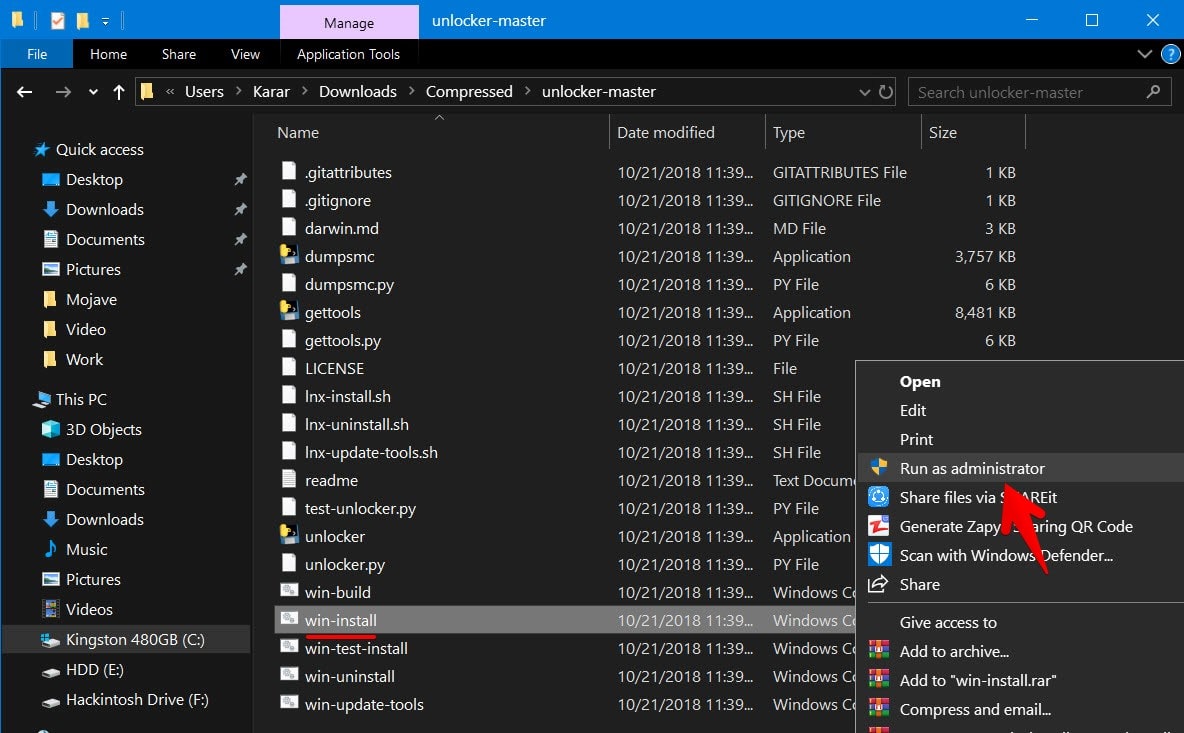
Now open Unlocker 3.0 and extract it.
Note: Make sure VMware Workstation or Player, whichever you use, is not running, not even in the background.
Next, right click on win-install and Run it as Administrator. This will open Command Prompt running a bunch of codes patching VMware Workstation Player to run macOS. This won’t be long, it will take only a couple of seconds.
Create a New Virtual Machine
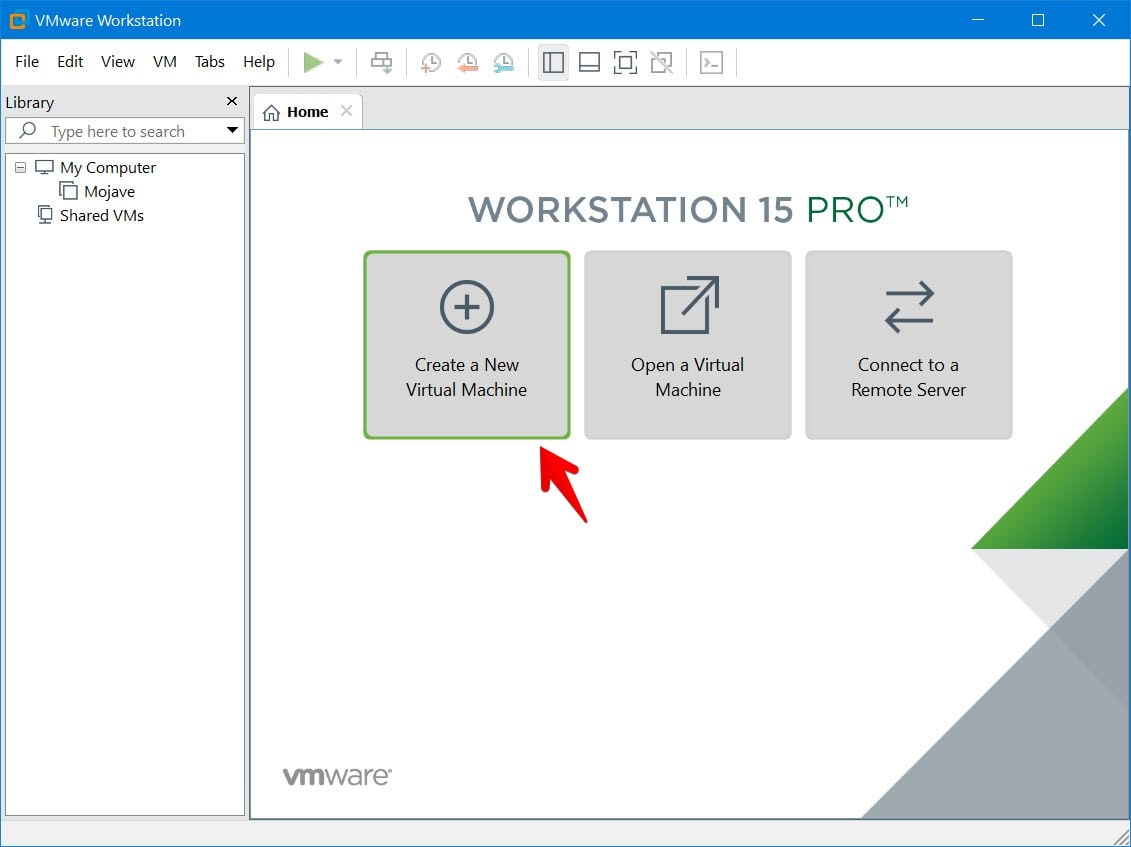
When patching is all finished, now you’re ready to set up a virtual machine.
To do that, Open VMware and click on File > New Virtual Machine or press Ctrl + N.
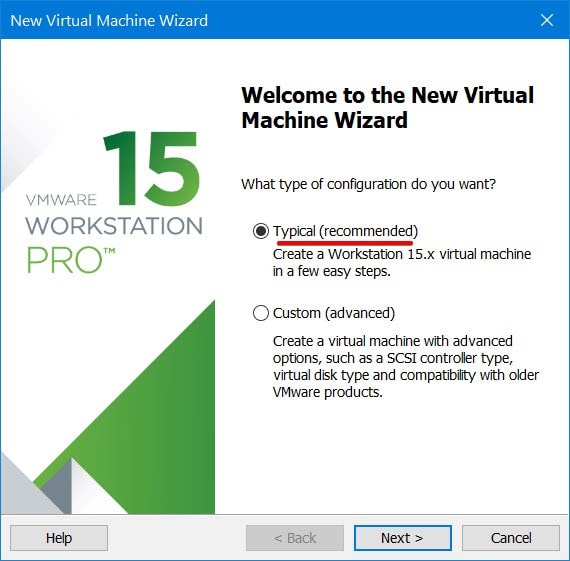
When the virtual machine wizard opened, select Typical(Recommended) then click Next.
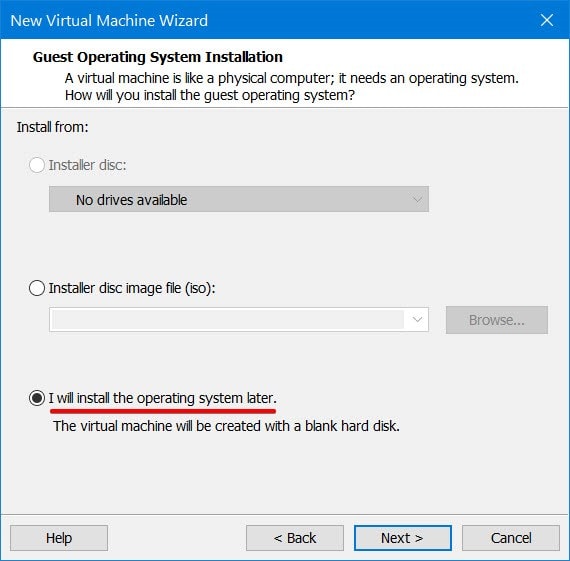
Select I will install the operating system later and click Next.
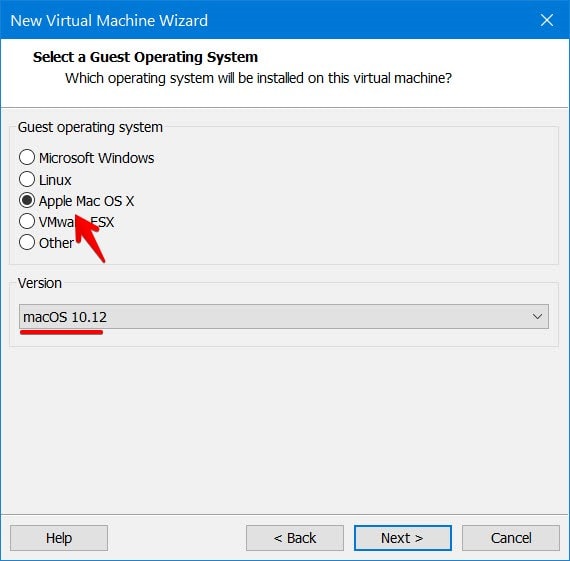
On this window, select Apple Mac OS X from operating systems and select macOS 10.12 from version and click Next.
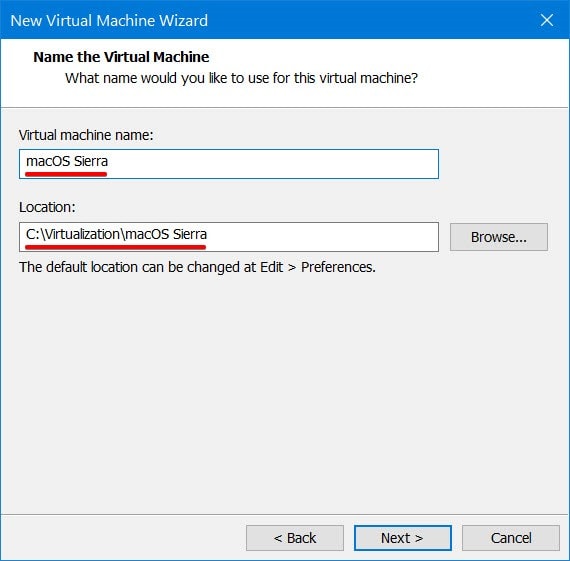
Personalize your virtual machine by giving it an appropriate name and select a location to place it then click Next.
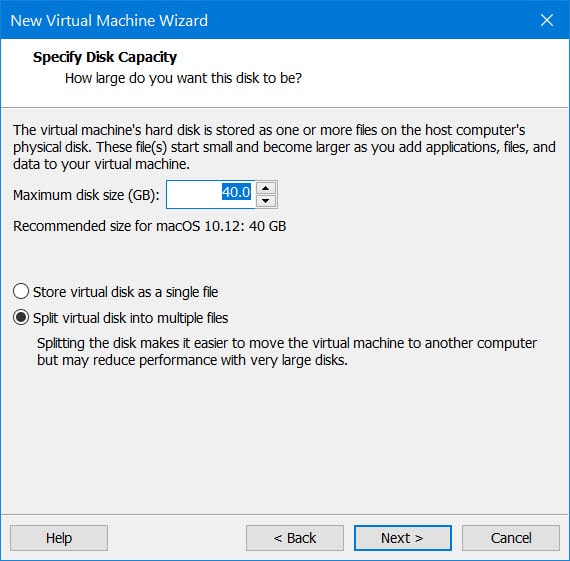
The disk settings doesn’t matter since we will replace the disk with it later.
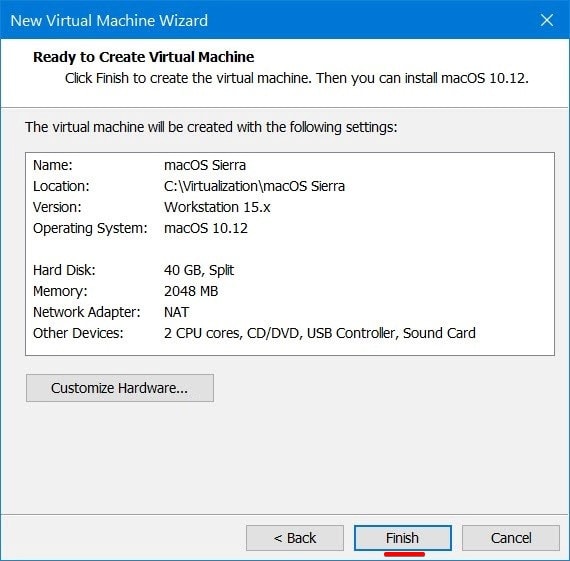
The virtual machine is basically set up and is near ready to use. Click Finish to exit the wizard.
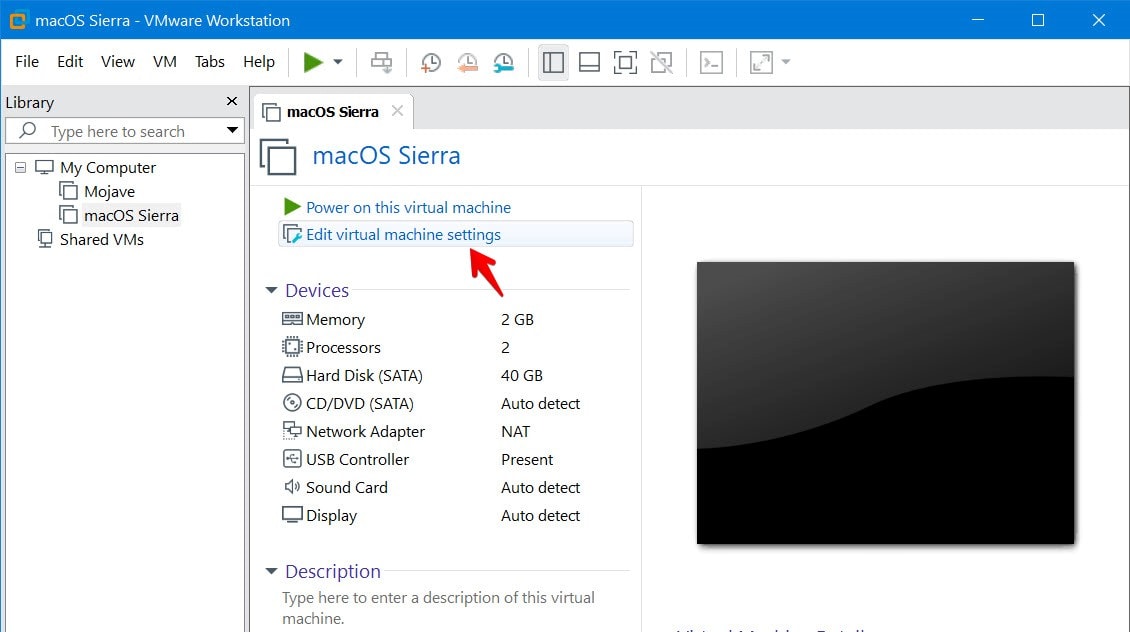
Edit the Virtual Machine’s Settings
The virtual machine is created a while ago, but it isn’t completely set up yet. We’re going to customize and configure the virtual machine, click on Edit virtual machine settings.
On the settings window, increase the memory size to 50% – 65% memory of your computer. For example, if you’ve 16GB of memory, you may set up 8GB of memory for the virtual machine.

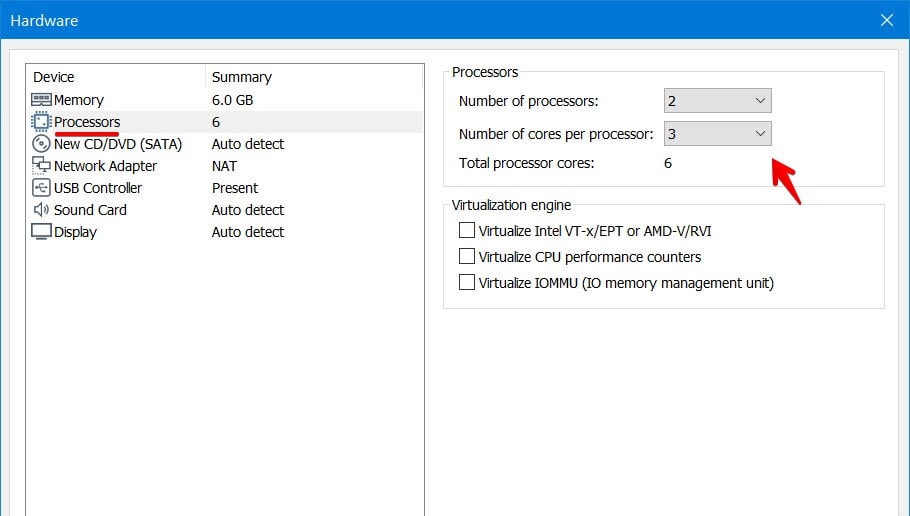
For the processor, we’ll go with the previous formula of setting 50% of your hardware. Assign the most memory your computer allows you.
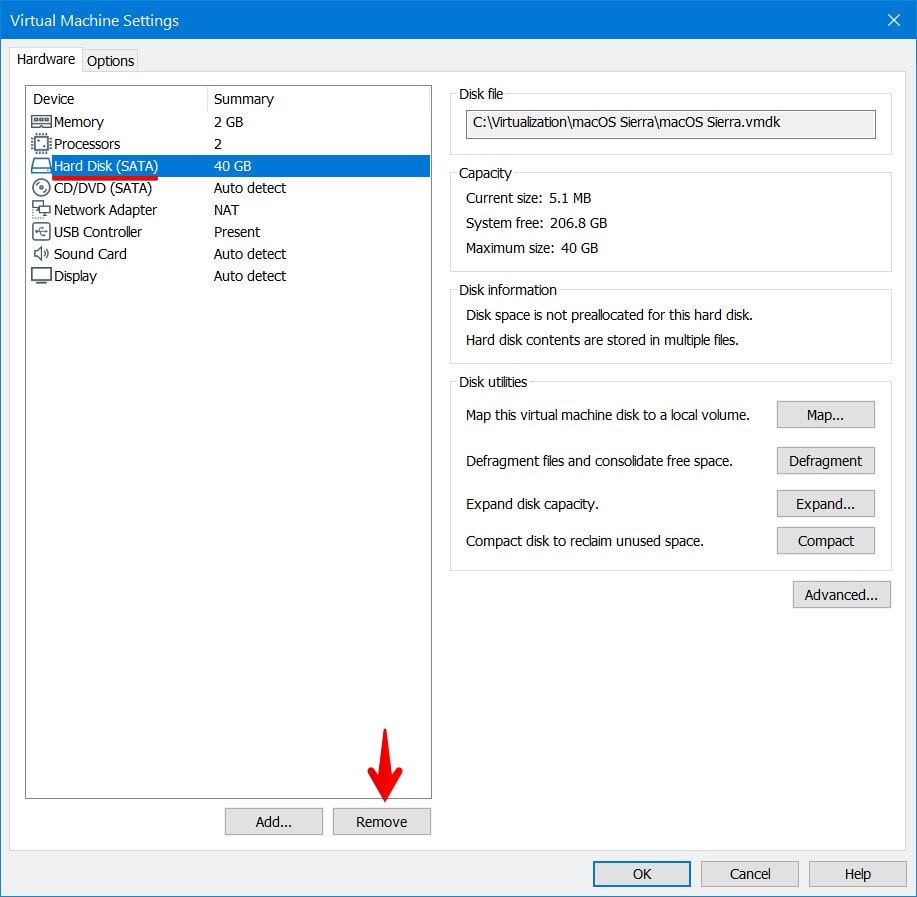
Without closing the settings window, select the Hard Disk (SATA) and click on Remove.
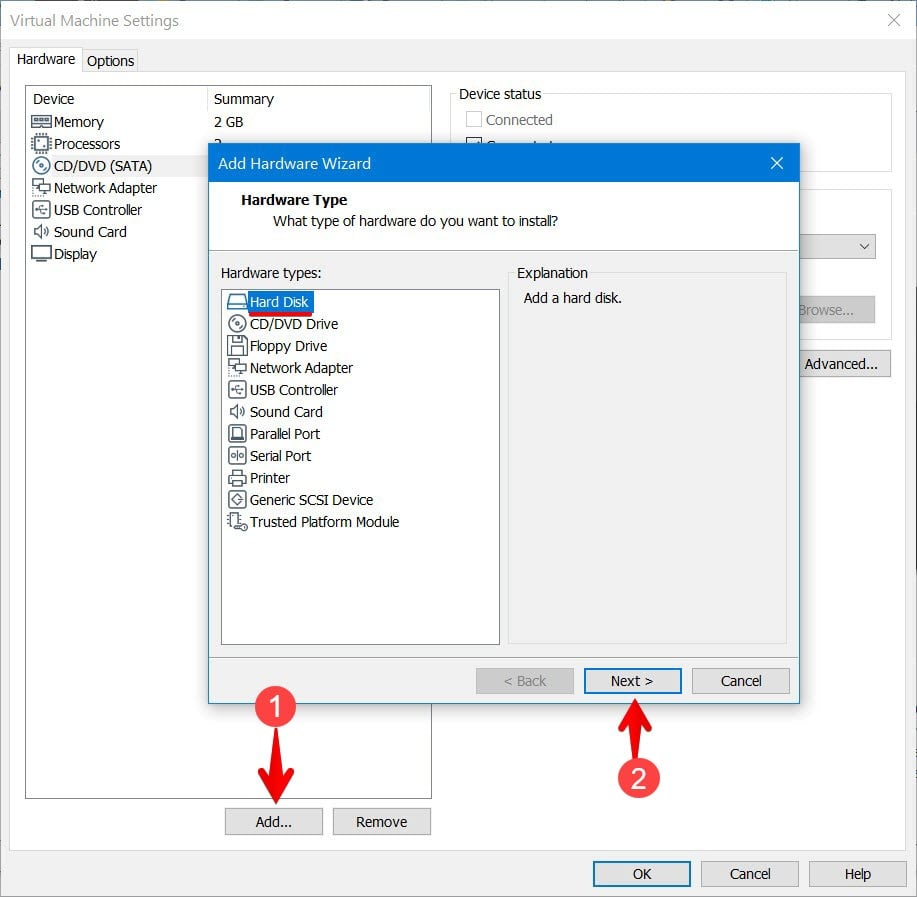
Now click on Add and select Hard Disk then click Next.
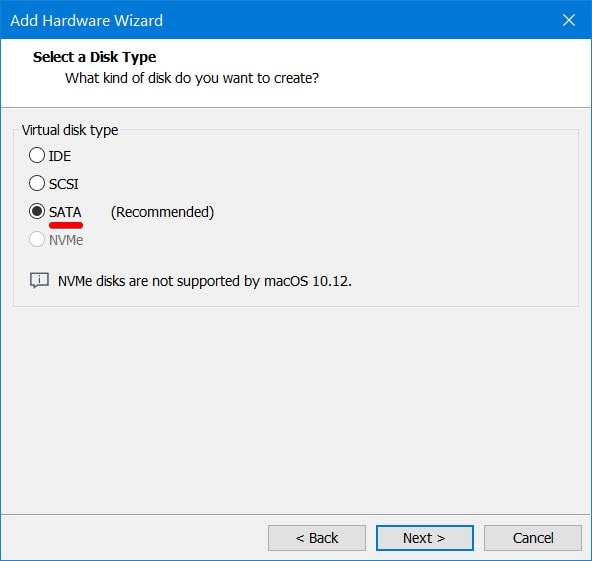
Next up, this window will appear, you don’t need to do anything, click Next.
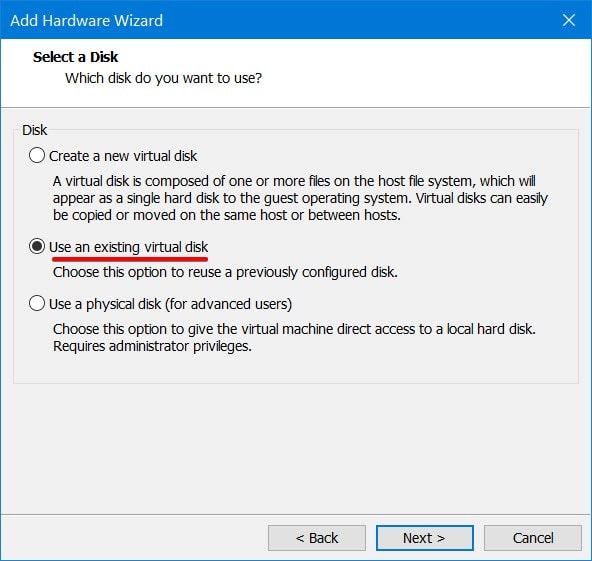
Select use an existing virtual disk and click Next.
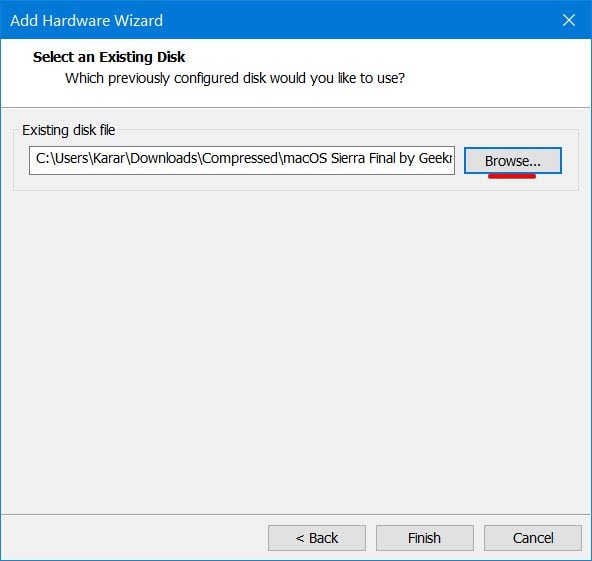
On the next screen, choose the file by browsing the Sierra file and click Finish.
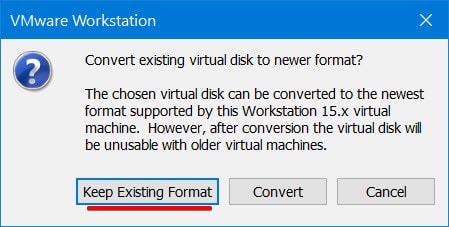
When adding the disk, you will be asked whether you want to convert the virtual disk to a newer format or keep the existing format, click on Keep Existing Format button. When done, click Ok on the virtual machine settings.
Edit the VMX file
The virtual machine files are important and should be located somewhere safe and stable. When creating the virtual machine, you chose the location for the virtual machine. We are going to make some changes and edit the vmx file which is the virtual machine configuration file.
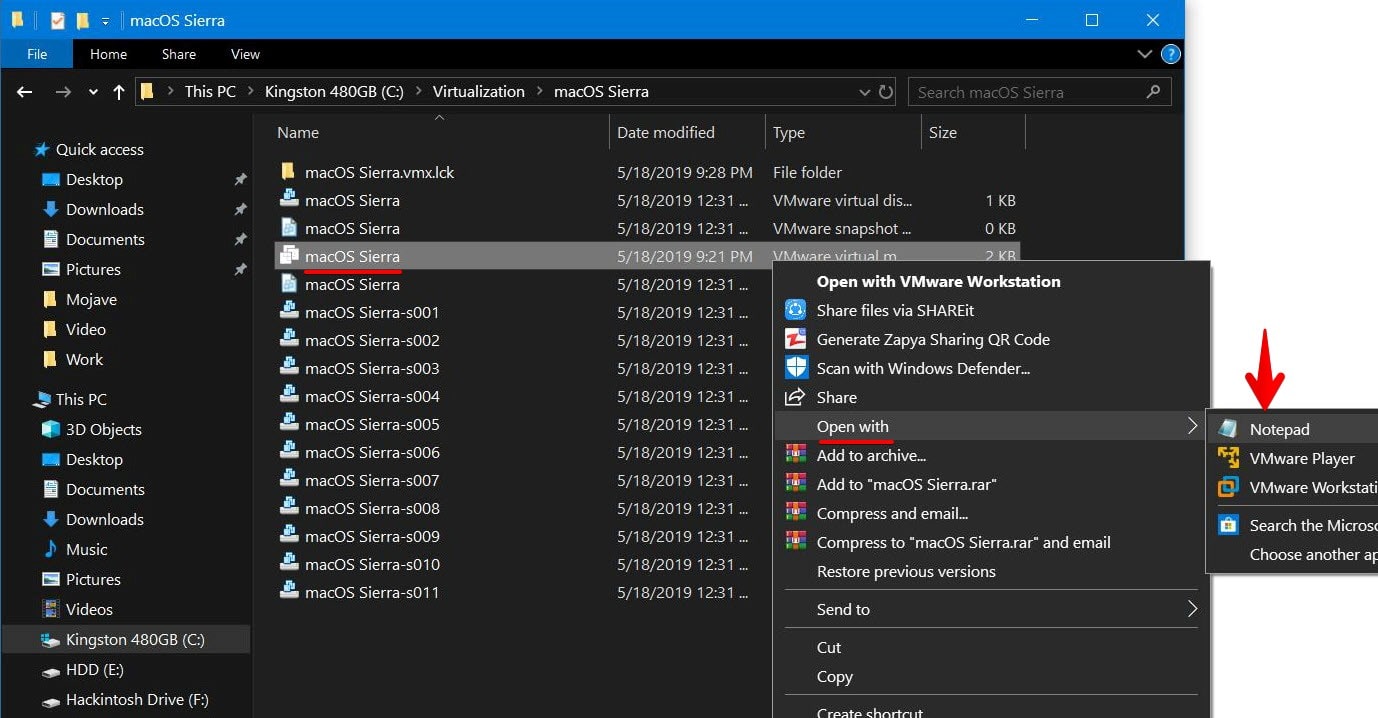
Now navigate to the location where your virtual machine is located, and right click and select Open with > Notepad on the file which ends with .vmx.
When the file opened on Notepad, you’ll need to paste the following line at the end of all commands.
smc.version = 0
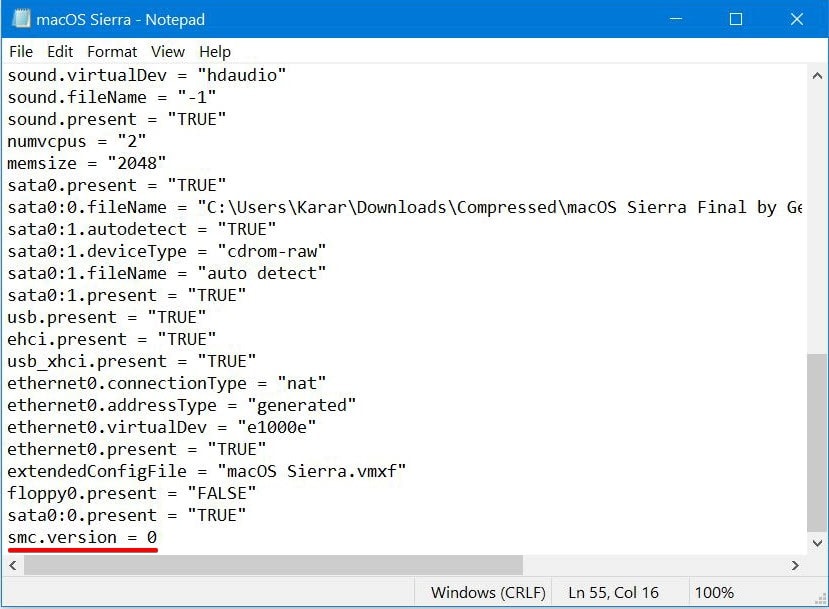
When done, save the file and close it.
Install macOS Sierra on VMware
With this done, you’re ready to proceed with the installation. The installation part is easy. There’s nothing more you’ve to do with settings. Finally, after lots of configurations, we’ve reached the sweet part.
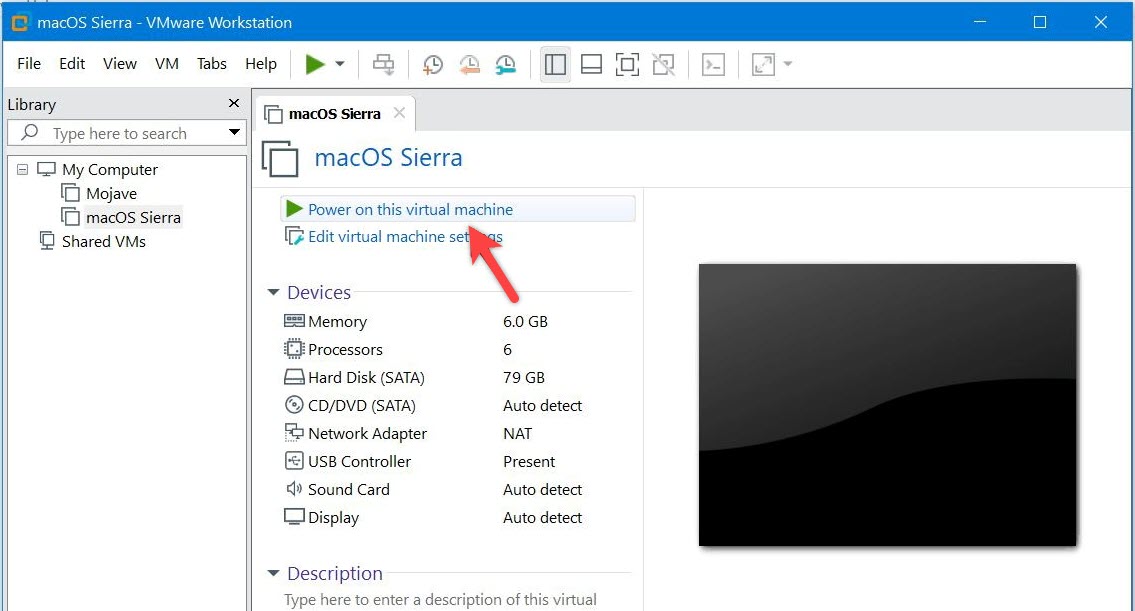
We’ll go straightly go to the installation by switching on the virtual machine.
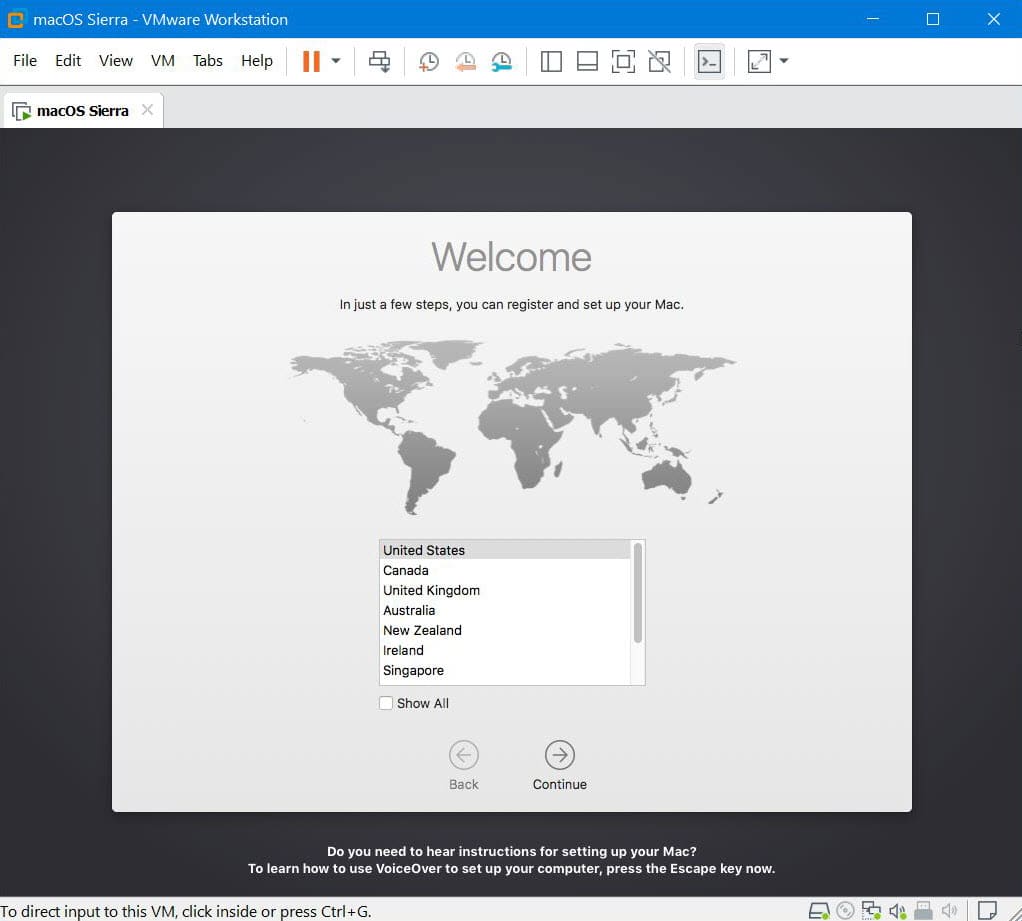
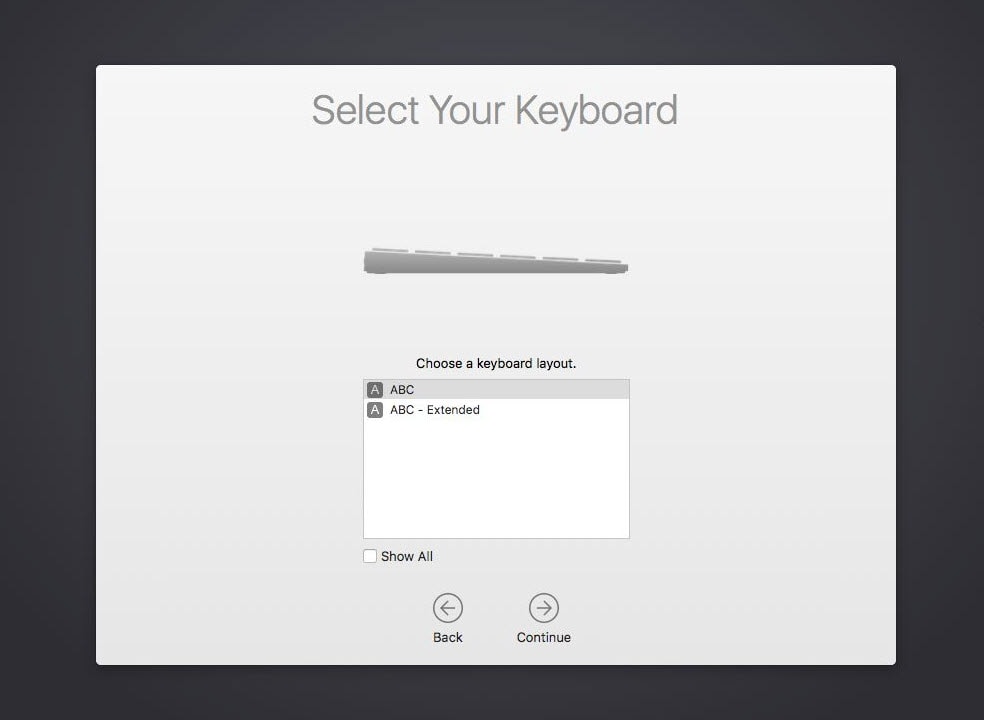
For the first time, it might take a bit longer than usual, stay positive. On the Welcome screen, choose your region and click Continue. If you couldn’t boot due to some reasons, you may check out,
Else, if you encounter an unrecoverable error, you may check out,
Whatever you prefer, you can choose one of them and Continue.
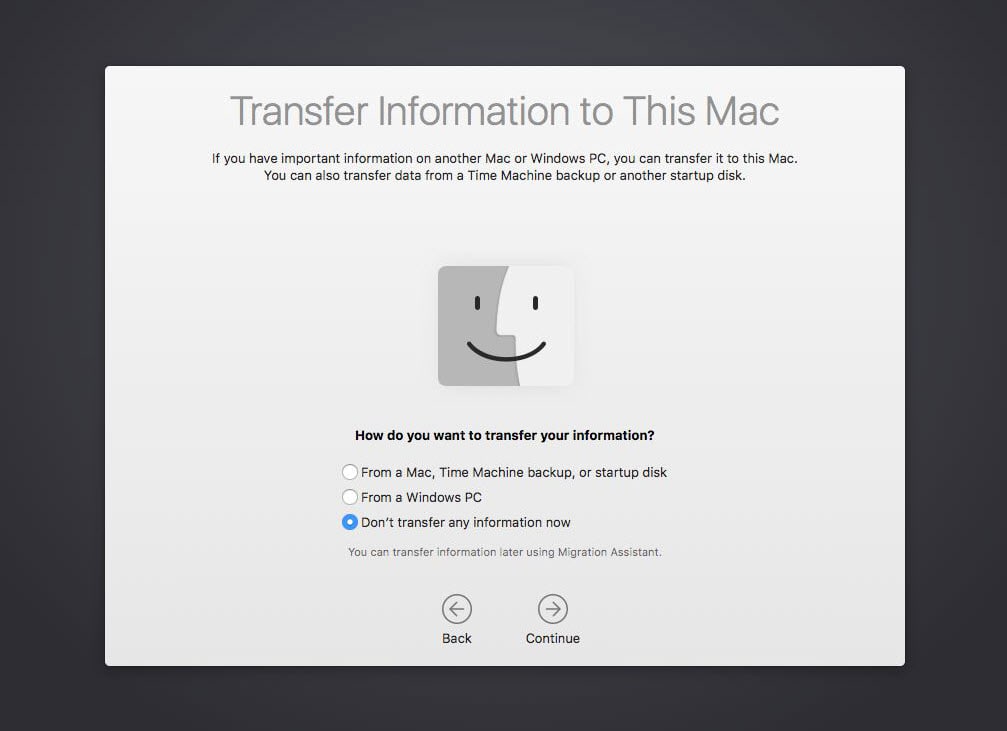
This feature lets you transfer your data to this machine. While we don’t have a Mac to transfer information from but in terms of transferring data from your Windows system, you can, however, we don’t recommend.
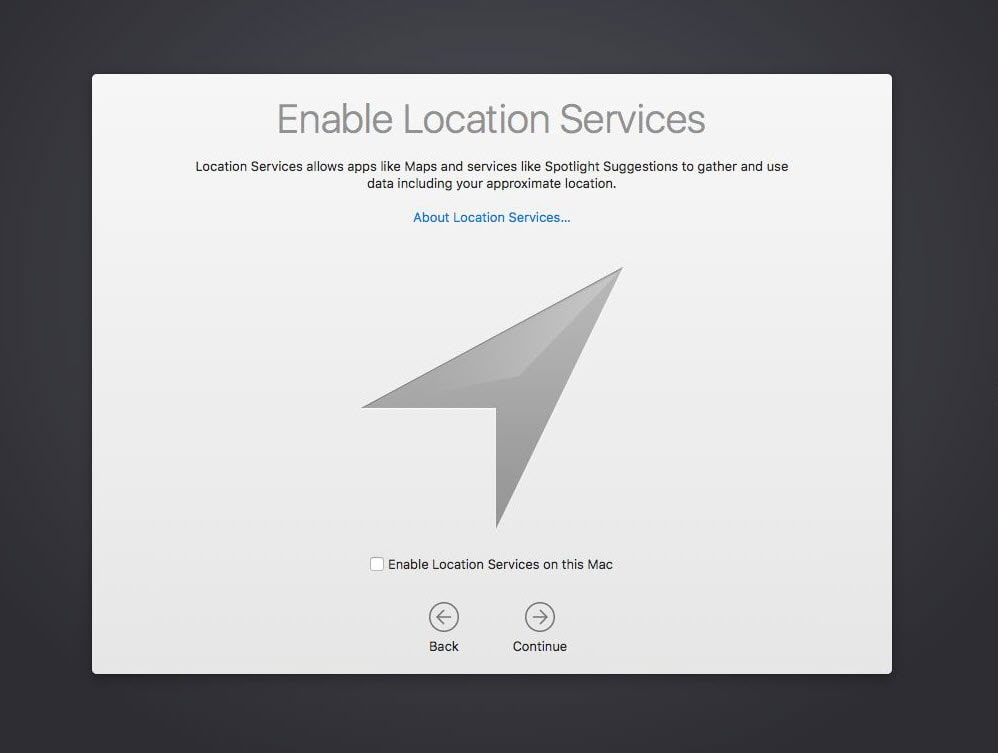
Enabling the location services will provide you more particular data to your location like the App Store will show the apps only which are available in your country.
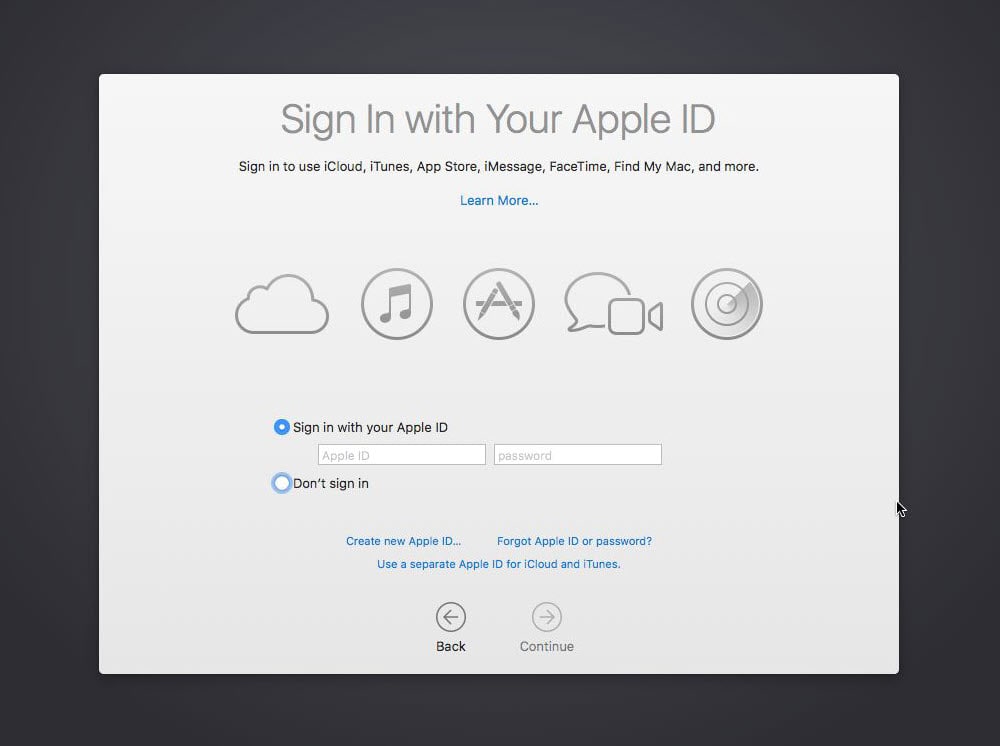
Signing in your Apple ID is a great idea, as you will need it almost every service you’d like to use. If you don’t have one, you can make one which is quite easy. When you’re done, click Continue.
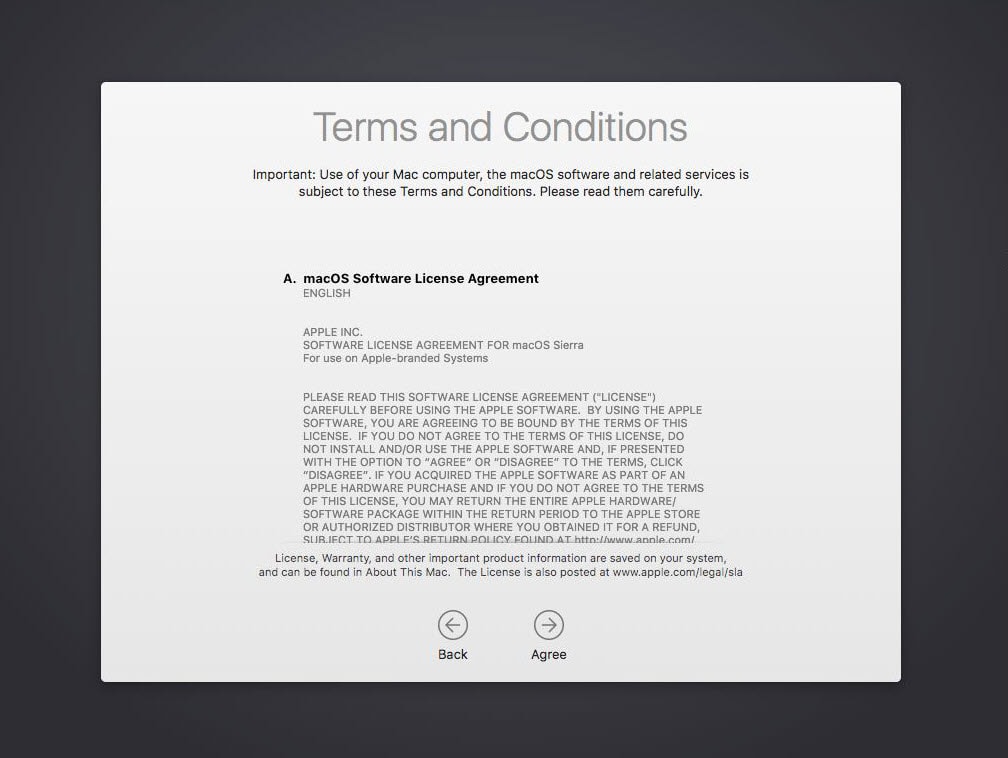
After you’ve signed in, you may agree with the terms and conditions and click Continue.
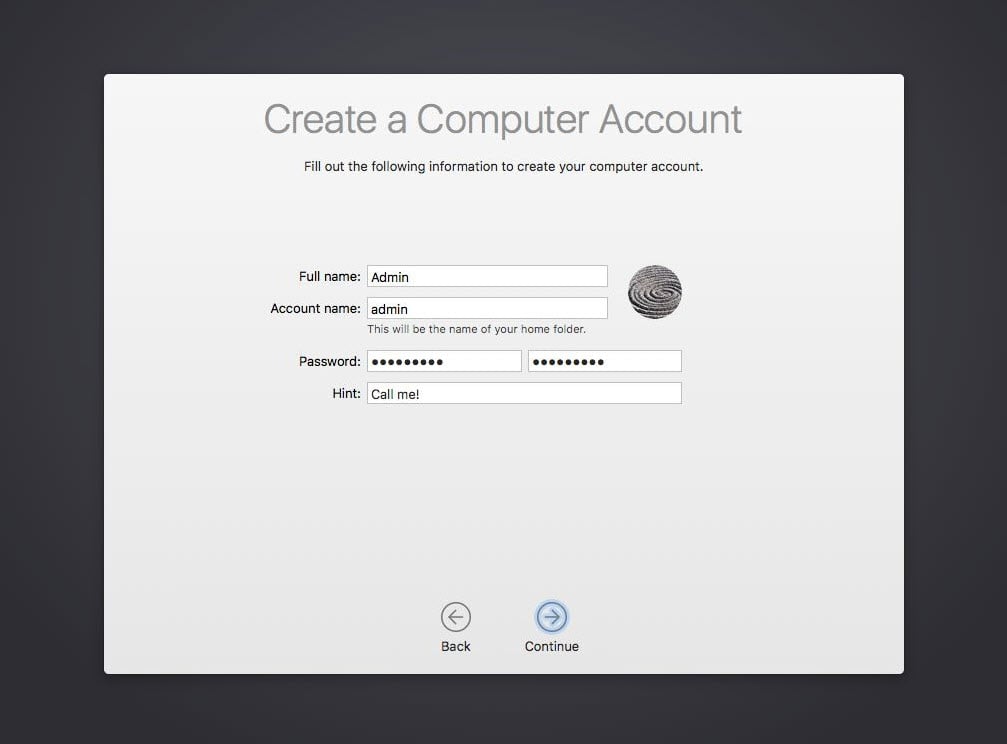
Just like every operating system you install, you’d need to create a local account. Write down your accurate details and Continue the process.
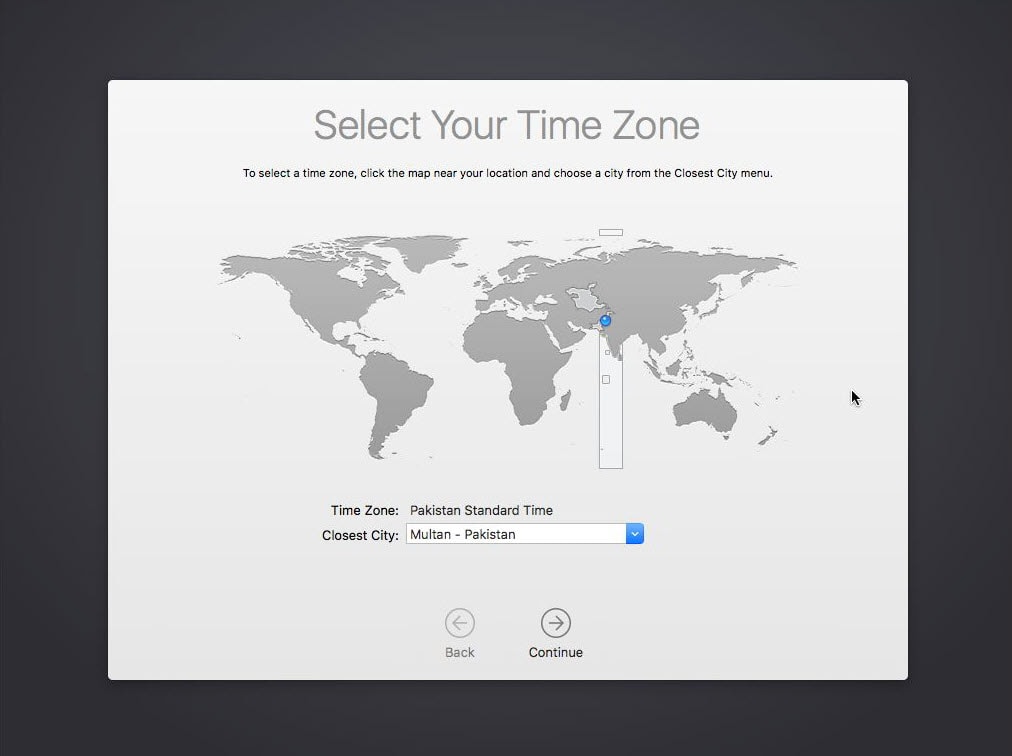
Since I didn’t enable location services, I will need to choose the time zone manually. If it’s the case with you, you may do it and click Continue.
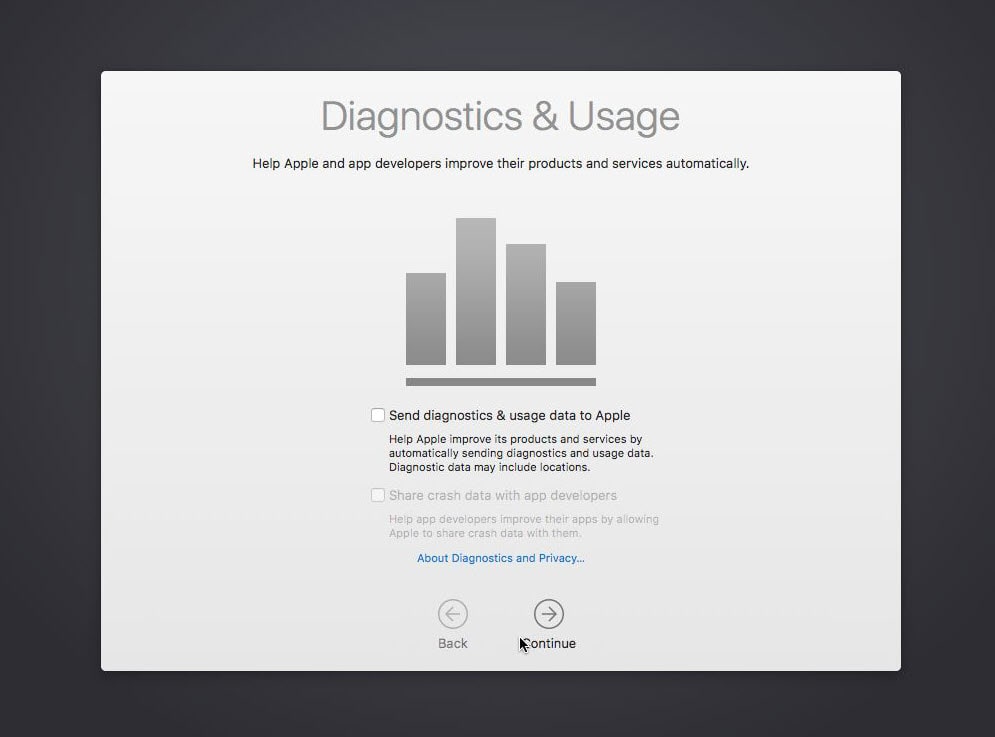
This optional feature automatically sends diagnostics, usage, and crash data to app developers and Apple. This is not an actual Mac we are working on, we don’t need to check this option.
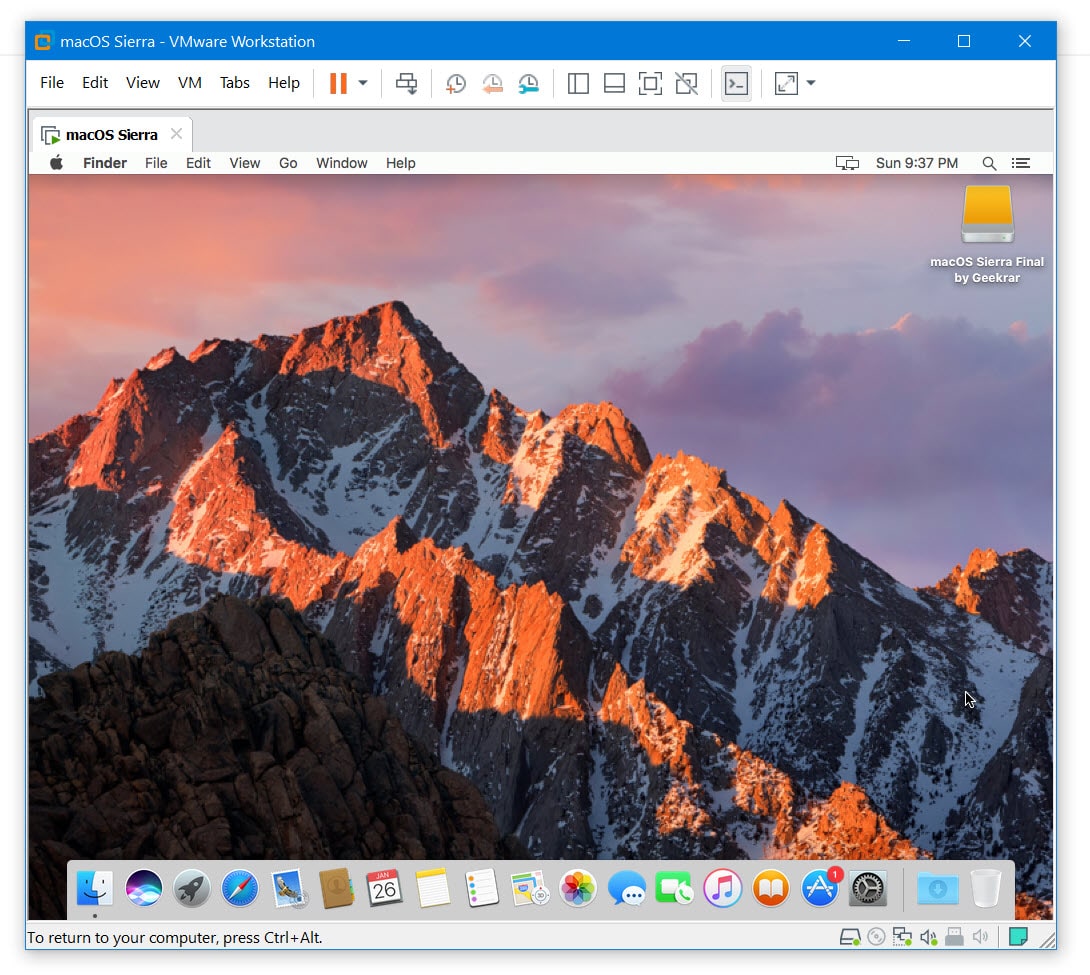
With that done, you’re eventually done with installation. The macOS machine is now ready to use.
Install VMware Tools on macOS Virtual Machine
After you’ve done this, you can work or do whatever you’ve in mind with the machine. But unlikely, you won’t have the important but optional things like full-screen resolution, enhanced graphics, and smooth run even after assigning the most resources. This is an easy fix with installing VMware Tools. However, we’ve got covered you up, here’s how you install VMware Tools on macOS no matter what version of macOS you’re using. This works for all.
After all, with installing VMware Tools, you’ve almost near to the finish line. When you’ve done that all, you probably don’t want to lose your settings nor everything else, what you need is a backup, but don’t worry, we’re still with you. Here’s how to back up your Mac entirely. There are still more optional things you could with your Mac, whether for it’s security or sharing files, like encrypting macOS system drive or interestingly, enabling dark mode.
A virtual machine is, after all, a virtual machine which may work very closely like the actual one but in some cases, it can’t. If you’ve a powerful system, it’s even closer to the real one but not really the exact of it. But this is probably the perfect way to try and test macOS or macOS apps.
And with this, we’ve approached to the very end. That was how to Install macOS Sierra on VMware on Windows PC.
We’d be happy to know your experiences with the installation and if it worked for you.
If there’s some problem you may fix those problems with these instructions.


Doug, I have AMD a10-7850k processor and i get to welcome splash screen with following config, however host keyboard and mouse are NOT working therefore i can not proceed to continue to setup and boot to desktop. Thoughts? Thank you in advance. Seb.
smc.version = “0”
cpuid.0.eax = “0000:0000:0000:0000:0000:0000:0000:1011”
cpuid.0.ebx = “0111:0101:0110:1110:0110:0101:0100:0111”
cpuid.0.ecx = “0110:1100:0110:0101:0111:0100:0110:1110”
cpuid.0.edx = “0100:1001:0110:0101:0110:1110:0110:1001”
cpuid.1.eax = “0000:0000:0000:0001:0000:0110:0111:0001”
cpuid.1.ebx = “0000:0010:0000:0001:0000:1000:0000:0000”
cpuid.1.ecx = “1000:0010:1001:1000:0010:0010:0000:0011”
cpuid.1.edx = “0000:0111:1000:1011:1111:1011:1111:1111”
featureCompat.enable = “TRUE”
Tutorial is great EXCEPT I need Sierra and this is HIGH SIERRA.
Download the latest files from here-
https://forum.geekrar.com/forums/forum/macos-sierra/
Hi! I am not able to fit the VM to guest window even after installing and reinstalling vmware tools, I was abe to do so on the more recent versions but they run quite slow due to my hardware limitations
Try reinstalling macOS Sierra and then install VMWare tools.