
Apple products are extremely expensive and Apples software’s are free. In this post, we’ll install macOS High Sierra on VMware on Windows PC with High Sierra ISO in a new method. Installing High Sierra on VMware requires VMware Unlocker for macOS or Unlocker for VMware Patch Tool. These Apple products prices are significantly rising up every time Apple releases a new product. Let’s say you want to spend those bucks to buy a new MacBook for running macOS, still, there are tons of stuff and things to consider before actually understand if it’s worth or not. Back this year when Mojave launched, everyone assumed everything would to be perfect, and that’s how it went. Just when Mojave was out at App Store, most upgraded or installed newly. But after some while, there were massive problems that they complaint about.
However, they downgraded and are happily working with High Sierra now. Back when High Sierra released, everyone was that kinda less exciting and saying like “yeah there will be updates, but not so huge”, unlike Mojave that everyone was really super excited and waiting for. So, with even Mojave, High Sierra remains the most compatible and stable version operating system of the time. The best thing is, Apple supports until now and users are getting updates for security and everything.
What if you had an option of trying out macOS or whatever apps you wished without actually spending thousands and do install it and enjoy really on your computer. Just like you use an application on your computer, and experience, or decide if its worth buying or anyway you’d like to try for some reason.
Although Apple does not support and instead forbids that. With that, it’s strict enough that Aplle does even with it’s older Macs. But it turns out that this doesn’t essentially mean you’re not able to accomplish it. Here’s the good news and surprisingly you’re able to do it. That’s right, you can install High Sierra and give it a go even if you’re not a computer guy.
With this great trick, you can install and run High Sierra just like an application particularly on VMware without restarting your operating system and booting into it. In addition to that, you will be able to set up everything as you want specifically assign whatever hardware and software apps and things you’d like to. If this sounds appealing to you, get ready to jump in. In this tutorial, I will show you how to install macOS High Sierra on VMware on Windows PC.
Table of Contents
What you’ll need
That said, to get started, here are a couple of things you’ll need.
- VMware Workstation Player: When it comes to virtualization, VMware is the choice I go with. This app, not only is fairly easy to work with but also provides great support and functions to catch everything you’ll need. Also, this includes a necessary tool that improves and bring some most useful features. However, the only downside is the expenses that charge, without that everything is perfect.
- macOS High Sierra Final by Geekrar (One Full – Google Drive): The file is compressed into a zip file that contains the virtual image. For better service, you can download the file with a single file if you have a great internet connection. The Google Drive is great but also there are more problems with it. The Google Drive is great but also there are more problems with it. In this case, if you want to download High Sierra virtual image file alternatively from a powerful server, you can download it this way. In this case, if you want to download High Sierra virtual image file alternatively from a powerful server, you can download it this way.
- VMware Unlocker for macOS or Unlocker for VMware Tool — While installing, you’ll need VMware Unlocker for macOS in order to make VMware support install macOS High Sierra. We’ve provided the VMware Unlocker for macOS High Sierra completely for free so simply download VMware Unlocker for macOS or download Unlocker for VMware.
The files are securely zipped and uploaded to servers, it’s completely free of charge, just download.
Alternatively, you can download High Sierra VM Image file as well if you wish to.
When you downloaded the files, extract them and let be ready. So let’s get straight into it.
Install macOS High Sierra on VMware
If you are a VMware person, this will be no different than other installing. Otherwise, if you’re curious, you might have pretty much questions around in your mind. However, there’s no need to go through the details and learn all about. Because there’s no sort of risk you’ll take while proceeding or even after proceeding. Instead, you’ll have the solution to every problem. other than that, if you were unhappy with or had problem with, you’ll always have the option to delete the High Sierra virtual machine. This won’t harm or damage your computer in any way.
Step One: Install VMware Workstation or Player
First off, when you’re done with download, you can install VMware Workstation or Player. Start by the installation with setup file and continue with the process.
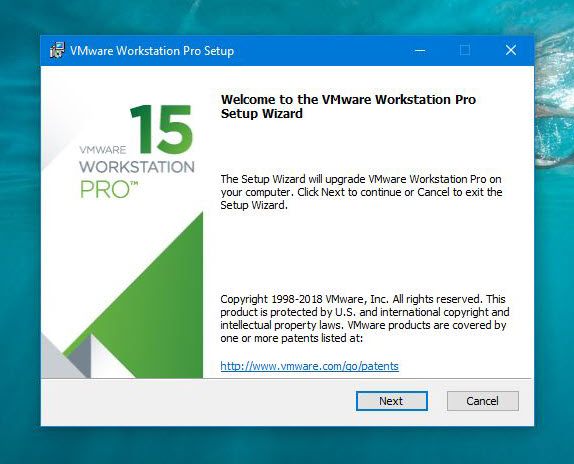
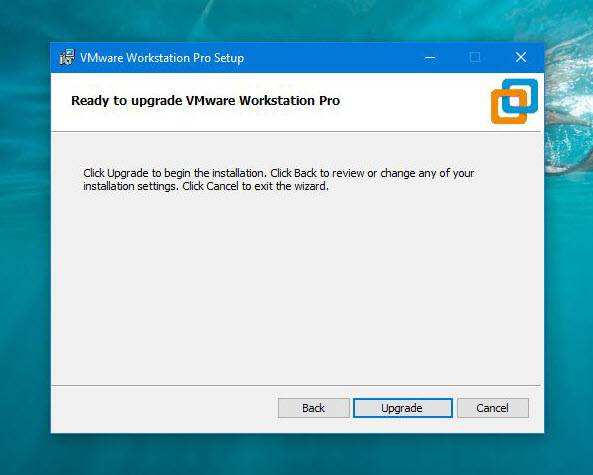
In case if you have VMware installed, you’re likely to upgrade from previous version, go ahead and click Upgrade.
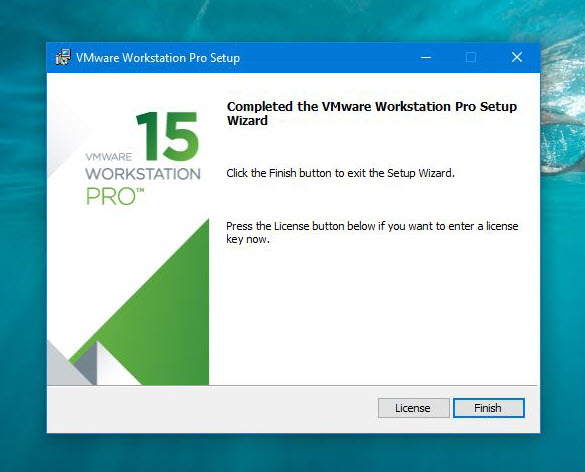
Once you’ve performed the installation, click Finish.
Step Two: Install VMware Unlocker for macOS (Unlocker for VMware)
The VMware Unlocker for macOS works pretty well for patch VMware. This Unlocker for VMware patch tool is used to patch VMware and support install macOS High Sierra on VMware.
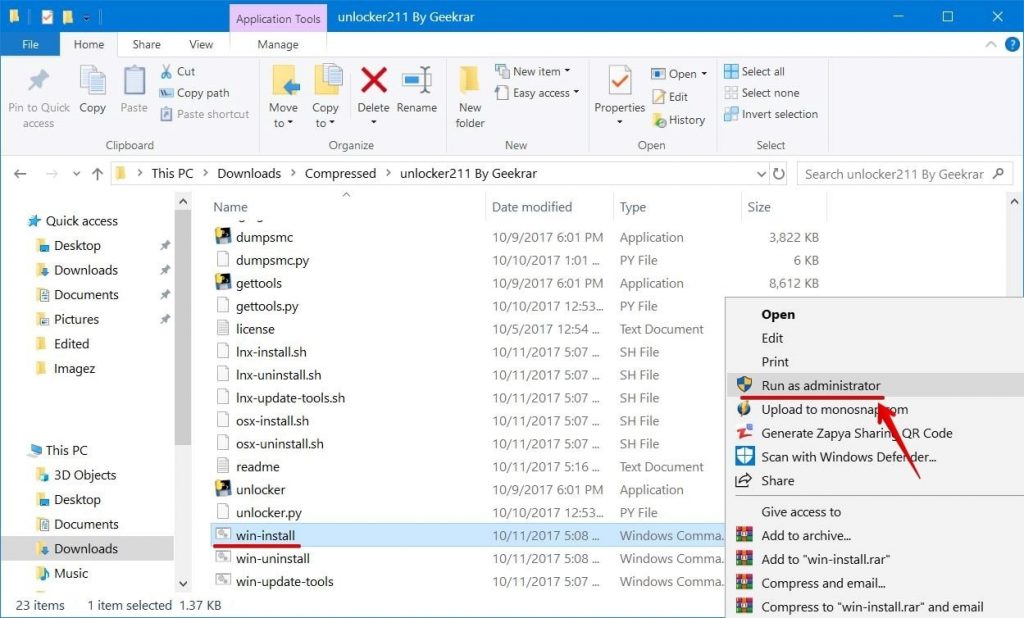
Now close VMware if it is opened (thoroughly) and extract the Unlocker. Once you do, hover your mouse on win-install and right click and select Run as Administrator.
Initially, this will provide macOS option for installation and removes VMware prevention from doing this.
All this will do is pop up Command Prompt and run some commands quickly, and close itself, so don’t panic.
Step Three: Set up a New Virtual Machine on VMware
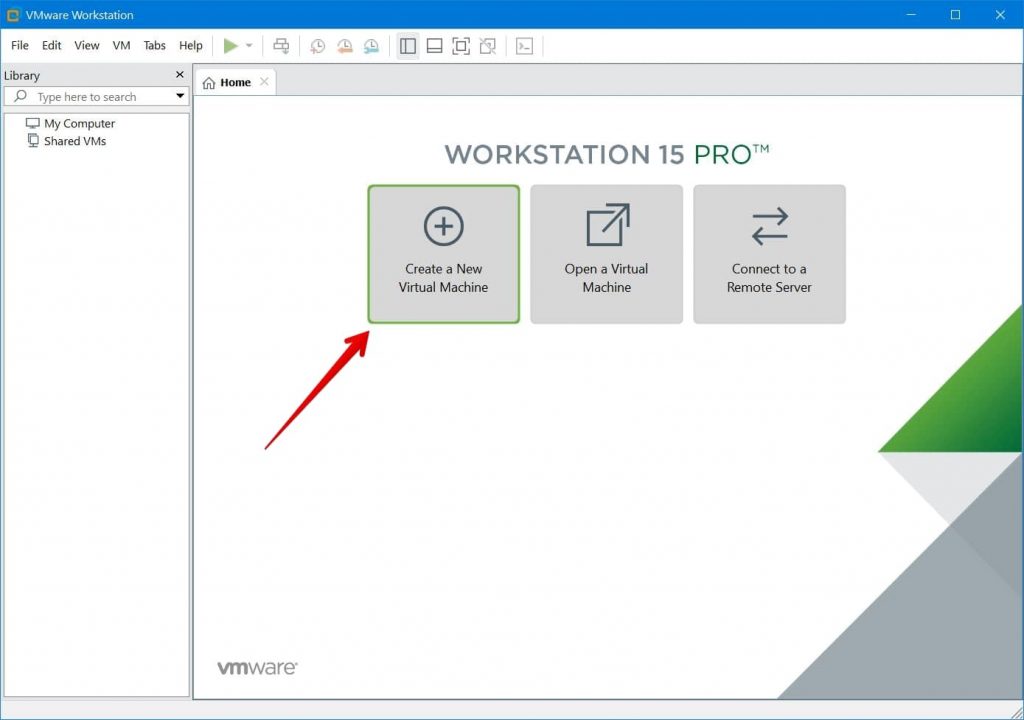
Fire up VMware Workstation or Player you’ve installed. There, click on the Create a New Virtual Machine button or simply press Ctrl + N.
Next, when the wizard pops up, for a thorough installation, choose Custom.
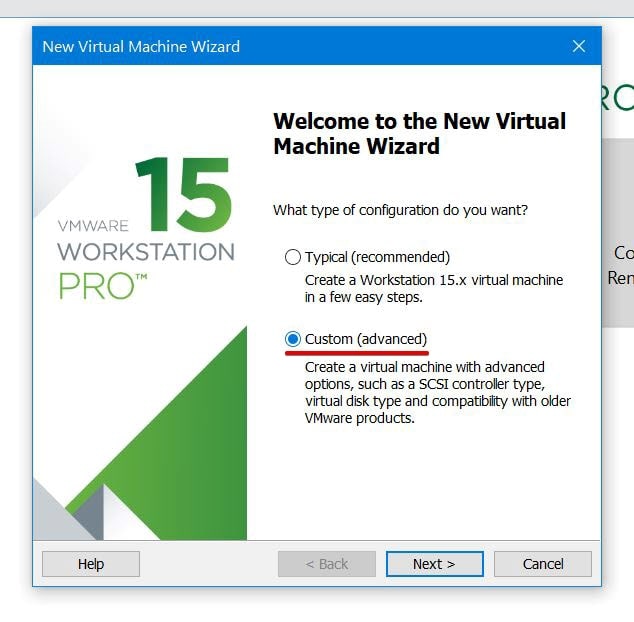
Just Next.
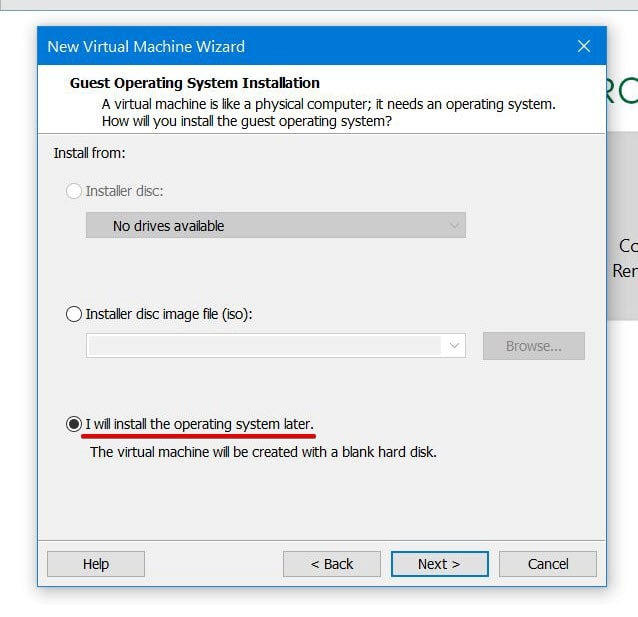
After that, select I will install the operating system later and Next.
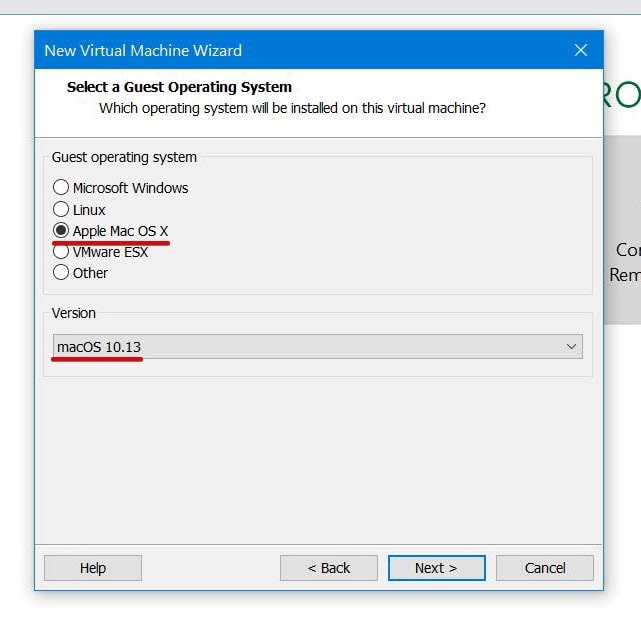
Now choose the appropriate operating system and version that is obviously macOS and in terms of version, choose macOS 10.13.
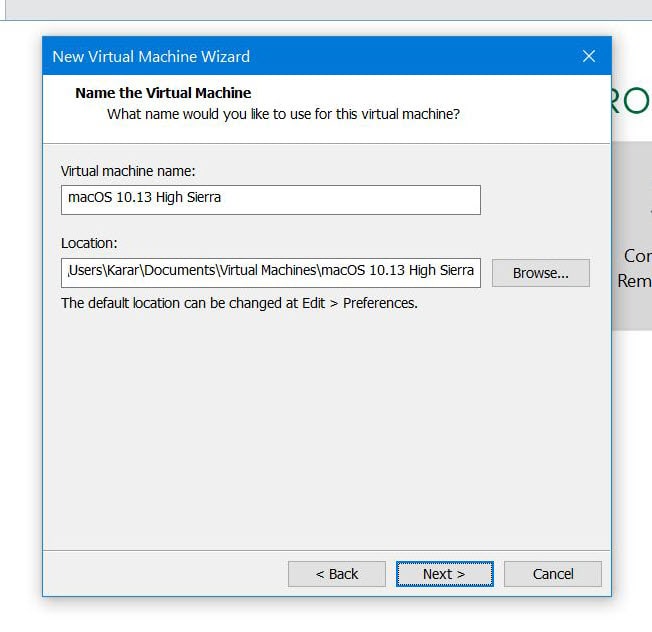
Personalize your Mac with a name and location that makes sense then Next.
If you’ve enough processors, consider adding more and also core processors then Next.

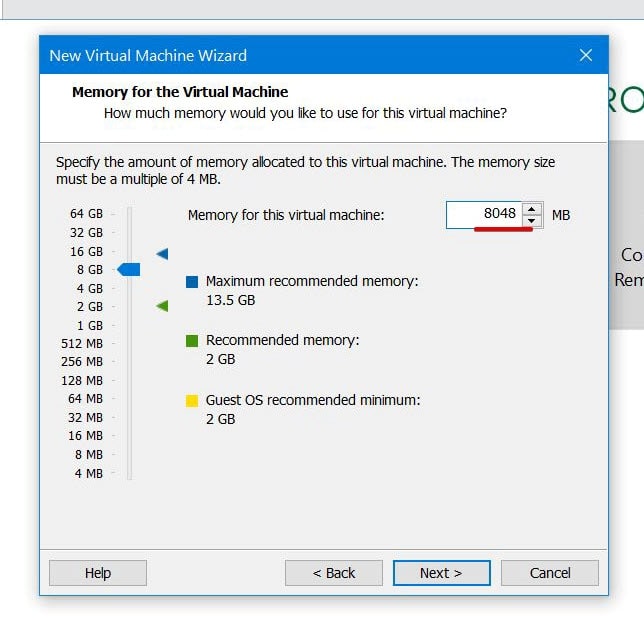
Assign most of computer’s memory and Next.
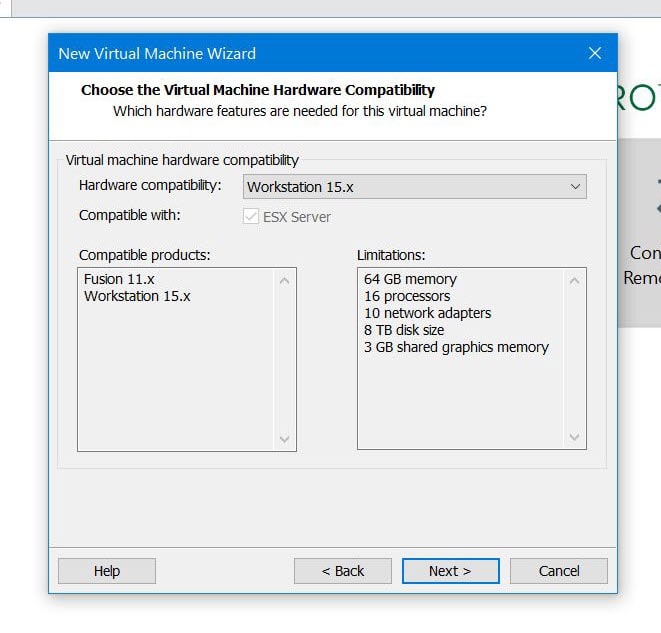
Here, you don’t need to do anything, just Next.
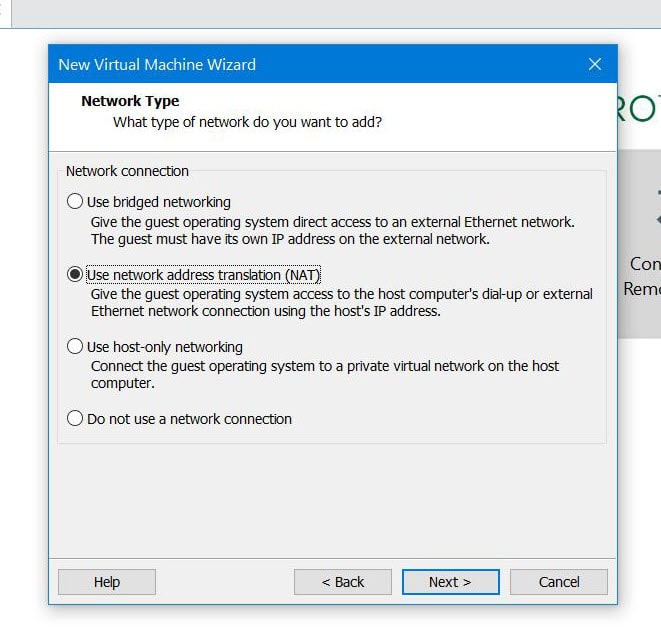
That’s okay by default, click Next.
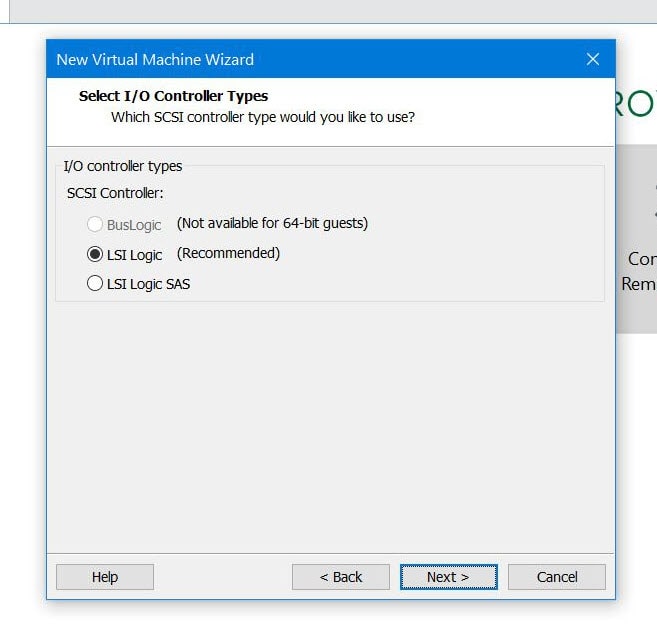
Again Next.
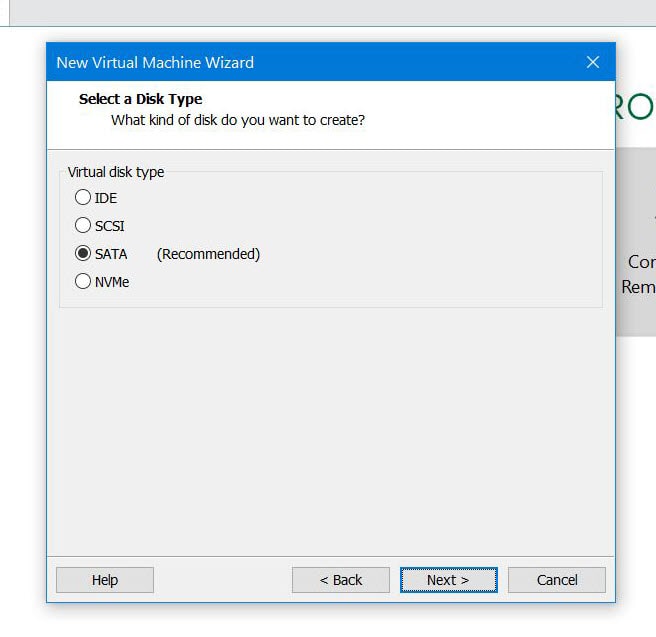
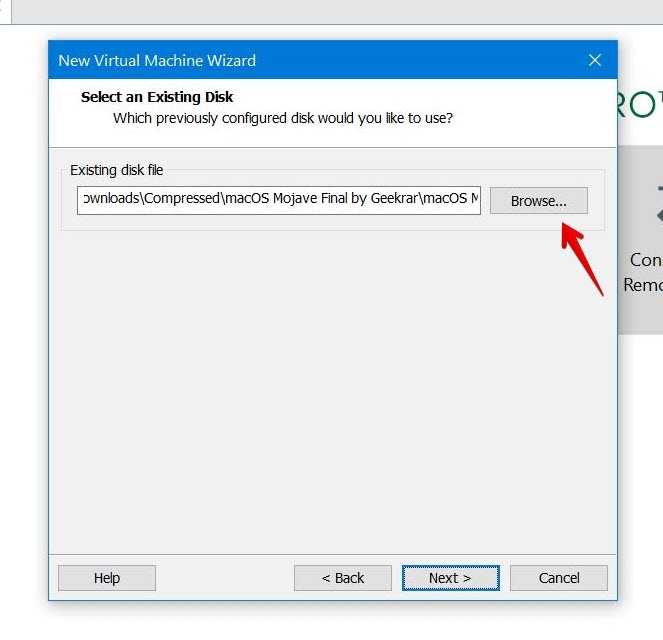
In this screen, Use an existing virtual disk and go with Next.
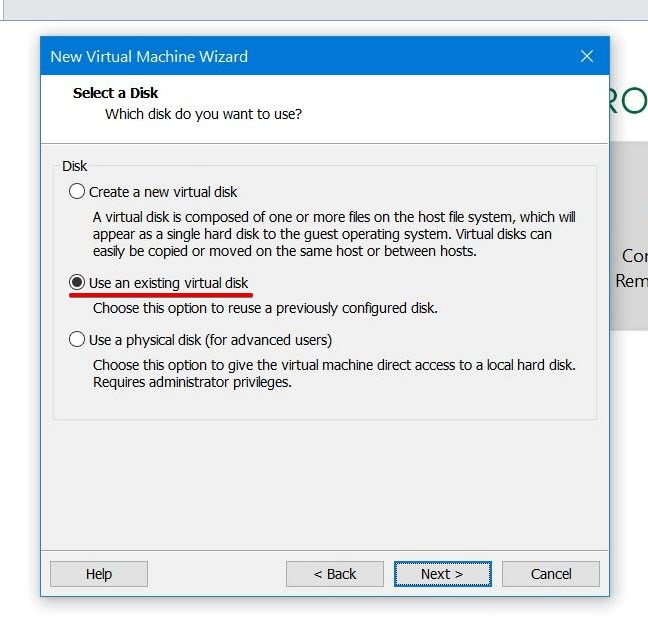
Browse the macOS High Sierra Image (VMDK) extracted image, then click Next.
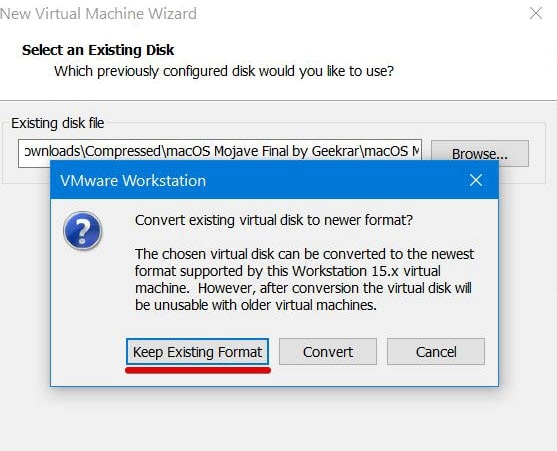
When you choose the disk file, you’ll be prompted to choose a format for the file, press Keep Existing Format.
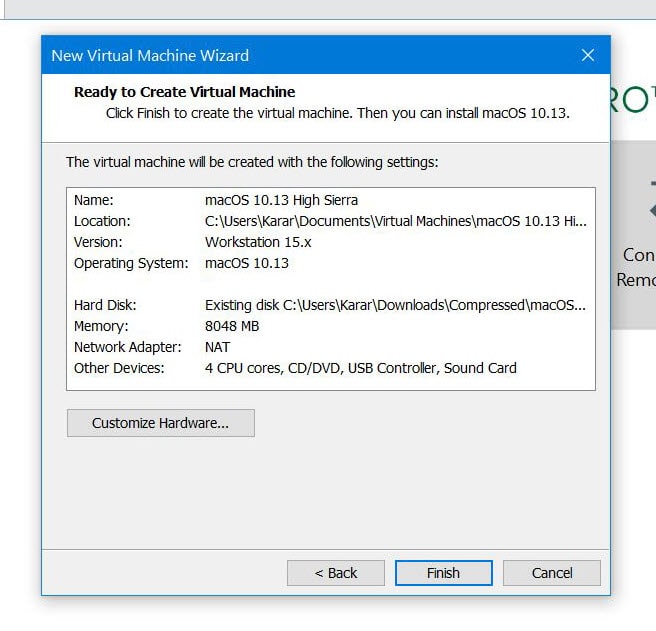
With that out of the way, you’ll approach to the end that is reviewing and customizing if you’d like and Finish.
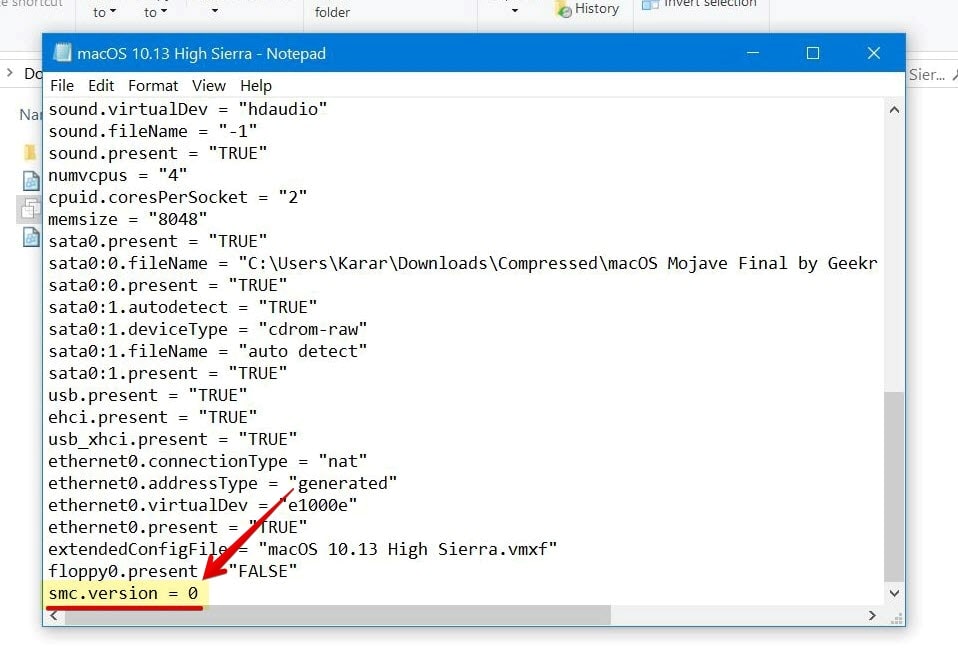
Step Four: Edit Virtual Machine file with Notepad
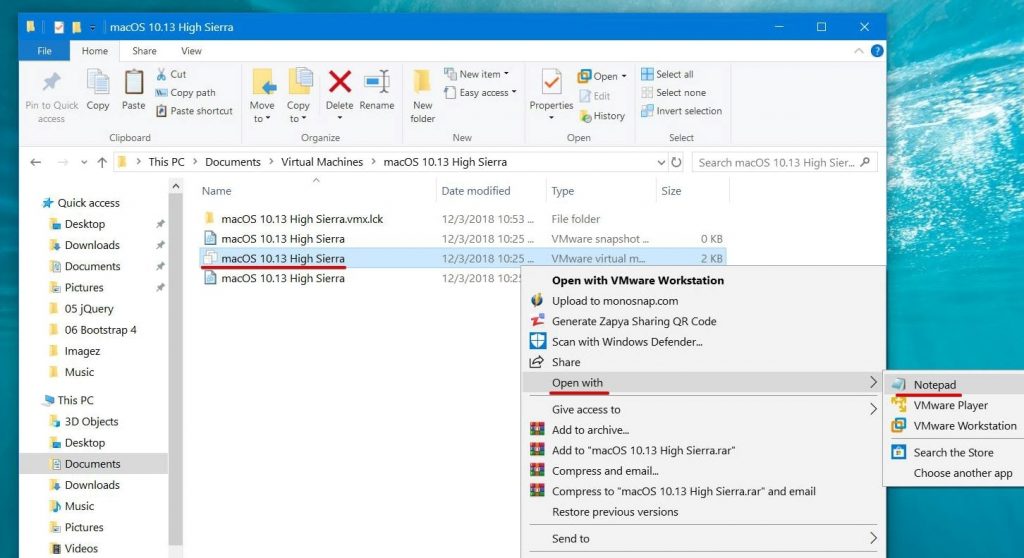
The virtual machine is created now, anyway, for the virtual machine to boot up, you’ll need to tweak some settings. Navigate to macOS virtual machine files and open (Your Virtual Machine Name).vmx file with Notepad. If you didn’t find Notepad on the list, click on Choose another app and select Notepad.
As soon as the window appears, copy the command and paste at the very end, consider saving it when done. Here’s a screenshot example of what it looks like.
smc.version = 0
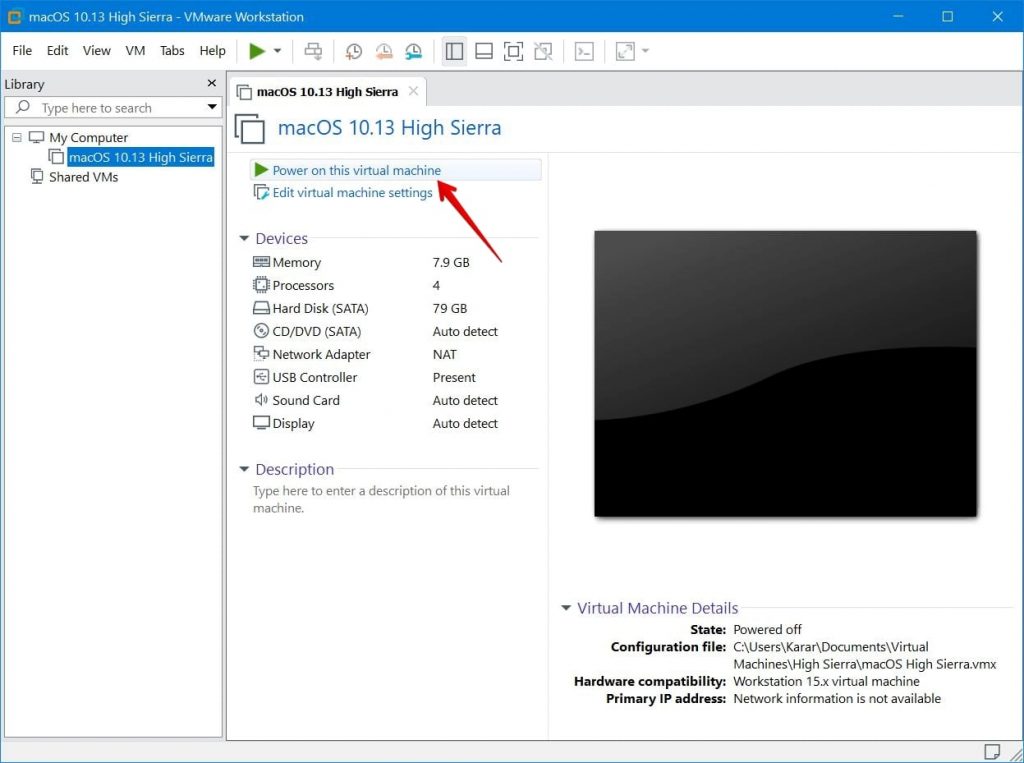
Step Five: Install macOS High Sierra on VMware
The installation begins here, click Power on this virtual machine and you’ll be presented with Apple logo or booting, that may take some time.
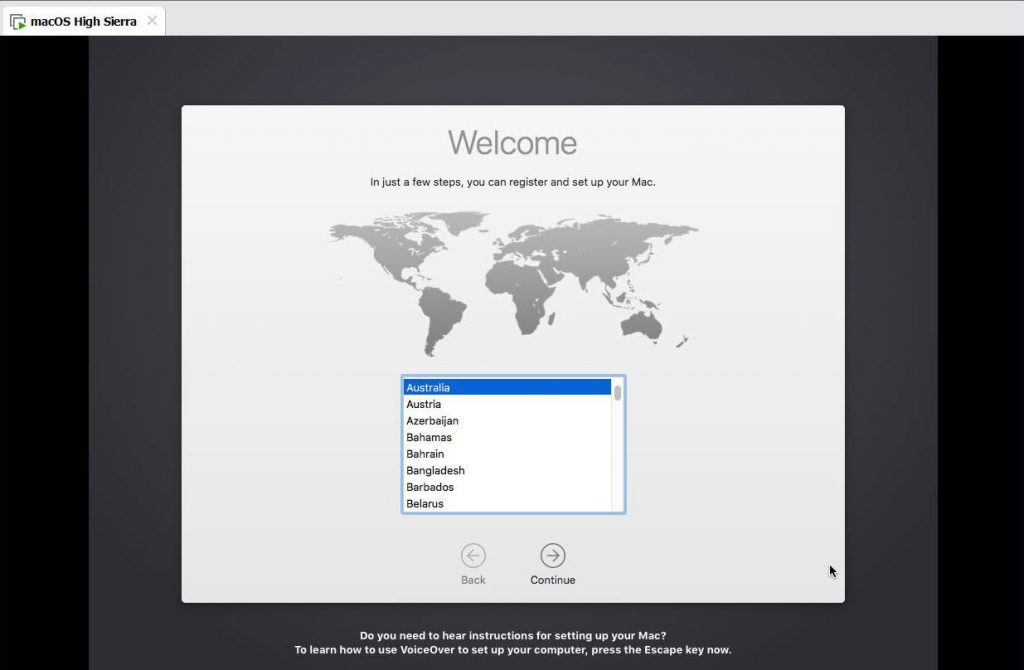
Just like you see, you’ll be greeted with usual Welcome screen for choosing your region, just do that, and Continue.
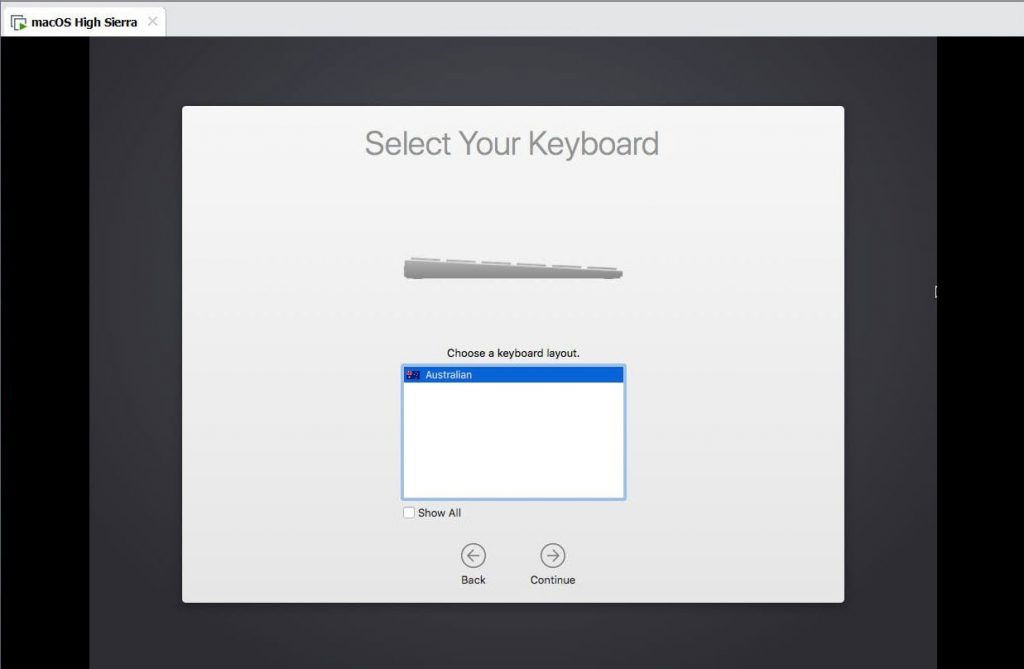
On the keyboard, if it’s selected by default, just Continue. Otherwise, click Show All and choose your keyboard you’re using then Continue.
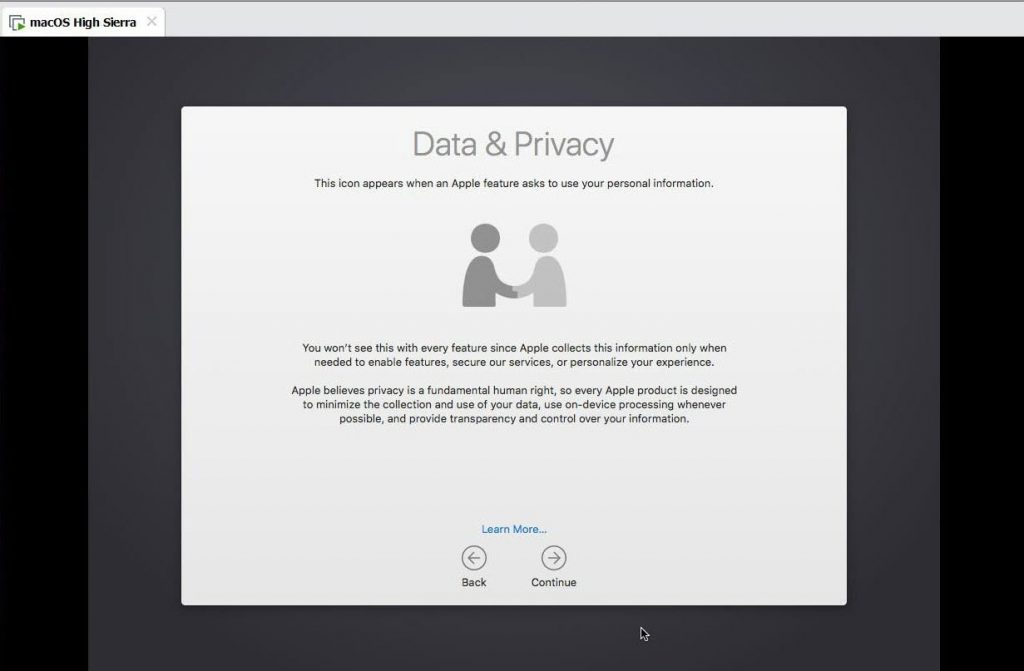
Afterward, Continue with Data & Privacy of Apple. Particularly, this means Apple will collect and use your information whenever that is required for services.
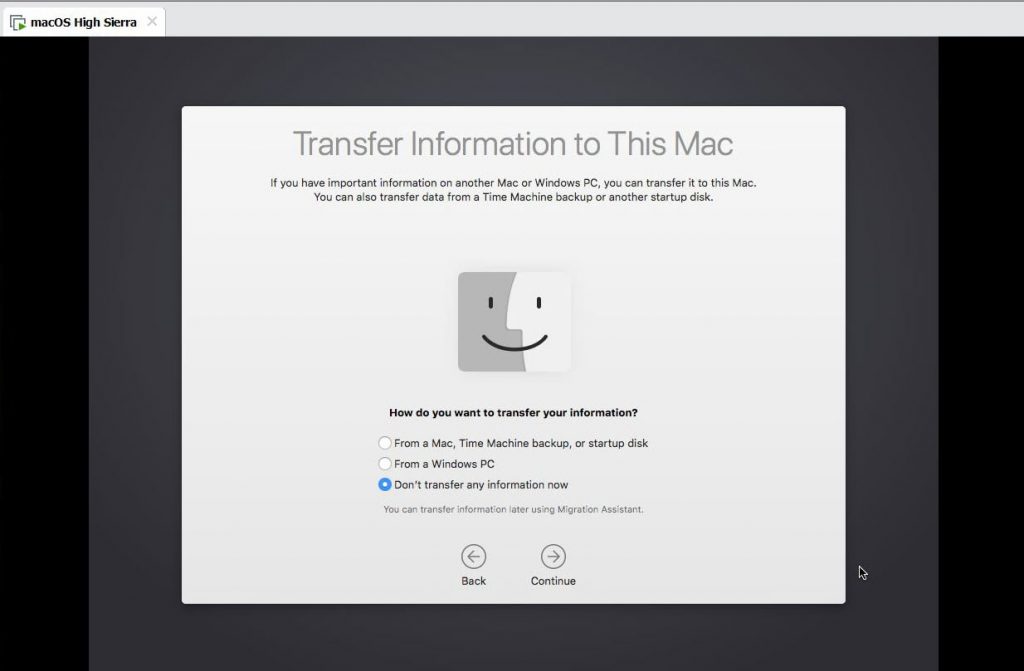
I prefer, Don’t use any information now and Continue. You can transfer your important information if you need with Migration Assistance.
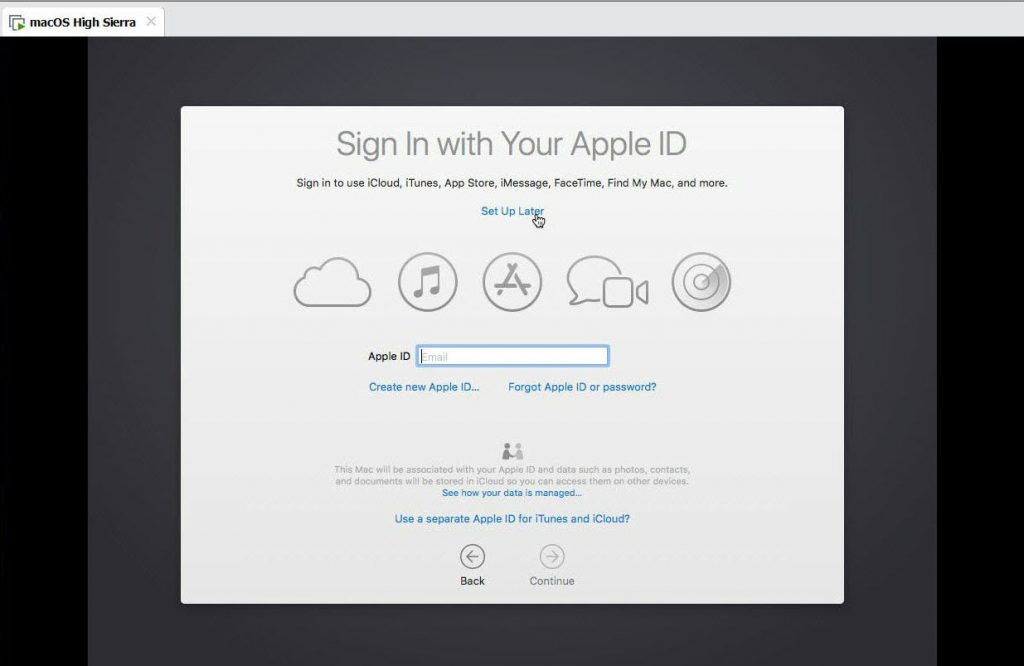
If you’ve an Apple ID, sign in or you can set up later, do as you wish and Continue.
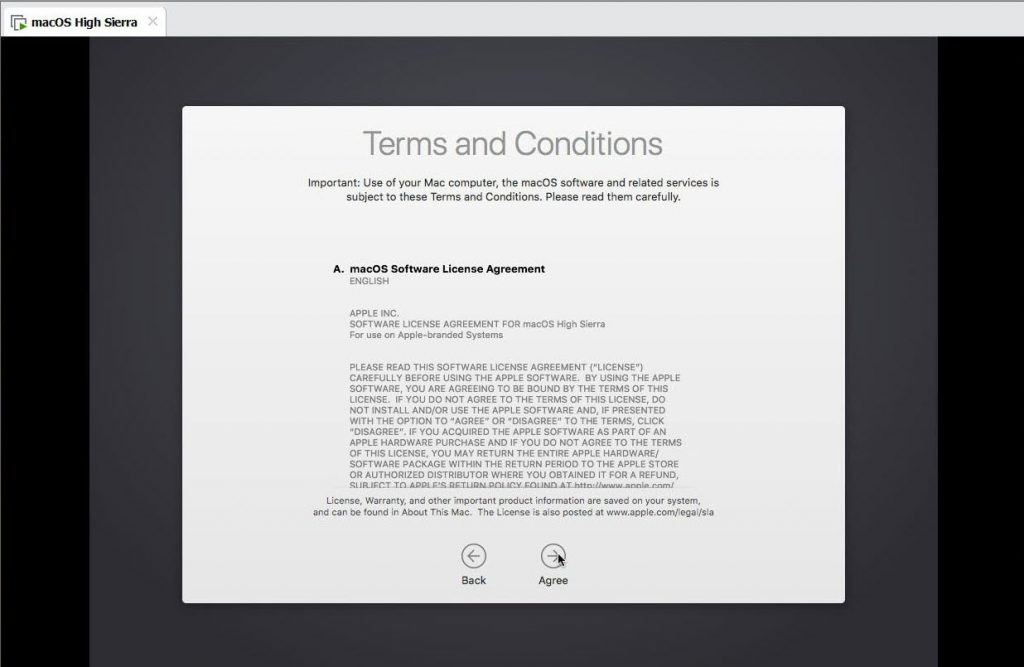
Agree with the terms and conditions.
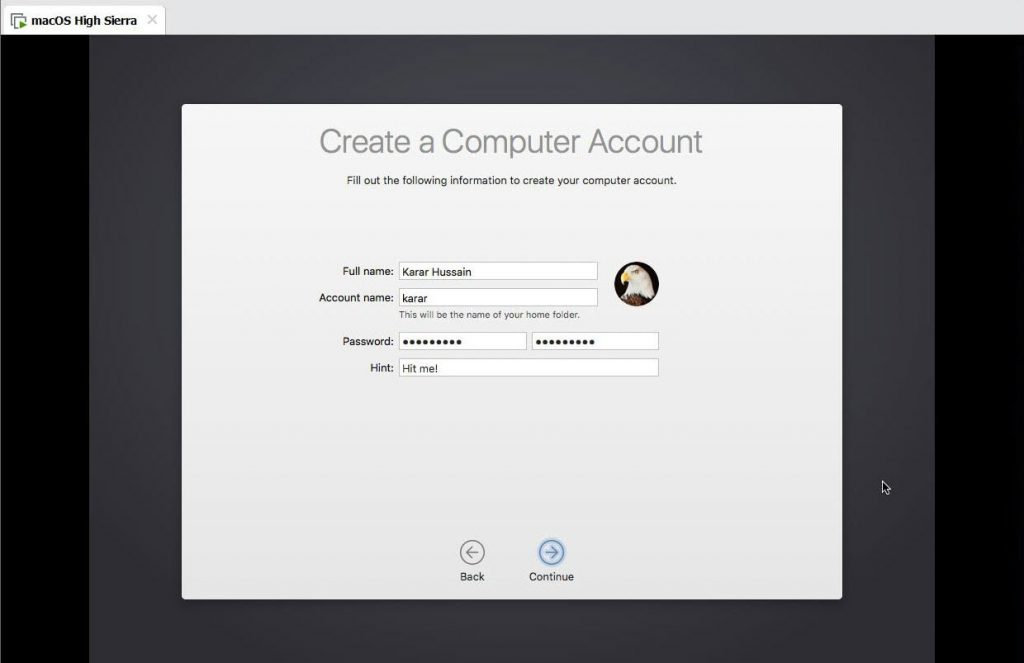
At last, create your account with providing your information and Continue.
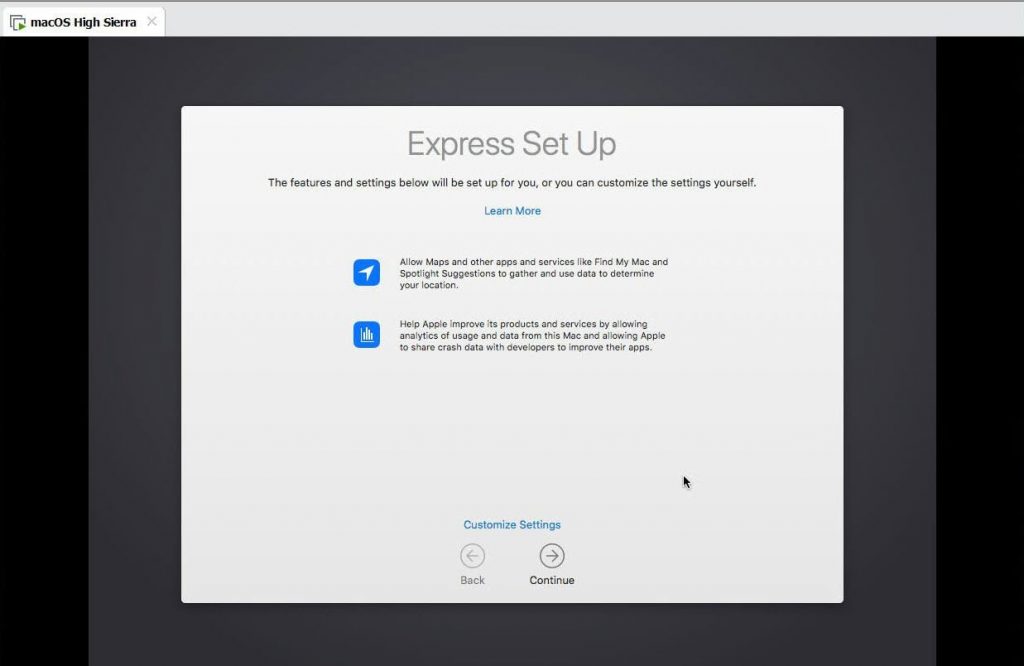
If you want these features, they will be automatically configured for you, just Continue.
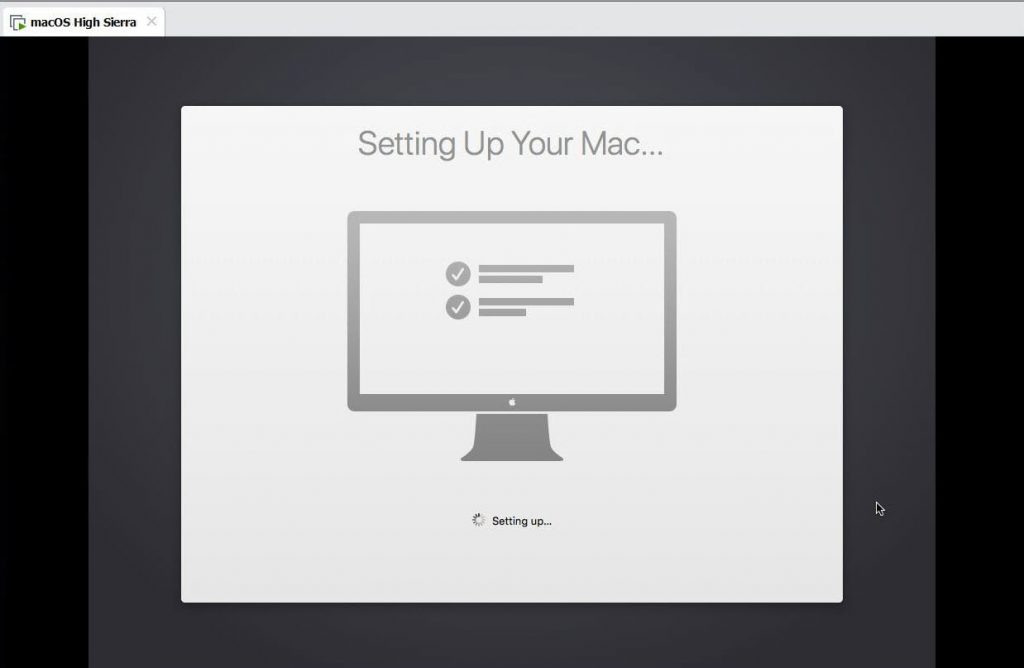
This will begin setting up your Mac, once you’ve reached this point.
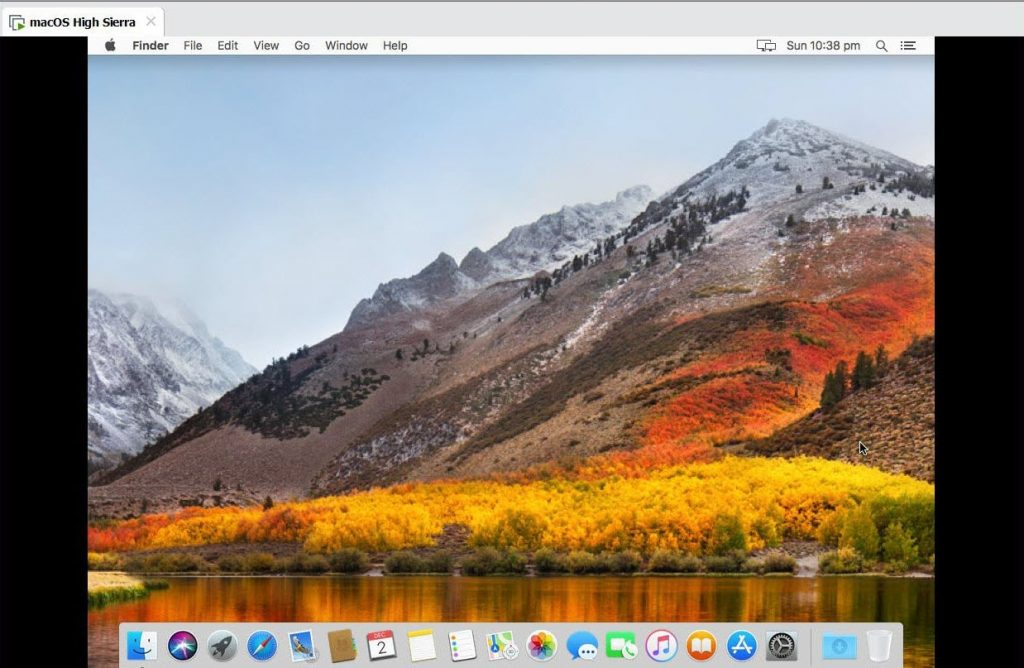
With that done, you’re all way down into High Sierra with its great features.
Optional: Install VMware Tools on Virtual Machine
Once the installation is complete, you may want to install VMware tools. This will install a set of handy tools such as sound, full-screen resolution, drag and drop and more that is packed into a package. That’s what I’d like to install every time I install a new virtual machine and I’d probably recommend. Here’s how to do it.
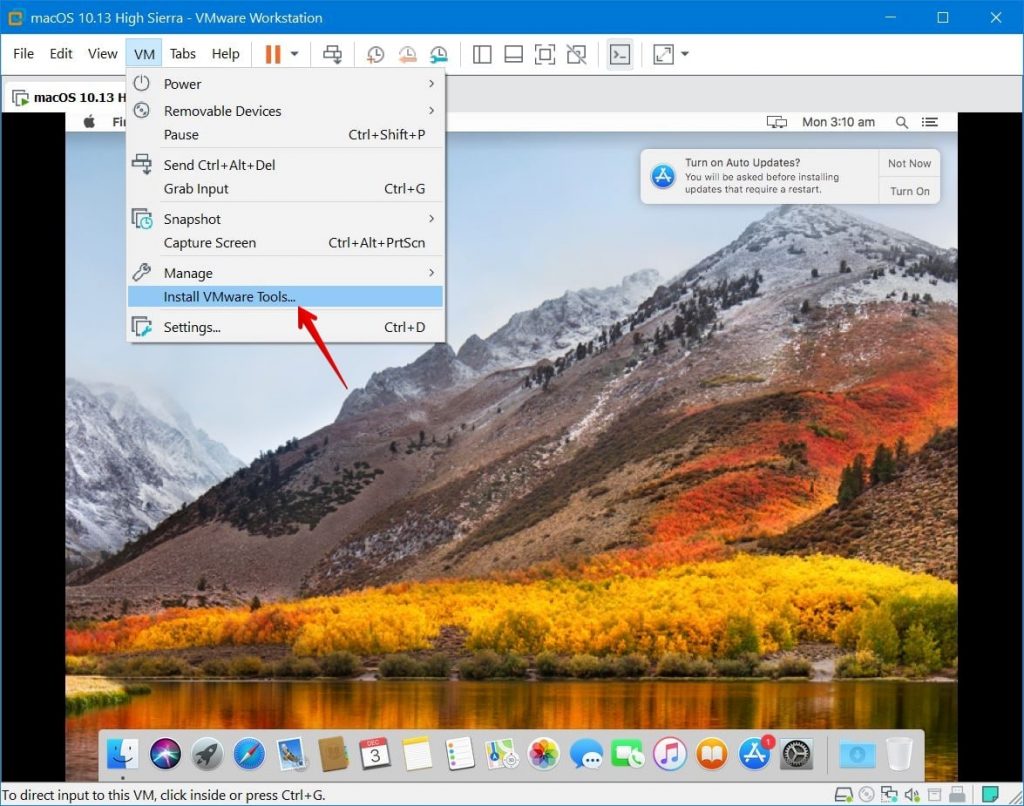
Goto menu and from VM select Install VMware Tools.
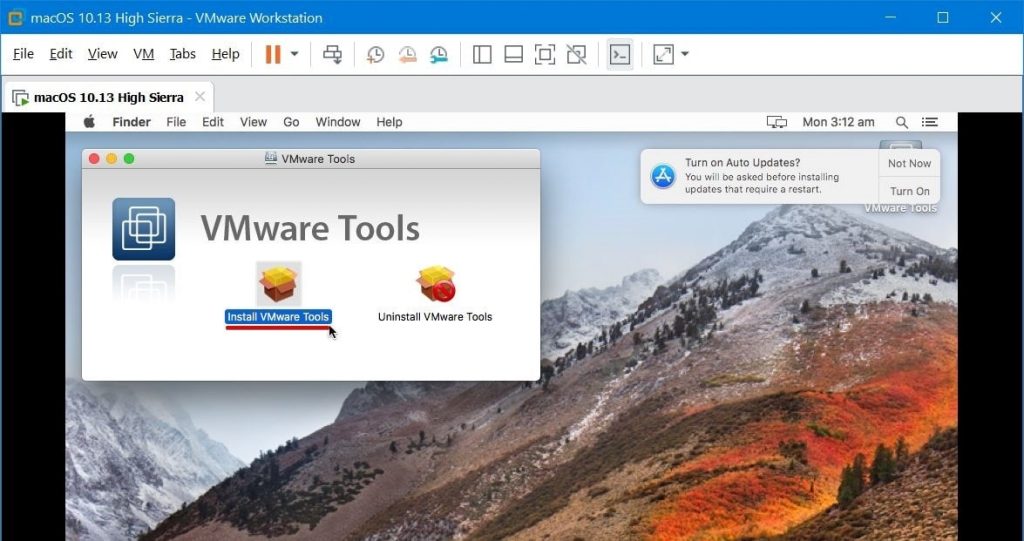
Next, when the dialog box pops up, double-click on Install VMware Tools.
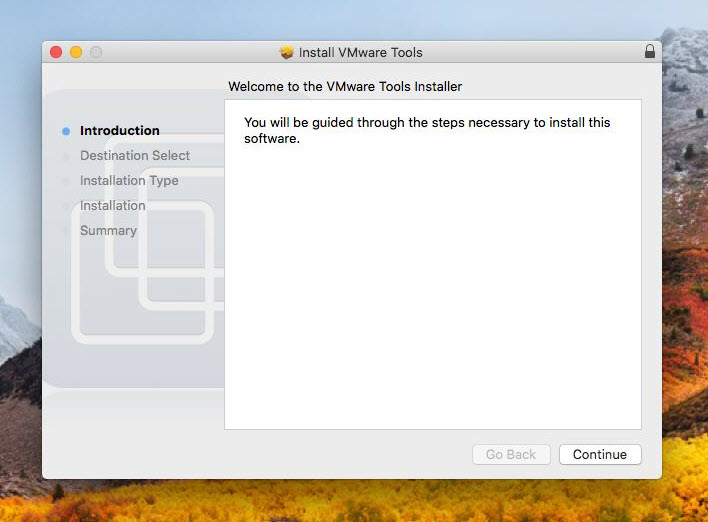
Comes to the installation, on this window, you do not need to do anything, just Continue.
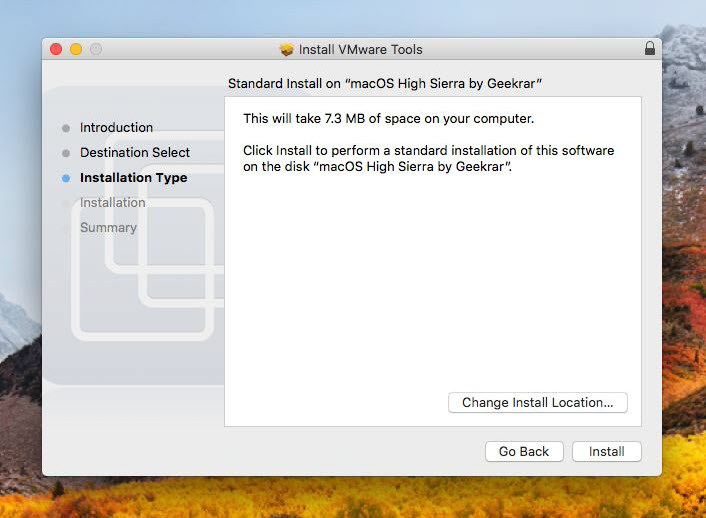
Then, to perform the installation, press Install. When you’re prompted to restart your virtual machine after installation, click Continue.
In addition, you’ll be asked for your credentials for installing, enter it and Install Software.
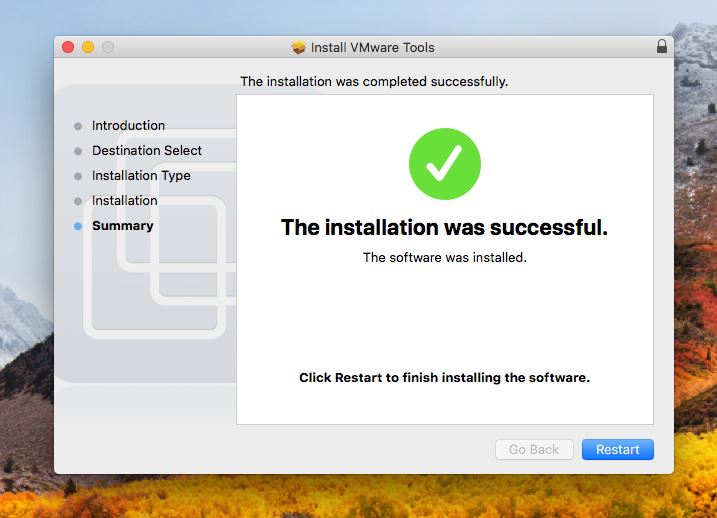
Once you do, it will take some while. When done, you’ll see the successful installation window. For performing the installation completely and apply the changes, you’ll need to restart, hit Restart and sit back relax.
When the screen comes up, you’ll probably see the changes soon. With signing in, click on full-screen mode and the magic will happen there. The extraordinary wallpaper will entirely appear on every edge of your screen. Further then, you’ll get sound, internet, drag and drop, to name some.

There you go! Everything should run smoothly as water, and your Mac is ready, in fact, this will work almost like Mac without worry.
Troubleshooting
In case, you may encounter the problem once you completed the VMware Tools installation. This happens when an extension that is not identified by macOS try to make changes. In this case, the macOS blocks it until it is manually enabled by you.
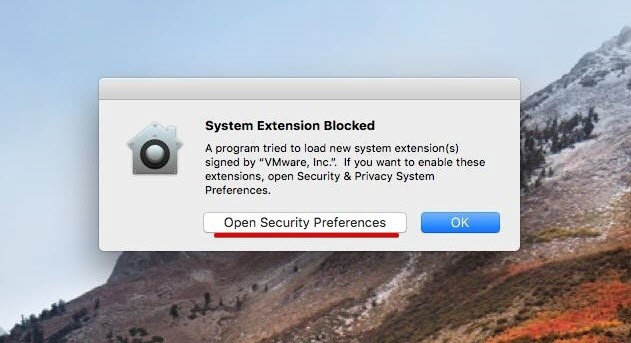
To enable this, click on Allow.
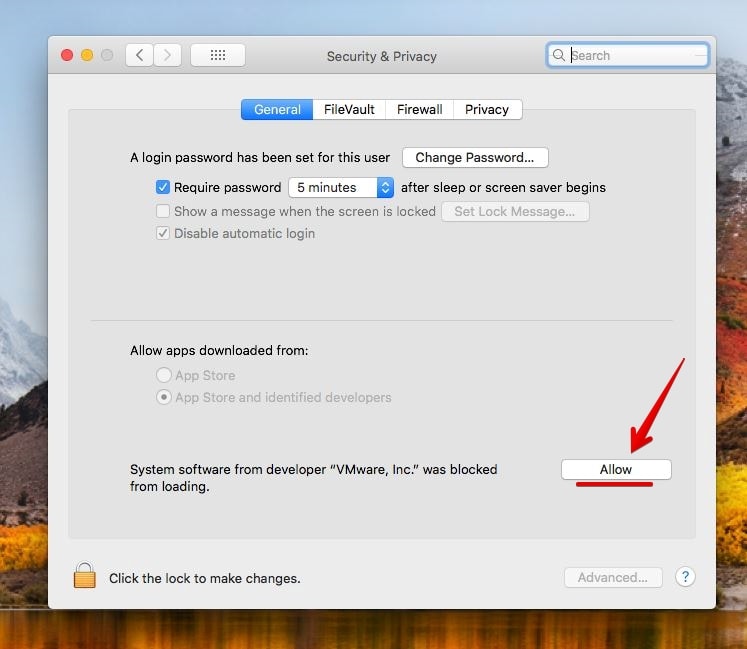
When done, restart your Mac. The restart will take a moment, later on, the VMware Tools will come into work.
Just in case, once you restarted, if you see the error again, you’ll need to allow again from Settings > Security & Privacy, and everything will be fine.
Well, that’s the end. If you’ve something to share with us, you’re highly appreciated, feel free to do it through the comment form.


Bro, this is file is present where you install the VMware, not in you download the (one file). So you find this file where you install the VMware.
I didn’t get your question!
password please for unzip the file
Geekrar.com is the password, with a capital ‘G’. Also, type it in. dont copy/paste
I have amd a10 processor 8gb ram 500gb HDD
When I am start install on VMware it’s stuck on apple logo any solution please
I think this post may help
Hello! Thank you. I successfully made it work.
Hi,
I have downloaded Full version (one file) but there is no VMDK file within it, only img.
How can I setup up wothout VMDK file?
Use this file to install macOS High Sierra on VMware.
https://drive.google.com/drive/folders/1aam0rHHgqzpCP0dyPP_1SNgvn5zSjs-i
Hi,
There is no “VMDK” in your single image file
Check out the direct link.
https://drive.google.com/drive/folders/1aam0rHHgqzpCP0dyPP_1SNgvn5zSjs-i
it has password i don’t what is please help me to unrar
Thanks You this Work
I don’t have the VMware tools installed on the VM mac and I have checked the library but nothing in there either. Error “Could not find component on update server”
Hello, my version of VMWare Pro 15 does not have the Apple MAC OS X as a guest operatng system selection. I have installed VMWare, then run the unlocker, rebooted then gone into create the guest OS. Followed it all until I get to the select guest operating system.
Ok, did you accomplished to install High Sierra completely?
It’s OK I didn’t correctly shutdown VMware when I ran the unlocker. It is now showing and I have installed the VM Mac, but problems persist with the VM tools. See my message above.
Showing probihited sign/no signal icon after apple logo appear . please help & thanks in advance
I get stuck in a boot loop of apple logo, and vmware logo
Hi
I have a problem with installation any idea ?
This host supports Intel VT-x, but the Intel VT-x implementation is incompatible with VMware Workstation.
This host does not support “Intel EPT” hardware assisted MMU virtualization.
This host does not support virtualizing real mode. The Intel “VMX Unrestricted Guest” feature is necessary to run this virtual machine on an Intel processor.
Module ‘CPUIDEarly’ power on failed.
Failed to start the virtual machine.
Hi. Enable AMD-v in BIOS and turned off PAE/NX and Nested VT-X/AMD-V in VirtualBox, try. Let me know if this works
downloadable files are password protected. I couldn’t open them.
Very clear explanations. Does it work with VMware Workstation Player (free tier) ? Thanks
Everything works fine but the resolution isnt that good. Is there a way to get full resolution in HD or 4k by any chance?
i have same question above >.<
Thanks very much brother, now i can install Mac on VMWare 🙂
Cheers !
Hi,
First of all, thanks for the tutorial.
I did the installation by following your instructions thoroughly. But when I start the machine, I get the Apple logo and immediately this error message: “The CPU has been disabled by the guest operating system. Power off or reset the virtual machine”.
I tried installing it again because maybe I did something wrong the first time, but the result was the same.
I have to say, when I tried to set up a virtual machine, I get that message almost every time. So, in the end, I ‘ve never succeeded to install a VM.
Maybe this can be important: in your pics I see that you use the Pro version, mine is the free VMWare Workstation 15 Player.
What could be wrong here?
Thanks in advance for your answer and greetings from Belgium!!
Hi,
Thanks for having you here. For this, enable VT-x in your PC BIOS settings.