


While we did install macOS High Sierra on VMware on Windows and install macOS High Sierra on VirtualBox on Windows, it’s also pretty easy to install macOS High Sierra on Mac. Even we did install macOS Catalina on VMware on Windows and install macOS Catalina on VirtualBox on Windows. What’s remains is install macOS High Sierra on VirtualBox on macOS Catalina. There might be numerous ways to install macOS High Sierra but we’ve picked to do it with VirtualBox. In this post, we’ll install macOS High Sierra on VirtualBox on macOS Catalina. So let’s do this thing.
The High Sierra is Apple’s one of the most successful operating systems. Without the support of Apple, the High Sierra is quite preferred by the users even after two different versions of macOS out there which are macOS Mojave and macOS Catalina. Though Apple’s choice and recommendations are these two new versions macOS, choosing one of them. But still, there are lots of users who would like to install macOS High Sierra whether on virtual machines and install macOS High Sierra on their Mac.
For installing High Sierra on Mac, we’ve provided the important DOWNLOAD MACOS HIGH SIERRA 10.13.6 DMG FILE. Although it’s also available on the App Store but it doesn’t work all the time. That’s why we’ve provided macOS High Sierra DMG file in addition to macOS Mojave DMG file, macOS Catalina DMG file and a few more. With the High Sierra installer file, you can definitely install macOS High Sierra quite easily without the need to follow steps or show it. That’s what a Mac user probably knows.
For installing macOS High Sierra on VirtualBox or VMware on Windows, we’ve prepared and provided the files. The files which are required for the installation is, macOS High Sierra VMware & VirtualBox Image, VMware Workstation/Player or VirtualBox, VMware Unlocker Patch Tool, a few codes which is provided within the article and that’s it. However, as there are two ways to install macOS High Sierra on Windows particularly on VMware and VirtualBox. For the other method, we require only a different file which is macOS High Sierra ISO for VMware & VirtualBox. What’s still isn’t done and is also important is installing macOS High Sierra on VirtualBox on macOS Catalina that the host here will be [Mac].
Table of Contents
What You’ll Need
Just like installing macOS Catalina on VMware and installing macOS Catalina on VirtualBox, we’ll also provide macOS High Sierra required files. These files are really important and none of them can be skipped. We highly recommend downloading entirely these files and not skip any of them. The files are served on Google Drive or MediaFire so no need to worry about them.
- macOS High Sierra ISO — First and foremost, we’ll need macOS High Sierra ISO. We’ve previously created and showed it in a separate tutorial. The link is provided on how to do it and keep it when it’s done.
- VirtualBox — Windows supports virtualization which is particularly virtual machines but it doesn’t have any native program except Hyper-v. To install High Sierra, we’ll need VirtualBox. Download VirtualBox and install it now.
These are the only files required for the installation. When the files in hand, install it as we do through the steps and it will be all done.
Step One – Create or Download macOS High Sierra ISO
There are two ways to achieve macOS High Sierra ISO. First, create macOS High Sierra ISO and second, download macOS High Sierra ISO. Whether you’d like to create or download, we’ve both the ways covered.
Creating macOS High Sierra ISO requires a few things specifically DOWNLOAD MACOS HIGH SIERRA 10.13.6 DMG FILE or downloaded from the App Store. When that’s done, we need to apply some commands which is easy. The only not difficult but time-consuming and internet consuming step. If you’re one of those users who have access to these two things, we’re happy to say that you can create High Sierra ISO.
For those who don’t have access to these, we have a comfortable idea. That is downloading macOS High Sierra ISO. Yes that’s right. In addition to creating macOS High Sierra ISO, we’ve also provided the High Sierra ISO which we’ve made. Those who can’t download for whatever reason, they can probably download it from us.
Step Two – Install VirtualBox on Windows
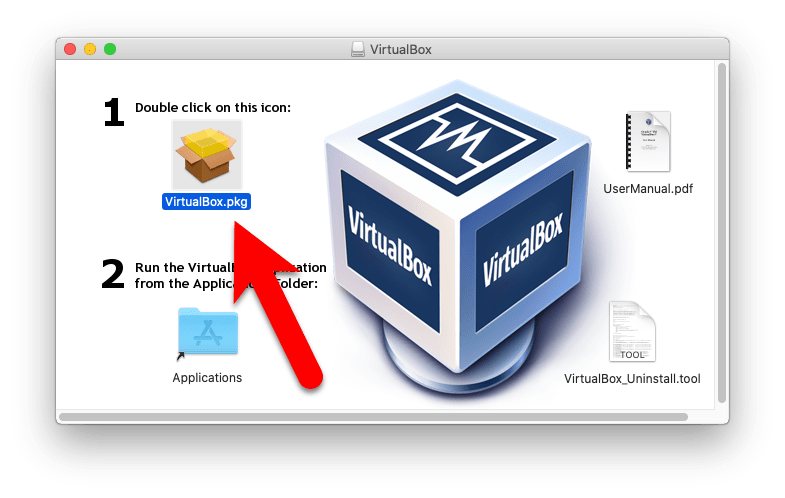
In order to install macOS High Sierra on macOS, first, we need to install VirtualBox. As we captured the VirtualBox installer file from above, we’ll head to the installation part. This part is easy but important.
Launch the VirtualBox installer file and proceed with it.

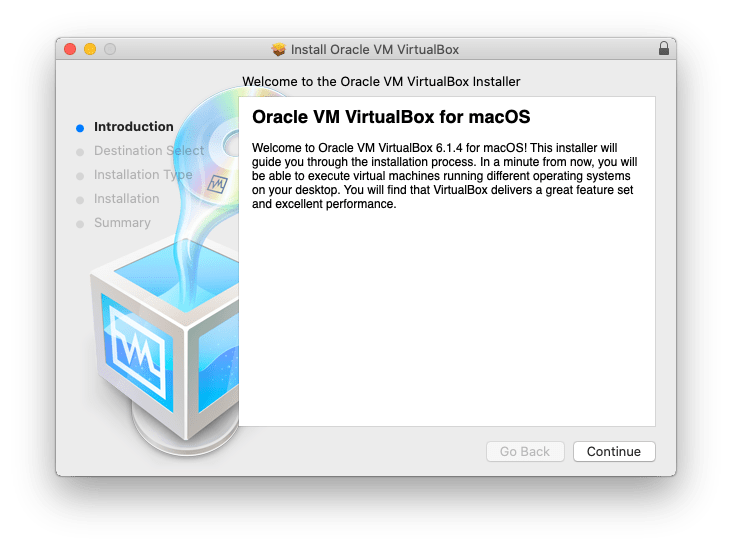
Click Continue on the wizard a few times and Install it.

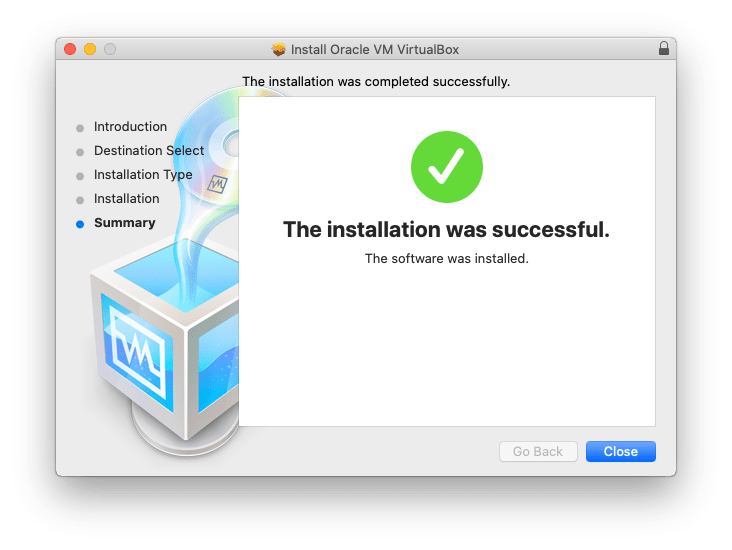
When the VirtualBox installed, click Close.

Step Three – Create a New Virtual Machine
As far as installing High Sierra is concerned, creating a virtual machine is the key to it. Without even installing VirtualBox extension pack which is required to install when installing High Sierra or other macOS versions on VirtualBox. While that’s a nice thing to do but it’s better not to when we can do it without.
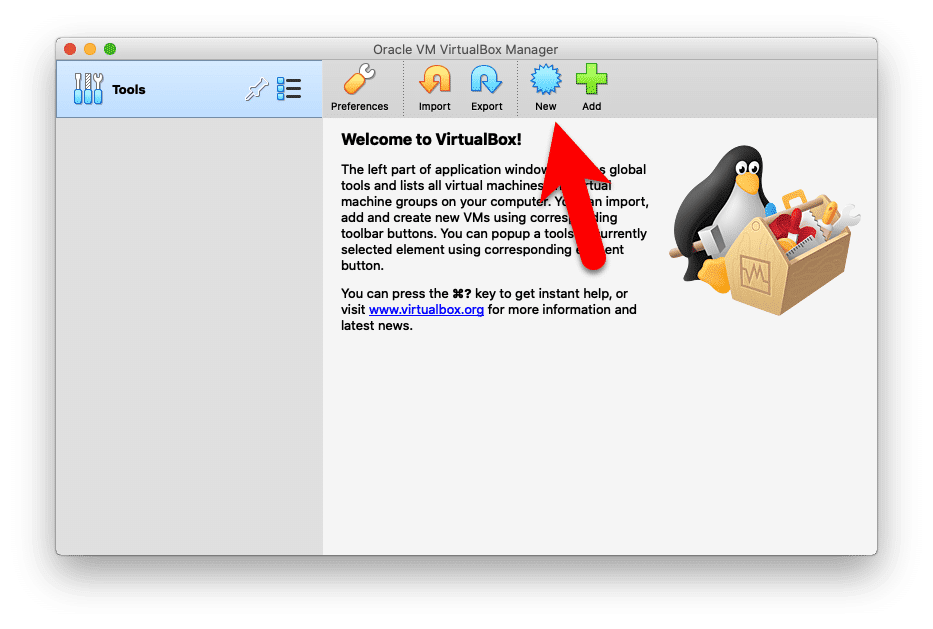
Launch the VirtualBox and click on New.

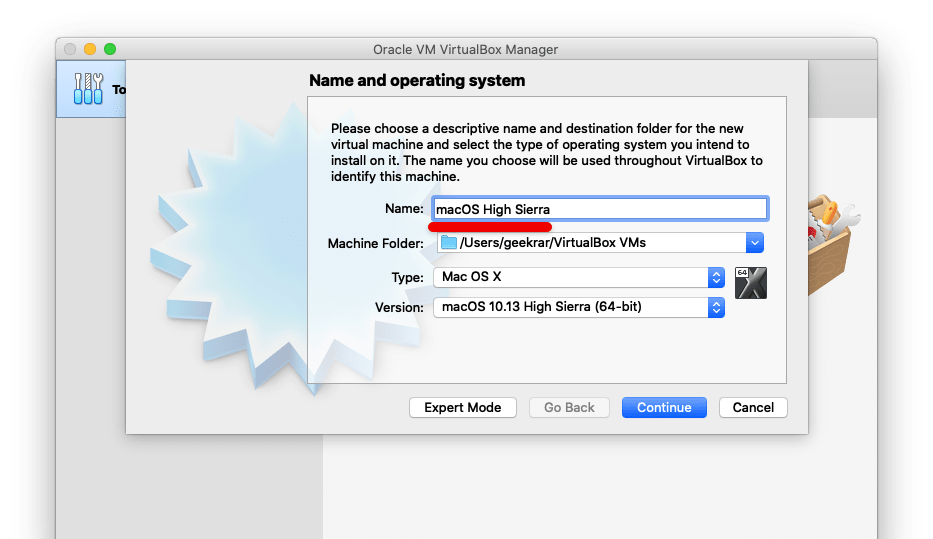
Write macOS High Sierra for its name and it will detect the settings itself, so click on Continue.

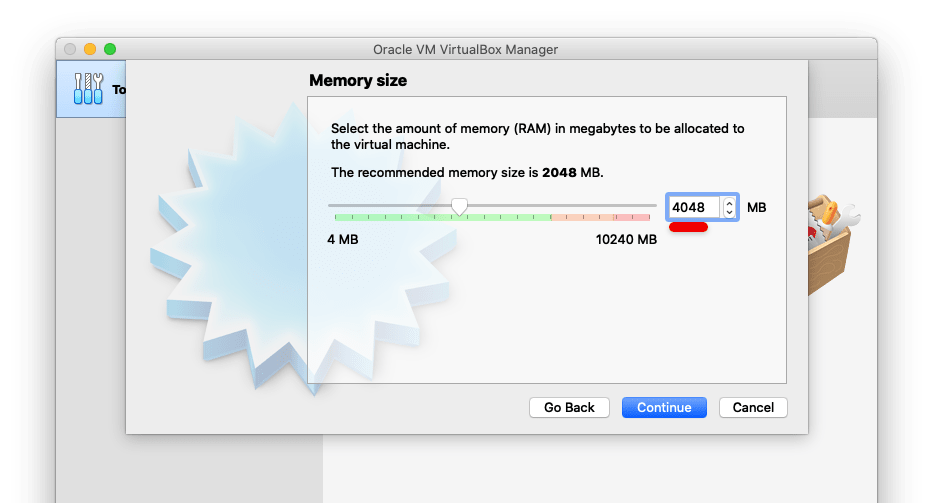
Set up 4GB or more memory to it and click Continue.

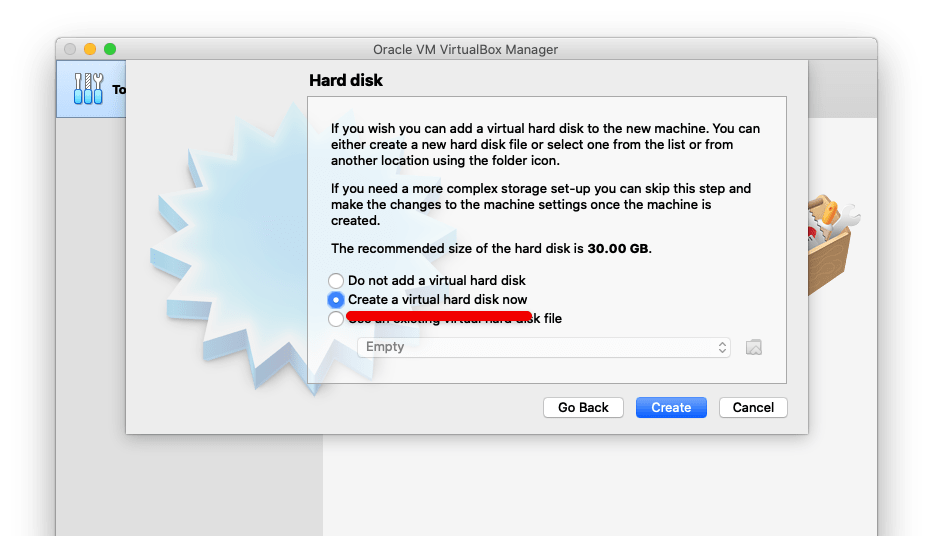
Create a hard disk with this option so click Create.

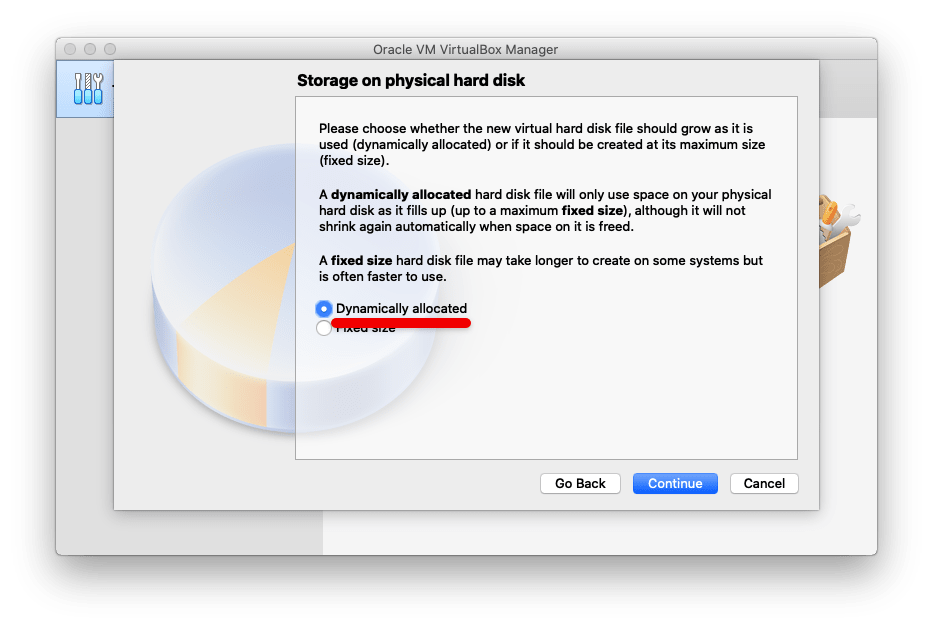
Let the Hard Disk by default and click Continue.

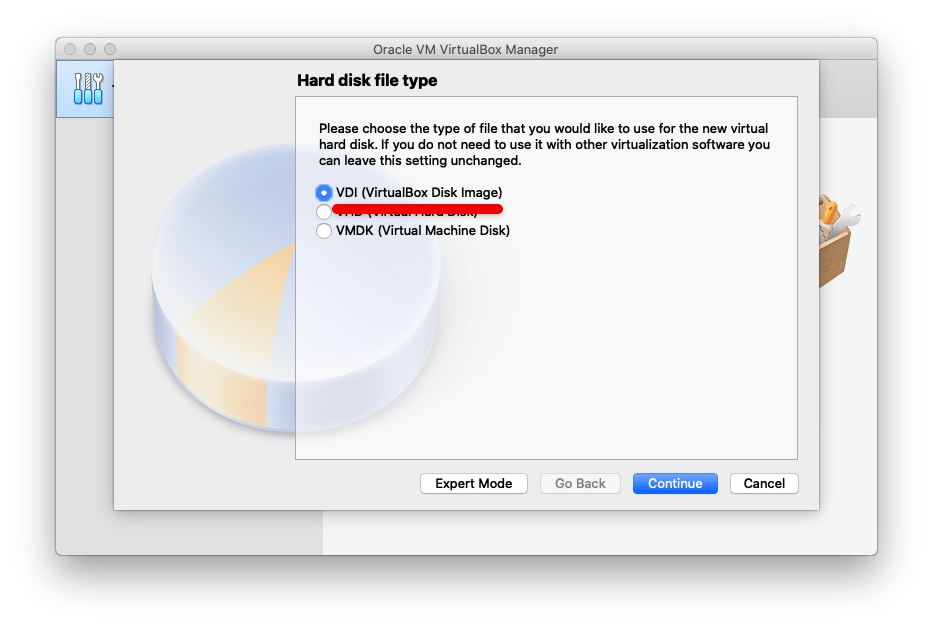
The settings are okay here so Continue only.

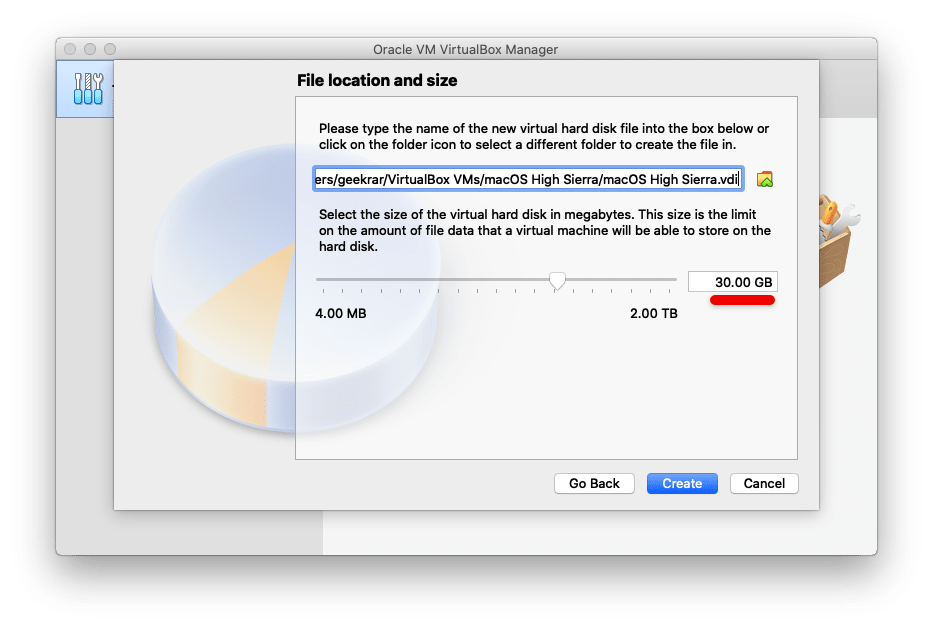
Specify a location and size of the disk for at least 30GB or more and Create.

Step Four – Set up Virtual Machine’s Settings
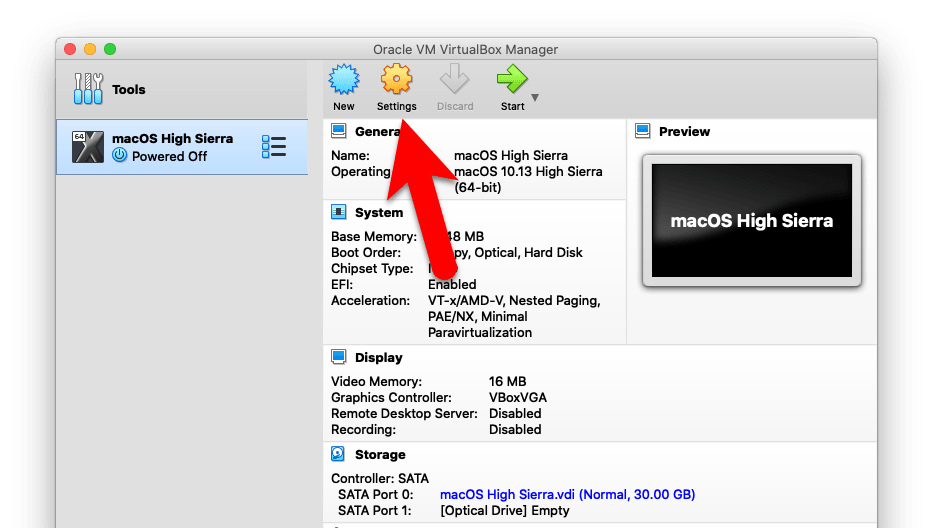
Once the machine is created, we’ll make some changes to the settings. What we’re gonna do is make some little changes and importantly add the High Sierra ISO which will help boot and install High Sierra. Once more, no one of the settings is skippable and it should be done carefully.
Click on Settings on the machine.

From the system tab, uncheck the Floppy.


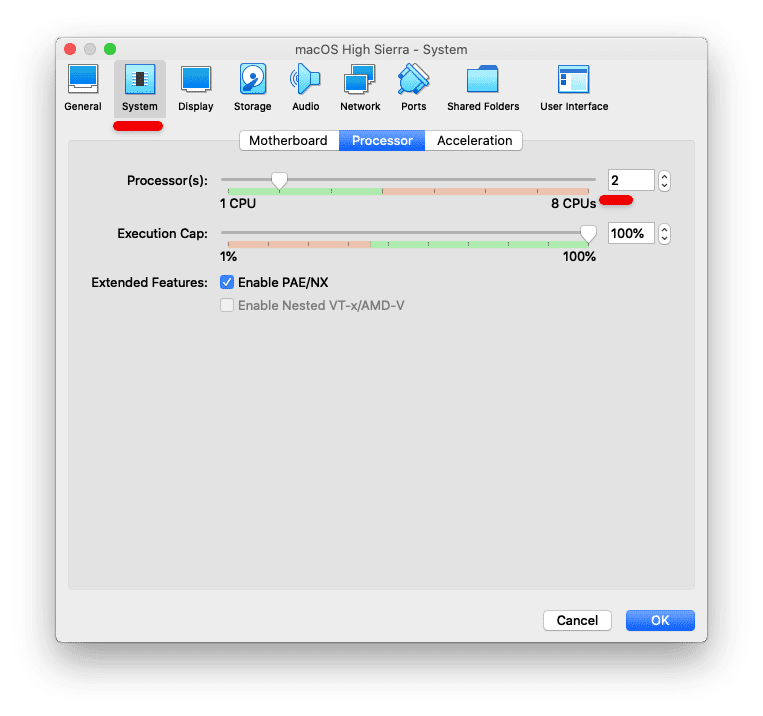
Head over to the System tab and increase the processor to two or more.

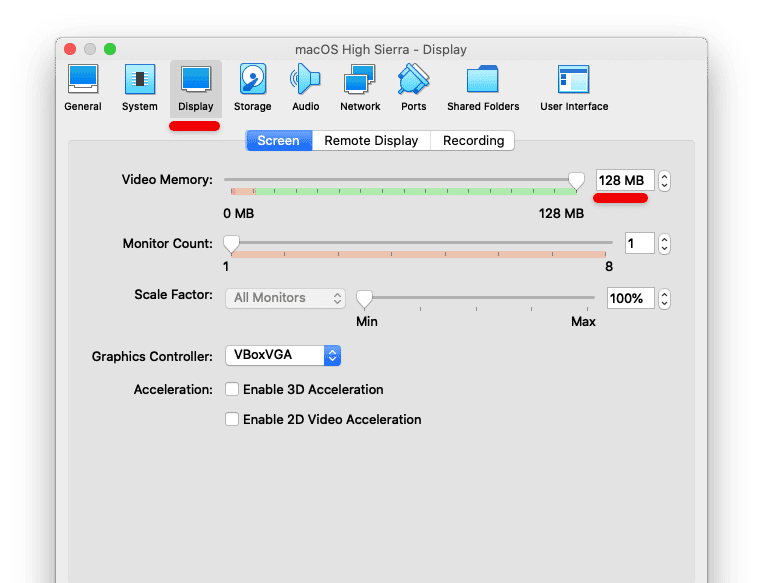
Next to the Display tab, increase the video memory to the highest.

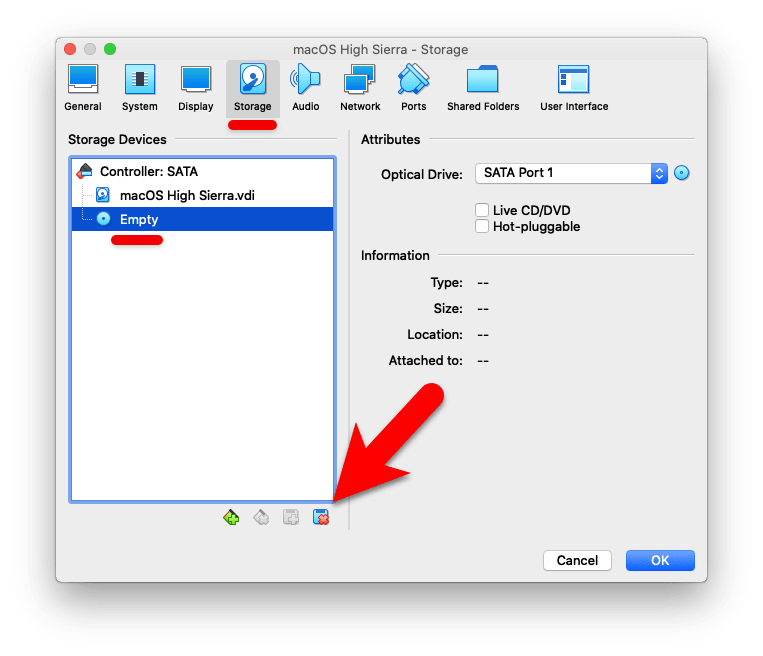
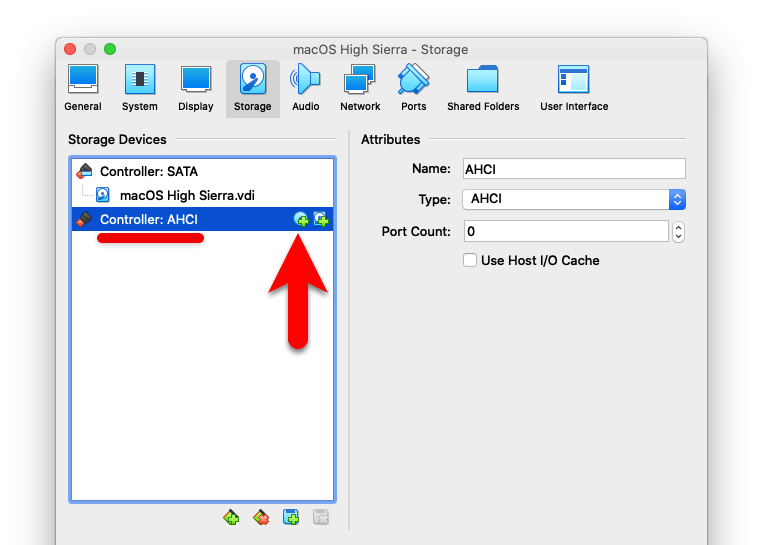
From the Storage tab, click on Empty and remove it from the bottom of the window.

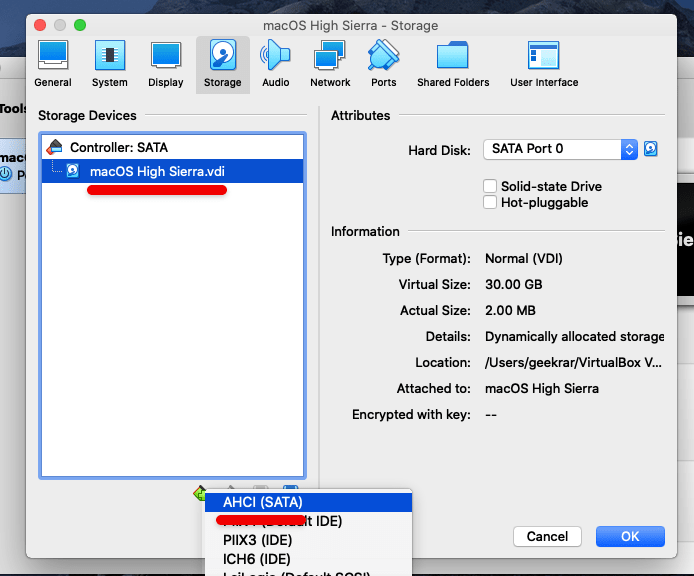
Now click on the High Sierra disk and click on the + icon from the bottom and select AHCI (SATA).

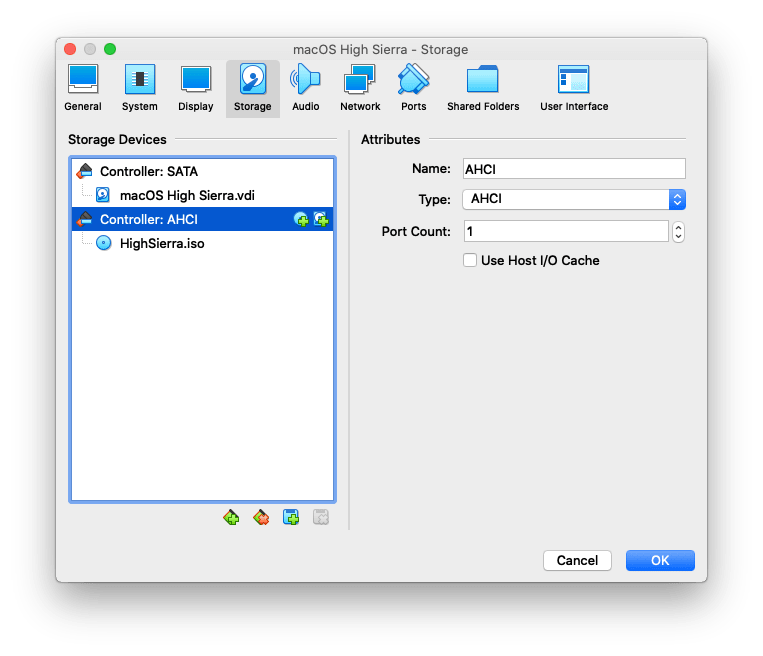
Once it’s added, click on the disc icon and choose macOS High Sierra ISO.

That done, click OK on the settings window.

Step Five – Install macOS High Sierra on VirtualBox
Unlike installing High Sierra on VirtualBox on Windows that we need to patch VirtualBox and make many settings to make it work. That is because Apple prevents installing macOS on non-Apple hardware. Instead, installing High Sierra on VirtualBox on macOS Catalina on Mac, Apple let us install and run macOS High Sierra on VirtualBox without any problem.
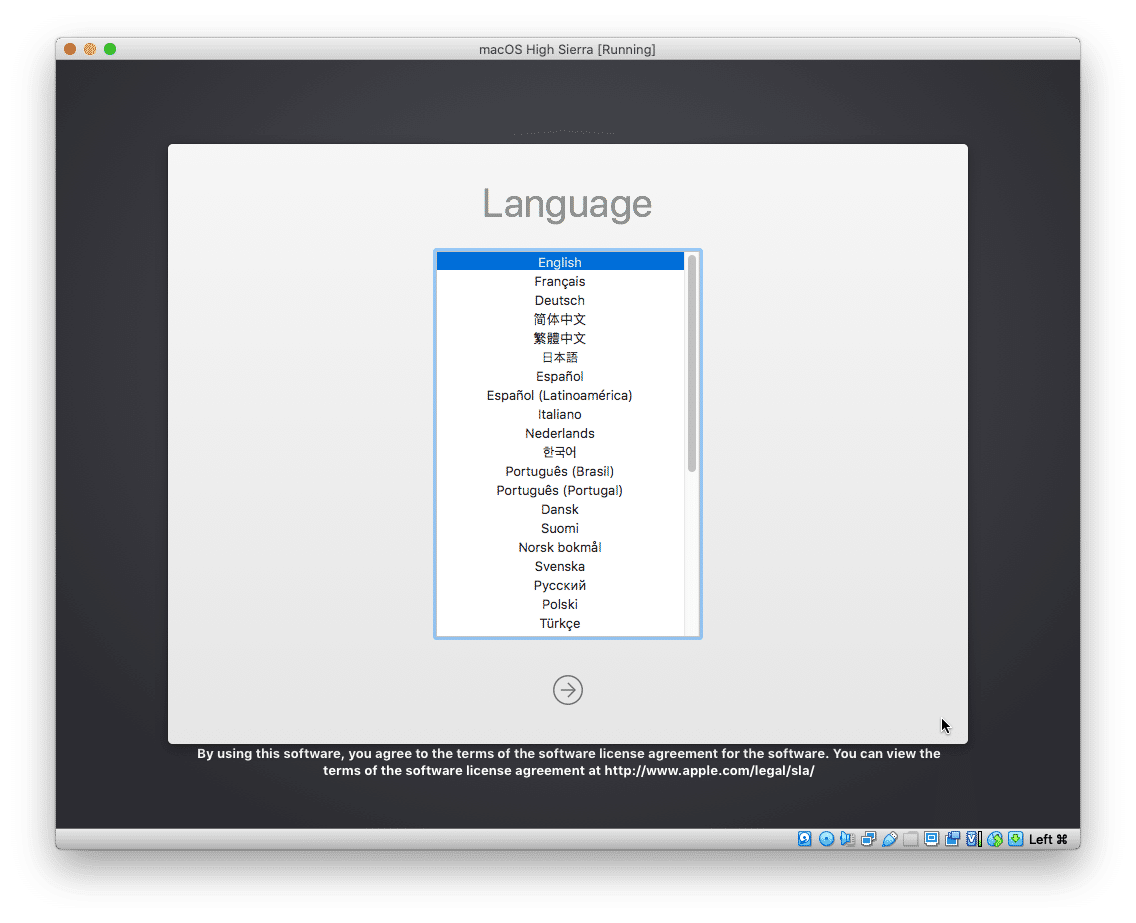
In this point, we can switch the High Sierra machine on. Click on Start.


After it boots up, choose your language.

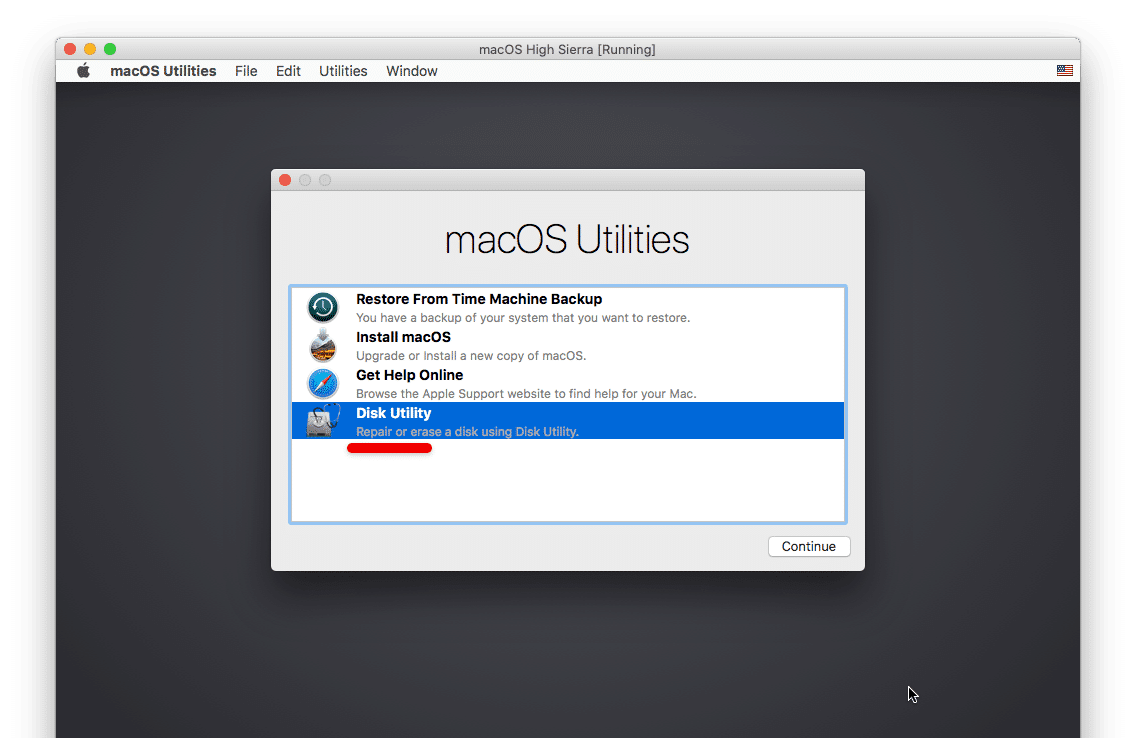
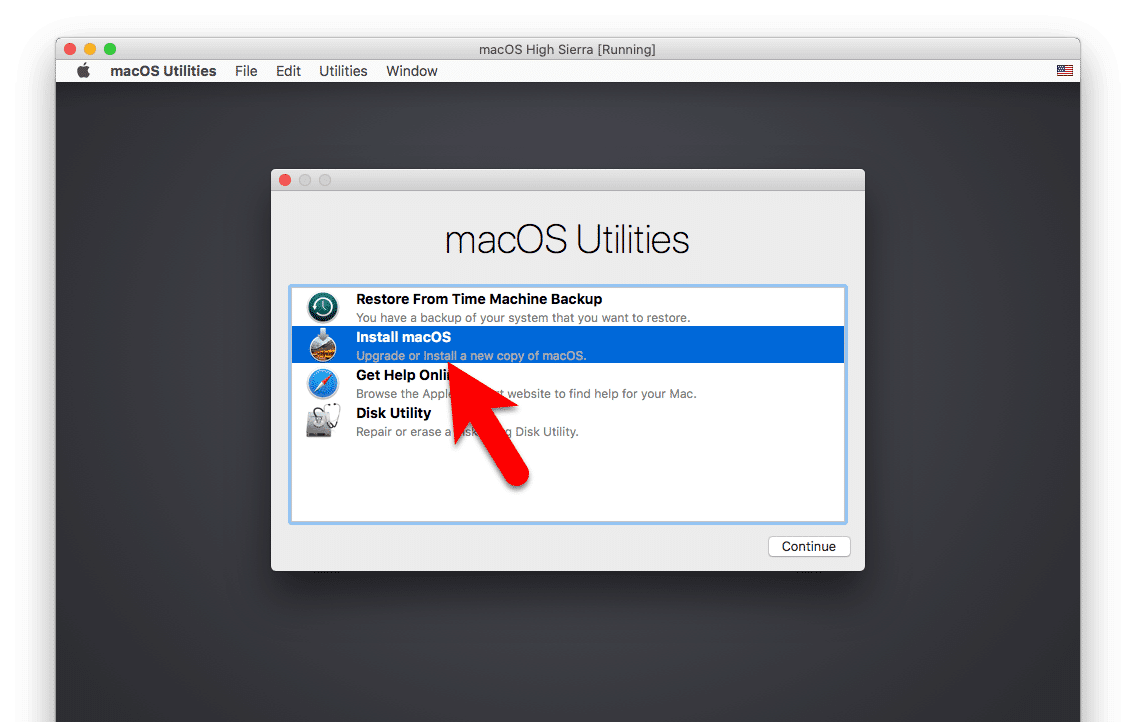
Select Disk Utility from the menu and click on Continue.

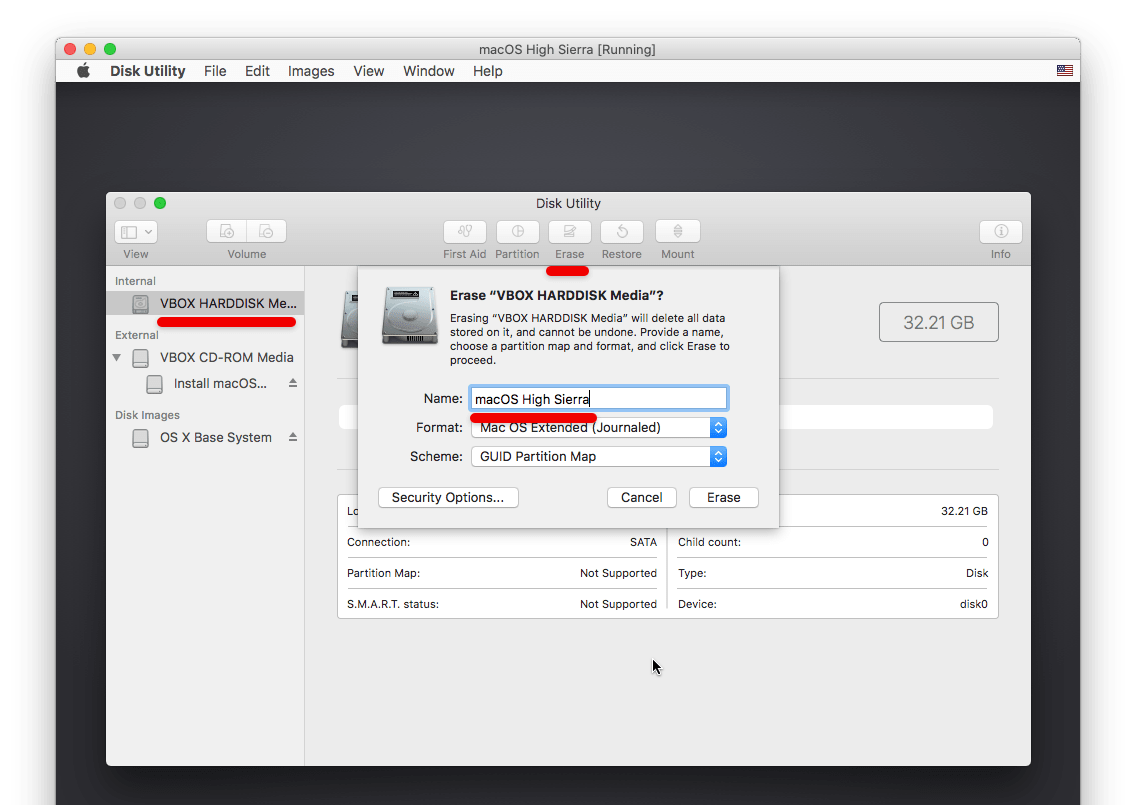
After its there, select the VirtualBox disk and click on Erase. Name the disk and click on Erase.

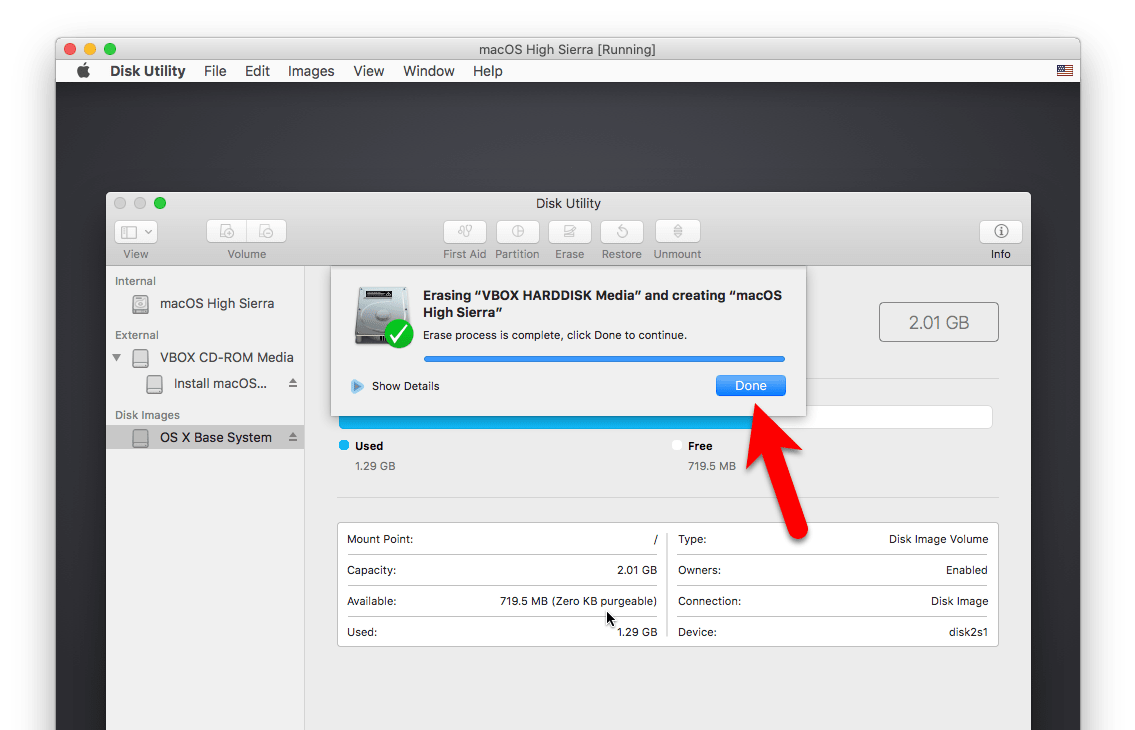
Once finished, click on Done and close the window.

Back to this window, select Install macOS and Continue.

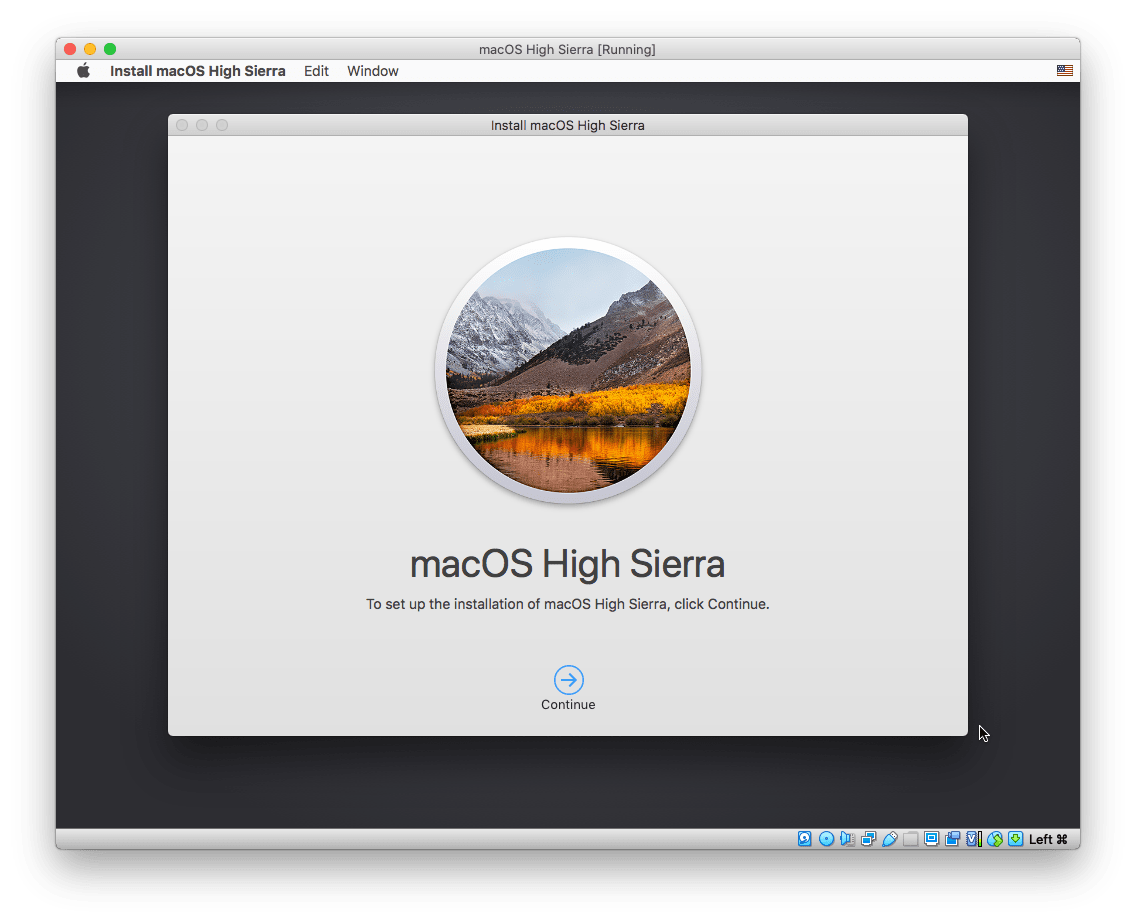
Continue only.

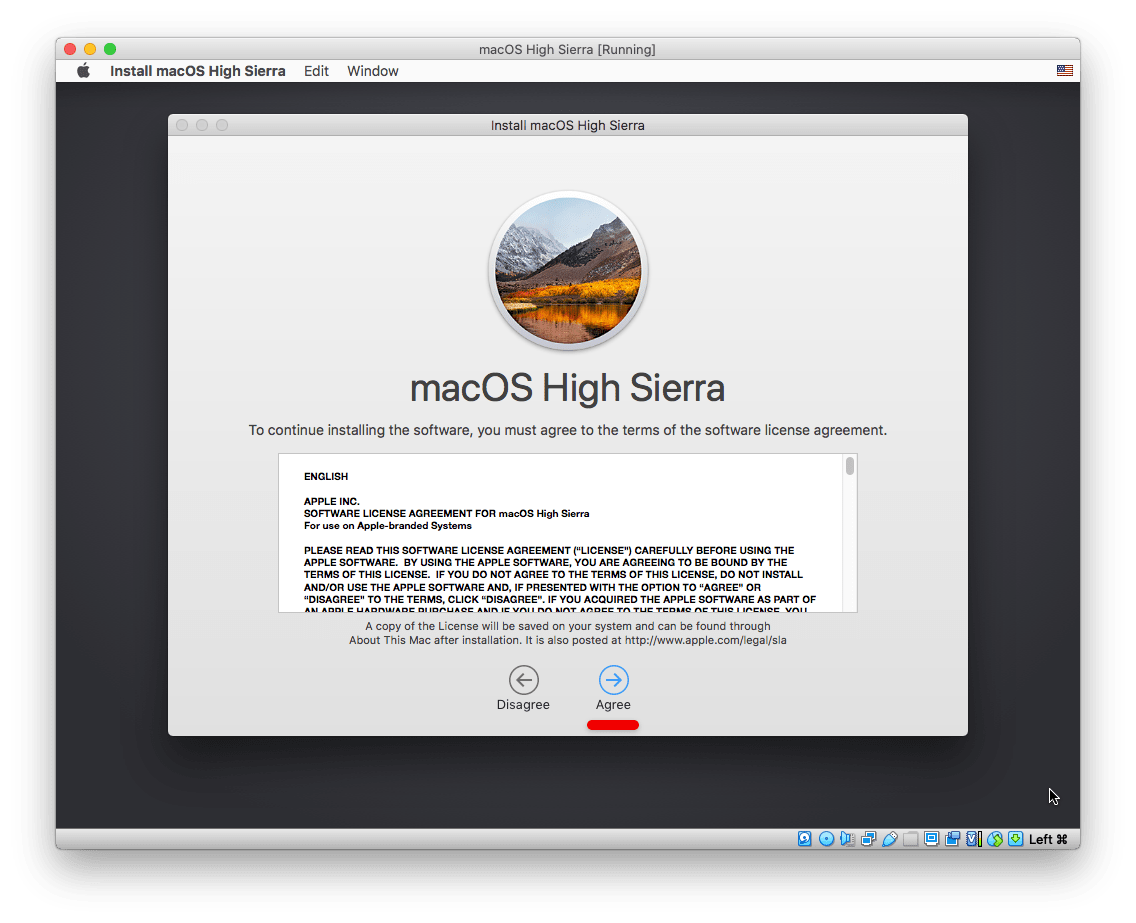
Accept the terms.

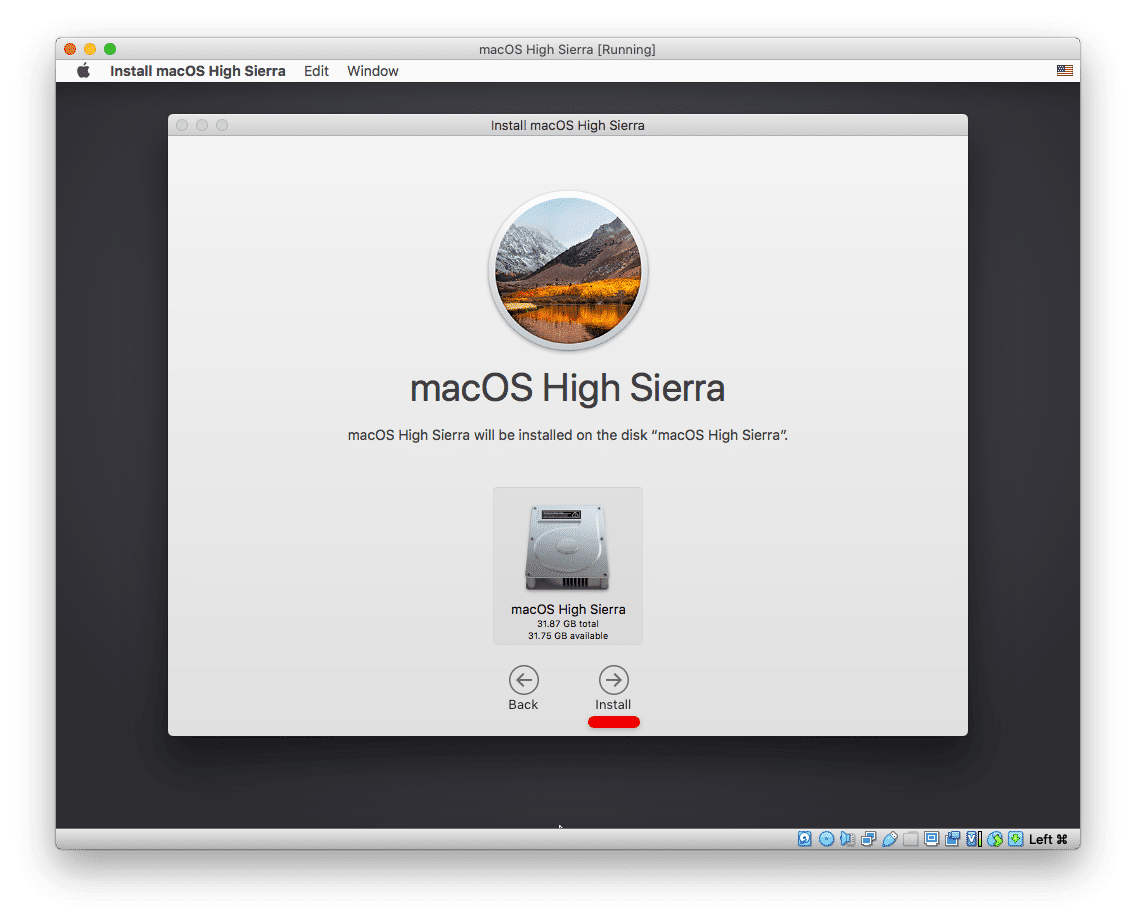
Select the only disk and click Install.

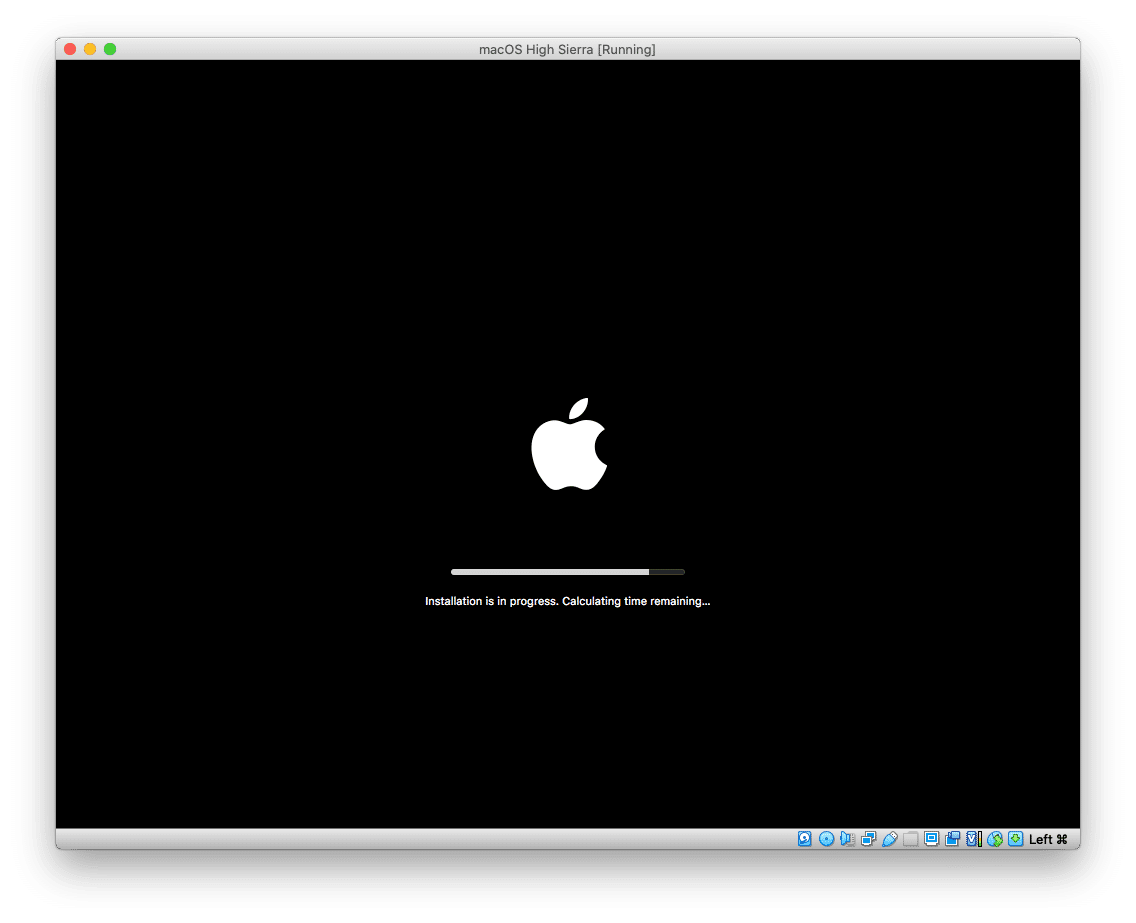
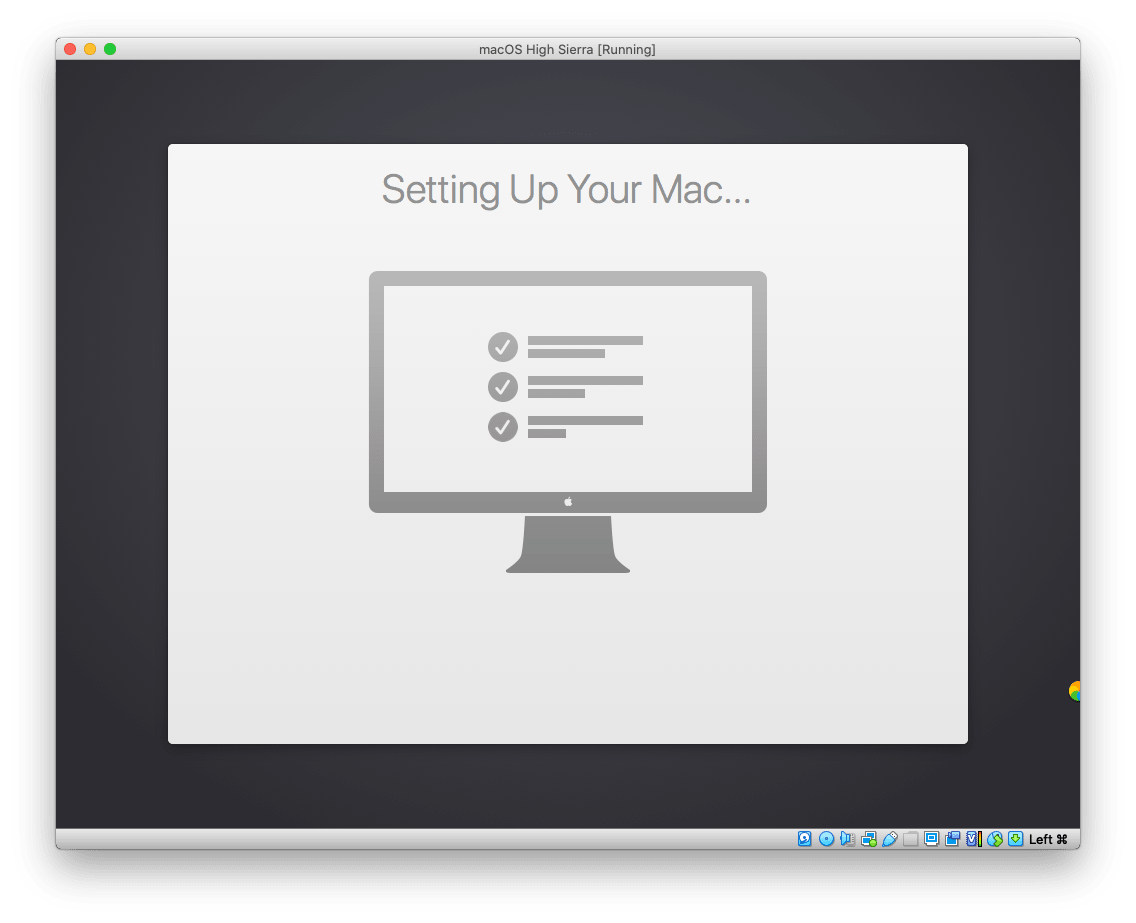
The installation will take time depending on the resources you’ve assigned, so it will take a while.

Once it’s finished, you’ll see the Welcome Window.

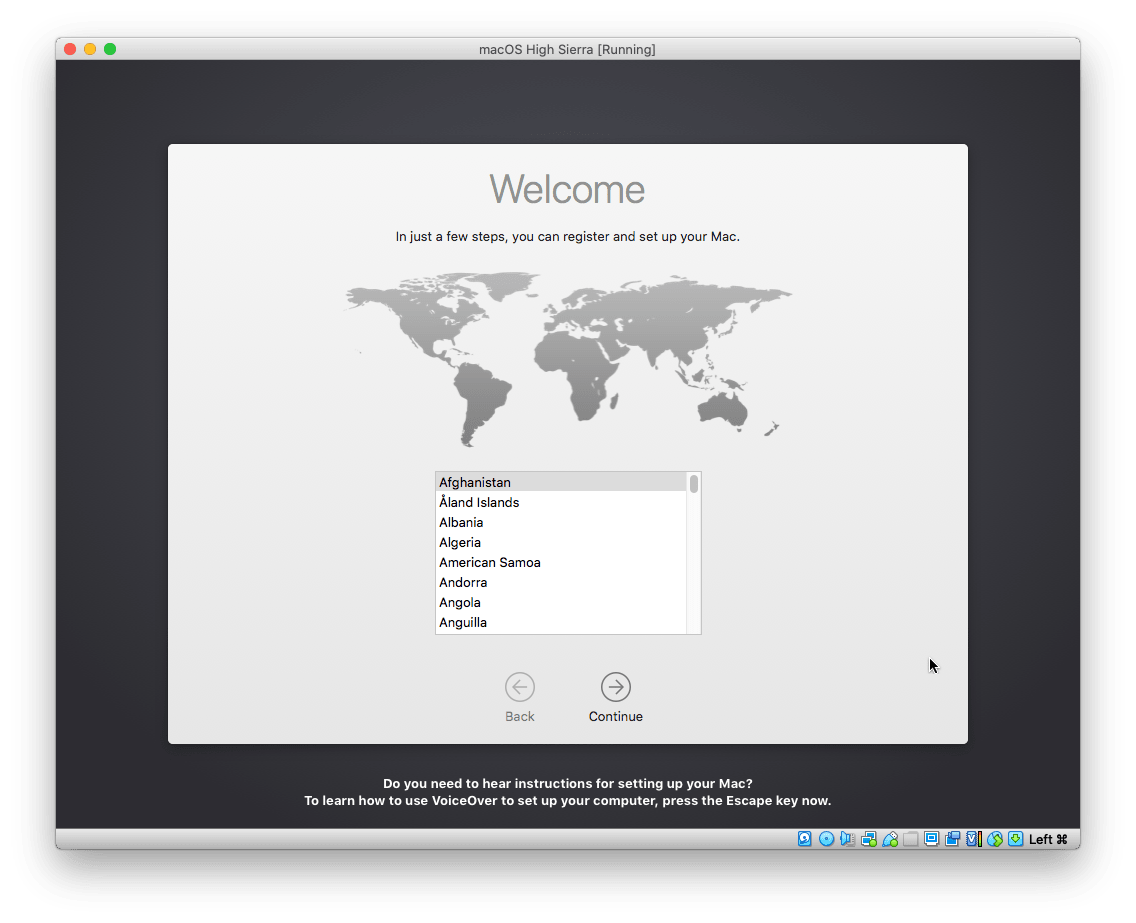
From this point, proceed with the simple installation steps and eventually, it will be installed.

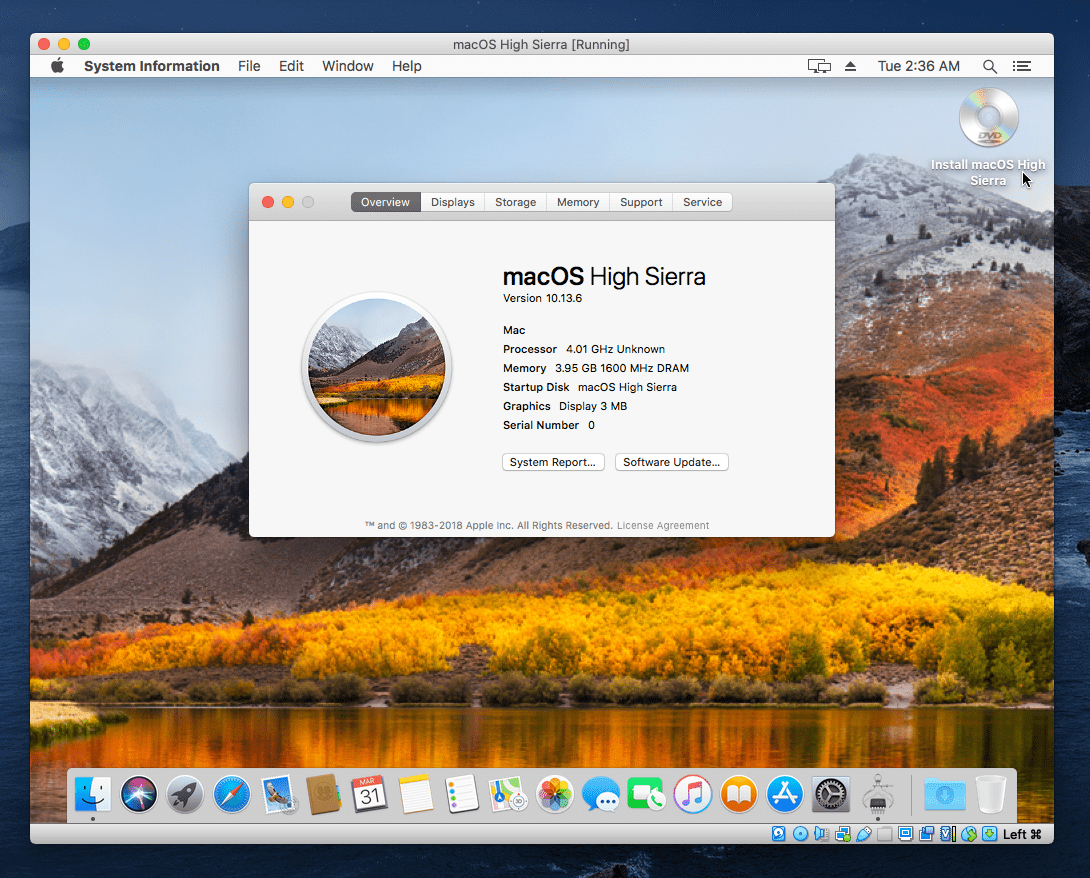
There it is. The macOS High Sierra has now completely installed and is ready to go.

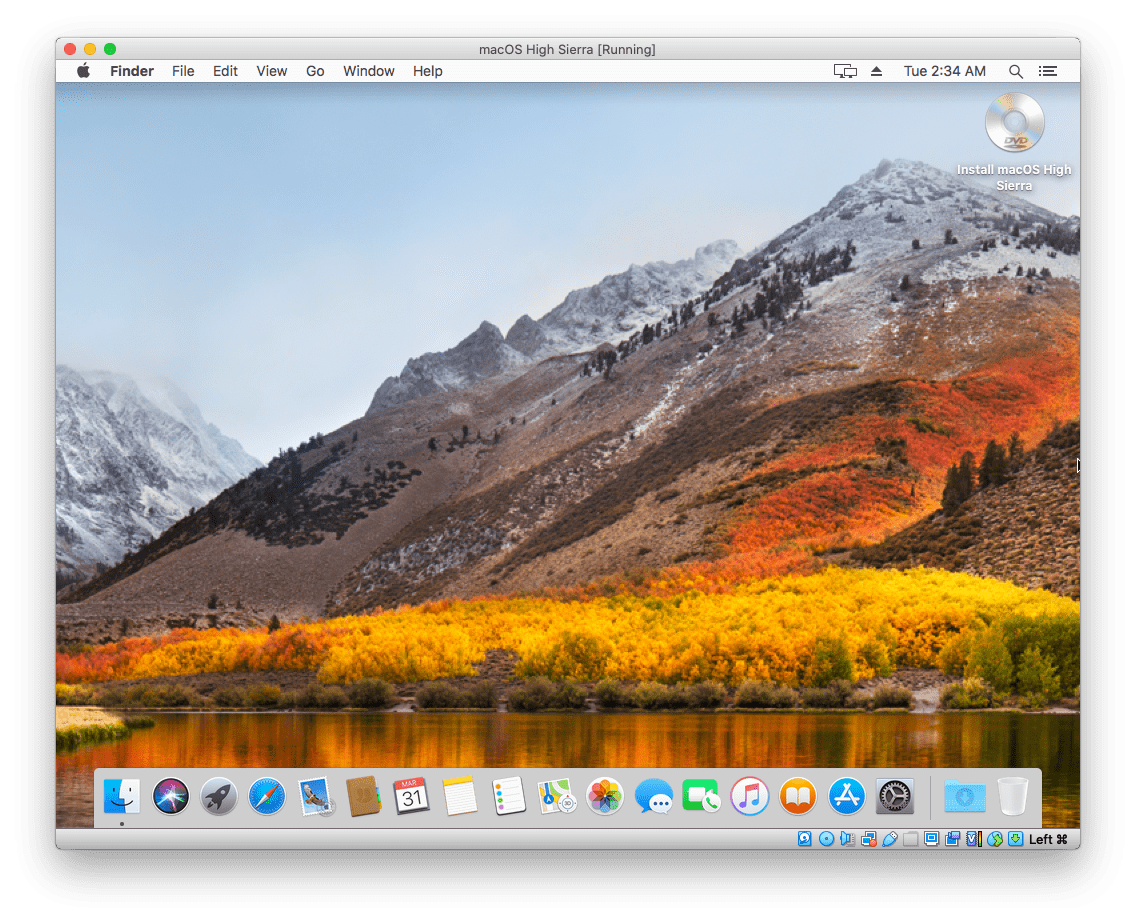
This works like the actual macOS on a Mac or Windows and has everything a computer needs.

That’s the High Sierra installed on Mac. This should work pretty well like ours one and we hope it works for you.
Now install apps, surf on Safari, download PDF files on Safari, and do pretty much all you’d do on your Mac. Even more than that, you can also check, stop Facebook from tracking you in Firefox, test apps, features and everything you wouldn’t on your computer. This won’t effect not even make a single tiny change to your computer.
That’s all to there it is. If you’ve something to tell us, we’re more than happy to know it.