


In this post, we’ll install macOS Catalina on VMware on Windows PC. For this procedure, we’ll also need VMware Unlocker Patch Tool for macOS or macOS VMware Unlocker Patch Tool, so we’ve provided this and also installed it in this tutorial. In a significant event of Apple’s yearly developer conference which started yesterday, the keynote was chock-full of announcements, demos, and some super mind-blowing tech. From killing iTunes to iPadOS, here’s some of the best stuff that came out at WWDC 2019 so far. In this post, we’ll install macOS Catalina on VMware on Windows PC. We’ll do with macOS Catalina Unlocker for VMware or VMware Unlocker for macOS Workstation and Player. Here’s how to do it.
That’s just a small number of things that were announced and shown yesterday, but expanding those, there are some more. While there’s a lot of new stuff to talk about but first the important stuff: Of all the things announced yesterday, by far the coolest update to Mac is the next version of macOS, which was introduced on the stage is macOS Catilina.
With the most powerful Mac, it also needs a powerful macOS operating system. The worlds most advanced desktop operating system has now got the next major release of macOS. It’s no other but macOS Catalina.
After Sierra, High Sierra, Mojave, the next one is macOS Catalina. Now Catalina includes a huge deal of fresh green stuff. First off, starting off with iTunes, Apple’s Senior VP Craig Federighi nailed it with making fun of showing off some apps in iTunes.
Now there’s a new photo browsing experience, an updated start page in Safari, the brand-new gallery view in Notes and a completely redesigned reminders app. There’s also a screen time to the Mac. But when it comes to third-party apps, Mac users love to work with so they love more of them.
Table of Contents
macOS Unlocker for VMware (VMware Unlocker Tool)
Download VMware Unlocker Tool or Unlocker for VMware which will patch VMware. This macOS Catalina Unlocker for VMware make install macOS Catalina on VMware work. If you’re wondering what Unlocker actually is. It’s VMware Unlocker for macOS which Unlocks VMware for macOS Catalina or macOS to install with the option it creates. This VMware Unlocker or VMware Unlocker for macOS will definitely make the installation successful. We’ve tested and work with VMware Unlocker in VMware Workstation and Player so that’s great.
What’s a Virtual Machine?
While it’s entirely possible for Mac users to run Windows apps on macOS, believe it or not, Windows users could actually do the opposite — running entire macOS and apps in Windows with a pretty rock-solid software, meet VMware Workstation Player. There are VMware Workstation and VMware Player version of the VMware. While the price is the most important part, but if you use the VMware Player mode, you’ll use it for free.
What VMware actually does is, it utilizes the power of virtual machines to let you try different operating systems within the Windows. For some quick background, virtual machines are a sandboxed separate environment with its own virtual hardware that allow you play with different operating systems within your working OS. There’s no doubt in you could entirely run the operating system specifically Catalina.
Install macOS Catalina on VMware on Windows PC
In order to install, you’ll certainly need the macOS Catalina image. But that doesn’t mean downloading macOS Catalina from the Apple beta program or from App Store when it’s released. Even if you do that and try installing macOS Catalina on VMware, you’ll end up without proceeding. In this case, we’ve created and configured the macOS Catalina VMware image specifically for VMware which ends up with the file extension .vmdk. All you’ve to do is download the image and extract it.
- Related: Install macOS Catalina on VMware on Windows PC [New Method]
Why You’d Want to Create a Virtual Machine
There’s a whole lot of benefits of running an operating system in a virtual machine. The first is you aren’t willing to install the operating system aside or in place of your actual operating system. The second is, you might be willing to remain your data untouched since the VM works in an entirely separated environment. The next is, you’re willing to give a try to the operating system instead of purchasing it. While the Macs are undeniably super expensive, you might want to try or work with the macOS for free which this is the perfect option.
When you could use the virtual machine, you would probably want to install macOS Catalina on your Windows computer for some reason. For all these reasons and more, you can completely try it for completely free with this walkthrough. If this sounds appealing to you, here’s how to install macOS Catalina on VMware on Windows PC. After all, there’s no compatibility question in terms of installing macOS Catalina on VMware.
What You’ll Need
If you’ve been considering giving your computer a new update, Catalina is one of the most popular operating system update available today. In order to install, we’ve created and provided you some tools that you’re going to need. Go ahead and collect them all now. Here’s the list:
- VMware Workstation / VMware Player (Link 1 | Link 2)— If I was to choose between the virtual machine apps, I would definitely choose VMware. Although VMware doesn’t support install macOS Catalina or other versions of macOS with the quick tool, that’s not a hurdle. Not only you would install macOS Catalina but you’ll certainly experience whole features which makes Catalina awesome. With Catalina running on the virtual machine, you’ll get all the tools you’ll need in a real computer such as the internet, sound, screen resolution, and a lot more. When you’ve installed macOS Catalina, you can also install the VMware Tools which enhances the performance and provides some great features such as full-screen resolution.
- Unlocker For VMware or VMware Unlocker Tool — The macOS Catalina on VMware requires a useful file which is VMware Unlocker Patch Tool. This particular file patches the VMware to install macOS Catalina on VMware. VMware Unlocker Patch Tool (Unlocker for VMware) is a macOS Catalina Unlocker Patch tool created for installing macOS on VMware.
Join us on Patreon and support us in making better content.
For the complete video: Install macOS Catalina on VMware on Windows PC [Video]
After you’re done, you may extract the files with Winrar or 7-Zip to make them ready to use. Here’s also the latest macOS Catalina VMware and VirtualBox available to download.
With your preparations done, you’re ready to get flashing.
Here’s a new method to install macOS Catalina on VMware on Windows PC.
- Install macOS Catalina on VMware on Windows PC [New Method]
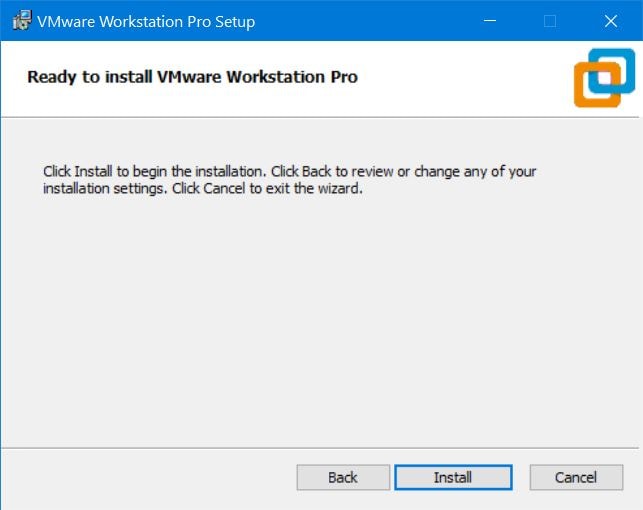
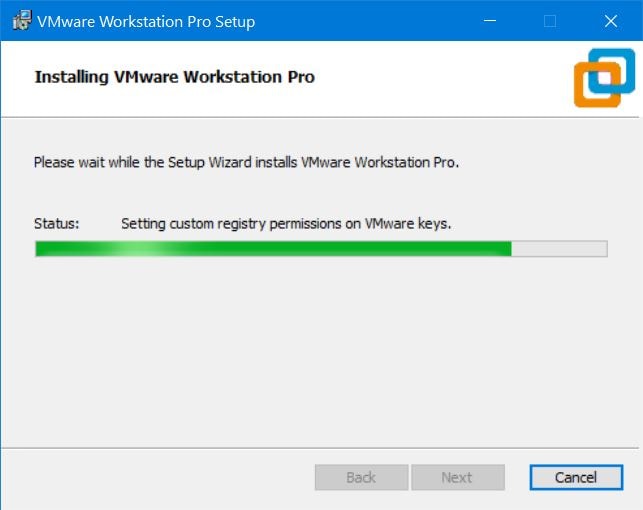
Step One: Install VMware Workstation Player on Windows
Before you get super excited and start dipping into things, make sure you have everything you need to get started. From the BIOS, watch out if the Intel VT-x hardware acceleration options are enabled. If it’s not enabled, you may not be able to succeed with the installation process. Once you’re ready, go for it.
So, first things first, from the installation files, go for setup.exe.

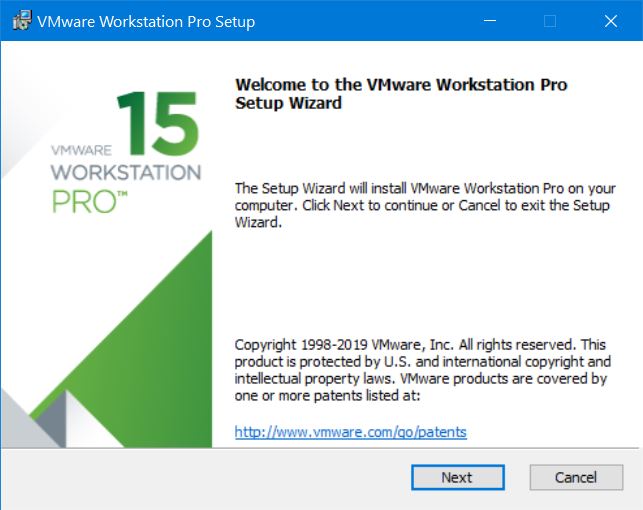
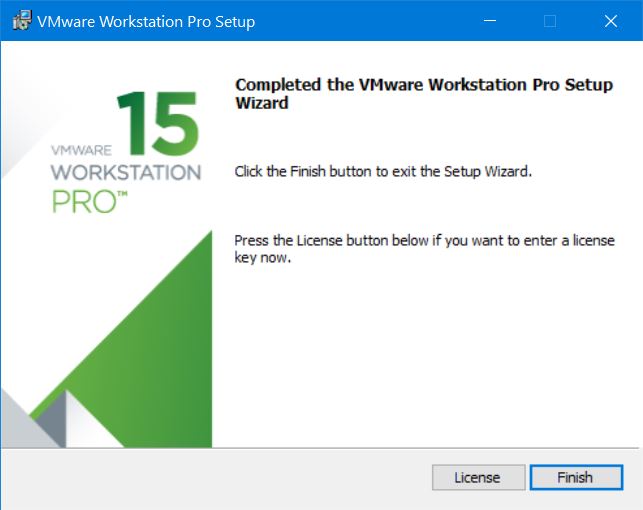
Installing VMware is no different from other ordinary programs, so proceed with the installation.

The installation will be done quick

When you’re done, click Finish but don’t open it (seriously). You’ve been warned!

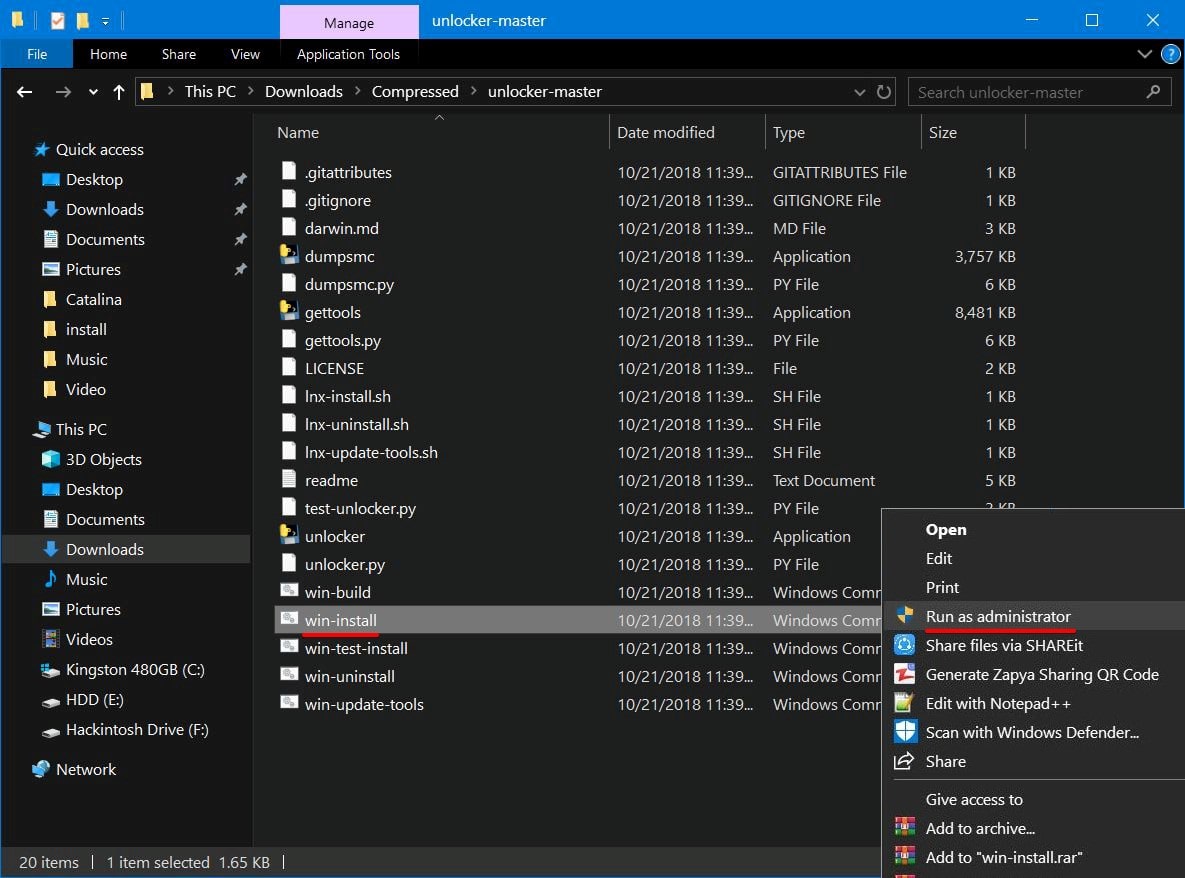
Step Two: Install The macOS VMware Unlocker Patch Tool (Unlocker for VMware)
The VMware Unlocker Tool for macOS or macOS Unlocker for VMware is a VMware Unlocker for macOS Catalina or macOS Unlocker for VMware and other macOS to install macOS Catalina on VMware. Since VMware doesn’t support installing macOS on virtual machine, the installation process isn’t possible without the patch. It particularly to remove the restrictions and patch VMware in order to work macOS in VMware Workstation or Player.
In order to install this patch, all you’ve to do is close VMware completely and from the VMware Unlocker Patch Tool for macOS, right click on win-install and Run as administrator. It will pop up command prompt running some commands, but that’s fine.

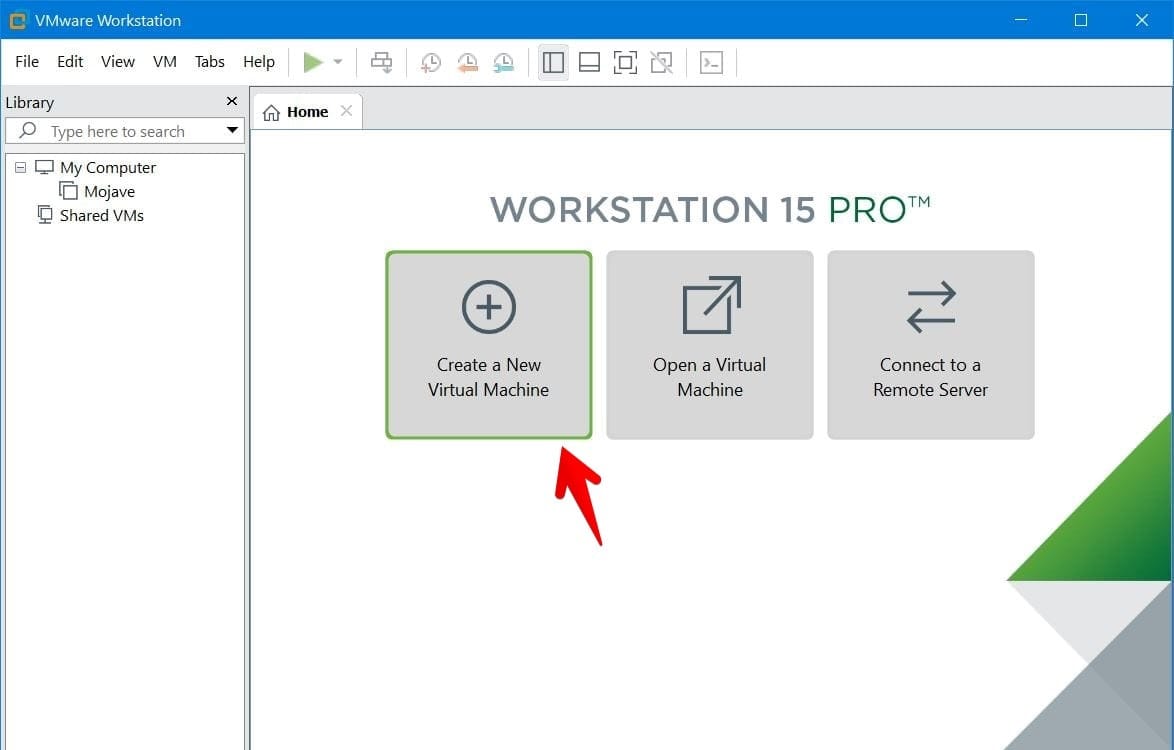
Step Three: Create a New Virtual Machine
With the supportive files, you’re now ready to set up a virtual machine.
First, open VMware Workstation Player and click Create New Virtual Machine.

Once the wizard pops up, let the settings by default and click Next.

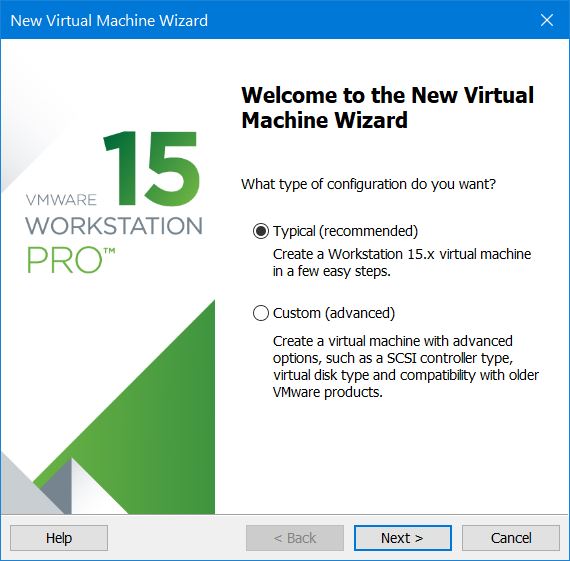
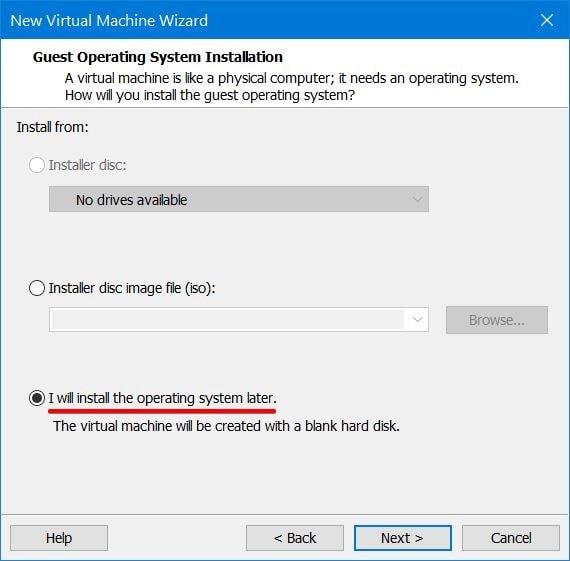
In order to create the virtual machine without a disk, select I’ll install the operating system later.

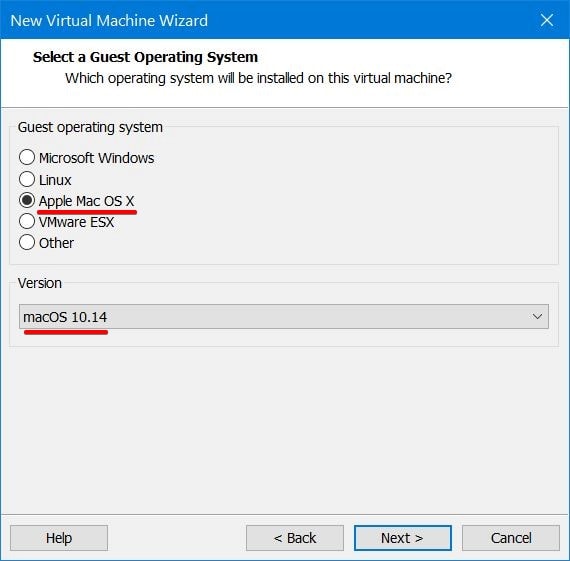
Now choose Apple Mac OS X from Guest operating system and select 10.14 for the version, then click Next.

Specify the virtual machine as you would like to and click Next.
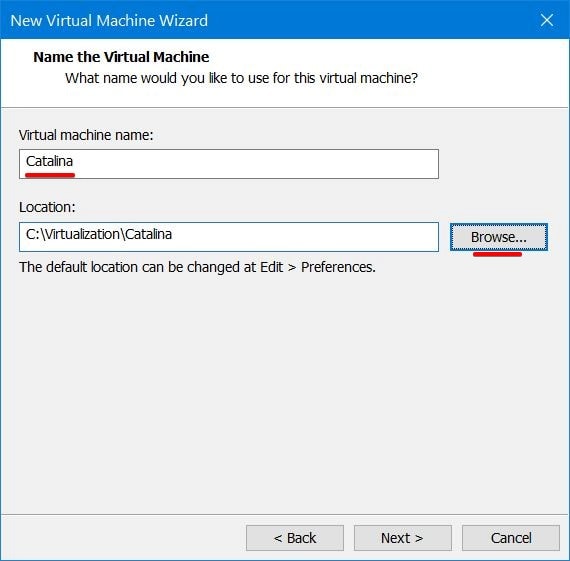
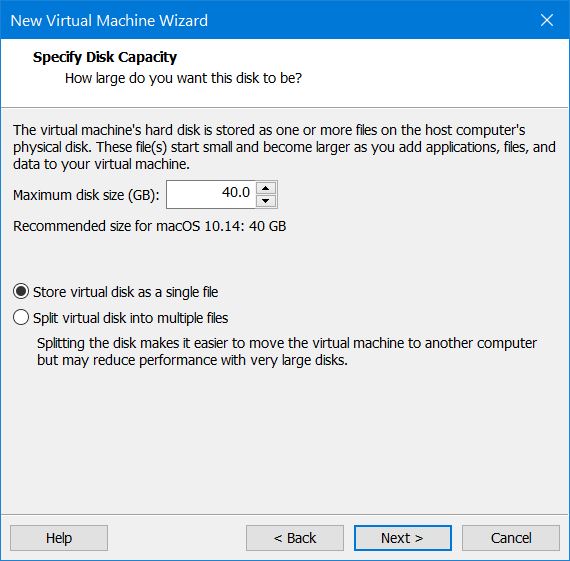
Doesn’t matter which one you choose, we will replace it later with macOS Catalina VMDK file.

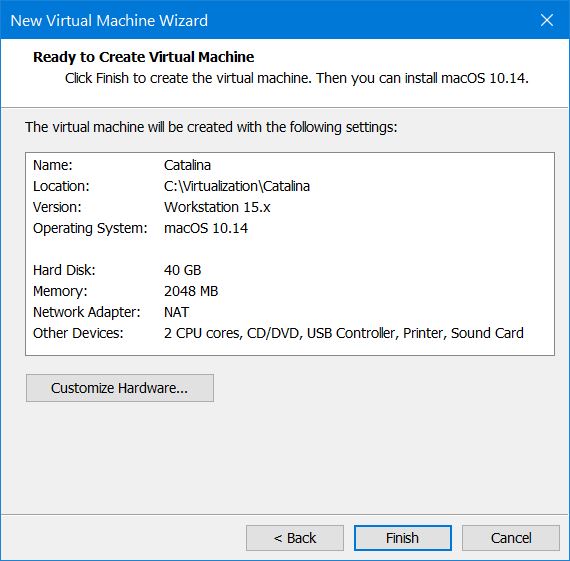
On the confirmation screen, if everything looks good, go ahead and click Finish to start the virtual machine.

Step Four: Configure macOS Catalina Virtual Machine
With the virtual machine created, now we need to do some little configuration which will make it usable.
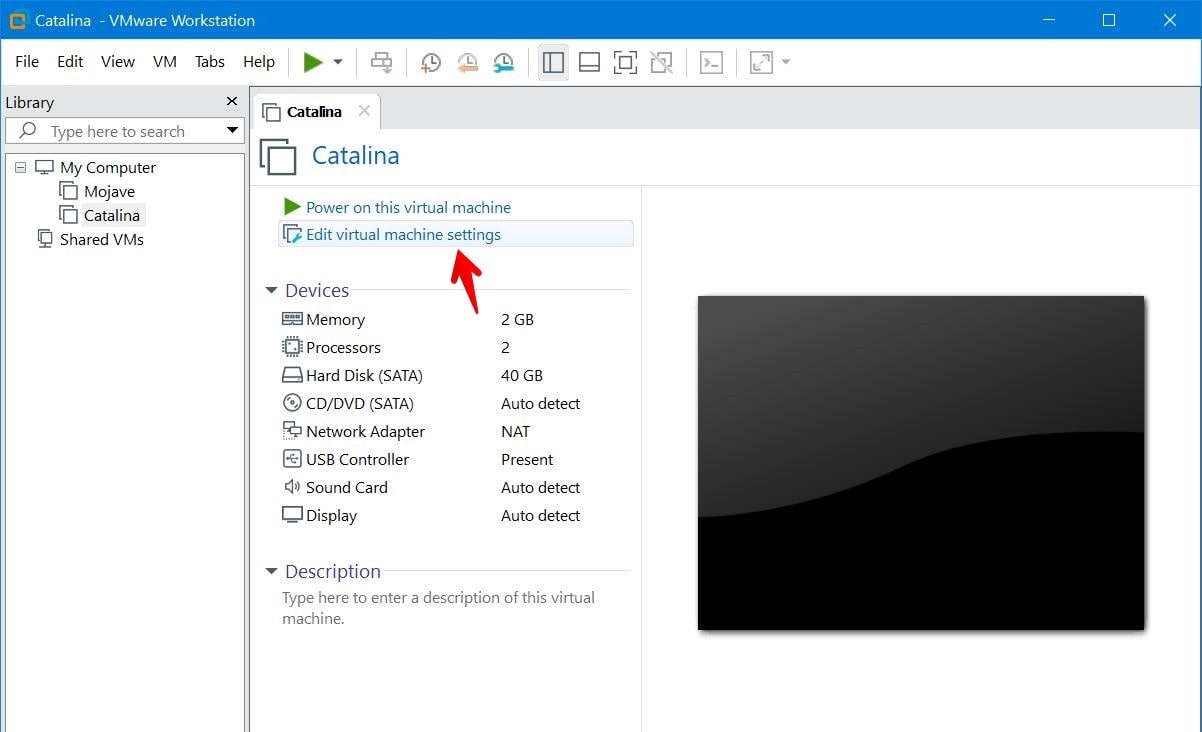
From VMware, click on Edit virtual machine settings on Catalina VM.

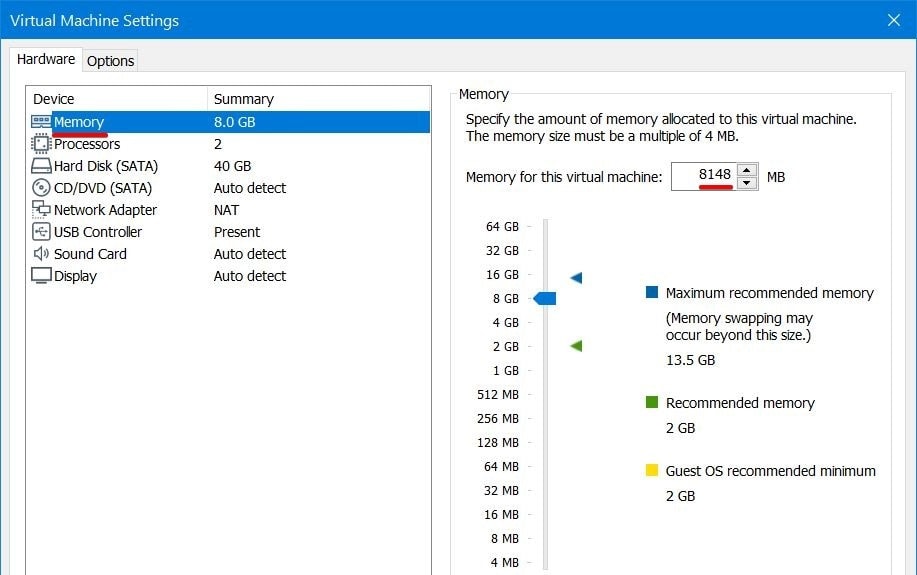
We recommend at least 4GB of RAM, ideally 8GB or more. If your computer has 8GB, you may allocate 4GB of it.

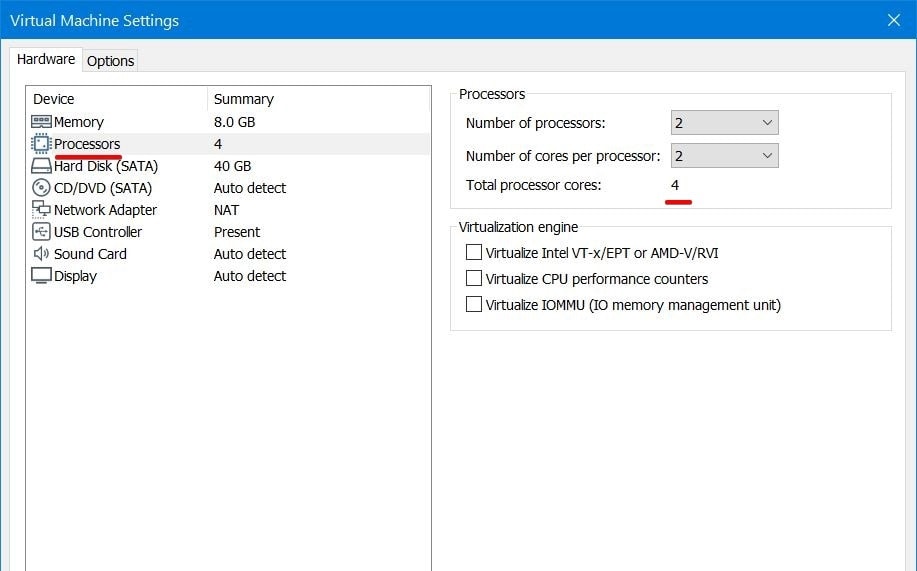
As a matter of fact, the virtual machine requires huge processors, set up 50% – 75% of your system’s CPU and click Next. The processors should be above 2 or more.

In order to replace the disk with Catalina VMDK, select the Hard Disk and click Remove from the end.

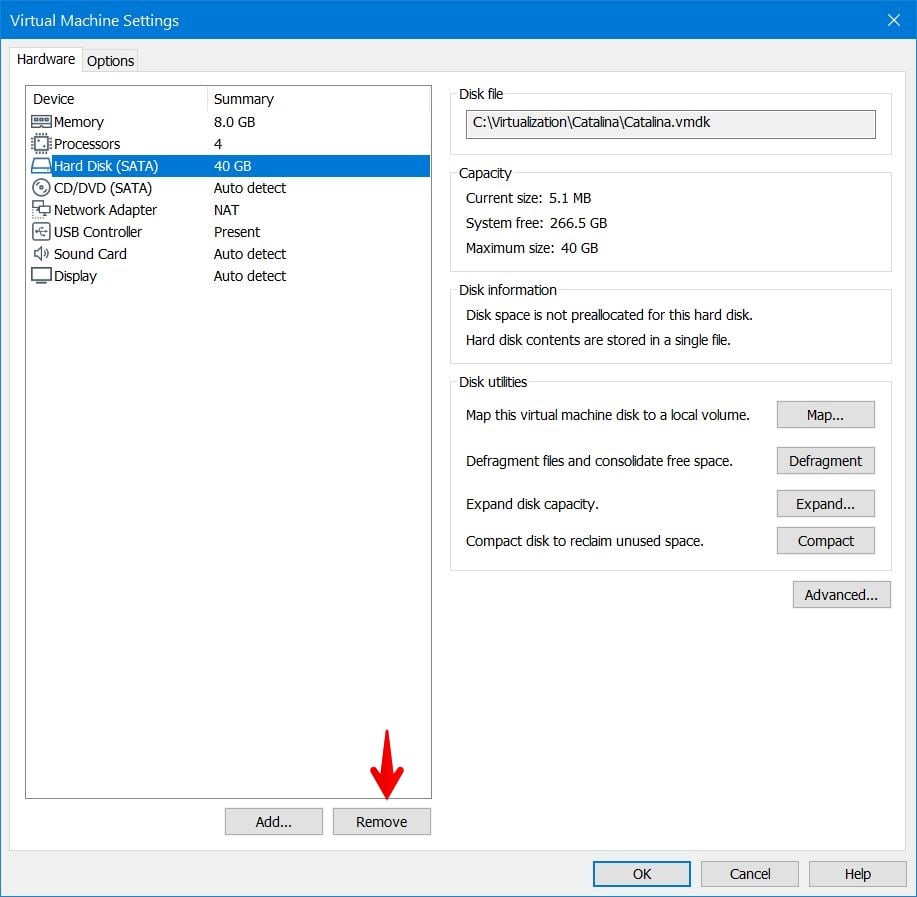
Next click on Add.

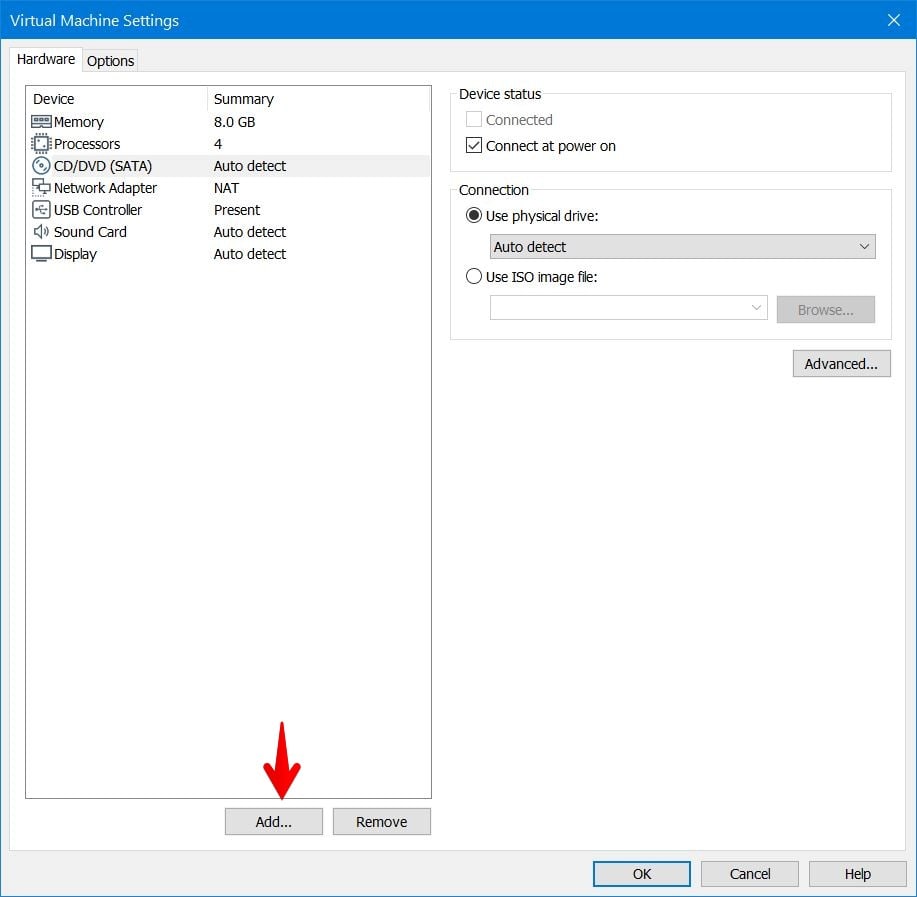
From the hardware, select Hard Disk and click Next.

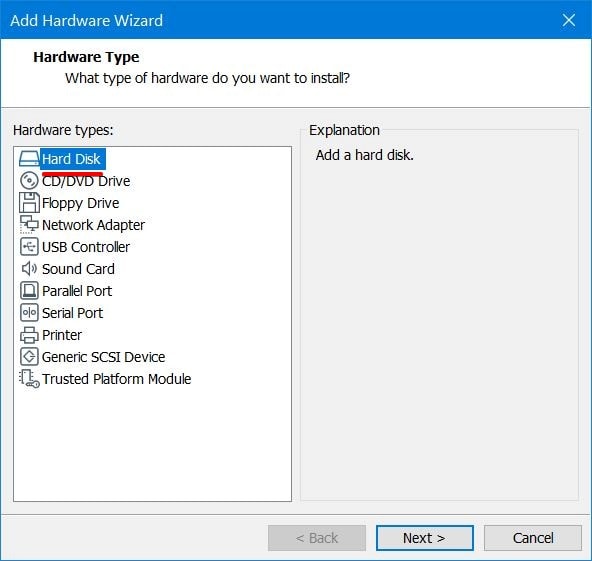
Simply click Next.

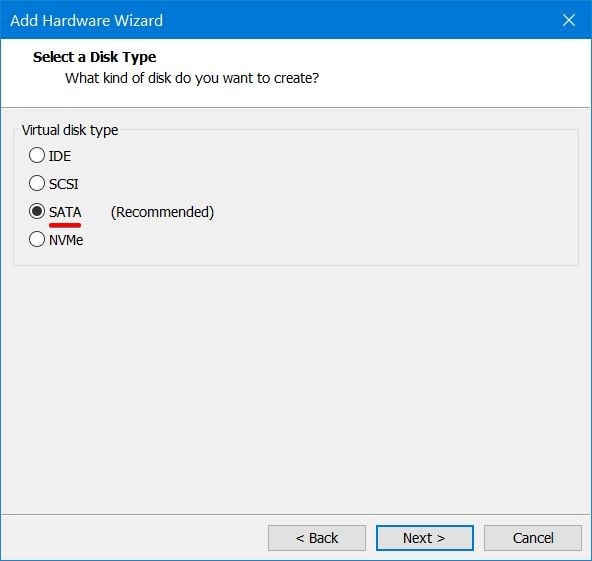
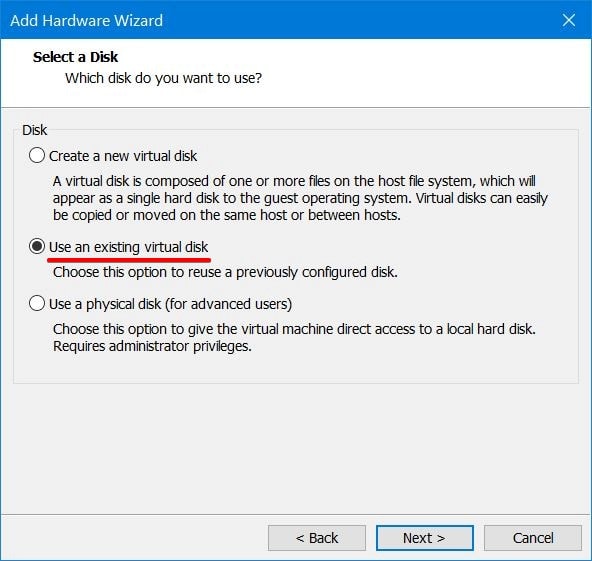
On the next window that appears, select Use an existing virtual hard disk and follow Next.

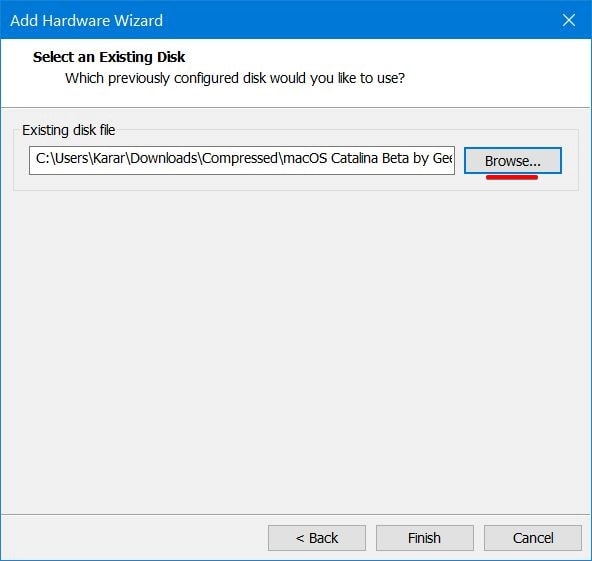
Now without closing the virtual machine settings, browse the macOS Catalina (VMDK) image and click Finish.

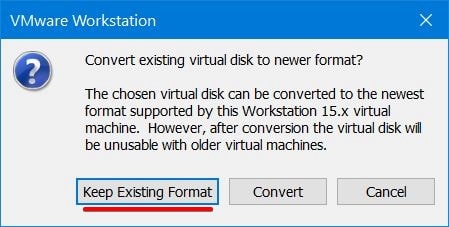
When you’re asked for the disk format, select Keep Existing Format. This will create the new existing macOS Catalina VMDK disk with the existing format for the virtual machine.

When the settings is done, simply click Ok on the virtual machine settings window.
Step Five: Insert Config Key For VMX file
The VMware virtual machine configuration (VMX) file is the core of the virtual machine. At this point, there are some changes which you need to make to install macOS Catalina.
After the virtual machine is created, close VMware. Make sure you do it otherwise this may end up without installation.

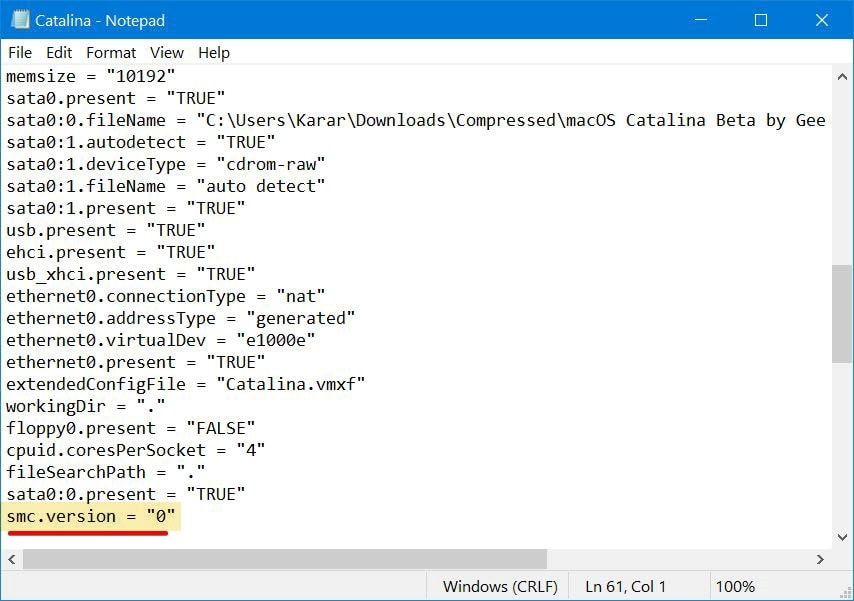
Now navigate to the macOS Catalina files. From the files, open (macOS Catalina).vmx with Notepad.

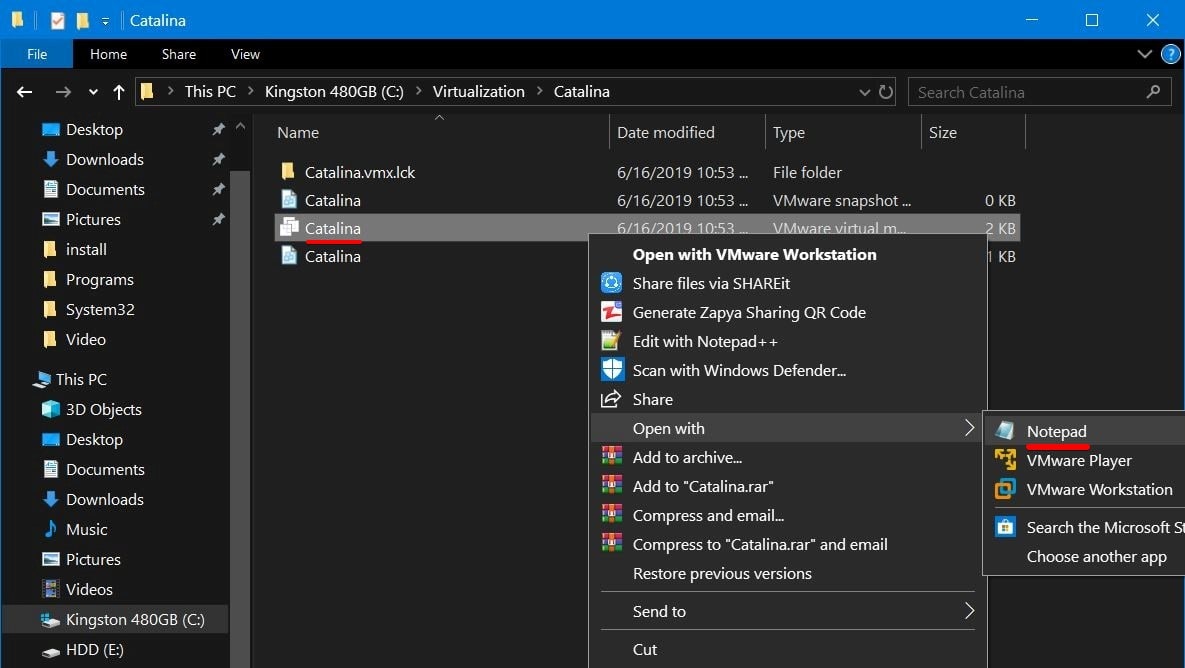
Now copy the key and paste it at the end of the lines.
smc.version = “0”

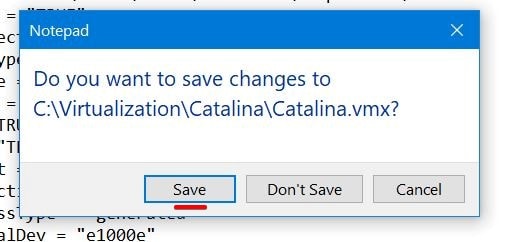
When you’re done, save it.

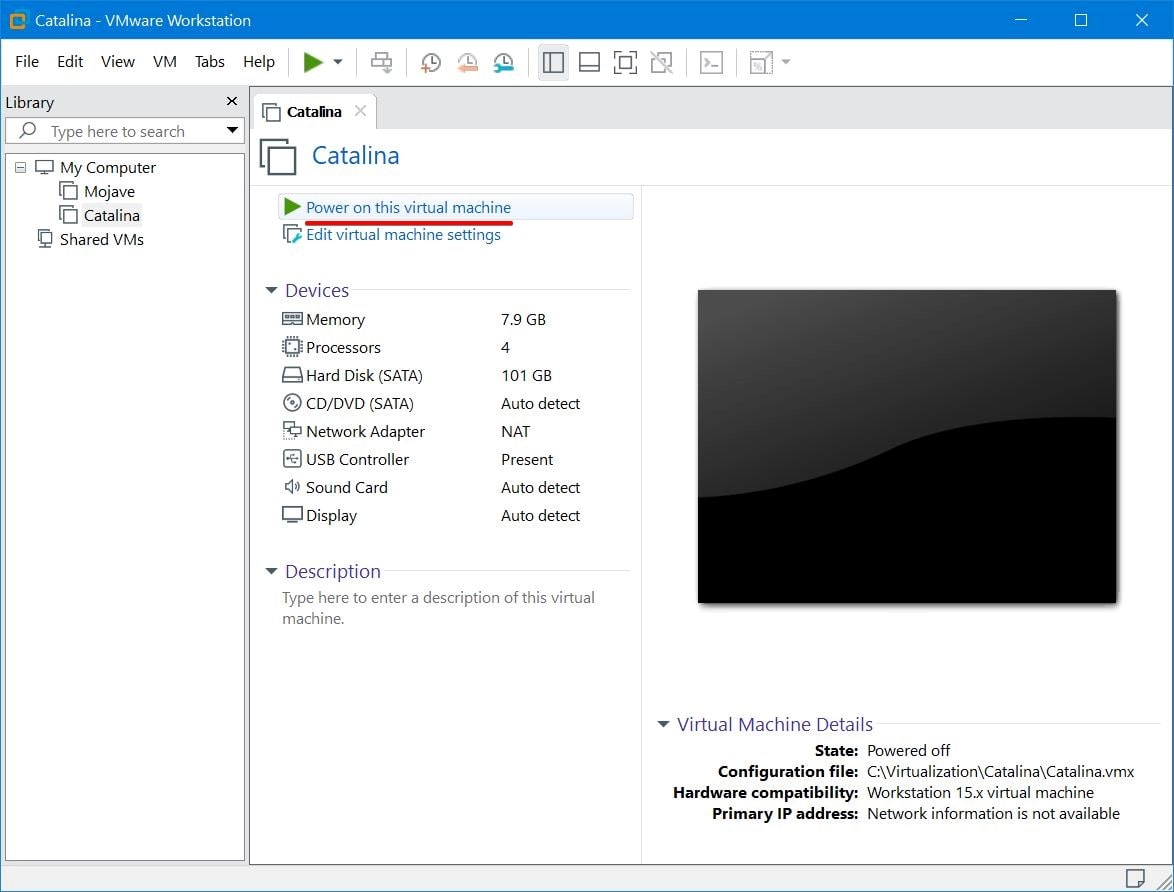
Step Six: Install macOS Catalina on VMware Workstation
With the virtual machine configured, you’re ready to install macOS Catalina entirely on your computer, so let’s get started.
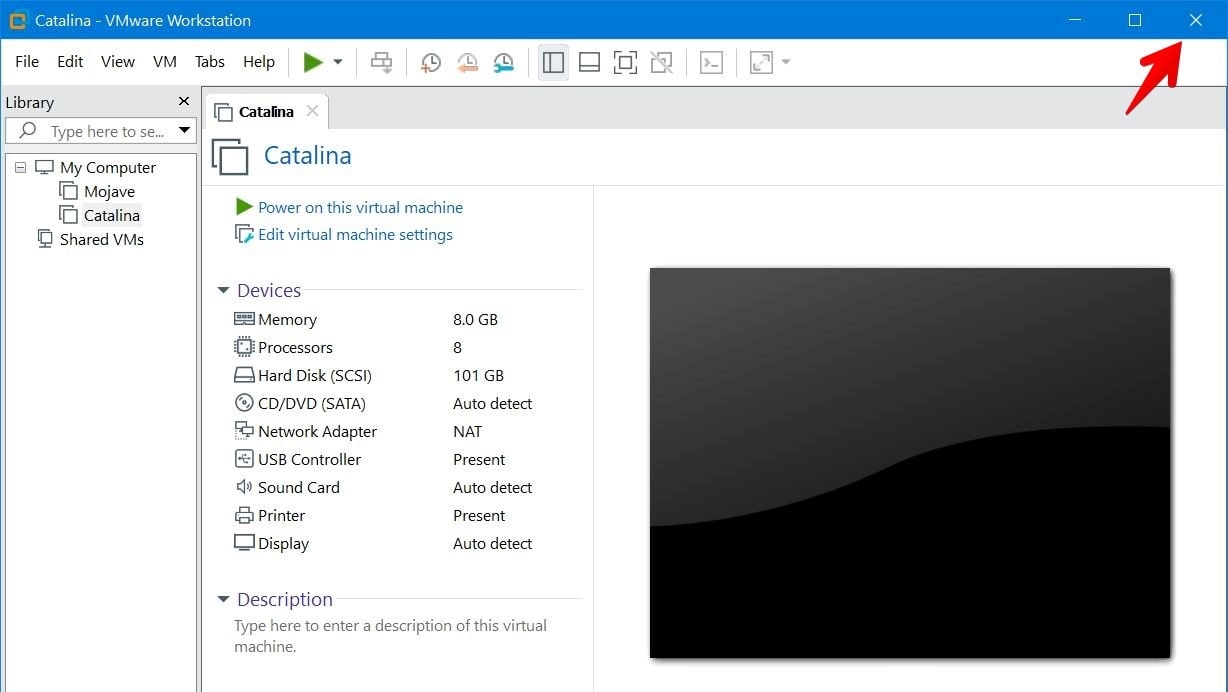
From the VMware, select the Catalina and click Power on the virtual machine.

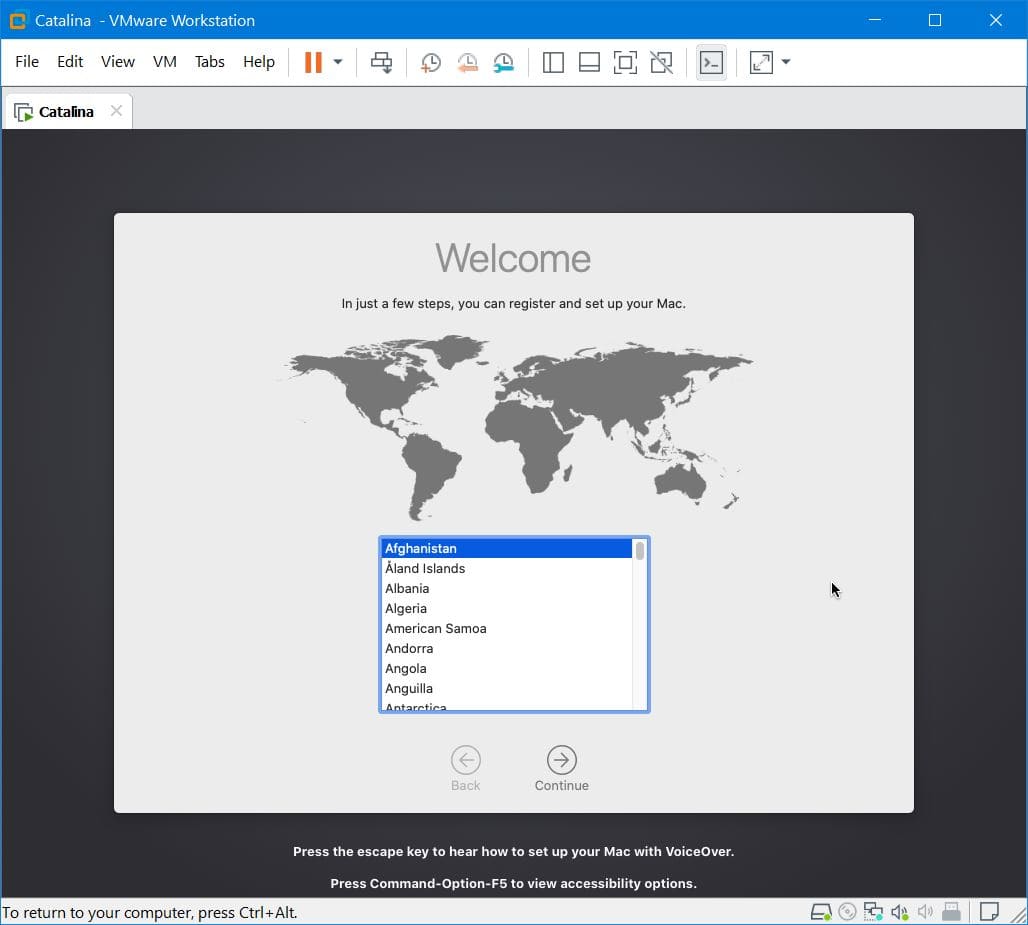
Wait a few moments since this is the first time virtual machine booting. How long it takes to boot largely depends on how much resources you’ve assigned to, but it’s generally pretty quick. When the screen appeared, select your region and click Continue.
Some users have trouble installing macOS Catalina in VMware if you encounter a crashes with the error “The CPU has been disabled by the guest operating system. Power off or reset the virtual machine”, try how to diagnose and fix the problem.

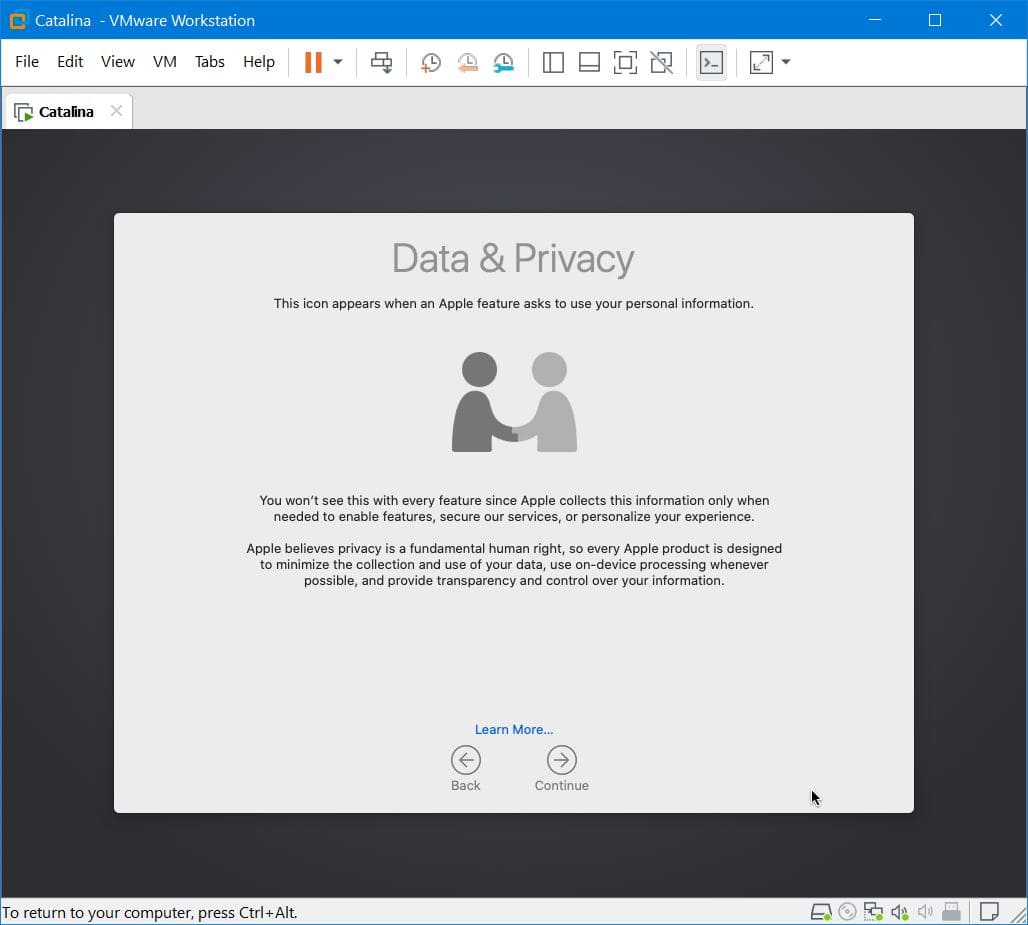
Your data and privacy on macOS point to the following Data & Privacy.

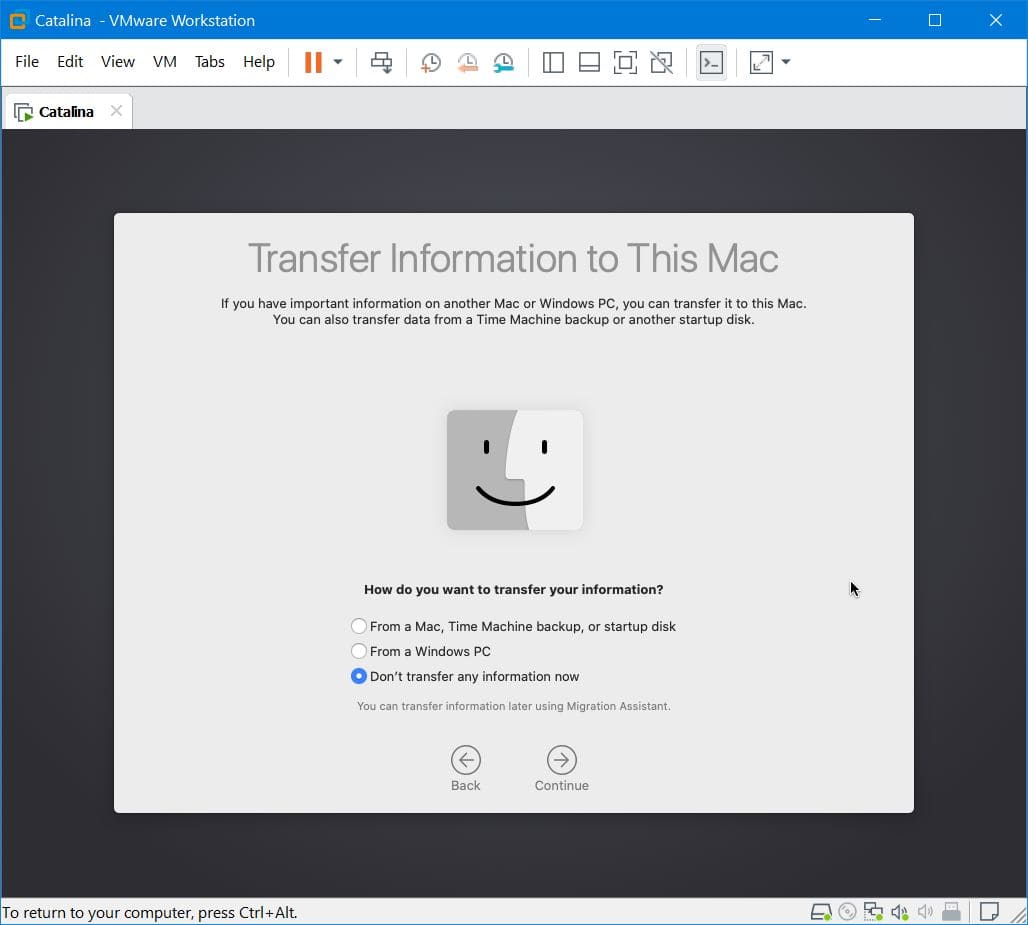
While we’re not going to use this as our actual operating system, we’ll use with Don’t transfer any information now.

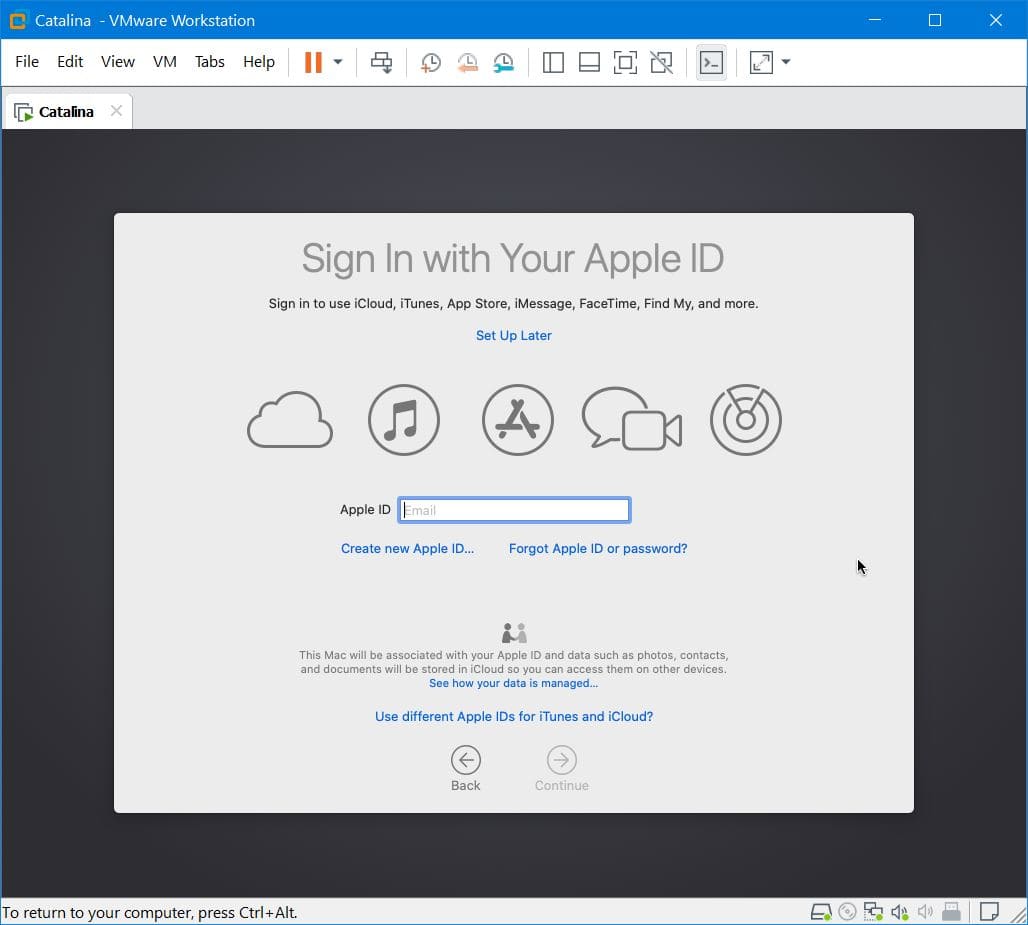
For whatever apps you would download, you’ll require an Apple ID, if you don’t have one, you can make one.

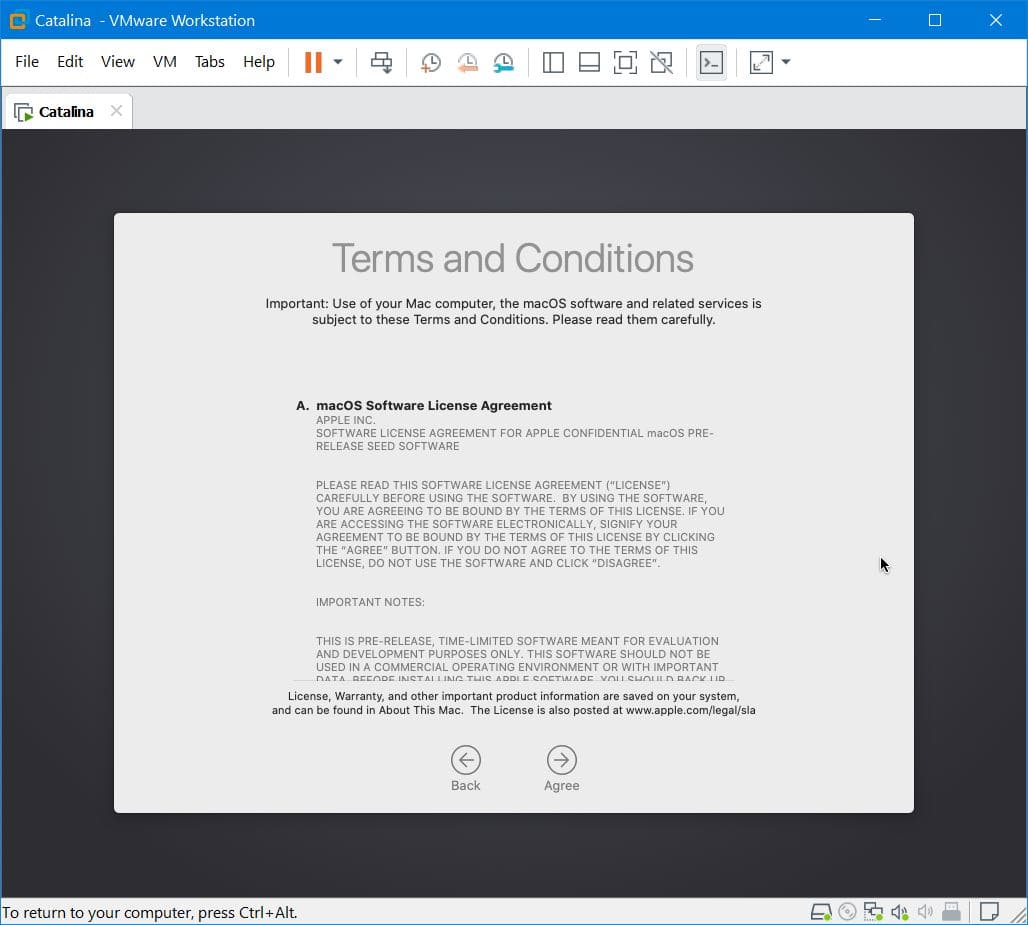
Since you’re using macOS, you’ll need to comply with terms and conditions, Agree with it.
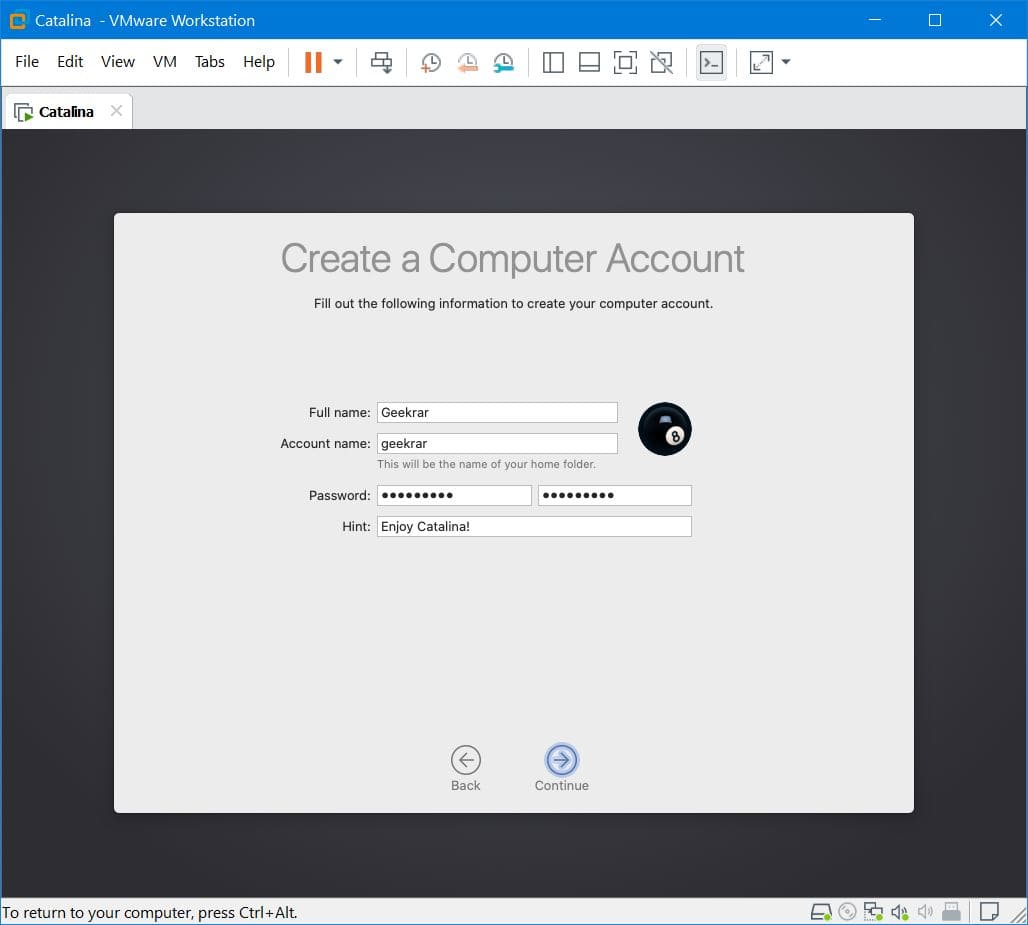
Just like every operating system you install, you’ll need to create an account, do it and click Continue.

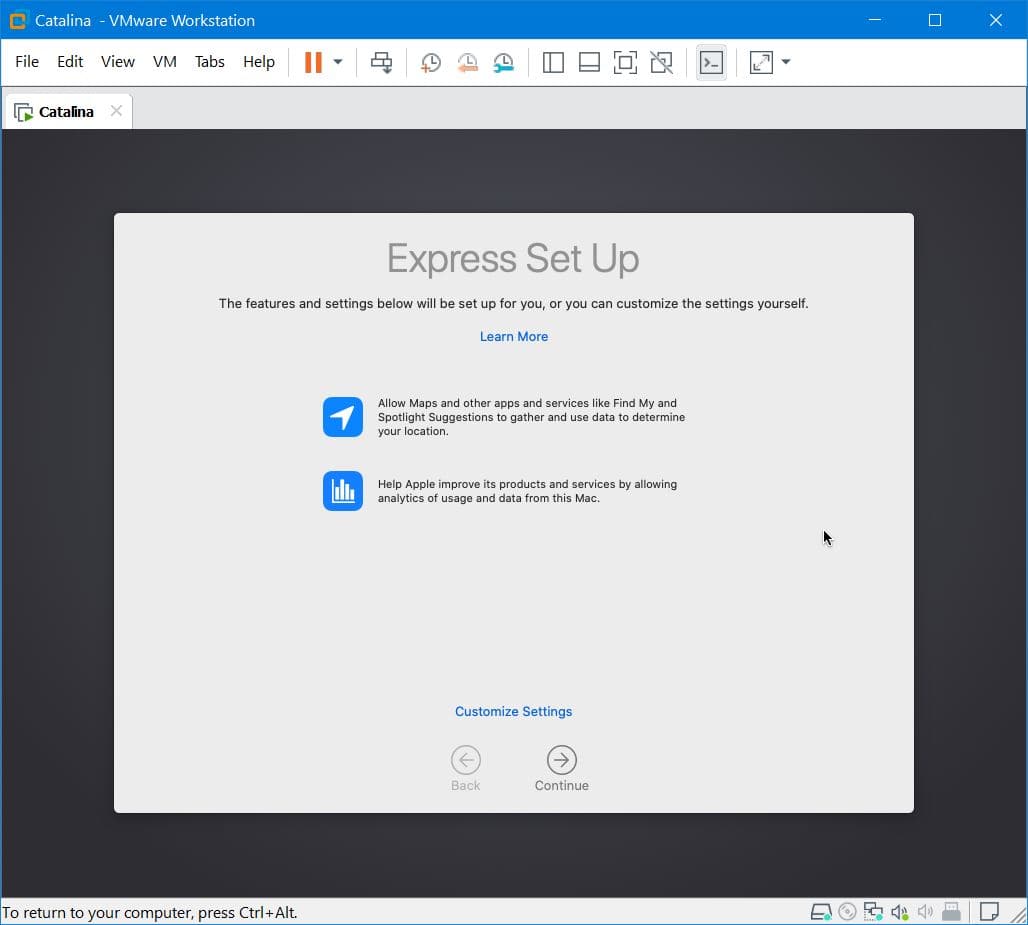
The Express set up enables some useful features such as Maps, Location Services. If you would like to use, Continue.

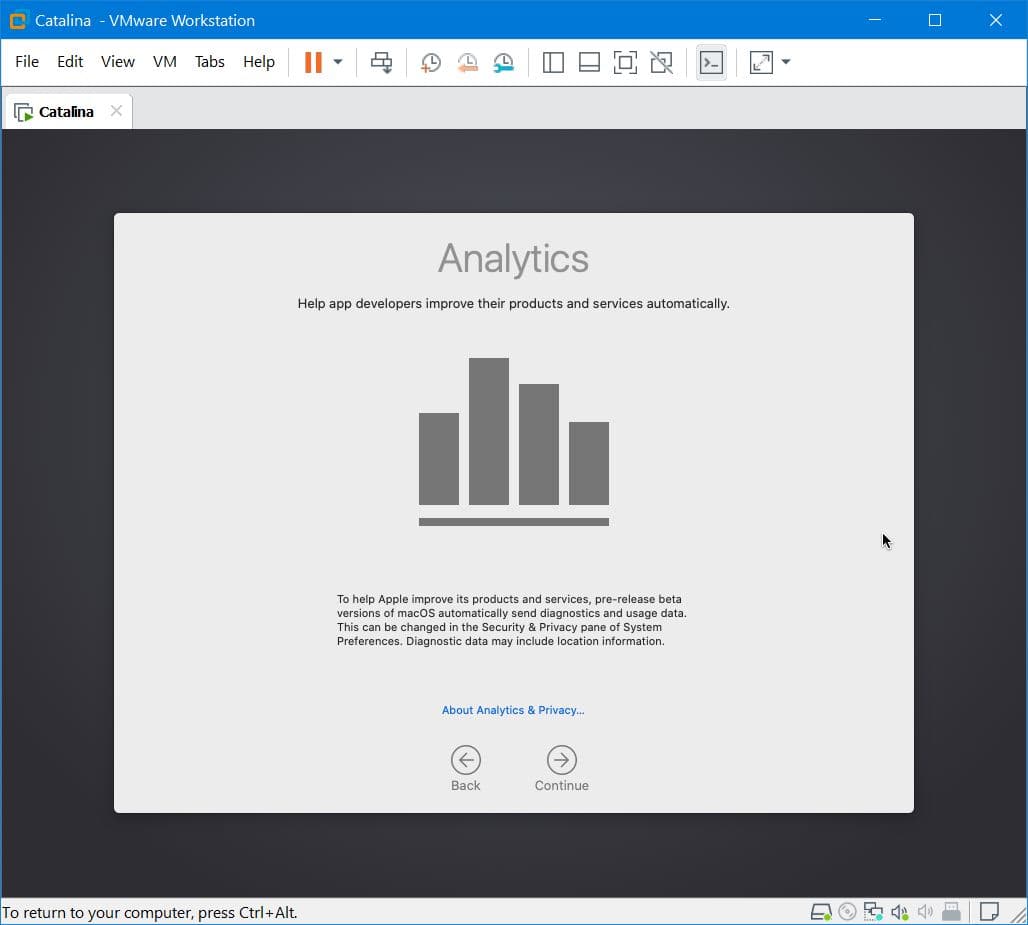
The analytics might send some information (not personal) but information on how you use the product to Apple, Continue with it. This can later be changed from System Preferences.

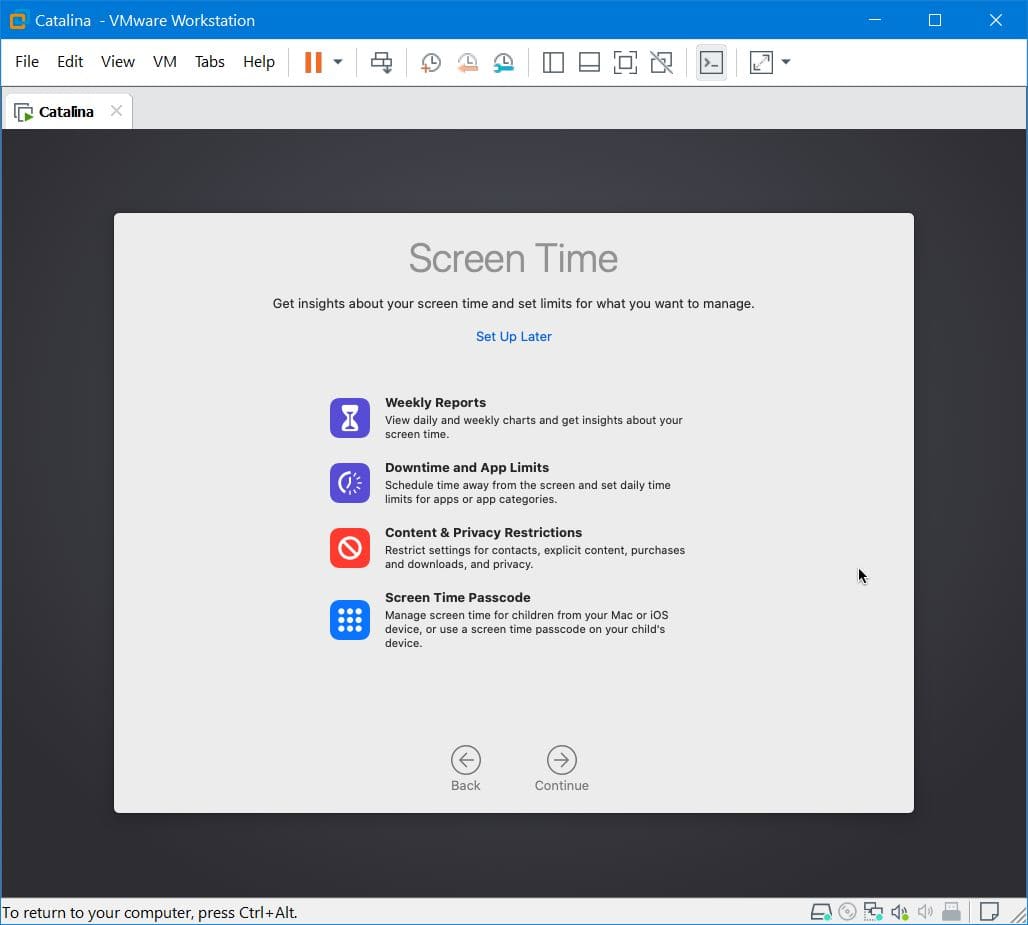
Great! The new Screen Time feature is here! Click Continue.
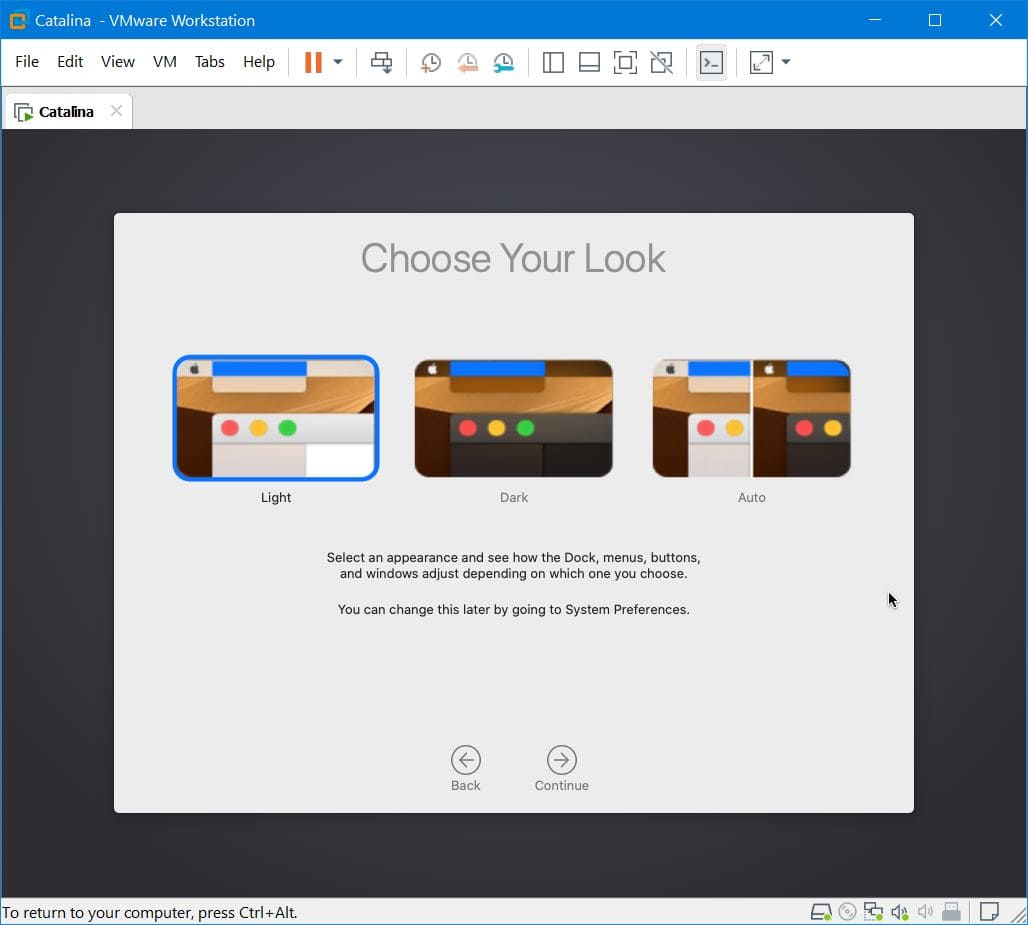
The new styles are there, choose one of them and Continue.

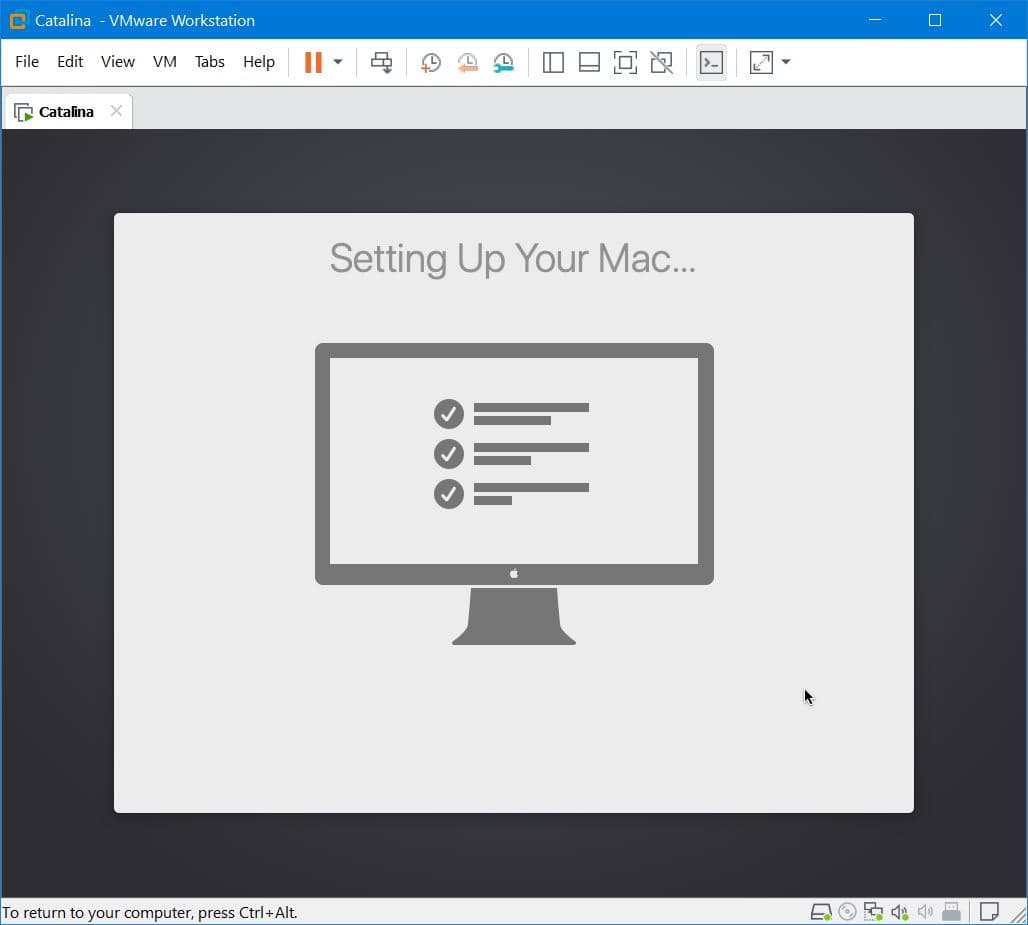
In a moment, everything will set up for you.

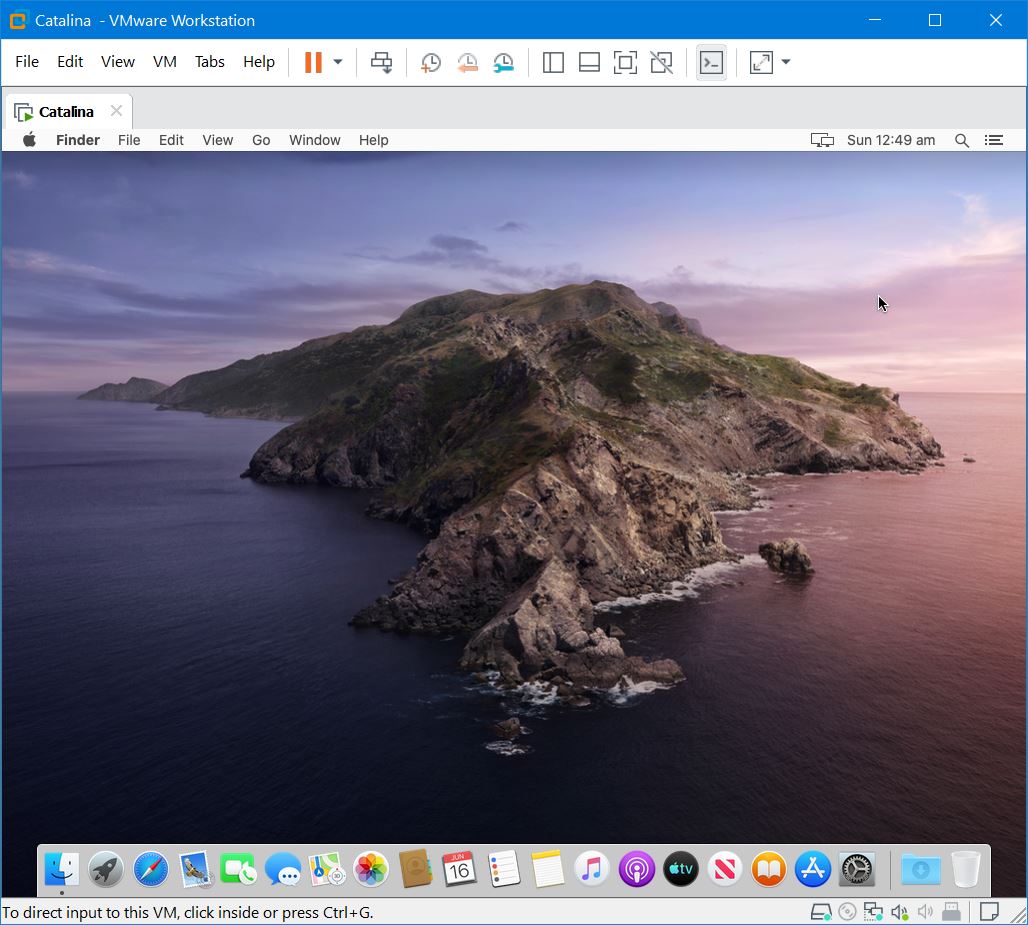
With that done, you’ve eventually installed macOS Catalina on your Windows computer.

How to share folders on VirtualBox & Vmware? (Windows-MAC) Step by Step Guide
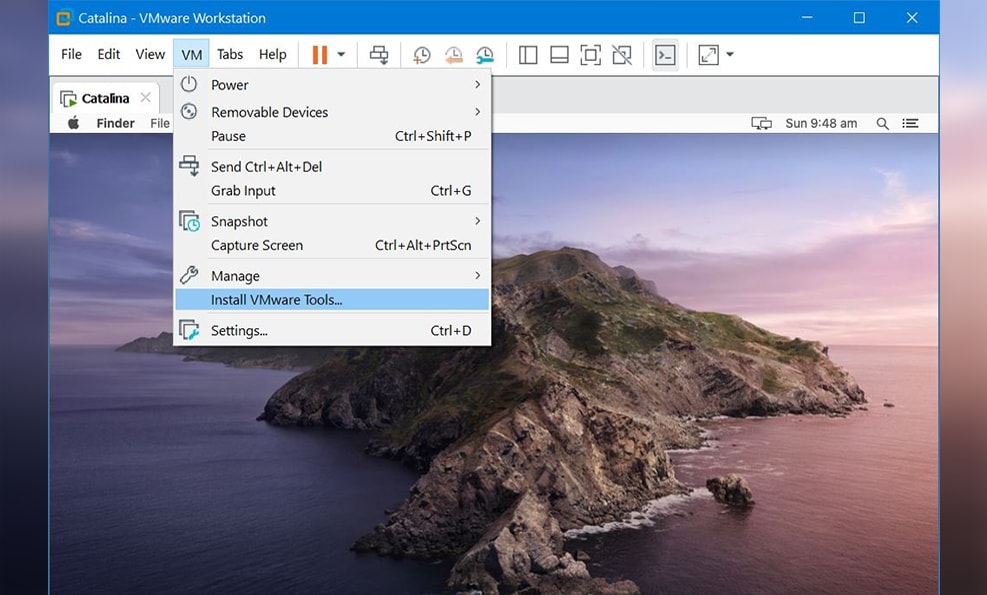
Optional Step: Install VMware Tools on macOS Catalina
With all that out of the way, there’s one last thing you’ll need to do before you can completely start working into it. That is installing VMware Tools. This is likely the easiest part of the entire process.
Don’t worry, it won’t be very tricky. Here’s step by step how to do it.

One More Step: Take A Snapshot
Once you’ve done that, you’re completely free to do whatever you had planned for. As a rule of good practice, it’s always best to take a backup which is incredibly easy on a virtual machine, here how to do it.


In case, if you would like to speed up the macOS Catalina’s performance, you’re good to go.
In between, if you encounter errors when installing, you may want to fix it with the instructions.
So there you go! That’s the newest version of macOS installed on your computer. When there’s a newer update, you can always update your Catalina to the latest version.
With that, we’ve the video tutorial that explains and shows how to install macOS Catalina on VirtualBox on Windows PC.
OK, that’s enough for the installation. If you find it interesting or would like to add something here, I’d be interested to hear your thoughts.
Install macOS Catalina on VMware on Windows PC – Video
https://youtu.be/BrlBoXELAO0