VirtualBox offers a couple of handy features that includes almost everything you will need for a virtual machine. Of those features, there are some which you might have never heard of, that makes VirtualBox pretty well. One of those options that are well-hidden you may have never used before is popular by VirtualBox Extension Pack. As this feature is not really familiar with so this is not what everybody know about, we will dig in and discover what it is all about. How to Install VirtualBox Extension Pack
What’s VirtualBox Extension Pack?
Just like VMware Tools in VMware, VirtualBox has VirtualBox Extension Pack which allow you add new capabilities and fix devices that don’t work with virtual machine on VirtualBox. For instance, when you install or even after you have installed a virtual machine, you might encounter or realize that your mouse and keyboard are no longer working like mouse and keyboard stuck during installation on Mojave on VirtualBox. This happens when your virtual machine do not support your USB device whether it’s mouse, keyboard or anything else.
While the problem appears commonly which is going on from a little past, fortunately, it’s a pretty easy fix including you will get more options and features out of it once you have installed the package. With VirtualBox Extension Pack, you will not only fix things but get high performance from your USB devices. That includes your daily driver devices a mouse, keyboard, webcam or other.
In addition to working with devices, this package provides you work and utilize with remote desktop protocol that is obviously accessing and controlling virtual machine virtually from wherever you are. Other than that, the package supports disk encryption, NVMe and PXE booting for Intel cards, creating a seamless experience no matter whatever virtual machine and wherever you are on VirtualBox. So what are you waiting for, let’s get started. Here is How to Install VirtualBox Extension Pack
Install VirtualBox Extension Pack
The installation process is very simple and is done directly from installing the file. With installing VirtualBox, you are already a step ahead as you will only need to download the package.
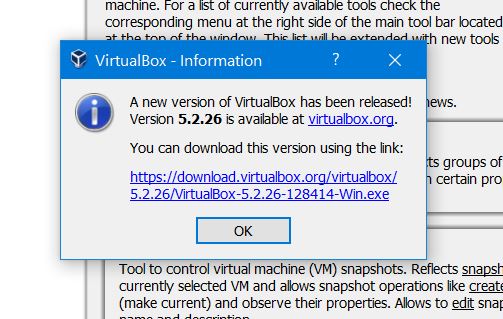
Before going any forward, for better results, make sure you have the latest version of VirtualBox installed. If you don’t, you can update it from the dialog box that appears.
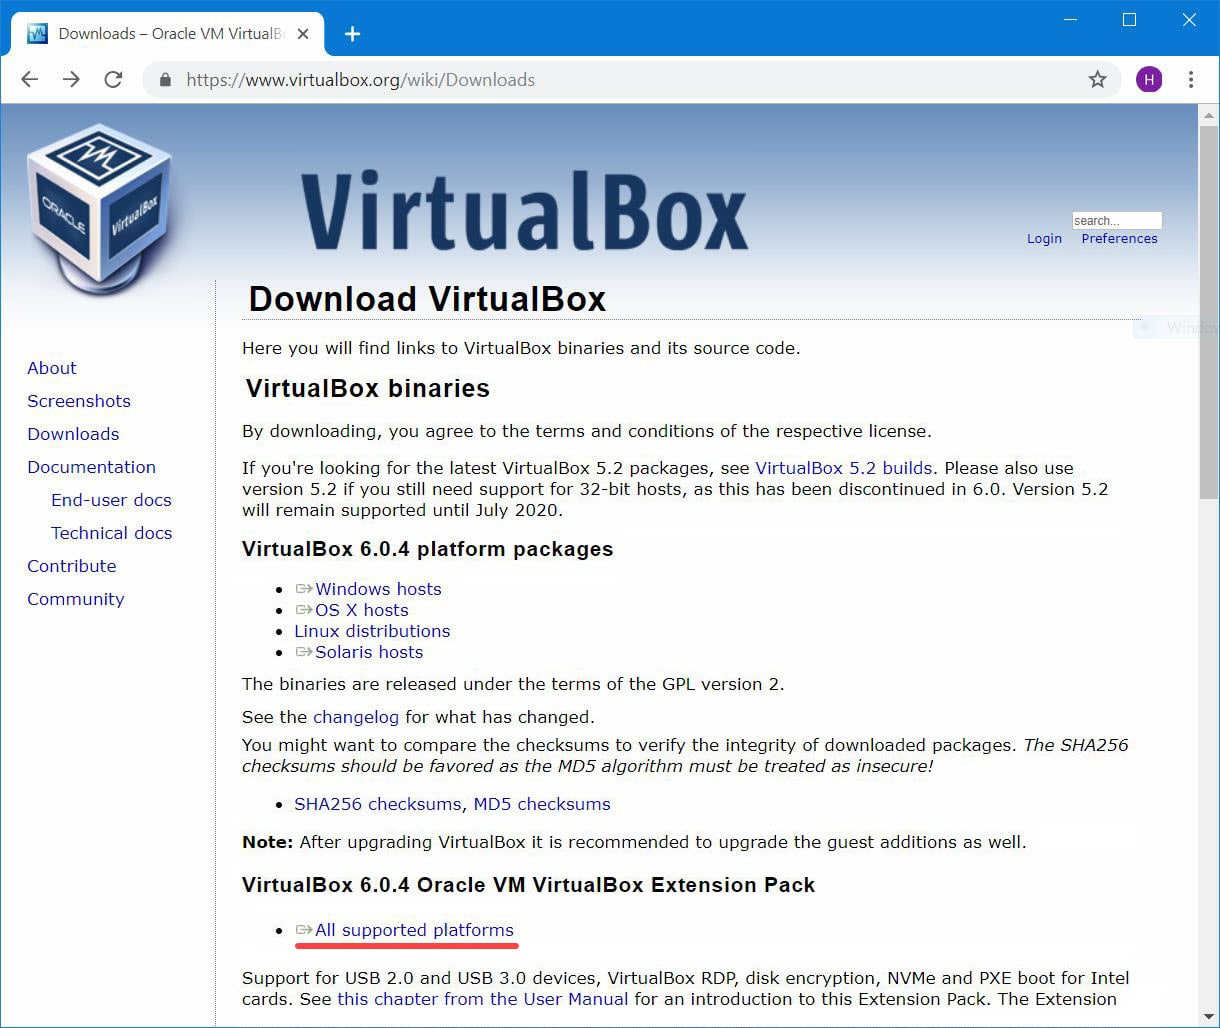
The first thing you’ll need to do is go to the VirtualBox download page. This will open up the VirtualBox download page, which will list out all of its components including VirtualBox Extension pack. Scroll a little bit and you will find the package, click on the All Supported Platforms to let it begin downloading.
To install, right click on the extension file and click Open with.
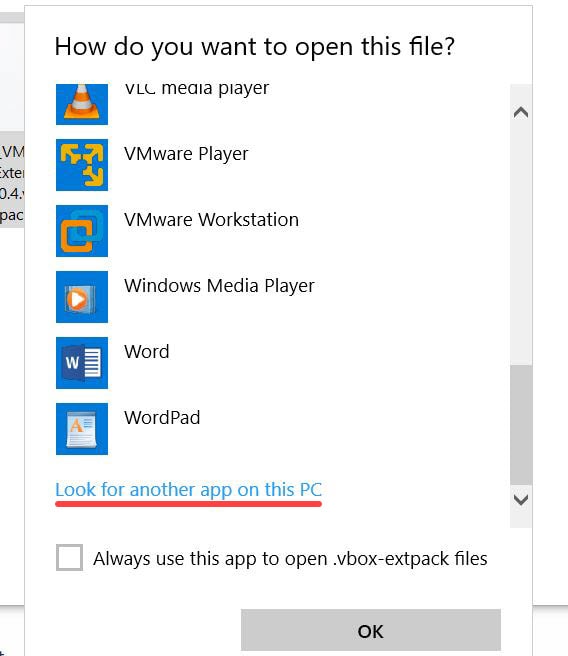
Now you will need to scroll and at the end click on Look for another app on this PC.
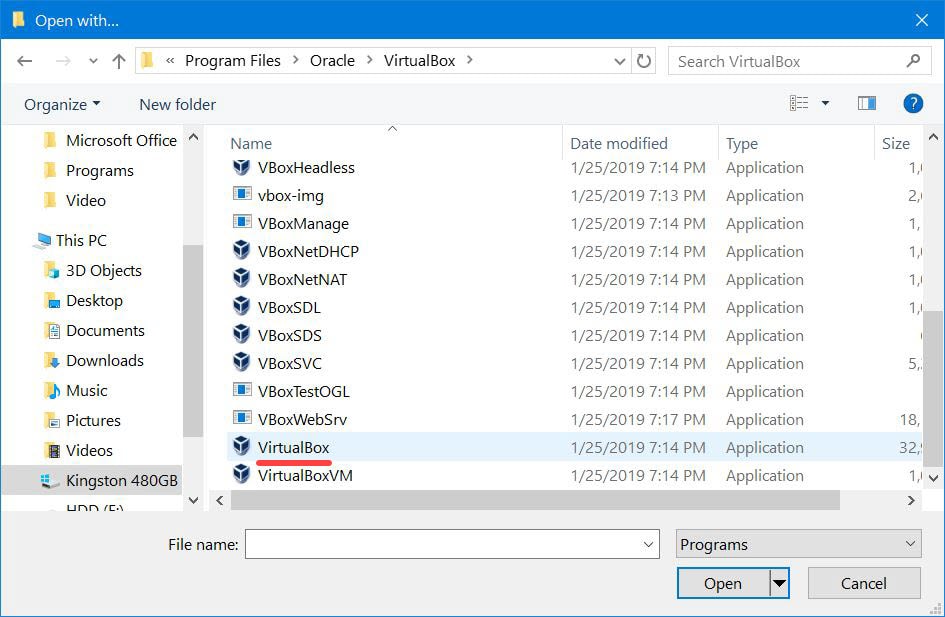
In the open with window that opens, navigate to your operating system’s program files > Oracle > VirtualBox > Open VirtualBox app. This will open the extension package file with VirtualBox.
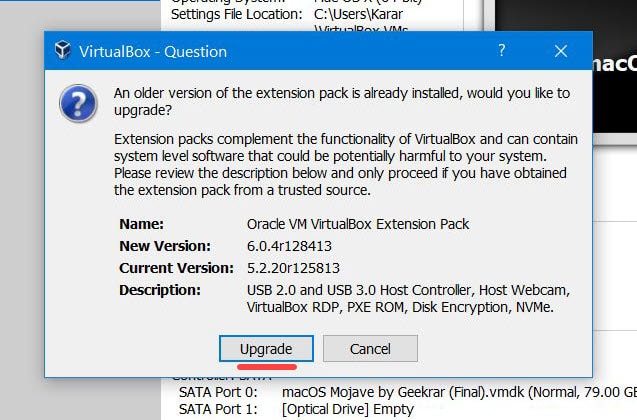
The VirtualBox and upgrade window will appear confirming whether you want to upgrade your existing package, click on Upgrade.
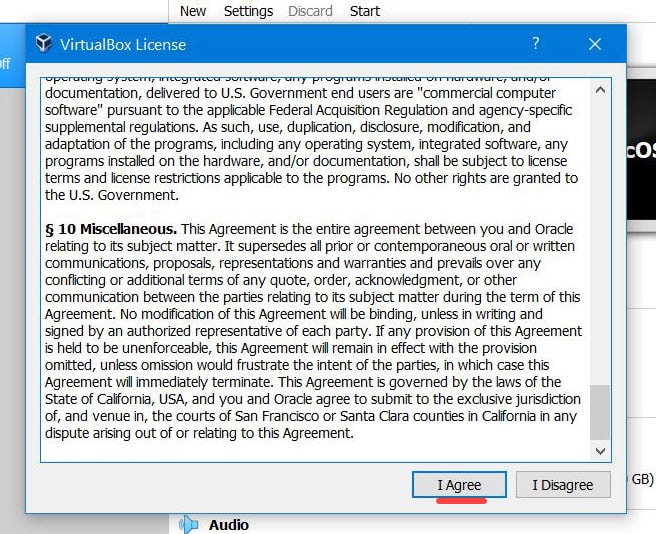
In the VirtualBox License page, scroll down up to the end and click I Agree. This will straightly begin the installation which is fairly quick and speed.
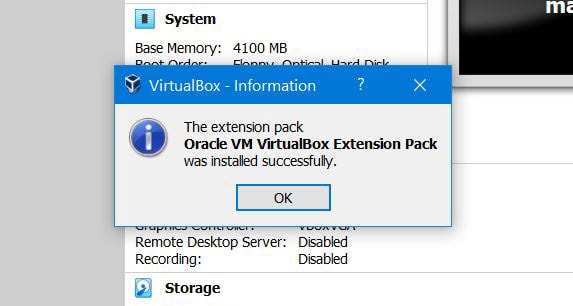
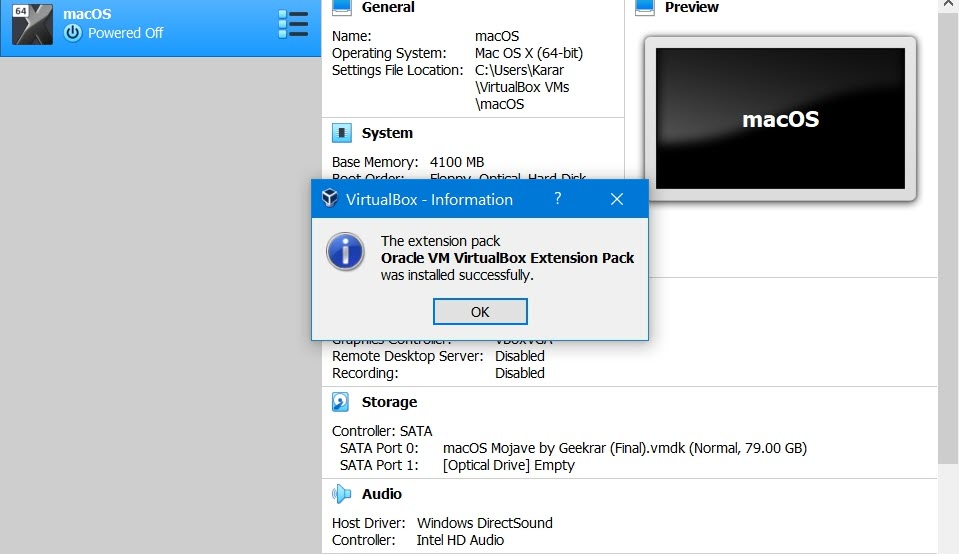
All done! The only thing you have left to do is to click OK.
Once you are done with that, you are good to enable the feature for the virtual machine that you will be able to fix and work with your devices you would like to use. However, this is easier and more convenient to do since you will do it within your virtual machine settings.
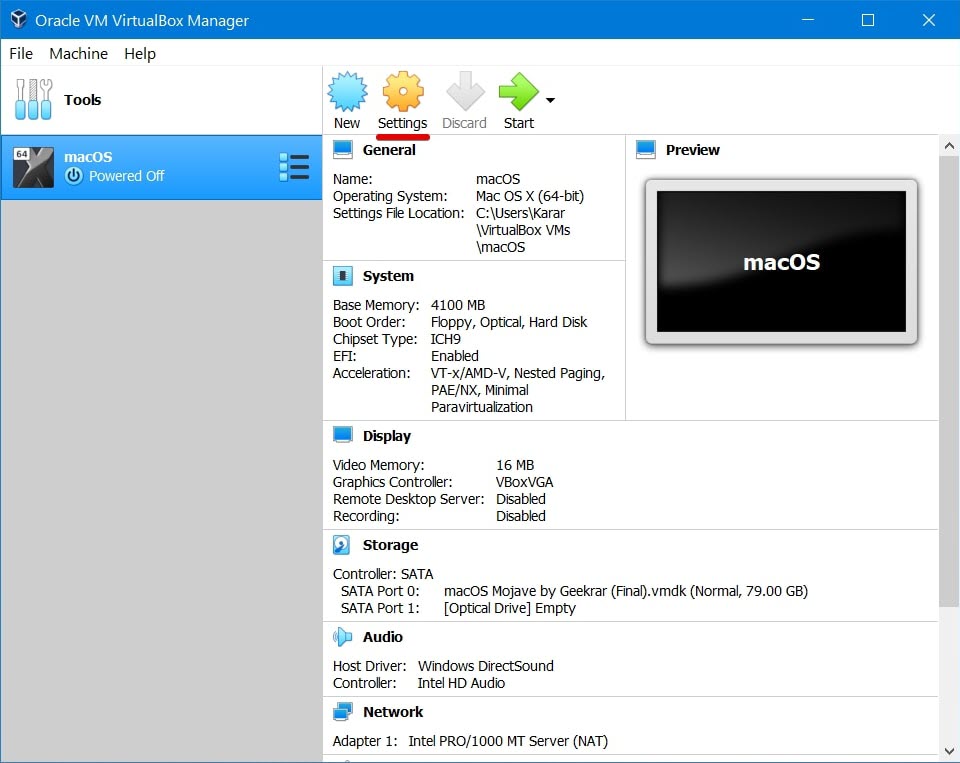
In order to enable, go ahead and open VirtualBox. From there, click on the Settings of the virtual machine you would like to enable this feature on.

On the Settings window, select the USB tab and enable the USB 3.0 (xHCI) Controller which allow you use devices that support USB 3.0. Other than that, if your device is sort of USB 2.0, you can always enable and use the USB 2.0 (EHCI) Controller without any problem. However, you can also add your USB device like mouse or keyboard or any other things you want to use. Without you do that, you may get and work with your devices.
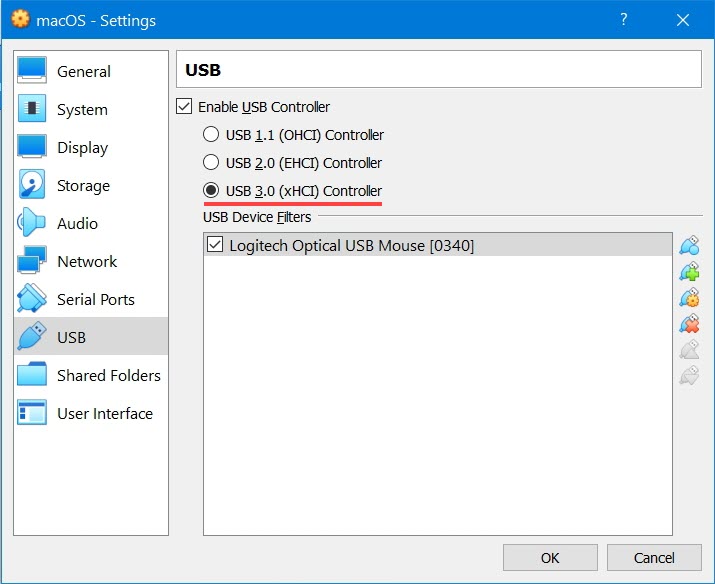
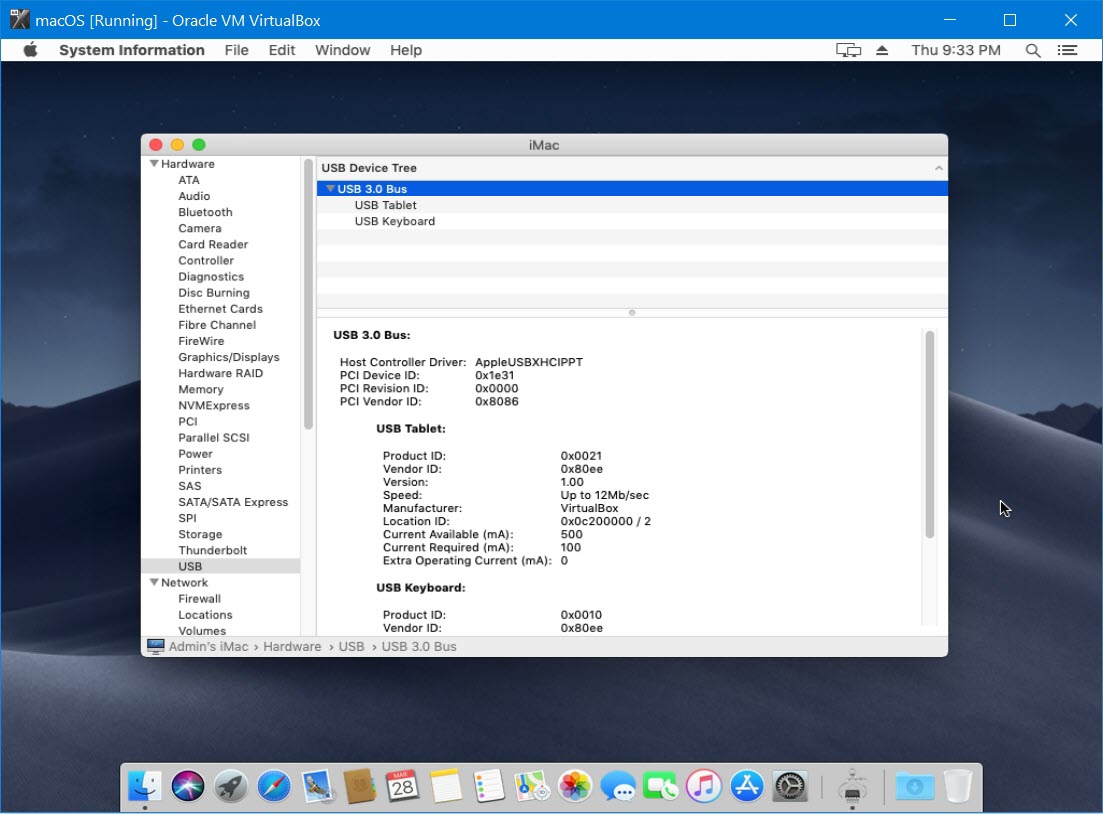
After you enable the feature, you are completely ready to try connecting and work with your devices speeder regardless of their USB version. Also, you can check from your macOS virtual machine from System Information.









at me is stuck at The special OS screen
Hi. I can’t install anything from the App Store or log into iCloud. It says : “[app name] can’t be installed on “macOS Catalina by Geekrar” because macOS version 11 or later is required.
Try updating the OS first from System Settings and then open App Store!