

Virtual machines are a great way to penetrate, test or try an app, operating system. While you use, you may probably have some data and some important ones, you may lose those files at some point. Once they are deleted, they are extremely hard or in some cases not possible to restore back. There are tons of things that can get your virtual machine in a problem, in fact, there can a problem in your real computer’s operating system or hard drive. Here is How to Take and Use Snapshots on VirtualBox.
Those backups are the most important thing you would have when you are in some problem. You might assume that you will not encounter any problem since you are using antivirus or blah blah. But there’s no guarantee that you will not be in trouble until you are alive. Without backup, when you are somewhere in a difficulty, then, you are completely done with your files. And after that, you will have no option left. There will be no benefit of regretting or making an excuse. Here is How to Take and Use Snapshots on VirtualBox.
If that’s enough explanation of backups now, you might want to back up. There are necessarily two ways you can take backup of your files or entire virtual machine including your files. Backing your files is only good when you want only your files without your operating system settings, and things there. If you want to back up the entire virtual machine, you can do it easily with the VirtualBox default tool for backup which is “Snapshot”. This is what we recommend in every situation.
The VirtualBox allows you to take and use snapshots when something occurs. The most commonly Snapshot is used to take an exact copy of your virtual machine with everything included. When you have a snapshot, you can do whatever you want, from installing and testing apps to trying something new even bad things. However, there’s no risk at all with a snapshot taken. If something goes wrong or simply you want to revert back, no worries, you can do it within a moment with a snapshot. All you have to do is roll back the snapshot, and your virtual machine would like as if nothing has happened. Here is How to Take and Use Snapshots on VirtualBox.
This is the best way to try things out and do whatever you have in mind. This is what a virtual machine is specifically for so when you are in some hurdle, you can quickly rely on the snapshot and everything will be set. However, backups have never been easy on an operating system Whether Windows or Mac. The process takes a long time, effort and space to deal with. That is why you may have avoided taking backups and so do taking regular backups, but with snapshot, that is not the case.
Taking Snapshot of macOS Mojave
While you can take backup of specifically of your macOS files in virtual machine, however, a snapshot backups all for you within some clicks and not more time wasting. As snapshot saves an exact copy of machine state, it also delivers the exact thing you can rely on. With that, taking a regular snapshot is the important thing to do. These snapshots are stored in your actual computer drive which you need to ensure that is not lost. We highly recommend keeping a copy of your files and the snapshot somewhere else. It’s yet better to keep a copy of your files and snapshot over cloud which is no risk there. This is a massive time saver when it comes to backup and also restoring. This is really clean and simple to do so what are you waiting for, let’s dive in.
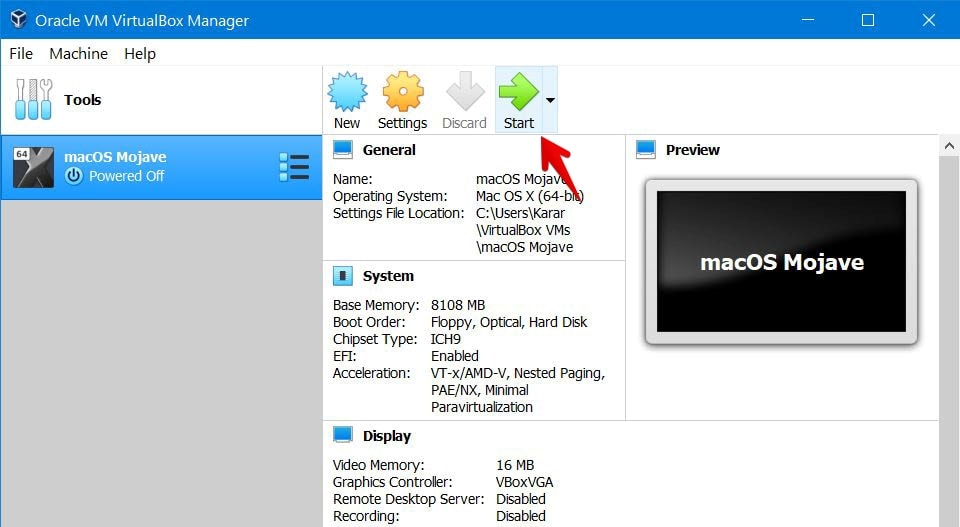
Go ahead and open VirtualBox. From there, choose the Mojave and turn it on.
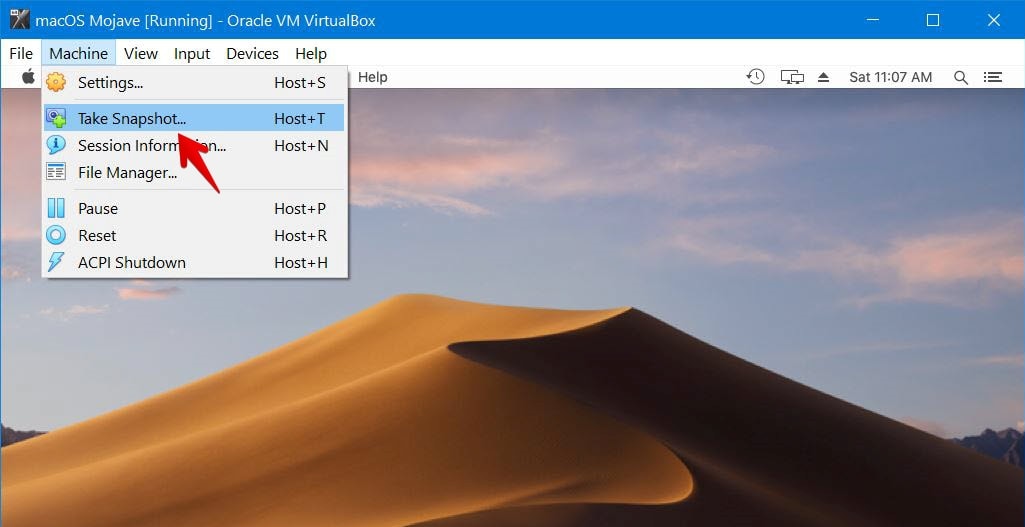
The snapshot is integrated into VirtualBox by default, so you don’t need to download it. Simply click on Machine > select Take Snapshot.
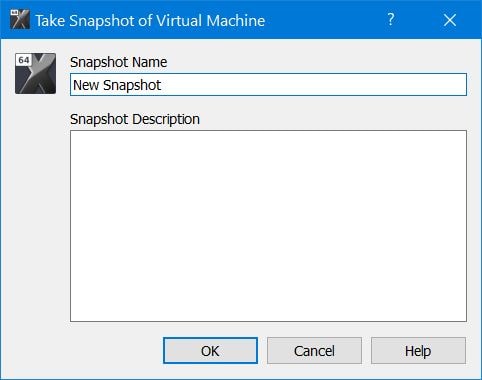
Name the snapshot and write down a description if you want and click OK.
This begins saving the snapshot that will take about a minute or two.
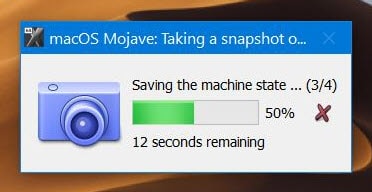
The snapshot will be quickly done since the virtual machine is in an initial state without any files. The snapshot is saved on your actual computer so you may want to store it in an external drive or cloud which is quite better.
Restoring Snapshot of macOS Mojave
With snapshot, you can easily switch back and forth. You can go for something risky or even bad that might be harmful to your virtual machine. If you do that, and now there’s a problem, you can switch back to the previous state. Here’s how to do it.
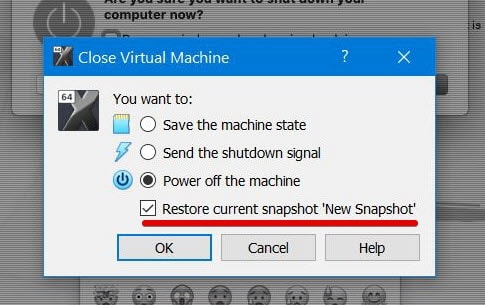
To restore the snapshot, close the virtual machine from its window and you will see the pop-up that you can choose the Power off the machine and select the Restore current snapshot. Which will not only shut down but restore the virtual machine once the machine is completely off.
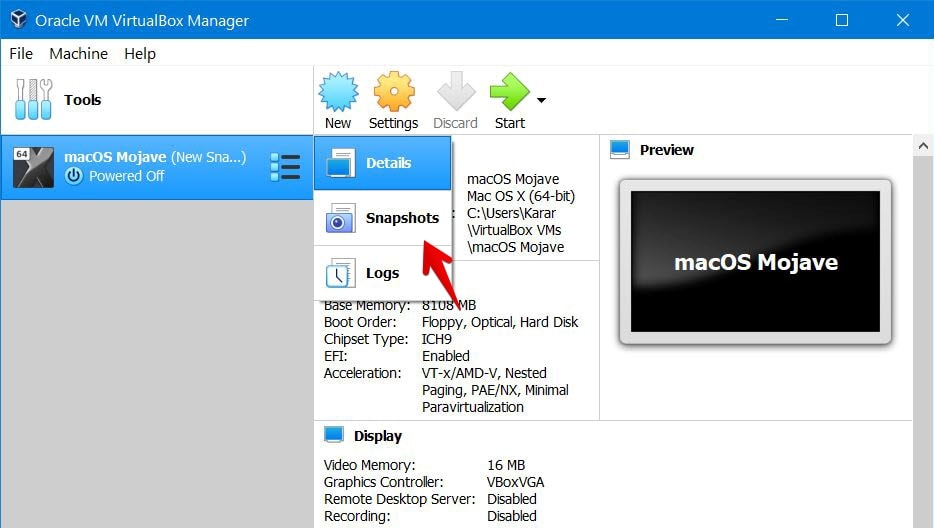
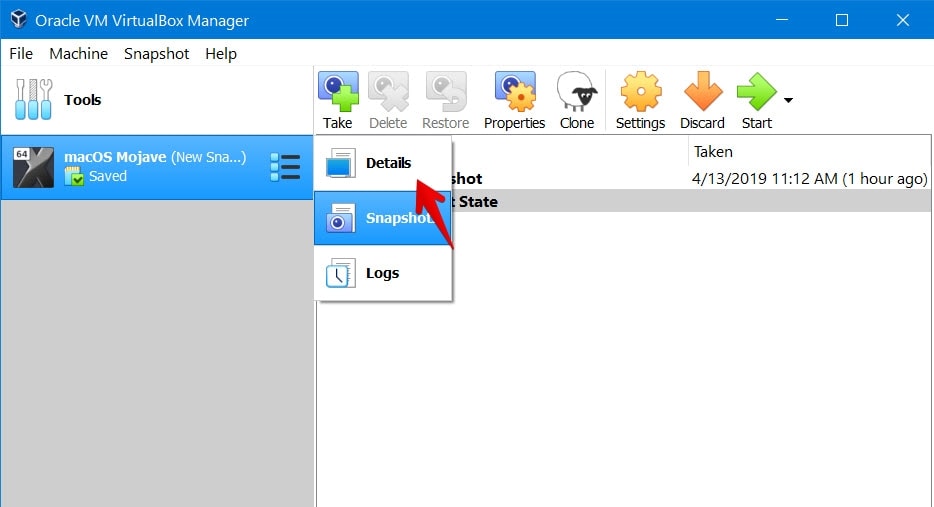
If you skipped that, you can also do it here. Just click on the three-dot menu, select Snapshots.
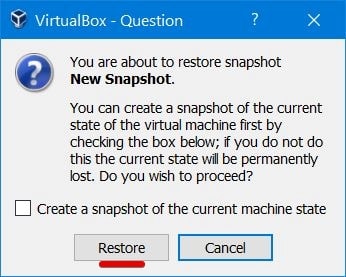
Next, select the snapshot and click on Restore.

Since we want to restore our broken virtual machine, there makes no sense of creating a snapshot from the current state. Uncheck the option and click Restore.
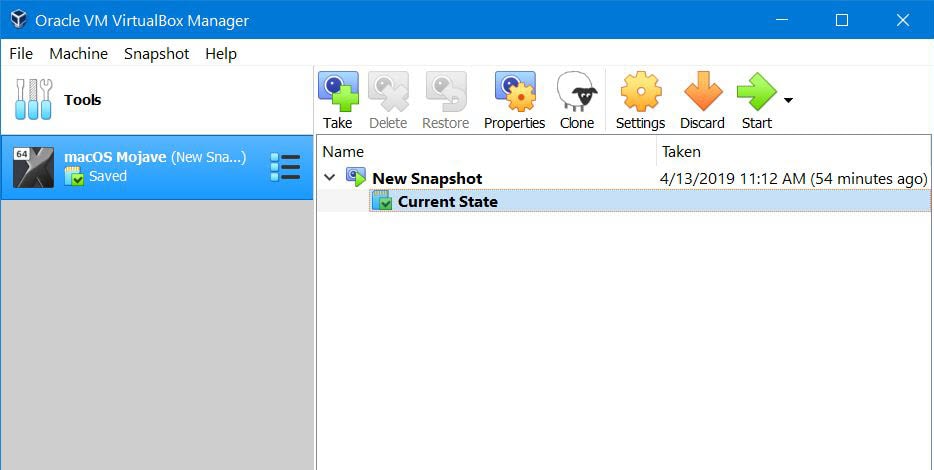
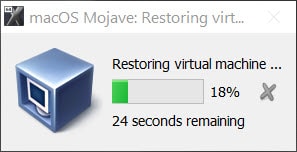
The restore will immediately happen and you will see the current state green.
On this screen, click on the three-dot button and select Details.
Now power on the virtual machine and be patient for it to boot.
When starting, the virtual machine will revert so wait.
All right! When the virtual machine boot up, sign into it and you will see your virtual machine working without any problem just like how it was before.
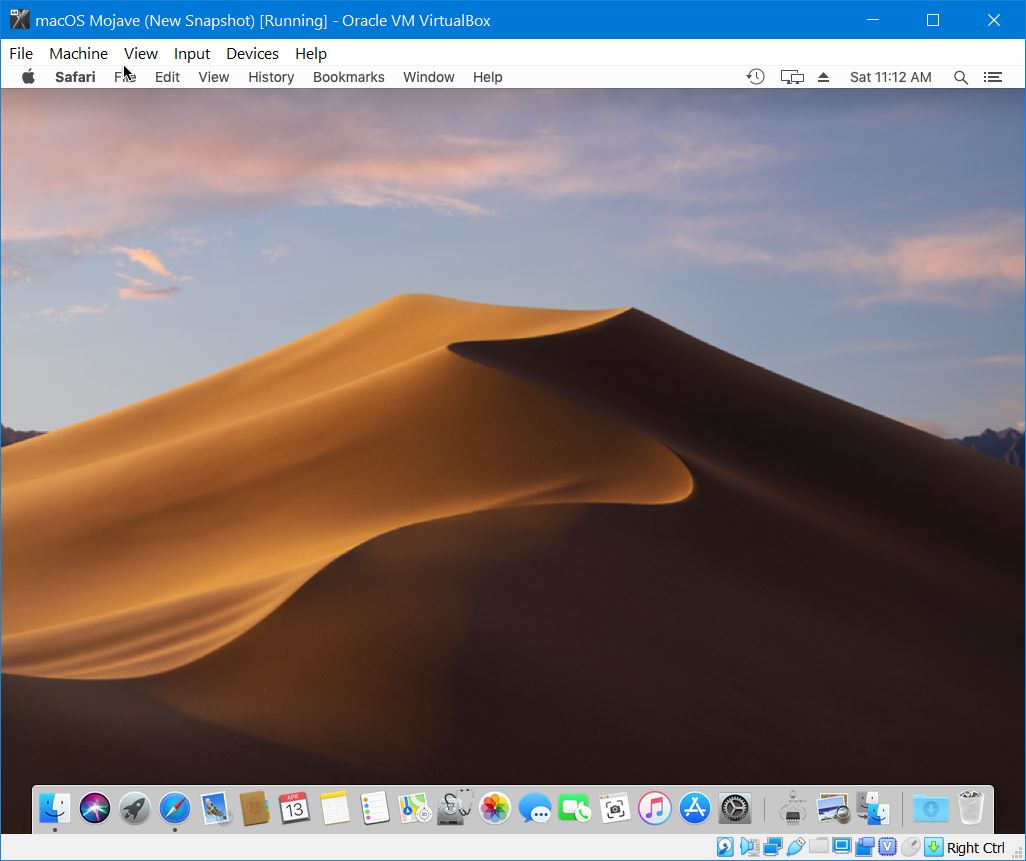
This is a great opportunity you can try testing and doing everything and revert back when you want, enjoy. That’s all there is to it.


Trying to create a snapshot in running Catalina VM on VirtualBox 6.0.14 incl. Extension pack installed – please advise. Thank you
Failed to create a snapshot of the virtual machine macOS Catalina.
Medium ‘C:\Install\macOS_Catalina_10.15_19A602_Geekrar\VirtualBox Boot Image [Geekrar].vmdk’ is attached to a virtual machine with UUID {8ecc7b42-2f73-426c-bd77-30d011710eb5}. No differencing media based on it may be created until it is detached.
Result Code: VBOX_E_INVALID_OBJECT_STATE (0x80BB0007)
Component: MediumWrap
Interface: IMedium {ad47ad09-787b-44ab-b343-a082a3f2dfb1}