


You can make a “top ten” similar to Windows 11 with the help of several utilities and themes – the whole process will take no more than 15 minutes.
Despite Microsoft’s initial claims, Windows 10 is not the “final version of Windows.” Windows 11 will be released very soon, and, in addition to a set of new features, it will also have an extensively modified desktop.

Many who have already tried the merged version of the OS praise Microsoft for a cleaner and streamlined new desktop. However, you don’t have to illegally download an unstable and unsupported version of Windows 11 to enjoy its unique look. Instead, you can customize your installed Windows 10 to make it look like Microsoft’s next Windows, as I did in this article.
Table of Contents
What elements will we change
Windows 11 includes a set of settings for many visuals. Collectively, they make Microsoft’s following OS cleaner and sleeker than Windows 10. You can already bring your Windows 10 desktop closer to Windows 11 using the company’s wallpapers for its new operating system as standard. Beyond that, you can get even closer to the real visual experience of Windows 11 by following the instructions below to set up your system.
Of course, it’s impossible to recreate Windows 11 on Windows 10 all together, but some customization of desktop elements with significant visual changes can help us.
These elements will be:
- window themes
- icons;
- taskbar.
Fortunately, using special utilities, changing these elements is quite simple.
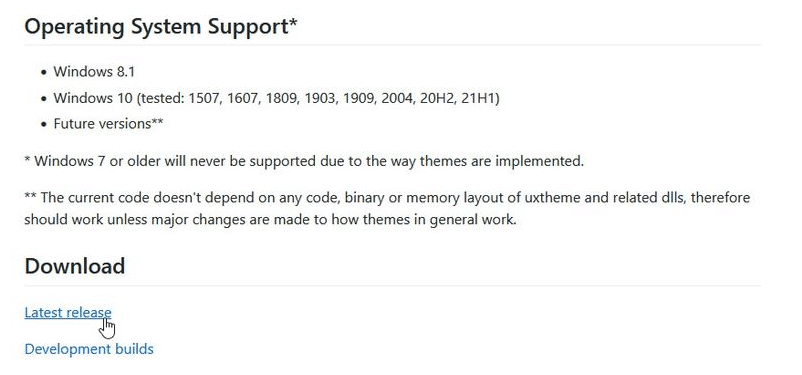
⚠️ Important note about compatibility: According to official data, the utilities in this article are compatible with Windows 10 versions: 1903, 1909, 2004, 20H2, and 21H1. Their work on other assemblies is questionable.
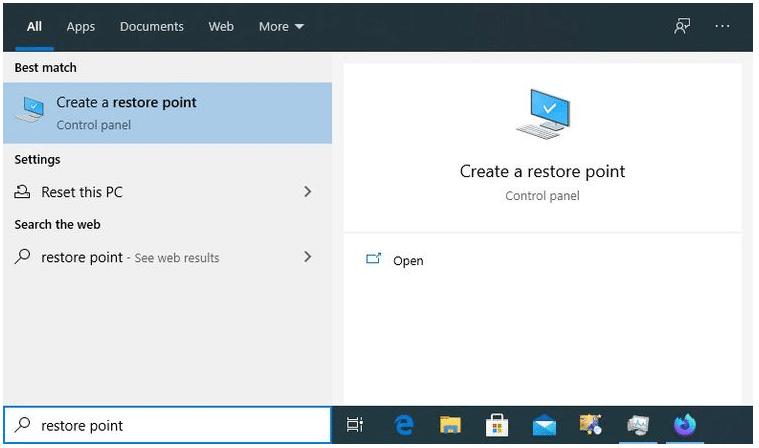
I suggest you back up your OS before installing any software, even if you are using a build that is compatible with system requirements. Create a full backup, or at least a system restore point before you begin to perform the steps shown.

Change icons and window themes
By default, Windows 10 has only a few themes, with a light and dark version for two of them. In the Microsoft Store, you can find more options, but usually, they are not as bright and stylish as artists exhibiting their work on sites like DeviantArt. Of course, the security of Windows 10 will not allow you to install third-party themes unless you use special utilities that will help circumvent these restrictions.
Two such utilities are UltraUXThemePatcher and SecureUxTheme. In this guide, I will choose the newer and more secure SecureUxTheme.
Follow the link to GitHub SecureUxTheme, scroll to the Download section and download the latest version of the application.

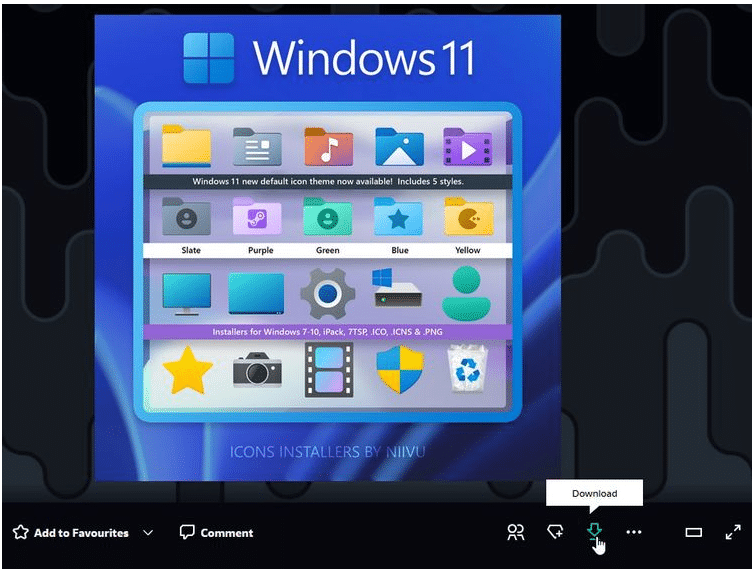
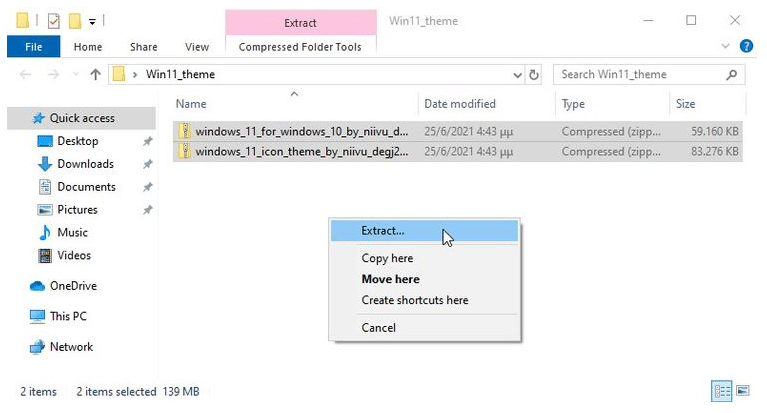
Create an account on the DeviantArt site to download files if you don’t have one, as guests can only view them. Then download the Windows 11 theme for Windows 10 from niivu. For the sake of convenience, I recommend creating a folder with a name like “Win11_theme” and subsequently saving all the files that will be used in it during the guide.
While staying on DeviantArt, download the Windows 11 icon theme from niivu and save it in the same folder.

Extract both files to the folder that you created.

Unfortunately, SecureUxTheme only supports changing windows themes, not icons, so you’ll also need another utility. One of the most popular is 7TSP (short for Seven Theme Source Patcher). You can find it on DeviantArt.
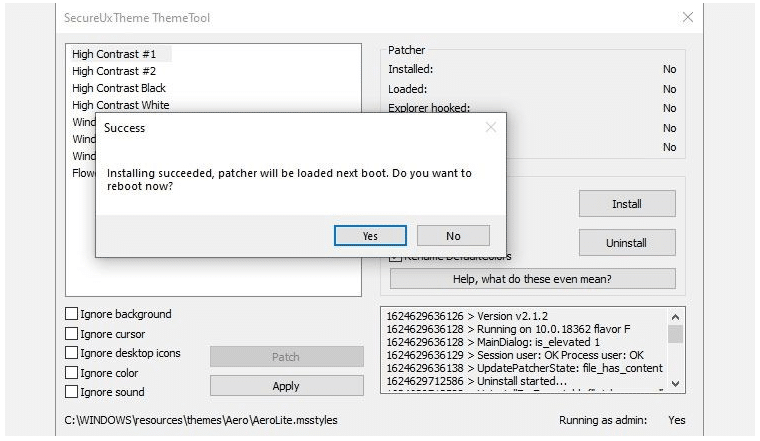
Open the folder where you saved all the files, then right-click on the SecureUxTheme file and run it as an administrator. Without changing the settings, click “Install” on the right.
A successful installation message appears, and you are prompted to restart your computer to apply all the changes. Restart your computer.

After rebooting, return to the folder where you unzipped the downloaded files. Inside the window theme folder (“Windows 11 by niivu *version*”), you’ll find a Windows 10 Themes subfolder with two theme versions in two more subfolders.
One offers a regular and the other a “thick” taskbar. Choose the one you like best, then log into the desired folder and copy everything you find inside (using the keyboard shortcuts CTRL + A and then CTRL + C).
For convenience, run the second instance of Explorer (Win + E). Then navigate to the C:\Windows\Resources\Themes folder and paste the copied files there (CTRL + V).

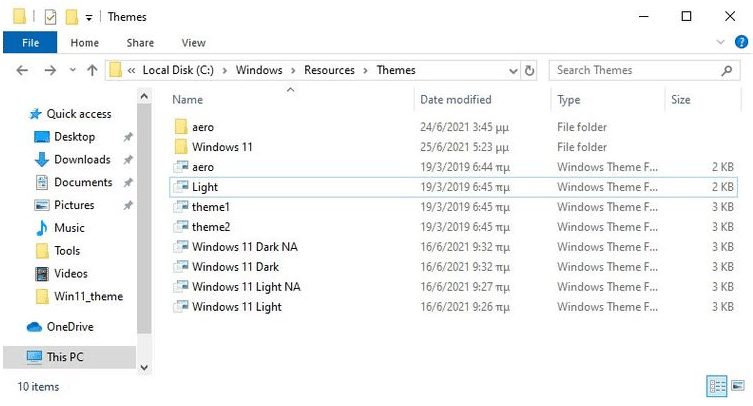
Run SecureUxTheme again as an administrator. This time, the newly added themes will appear in the upper left corner. Choose the option you like (dark or light, with or without an address bar).
Click Patch and apply to apply the selected theme.


Your desktop will lock for a few seconds, and Windows will prompt you to wait until the new theme is applied. When you go back, the new theme will be used in all windows. Now you can close SecureUxTheme.
Before you perform the following steps, you must enable the display of file extensions. To do this, while in The Explorer, click the File button in the upper right corner, then select Change Folder and Search Settings, go to the View tab, and in the Advanced Options, scrolling through the list a little below, uncheck the Hide extensions for registered file type item.
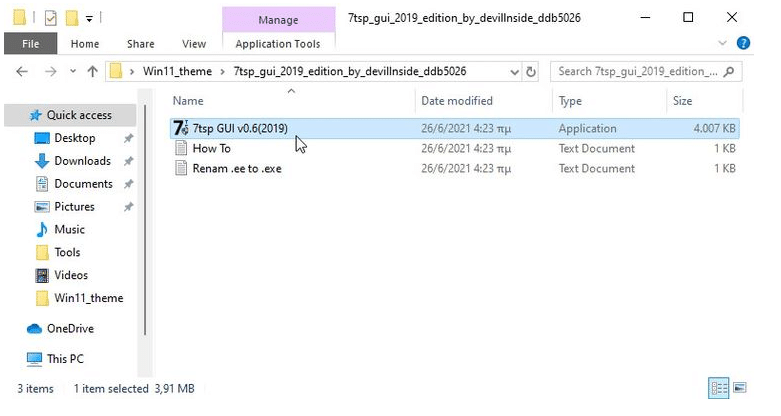
Extract the 7TSP and note that the executable file has the extension “ee” instead of an EXE. Select the file, press F2 to rename it, and add an “x” between “ee” to change its extension to “exe” and display the executable file.
For convenience, launch the application now and minimize it, as we will need it a little later.

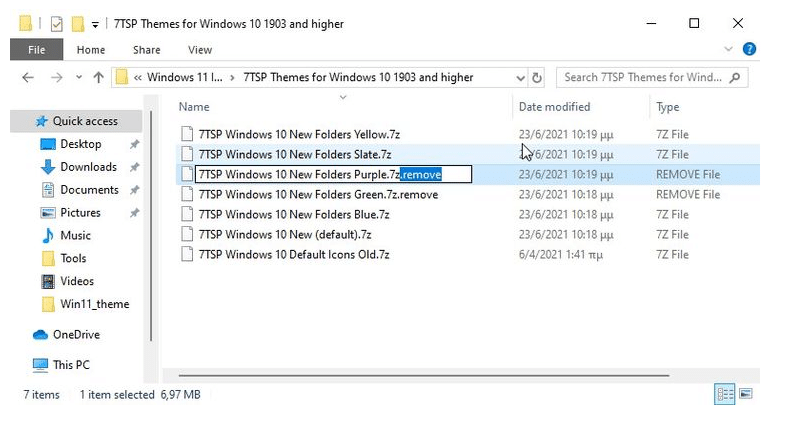
Now, we’ll need to rename a couple more files. Go to the Windows 11 Icons Theme by niivu folder and enter the 7TSP Themes for Windows 10 1903 and higher subfolder.
This folder presents different options for the design of icons. So far, they will not be able to install because of the “.remove” extension.
As before, rename them first. But this time, instead of changing the letter in their extension, remove the “.remove” altogether, including the period.

Go back to 7TSP and click Add a Custom Pack. Find and select the icon theme you want to install and click Start Patching (in the window’s lower right corner).

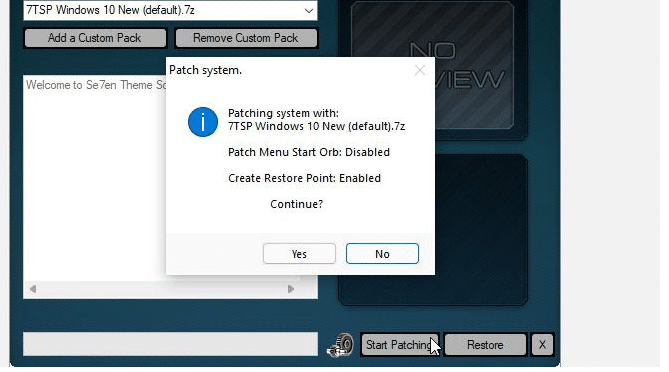
Soon, 7TSP will show you statistics about the time it took to change your OS and prompt you to restart your computer to apply all the changes. Be sure to restart your PC.
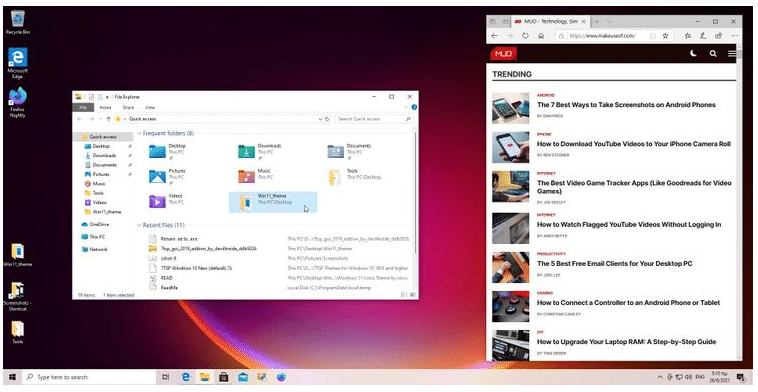
Your desktop will now look different — it’s a hybrid of Windows 10 and 11. However, it can be done even better.

Display icons in the center of the taskbar
I specifically left the center taskbar for last, although this is probably the very first thing a user notices on the updated Windows 11 desktop. This is because it is the most straightforward setup of all.
You only need to run a program that many have been using for many years and accept its default settings: TaskbarX.
Download one of the portable versions of TaskbarX from the official website. It should be noted that the program is distributed without an installer, so you should unzip the downloaded file to the folder where it will be stored. Then open TaskbarX Configurator. For convenience, you can also create a shortcut to the executable file and place it, for example, on the desktop to easily change the program’s settings.

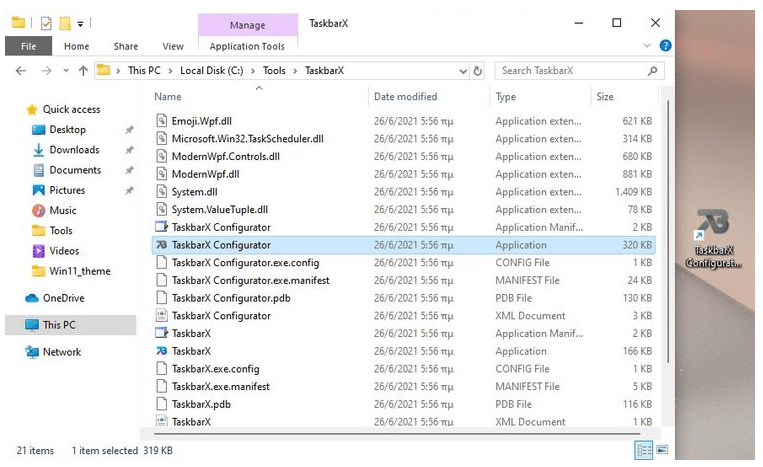
Start TaskbarX Configurator and, without changing the parameters, click Apply. The icons on the taskbar move to the center. However, unlike Windows 11, the Start button and search will remain on the edges of the taskbar.
If you wish, you can play around with the rest of the TaskbarX options to further customize the taskbar to your liking. For example, you can control its color, switch between visual modes, move icons across the entire plane of the taskbar by manually indenting them from left and right elements, customize icon movement animations, and choose to display different taskbar elements on multiple monitors.
Set up a new look for Windows 10
The improvements I’ve made can bring your Windows 10 desktop closer to what Windows 11 looks like. Of course, it’s not a real clone, and it won’t add to the benefits (and questionable changes) that Microsoft’s next OS will bring to your computer.
But one thing is for sure: it’s a good update for your system, but why strive for the style of Windows 11 if you can customize your COMPUTER for yourself? You can continue the more in-depth setup with tools like Rainmeter precisely the way you want.