
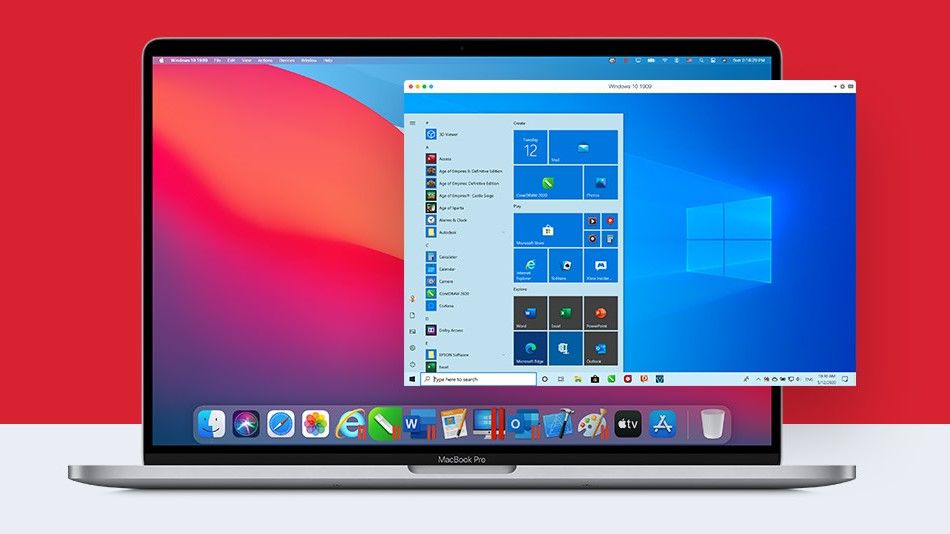
Virtual machines are being updated on daily basis to support the latest build architecture of your system. On your MAC, you can run a program that allows you to “roll” Windows. The only disadvantages of such a solution include significantly reduced productivity. That makes sense. After all, additional resources are needed to run a virtual machine. So, You can work in two OS at the same time almost “seamlessly.”
The pioneer was the Parallels virtual machine, allowing you to install Windows 10 on a Mac with an M1 chip
Let us discuss How to install Windows 10 on a Mac with an M1 chip in detail.
Table of Contents
How to install Windows 10 on a Mac with an M1 chip
Step 1: Register with Windows Insider
Register with the Windows Insider program so you can download pre-release versions of the OS being tested.
Next, log in to your account (or create a new one) and agree to the terms of the program.
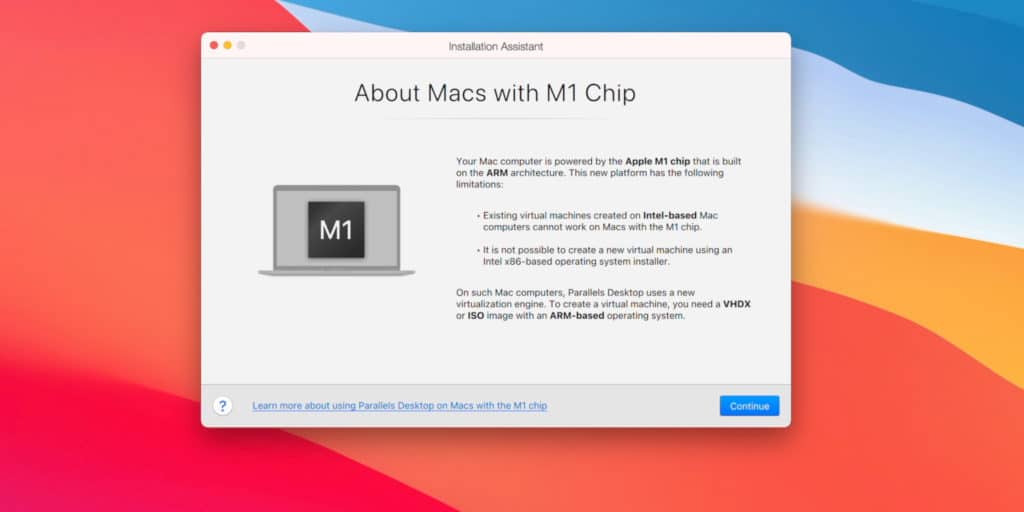
Importantly! The Parallels virtual machine does not support the usual version of Windows under the x86 architecture, i.e. for Intel and AMD processors.
We need a special version of Windows 10 on the ARM architecture. It launches applications designed for ARM, i.e. mobile processors. And also launches through the emulator only 32-bit programsdeveloped under x86.
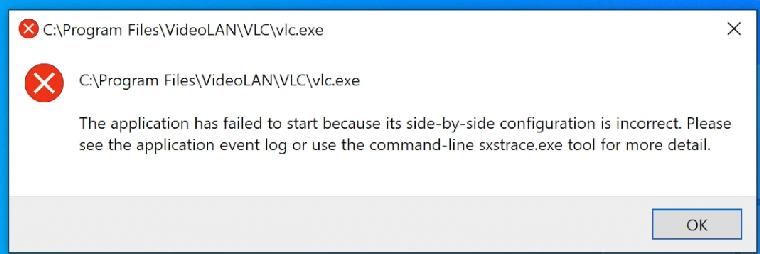
64-bit programs, and most of them, don’t work. For example, we won’t start a VLC video player, and Win32 won’t have a problem.
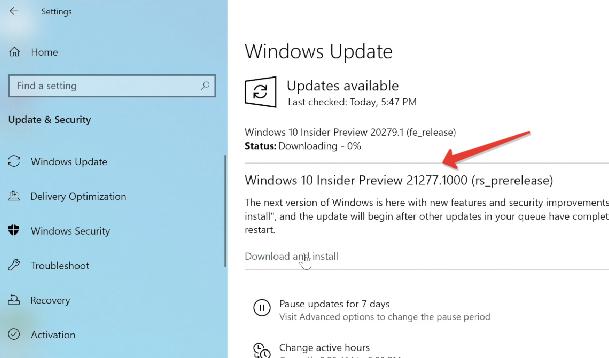
But there is good news. Microsoft has already released a fresh Build 21277 Windows 10 for ARM, which can run through emulator programs developed under 64bit.
If you download this build, the number of supported programs will increase many times.
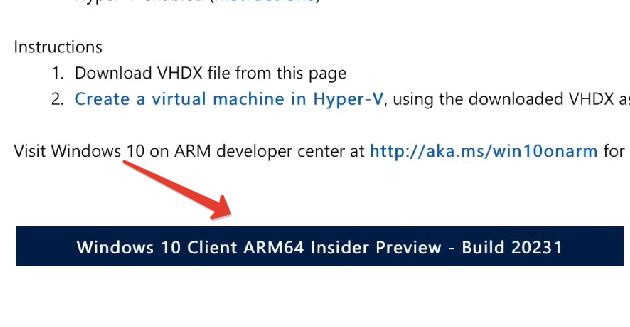
Step 2: Download the Windows 10 version for ARM.
We need a special version of Windows 10 for ARM processors.
Once you’ve signed up for Insider Preview, you shouldn’t have any problems downloading the image. The image is about 8GB.
Step 3: Installation of Parallels
Download the Parallels Desktop 16.
The program is paid, but there is a 14-day trial period. It is enough for familiarization and testing.
Once downloaded, install the program. If you see a message at the time of installation, “This version of Parallels Desktop is not supported on the Mac.” it means that the developers have not yet released the final working version for Mac on the M1 chip.
It doesn’t matter; there is a working version with the Technical Preview status (link to the program). The developers have left the key to test.
Register and download the program. During the installation, it says that this version of the program is designed for Apple Silicon processors.
Once Parallels Desktop is installed, the program will allow you to install a virtual machine.
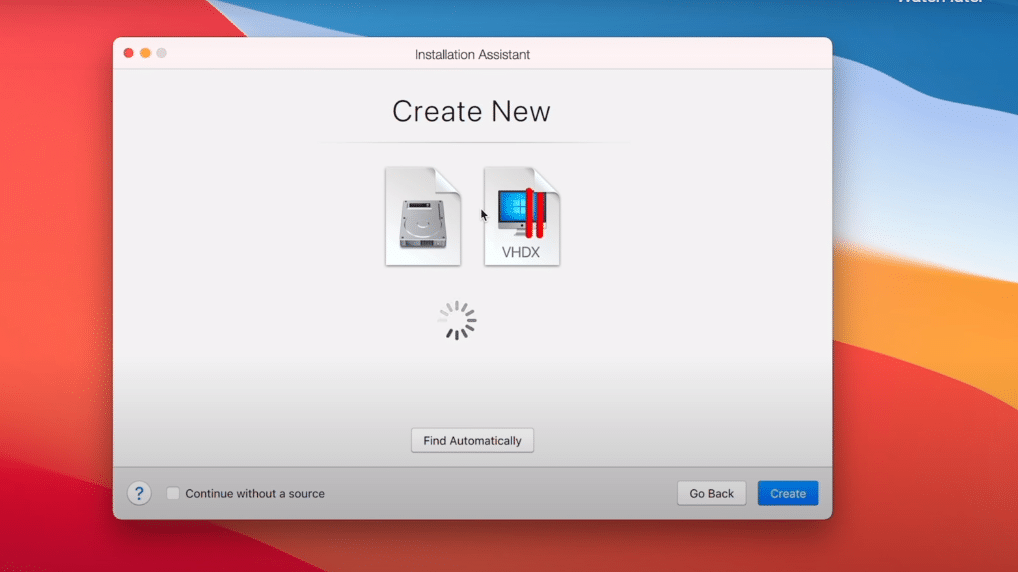
Typically, the Windows 10 image for ARM is automatically pulled up, but the path to it can be manually indicated if there are problems.
The app will ask you to log in to the Parallels account.
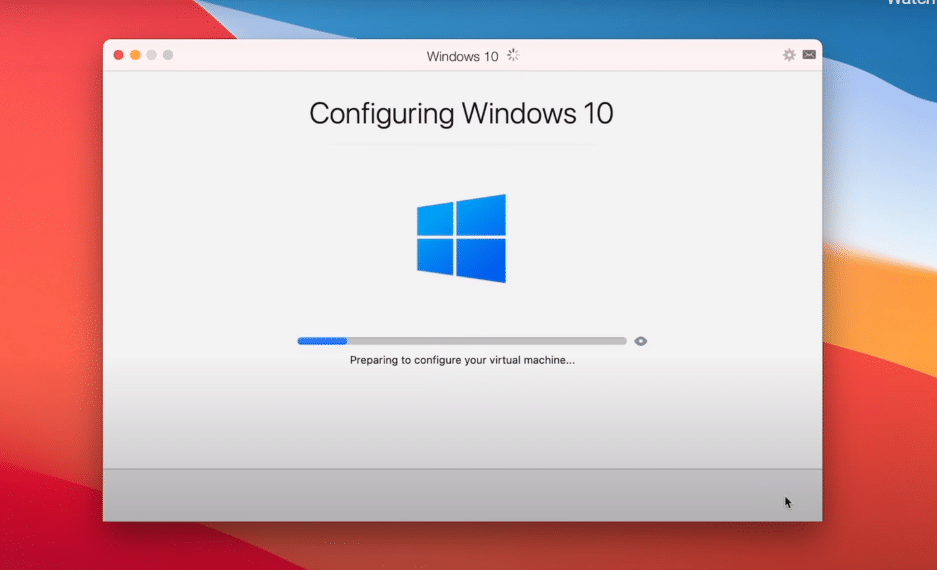
Next, the automatic process of installing Windows will begin, which takes about 10 minutes on the new MacBook.
Drivers on the outer periphery (mouse and keyboard) will be installed automatically. And everything will work without any user involvement.
Install Windows 10 on a Mac with an M1 chip with 64-bit Program Support
To Install Windows 10 on a Mac with an M1 chip with 64-bit Program Support, you need to upgrade the system in developer mode.
Go to the Start menu – Options – Update and Security. When you check the updates, the 21277 build that supports the launch through the 64bit emulator will not be available.
- Let’s go to the Windows Insider Program.
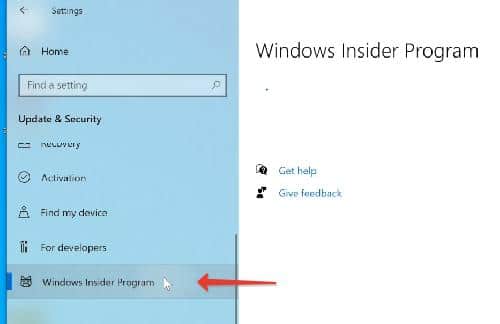
- Add a registered account.
- In diagnostics and Feedback, activate “Optional Diagnostic Data.“
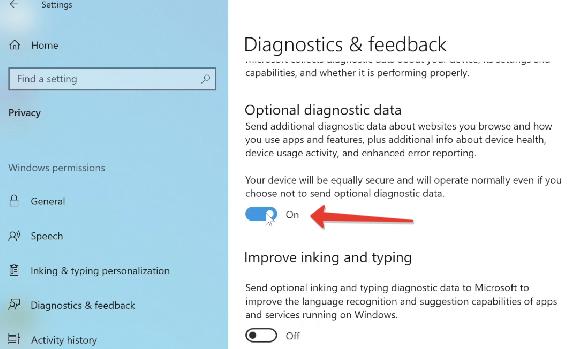
Go back to the Windows Insider Program and change the beta channel to the Developer Channel.
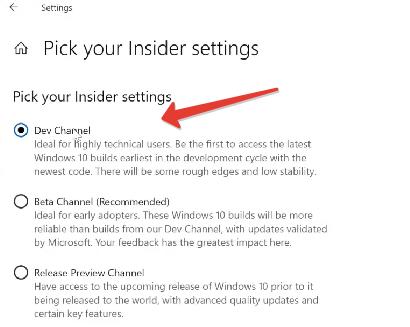
After that, in the Windows Update section, click “Check Updates” and download the coveted x64-enabled build.
The Version of Windows 10 under ARM is currently available only in English.
Set up Windows in Parallels Desktop
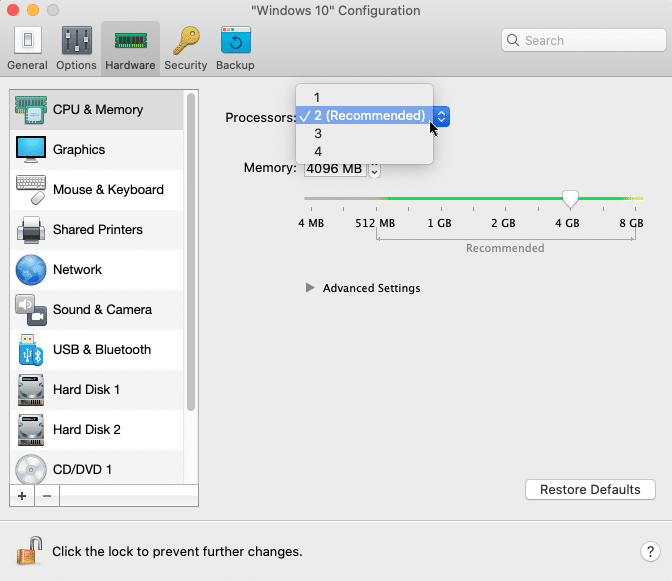
Parallels have allocated a dual-core processor (1.5 GHz), 4GB of RAM and 256GB of custom storage for Windows. There is no information about the video card. The monitor is set up in a native resolution.
Windows in the virtual machine are out of pause mode and, without running programs, practically does not “eat” the power of the chip but uses more than 6GB of RAM.
So if you plan to use Windows 10 all the time, be sure to take a Mac with 16GB of RAM.
To allocate more resources to Virtual Windows 10, turn off the virtual machine and go to Settings to increase processor performance, graphics, and memory.
Tips for working with Parallels
To run the full-screen window, tap the green button in the top left corner (or a combination of Ctrl + Command + F keys). This way, you can quickly switch between two operating systems by clicking Command + Tab.
You can also set this as default in your Parallels Option settings. Go to Options – Full Screen.
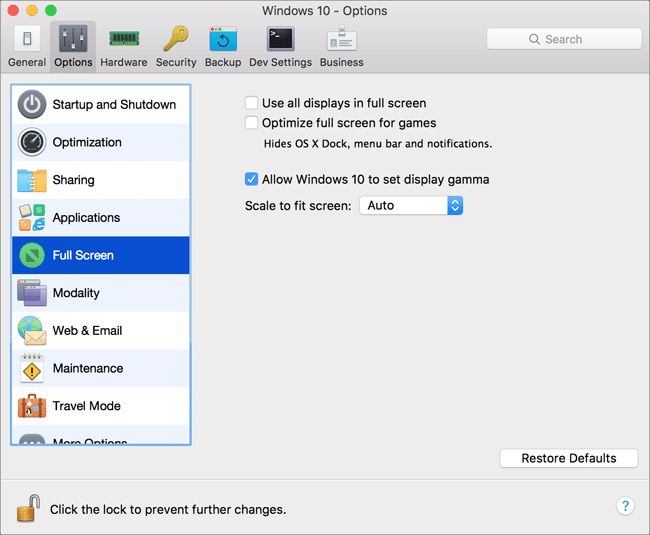
Also, Parallels will do so automatically after a while of inactivity.
You can turn off Windows itself through the Start menu or the State Line (Action – Stop), but it’s a less secure option than a normal Windows shutdown.
The desktop has a Mac Files folder that opens the custom mac folder, and you can access all the files.
After installing any software on Windows, Parallels automatically creates their icons on the macOS desktop. The bottom line is that the desktop macOS and virtual machine is becoming common. That is, files placed on the Mac desktop will also be displayed on the Windows desktop.
In general, virtual Windows 10 works but not always stable, especially when running “heavy” 64-bit programs and games. Everything has to be tested individually.
Ideally, we expect Microsoft to give the go-ahead for a full-fledged Boot Camp and start intensively developing the Windows 10 project for ARM.
Conclusion: Install Windows 10 on a Mac with an M1 chip with 64-bit Program Support
I hope this 3 step easy guide was helpful and you were able to Install Windows 10 on a Mac with an M1 chip easily. If you face any issues, share them in comments section below.


Regrettably there doesn’t appear to be a way to get a Windows 10 Client ARM64 install image – even with being a part of the Windows Insider program. All Microsoft is providing is a Windows 11 ARM client, yet Microsoft it not allowing people to actually purchase a Windows 11 activation key. All I’ve been able to do is install the WIndows 11 ARM64 client (which works), but it is ‘not’ an authenticated version, so some things are missing and who knows how long Microsoft will allow it to be used.