The macOS High Sierra is the newest version of macOS now. From the time it’s out, it has been updated several times which have fixed most of the problems, providing superb experience to the users. With the most stunning features, there’s no way you wouldn’t want to install or even at least try it. That’s what virtual machine allows you to do within your windows. If you haven’t done this, you may try the most perfect experience of macOS. Here is How to Install VMware Tools on macOS High Sierra.
From the past enough to the newest version of macOS, these problems are happening with macOS. For instance, if you install Mojave on VMware, you would certainly encounter the need of features. When you’ve installed High Sierra, you’ll probably notice the short of the essential features. The first thing you’d notice is the small screen resolution, which doesn’t turn into full screen when you’re in the full-screen mode. It’s really annoying when you’ve a high-quality giant screen but couldn’t get the excellent resolution.
The next problem that you’ll observe is the sound missing. Including the small resolution, you will experience High Sierra without a little sound. Including these, there are lots of problems you’ll encounter when surfing like low video resolution, poor color depth, unable to drag and drop and some more.
But no worries, there’s a fix for it. If you want to fix those problems, you’ve the exceptional VMware tool provided by VMware. VMware Tools, integrated into VMware is a set of utilities that provides the necessary tools for a virtual machine. Which will enhance and provide some great features like full-screen resolution. So let’s take a look at how to install VMware Tools on macOS High Sierra.
Install VMware Tools on macOS High Sierra
Once you’ve installed High Sierra completely, you need nothing more. The VMware tools is within the VMware and all you need to do is install. The installation process is straightforward.
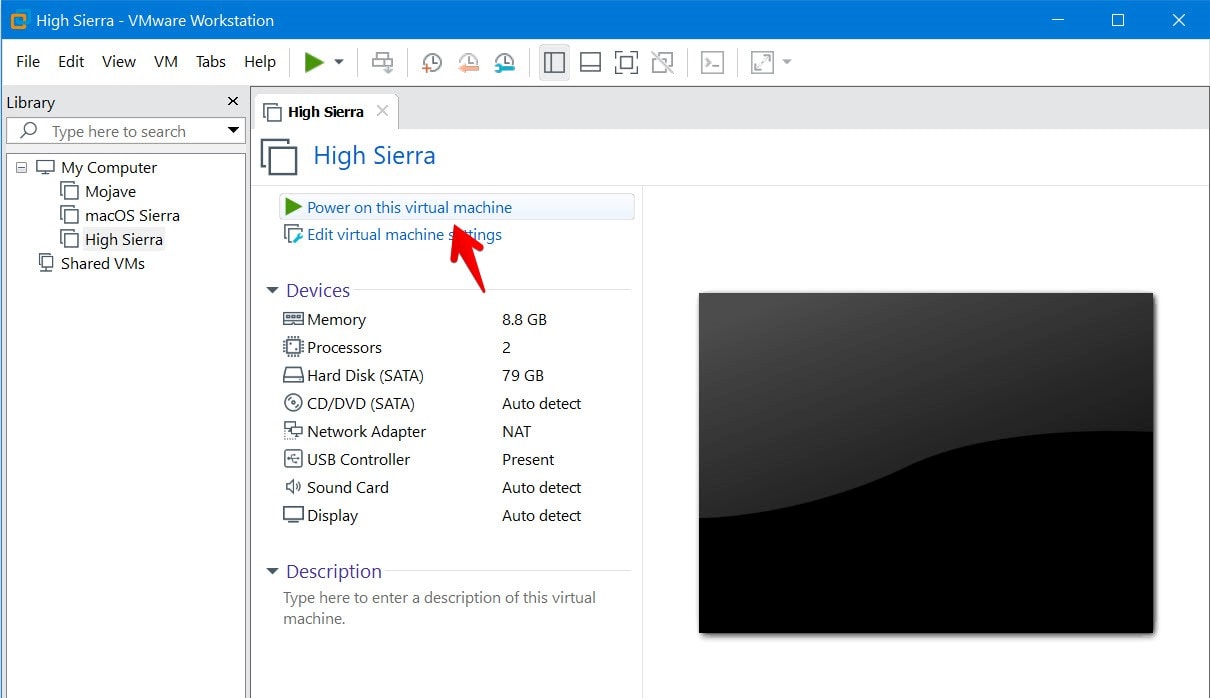
Switch the High Sierra virtual machine from VMware. If it’s already running, you may skip this.
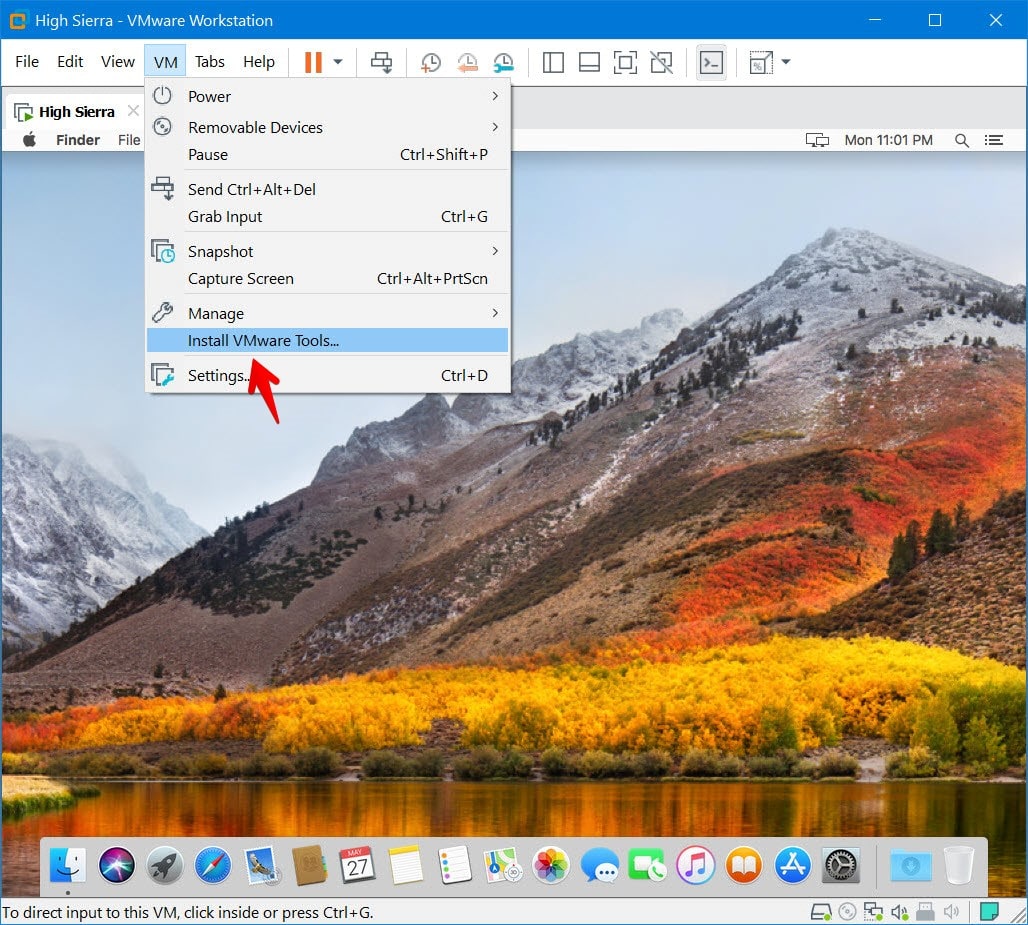
From the top menu, click on VM and select Install VMware Tools.
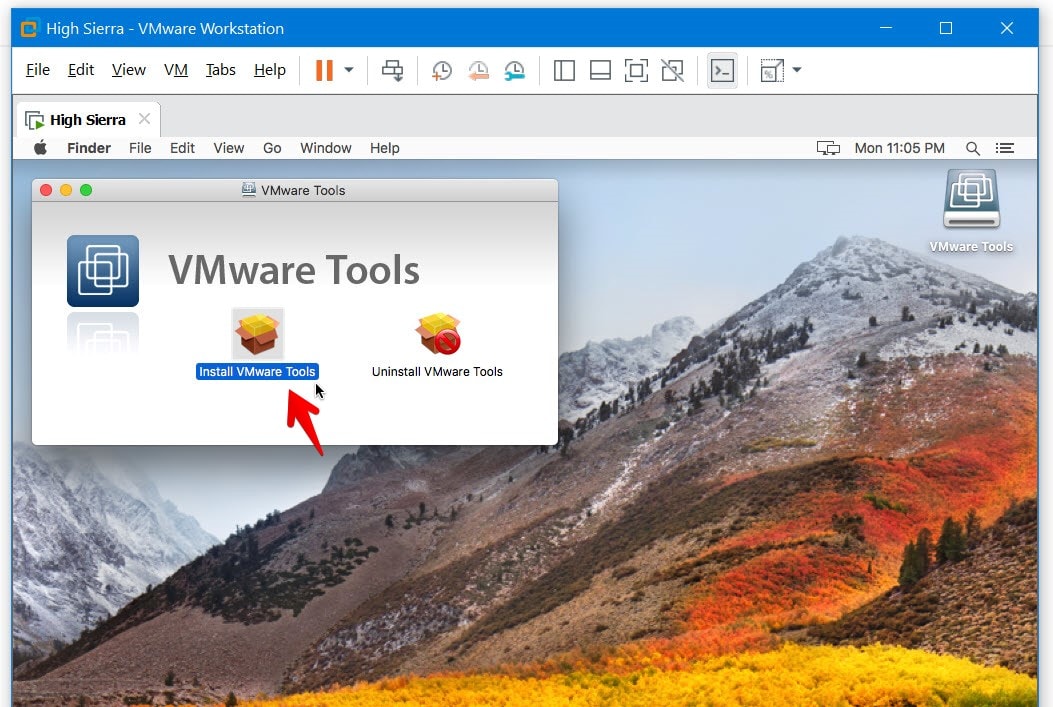
Next, click on Install VMware Tools twice.
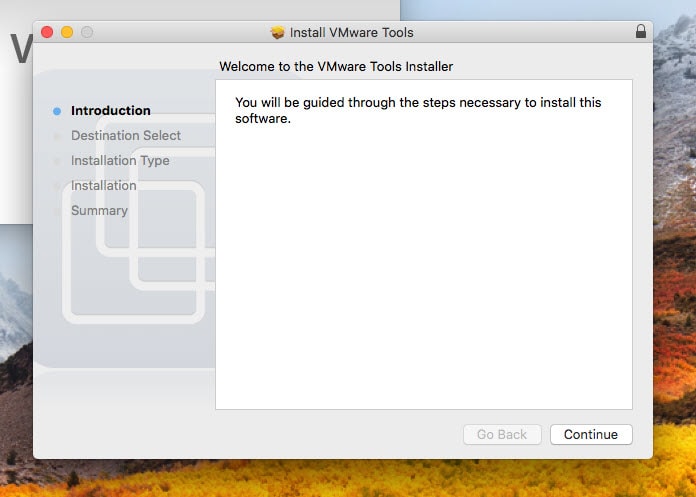
When this window popped up, click on Continue.
The startup disk is selected by default, click Install. After the installation, you’ll be needed to restart your computer, click Continue Installation.
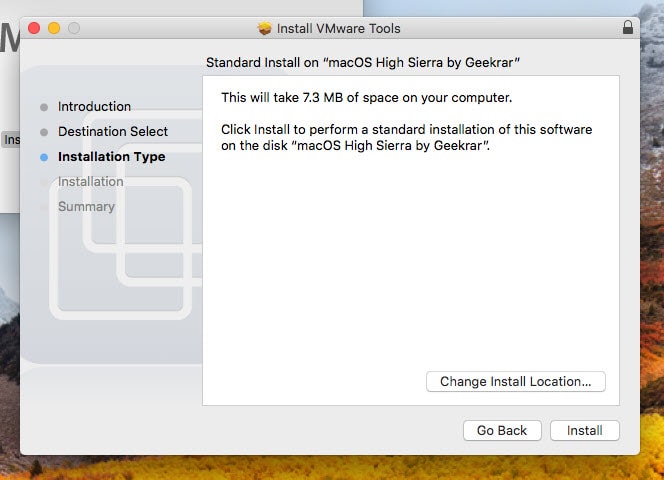
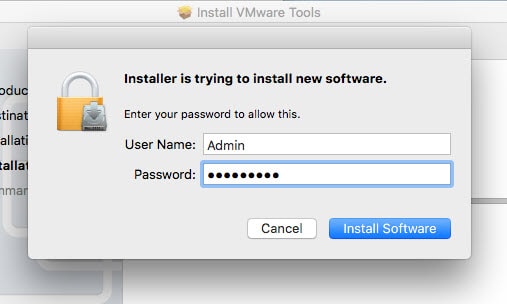
Now you’ll be asked for your credentials to install the program. Type your password and click Install Software. It will be quick and easy.
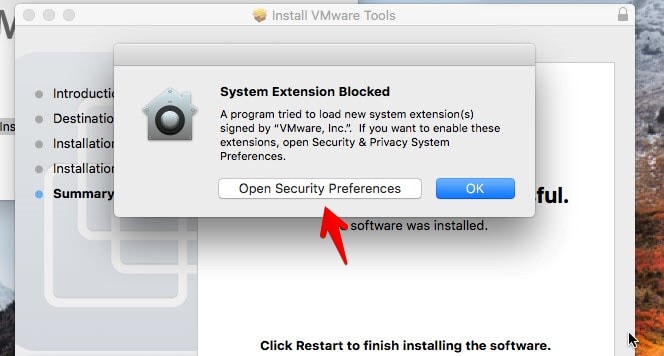
With the installation completed, you’ll see the system extension error, simply click on Open Security Preferences.
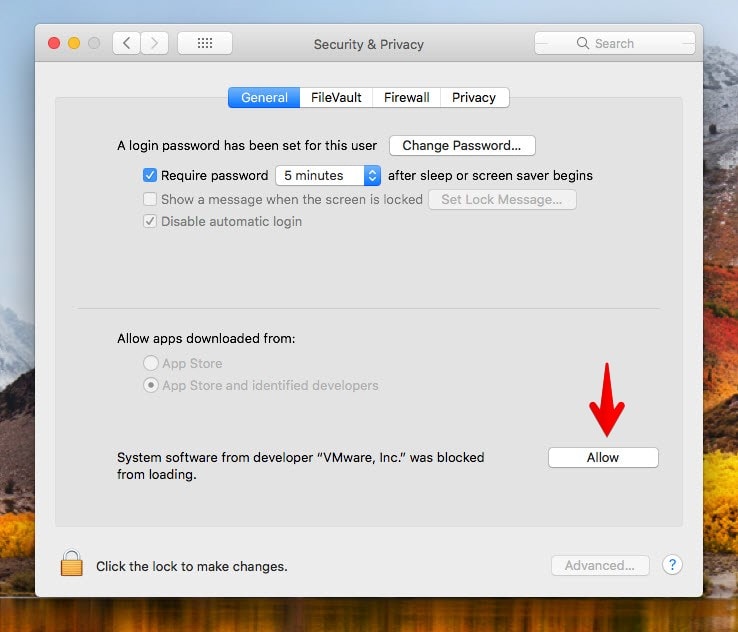
When you’re redirected to the Security and Privacy window, click on Allow.
Now simply click Restart on the VMware Tools window.
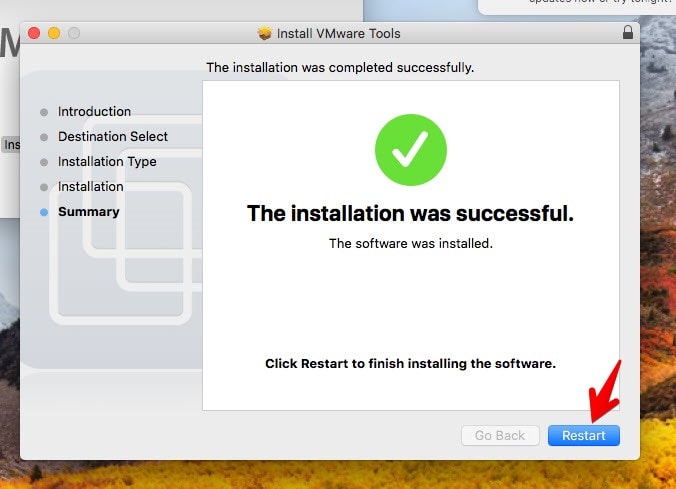
After the machine restarted, you’ll see the error appears again. Click on Open Security Preferences.
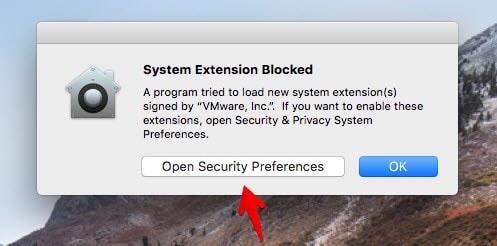
On this screen, click Allow on the end.

Now repeat the VMware Tools installation as you did before. Click on VM and select Reinstall VMware Tools. Next, click on Install VMware Tools and click Continue Twice. When you’ve finished the installation, click on Restart. This time, you’ll do it successfully without any problem.
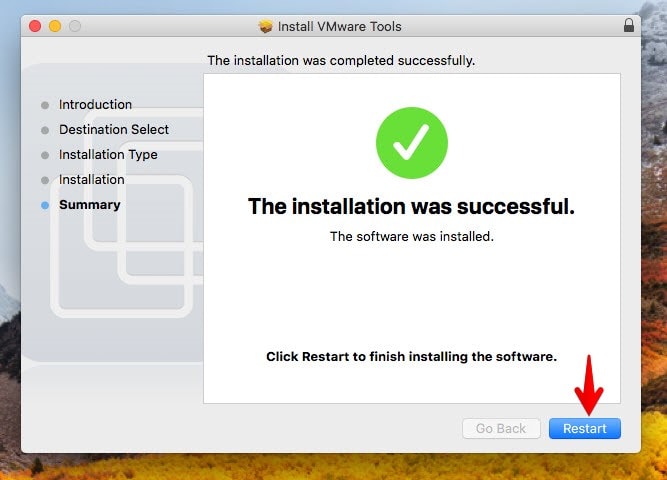
That’s the end of small resolution and beginning of the actual resolution.
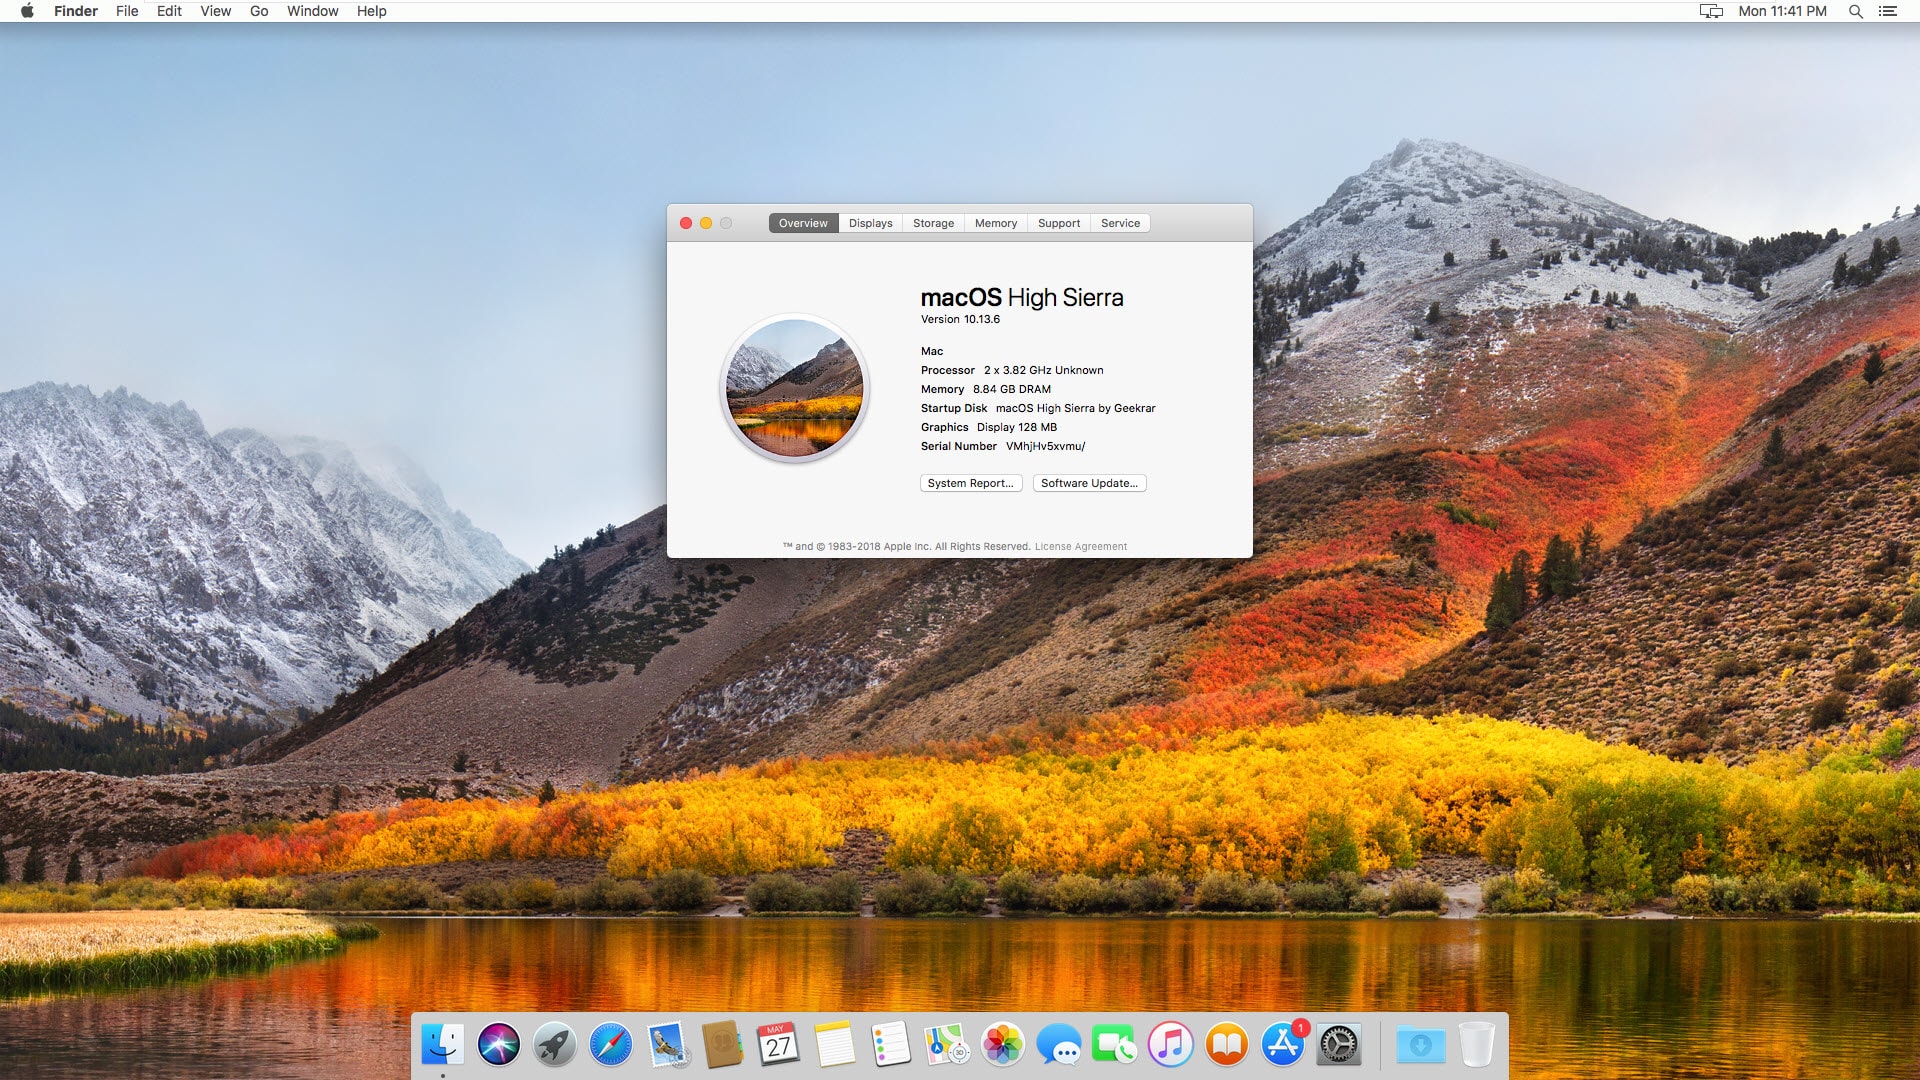
All done! There’s nothing more you need to do. If you’ve questions, suggestions or ideas for us, we are happy to hear.







same problem for me.
i cannot install vm tools for mac guest
I don’t have the VMware tools installed on the VM mac and I have Error “Could not find component on update server” when I try to install from the VM Mac OS