Linux Mint is a popular Linux distribution for desktop computers and laptops. It comes with a wide range of pre-installed software and is easy to install.
Linux Mint is compatible with both 32-bit and 64-bit systems, which makes it an excellent choice for older PCs that are not powerful enough to run more recent versions of Windows. Linux Mint Cinnamon is the default desktop environment, but you can install other desktops like KDE or Xfce if you prefer those environments.
Table of Contents
Install Linux Mint Cinnamon VirtualBox | Step by Step Guide
This article will provide information on how to install Linux Mint Cinnamon on VirtualBox.
Minimum Requirements
RAM: 2GB (4GB is recommended)
20GB of free disk space
CPU: 2 cores
Linux Mint ISO
VirtualBox and extension pack
1. Preparing the Virtual Machine
Step 1: Open up your browser, go to LinuxMint.com and click on the download link. Version 20.3 is the latest one, and you have three different available versions. You have Cinnamon, MATE, and Xfce edition; we will be doing the Cinnamon Edition in this article. So go ahead and click on the download link over here, and you can see that the size of it is 2.1GB. Select the location closest to you and then click on the link that corresponds with it, and it will start downloading the ISO file.
Step 2: Once downloaded, download and install Virtualbox on your Windows PC. Here is a guide that you can use: How To Install VirtualBox 6.1 On Windows 10.
Step 3: Install the Virtualbox Extension Package. Use this guide: How To Install VirtualBox 6.1 On Windows 10.
Step 4: Open Virtualbox and click add a new virtual machine. Set the following parameters and click Next.
Name: Linux Mint
Type: Linux
Version: Ubuntu (64 bit)
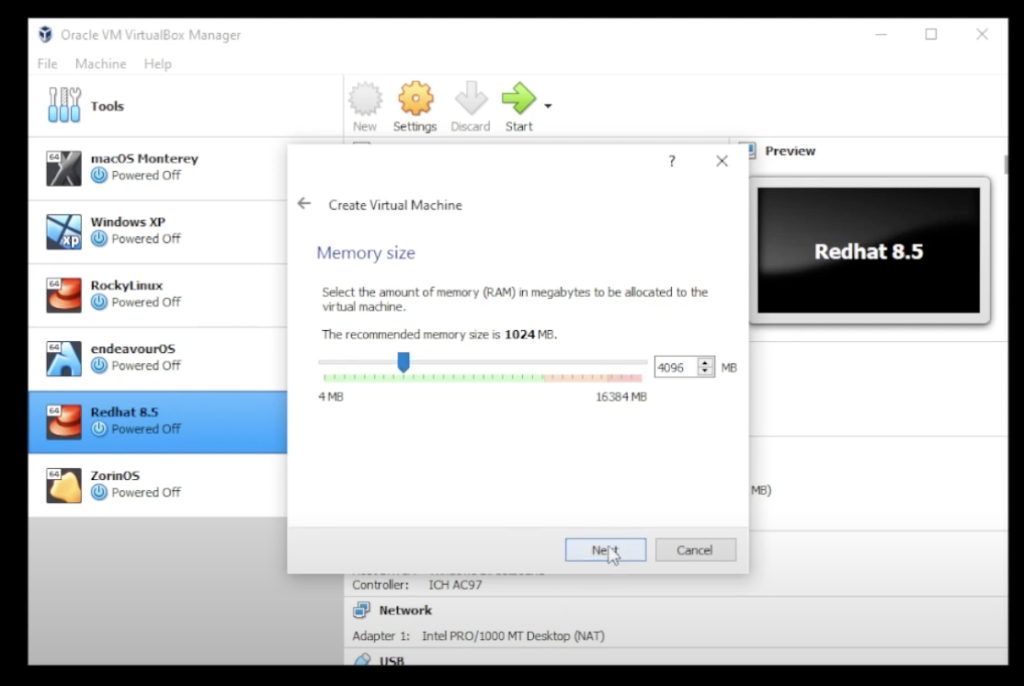
Step 5: In the memory size, select 4GB and click Next.

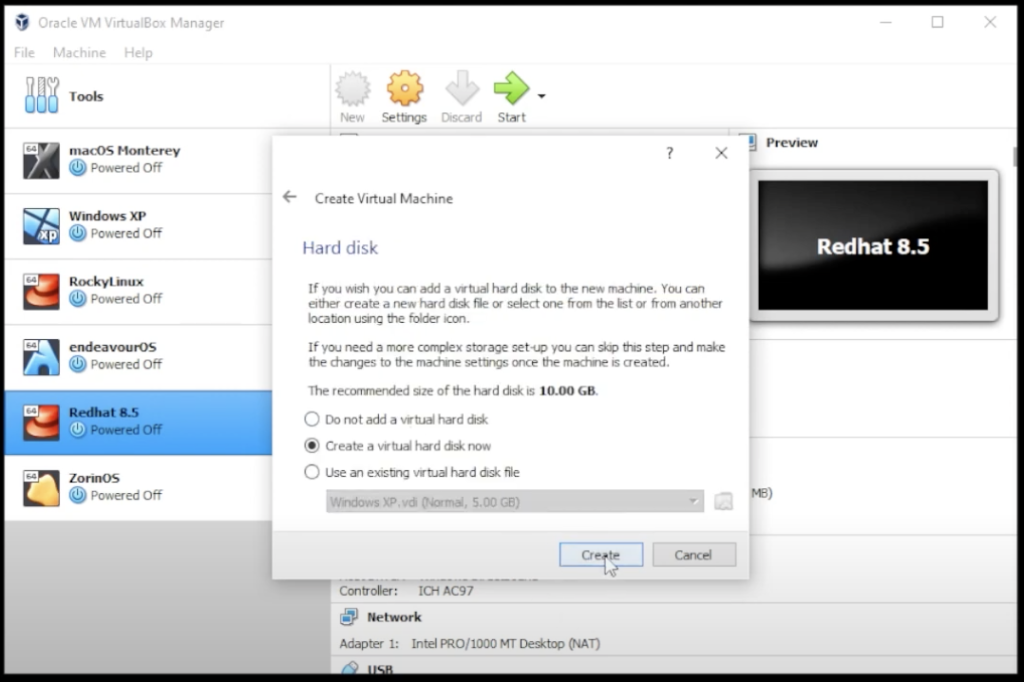
Step 6: Select Create a Virtual Hark Disk File and click Create.

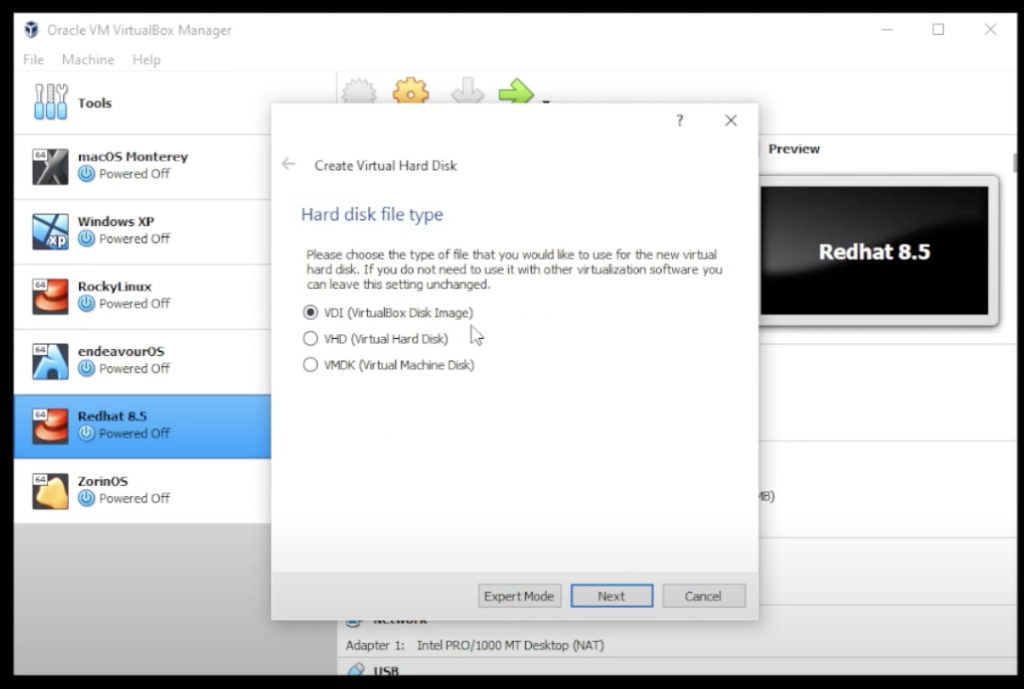
Step 7: Select VDI (Virtual Disk Image) and click Next.

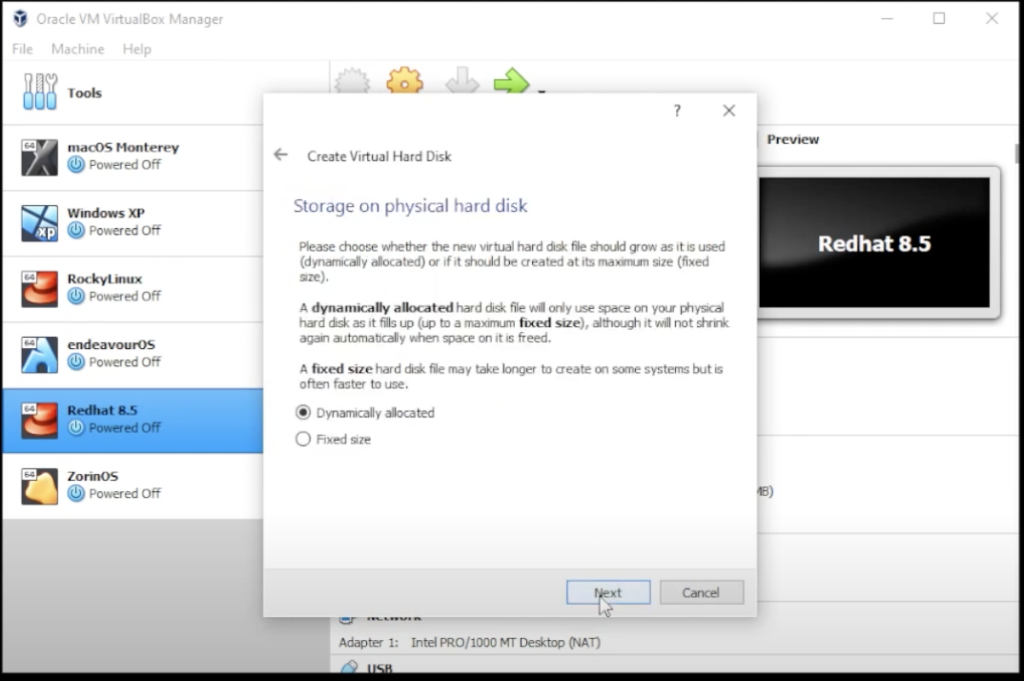
Step 8: Select dynamically allocated and click Next.

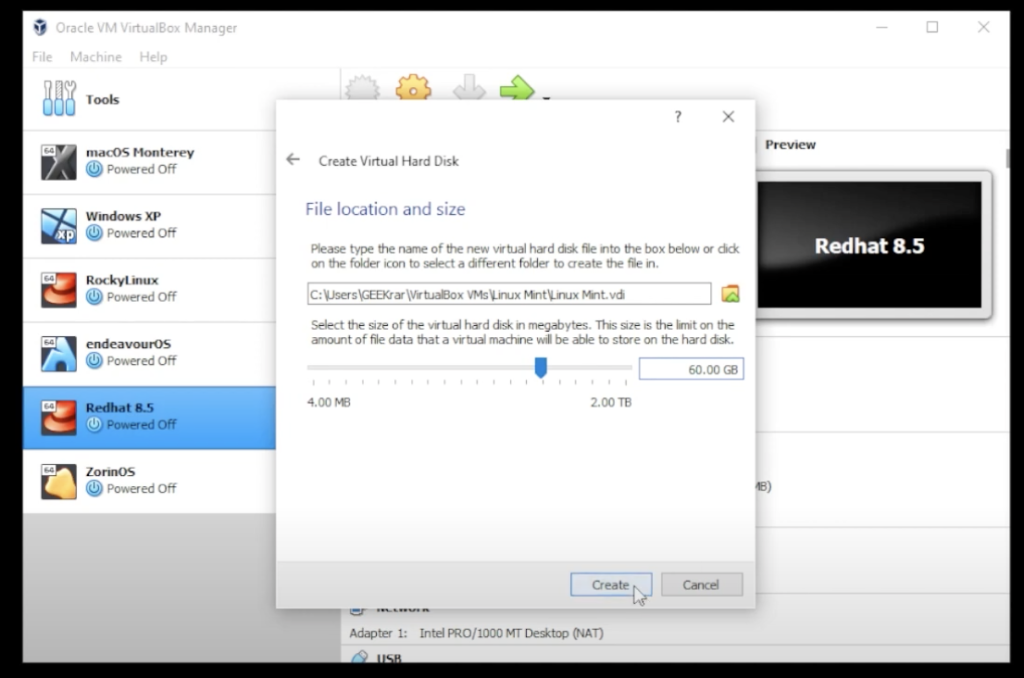
Step 9: For the hard disk space, select 60GB, and then click on Create.

2. Customize the Virtual Machine
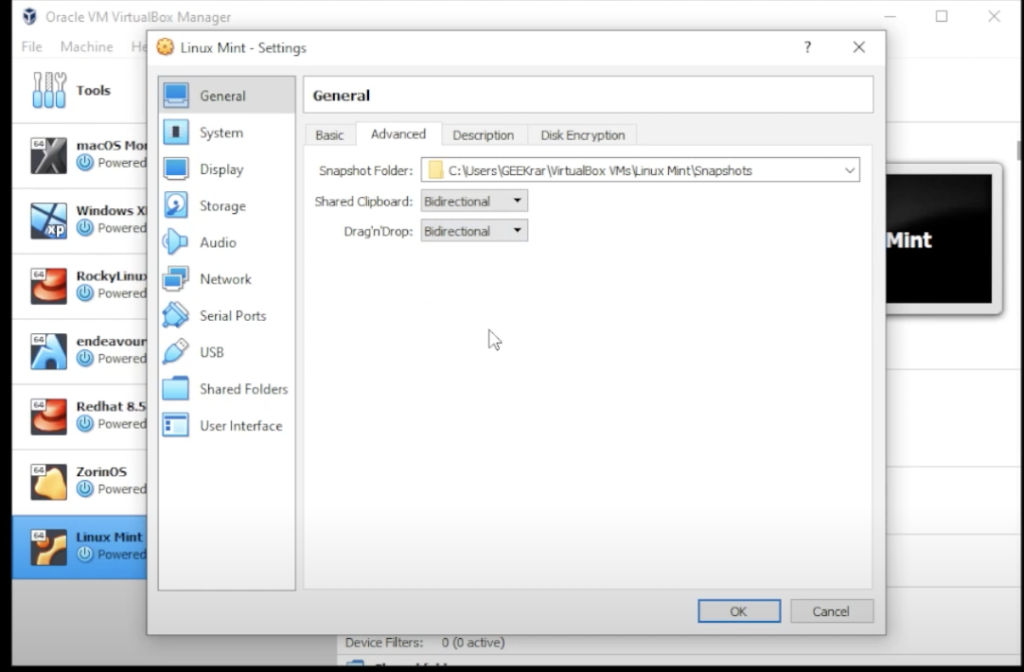
Step 10: Click on the settings button, and inside the general tab under advanced, set shared clipboard and drag n drop to Bidirectional.

Step 11: Click on the system, go to the processing tab and set it to 4.
Step 12: Click on display and set up the display for 128 GB.
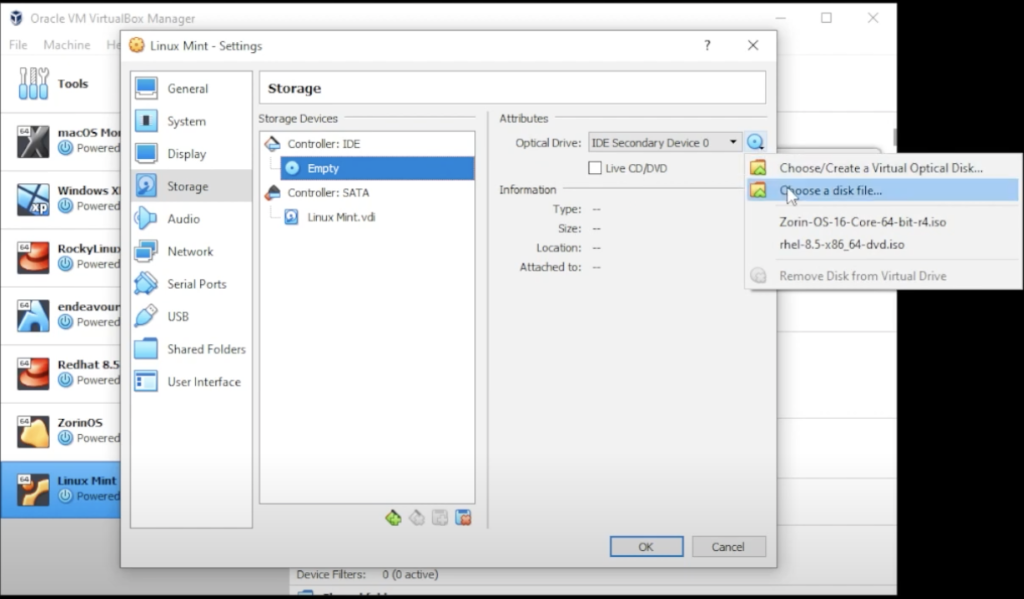
Step 13: Click on Storage and inside Storage, you want to select the empty disk, then click on the little disk on the right-hand side. Choose a disk file and this is where you need to go to your Downloads folder, where you’ve downloaded the ISO image file, select the ISO image file and then click on open.

3. Starting the Virtual Machine
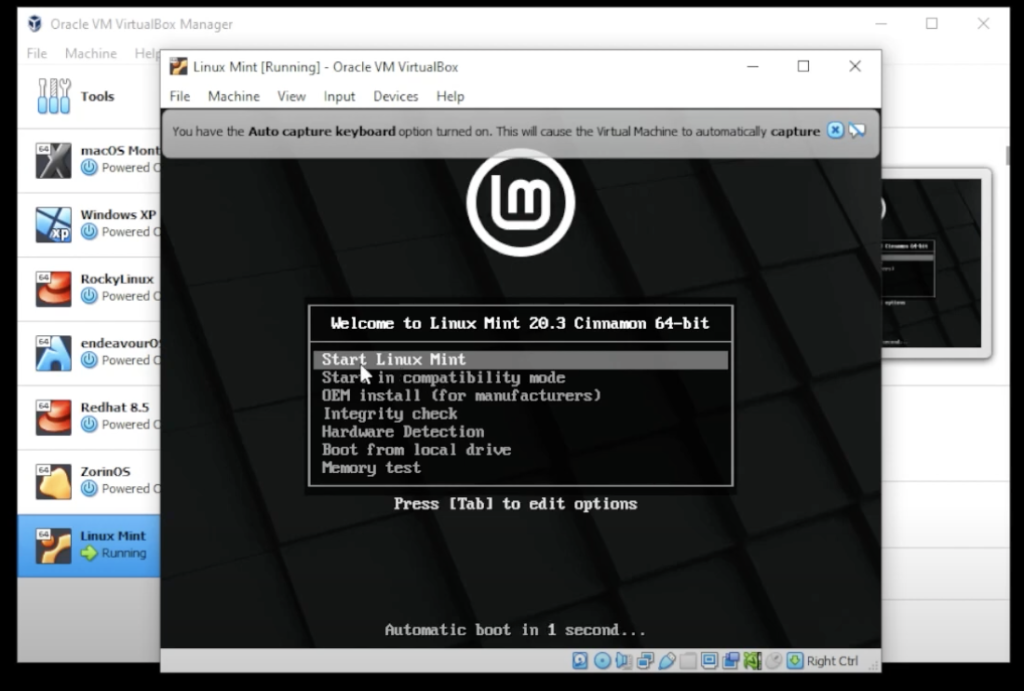
Step 14: Go to VirtualBox Manager and make sure that Linux Mint is selected and then click on the Start button. Click on the first option and start the installation process.

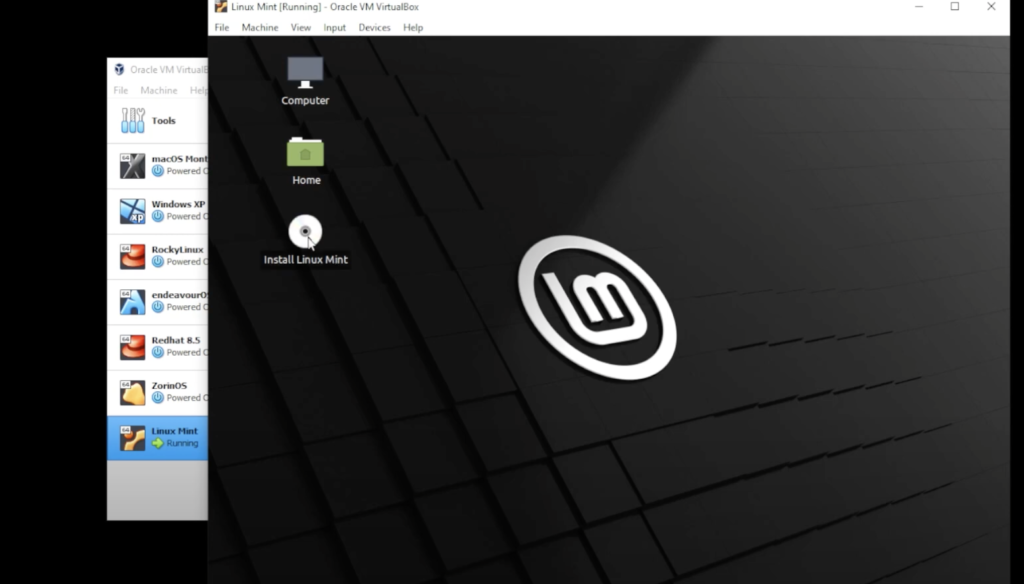
Step 15: Double click on the disk to install the operating system in a virtual drive.

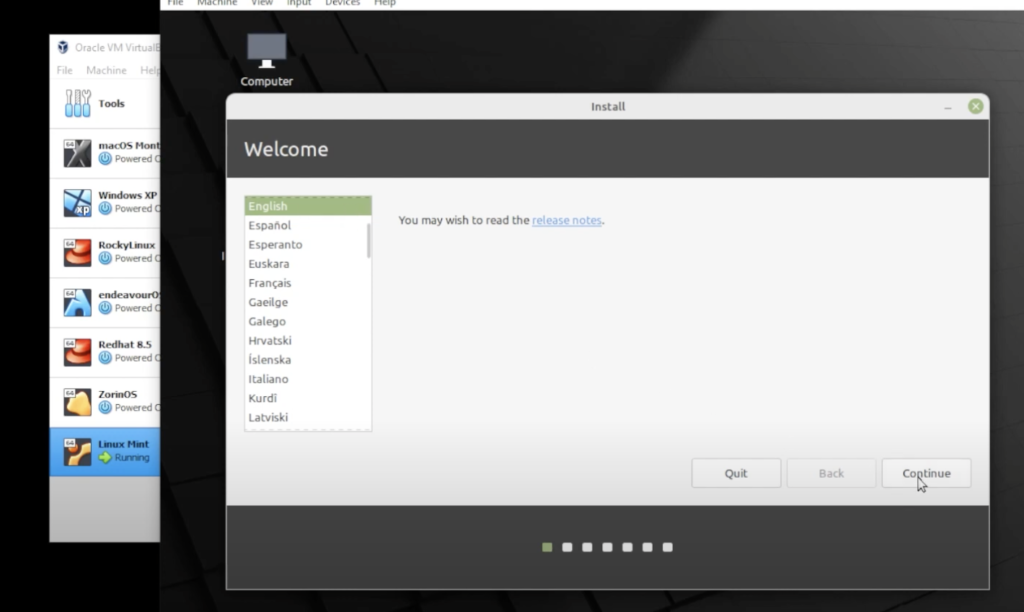
Step 16: Select the language of your choice and click on continue.

Step 17: Select the keyboard layout and click on continue.
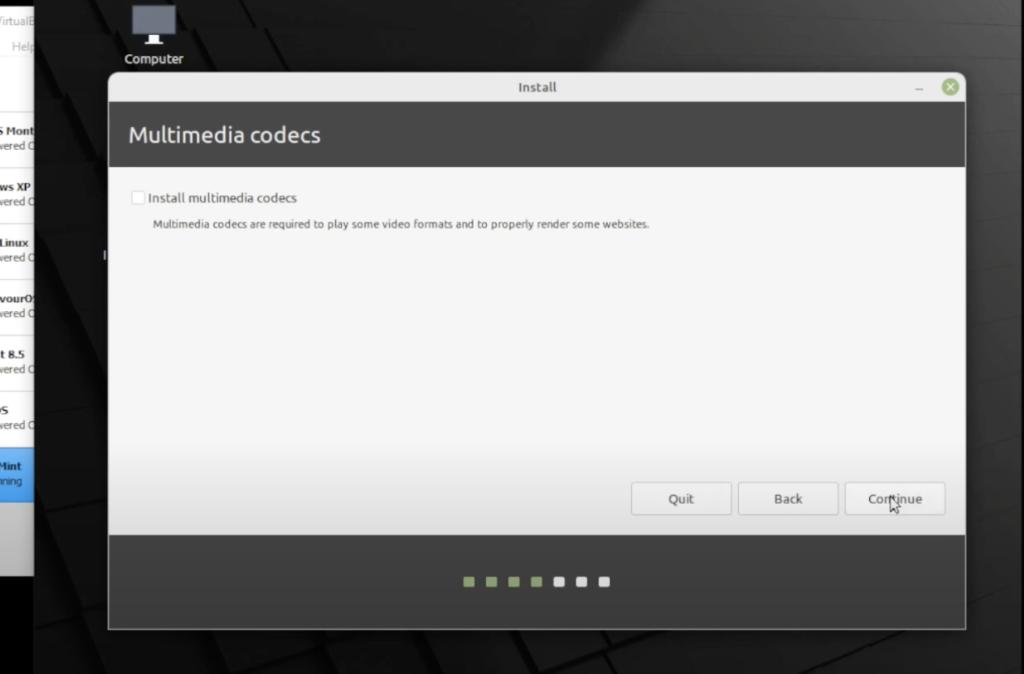
Step 18: Leave the multimedia codes as default and click on continue.

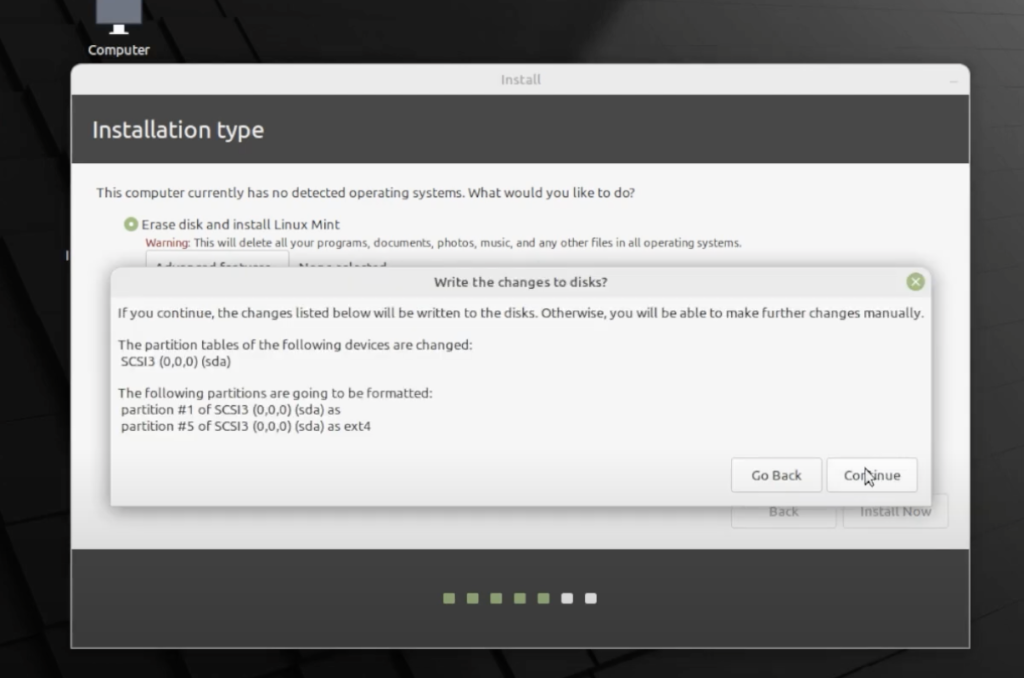
Step 19: Select erase disk and install linu mint and click on install now.


Step 20: So we get a prompt here to confirm the changes so we can click on Continue.
Step 21: Select the region and click on continue.
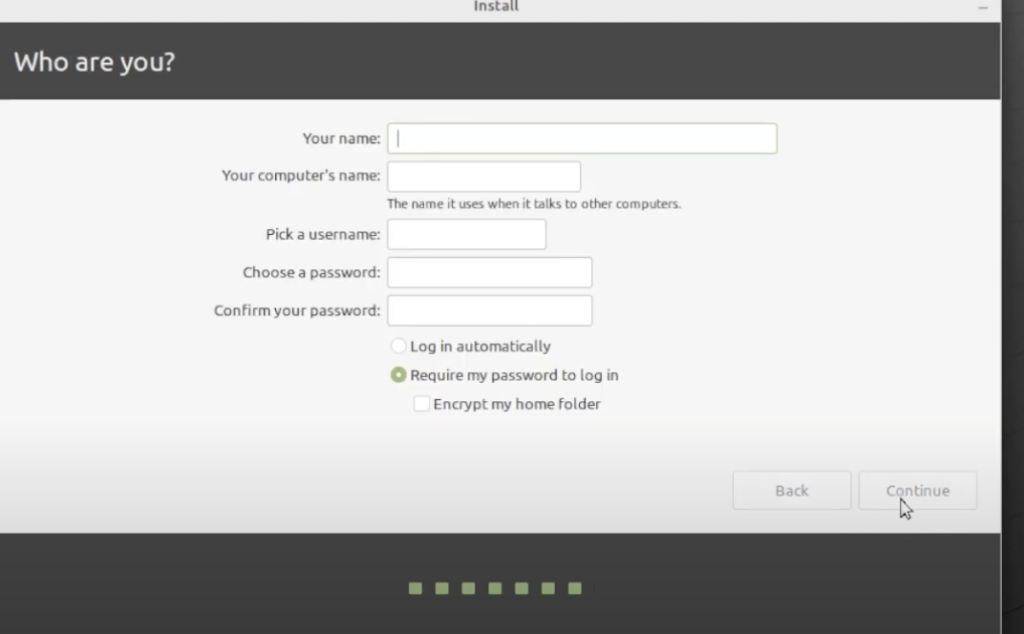
Step 22: Enter your user information and click on continue.

Step 23: Once the installation complete shut it down completely. Hit the X in the corner and then go to the menu and then power it off. The reason why we’re doing that is we just want to unmount the disk image.
Step 24: Go to your virtual machine and click on settings and then go into storage and unmount the disk image.
Step 25: Go to Virtualbox manager and click on start.
Step 26: Enter your password and you will see a welcome wizard.
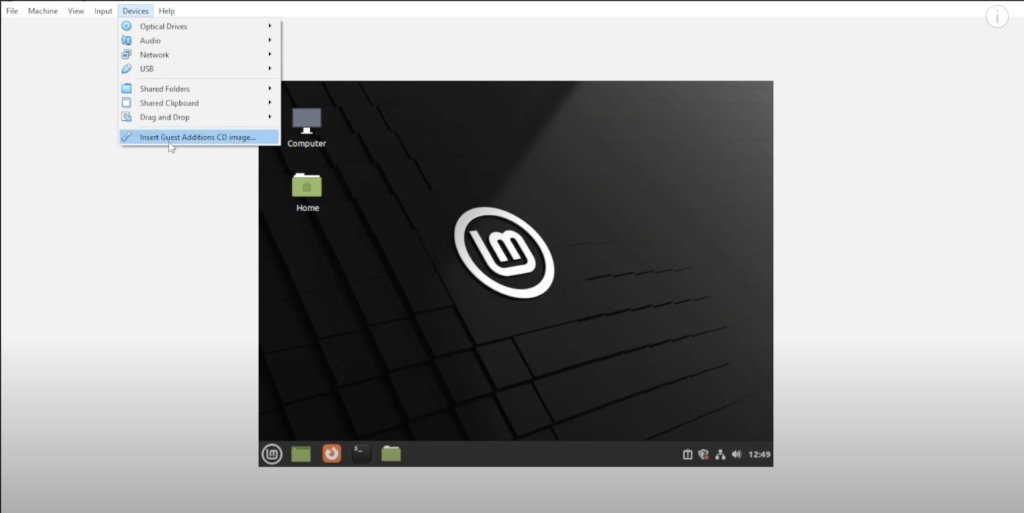
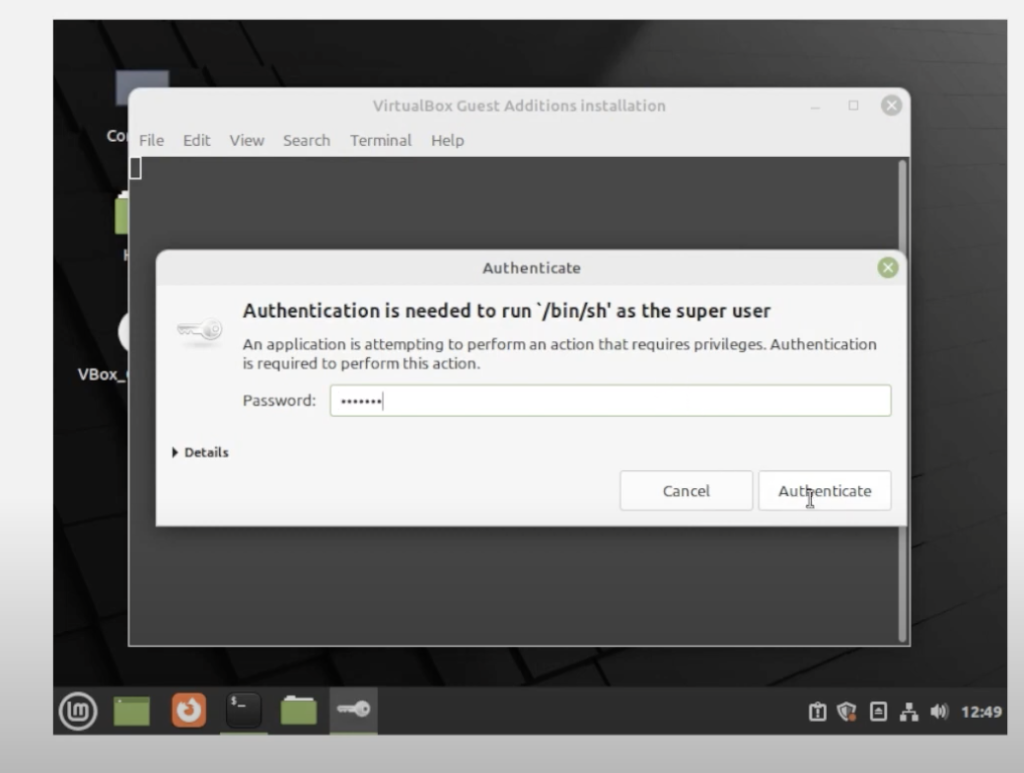
Step 27: Go to your desktop and click on devices and then click on insert guest edition CD image. You will get a pop up, click on run.

Step 28: Enter your password and click on authenticate.

Step 29: Once its installed restart the virtual machine.
Step 30: Once your machine is restarted go to your desktop and go to view and click on full screen mode.

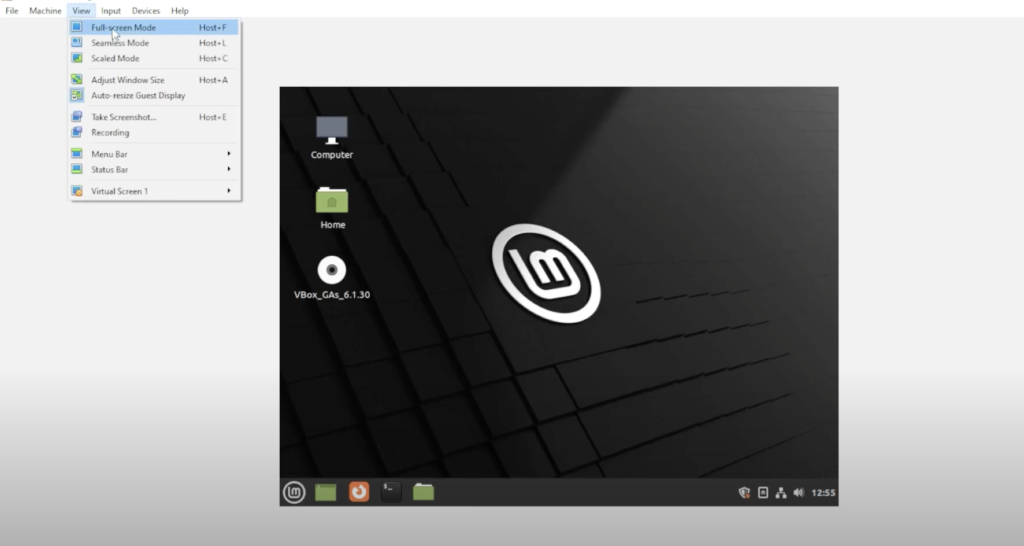
Congratulations, you have successfully installed Linux mint on virtual box.
Conclusion
So Linux Mint has been installed inside VirtualBox on a Windows Ten PC. I hope you found this article useful.
You can watch the detailed video tutorial here: