

This guide will walk you through a complete installation for Kali Linux on VirtualBox for a Windows 10 PC. The versions of software used are Kali Linux version 2021.2 and VirtualBox version 6.1. In addition, to this guide, I also made a video tutorial found here if you prefer a visual lead.
Table of Contents
What is Kali Linux?
Kali Linux is a computer operating system that is a Debian-derived Linux distribution designed for digital forensics and security testing. It is developed, maintained, and funded by Offensive Security. This OS has risen in popularity as a go-to tool for many network security professionals.
How to download Kali Linux
You can download Kali Linux from the official website by Offensive Security for free. The file used in this installation guide is the Bare Metal 64-bit ISO version Kali Linux 2021.2
Download Kali Linux Here or you can use the direct links: Download Kali Linux for Virtualbox & VMWare
- Related: How to Install Android in VirtualBox
Minimum Requirements for Kali Linux
Before installing, you will want to ensure your computer meets the minimum requirements so this Kali Linux runs smoothly. See the below specifications for more details.
- A minimum of 20GB hard disk space (40GB recommended)
- A minimum of 2GB RAM (8GB recommended)
- ISO image file
- At least an Intel Core i3 or an AMD E1
- VirtualBox and Extension Pack
How to install Kali Linux VirtualBox
Create Virtual Machine
Please ensure that you already have VirtualBox and Extension Pack installed on your Windows 10 PC before installing Kali Linux in VirtualBox. Also, have your ISO file downloaded and in a location, you can easily navigate to during the setup.
At the Oracle VM VirtualBox Manager, click on the ‘New’ button to create a virtual machine.

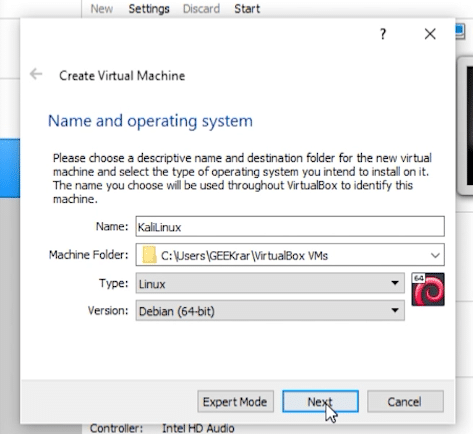
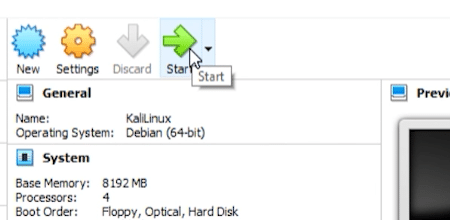
In the first window of the setup wizard, ‘Name and operating system’ provide a name (any name) in the Name field. The ‘Machine Folder’ can be left as default unless you need to change it for space requirements. ‘Type’ will be Linux. ‘Version’ will be Debian (64-bit). Then click on ‘Next.’
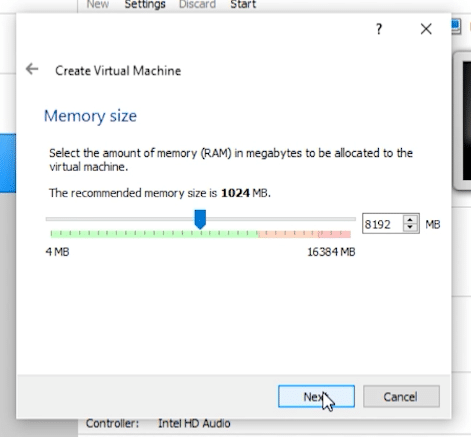
The following window is ‘Create Virtual Machine.’ You can select 4GB of ram, which is the minimum required, but if you have 8GB to use, I recommend increasing it. Click ‘Next.’
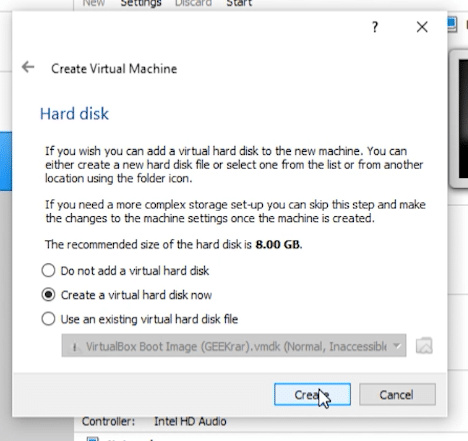
Next, we will leave the default option of ‘Create a virtual hard disk now’ selected and click the ‘Create’ button.
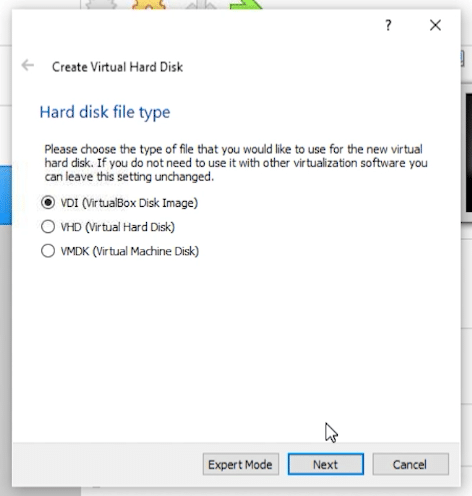
The ‘Create Virtual Hard Disk’ option will be left as default, VDI (VirtualBox Disk Image). Click ‘Next.’
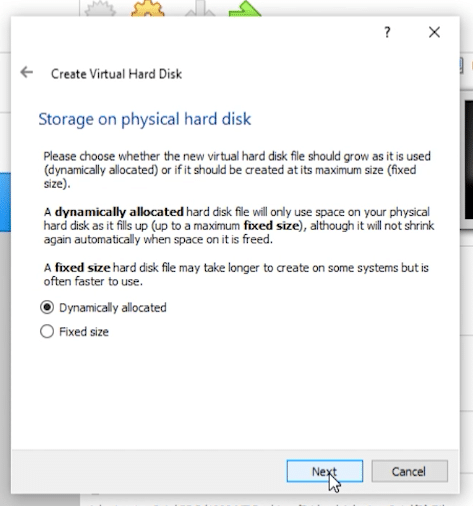
Dynamically allocated is the default option for ‘Storage on a physical hard disk.’ We’ll leave it selected, then click ‘Next.’
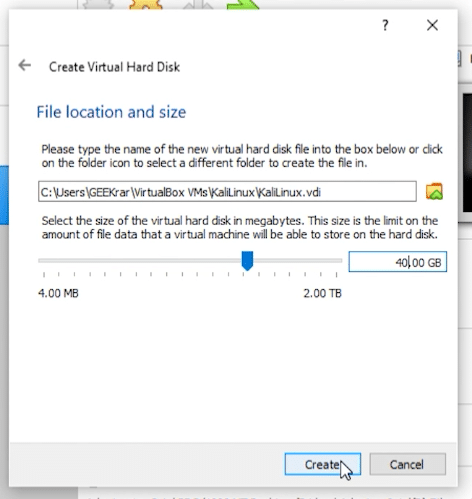
In ‘File location and size’, you can leave the default folder location as is. The size of the hard disk should increase to at least 40GB or more. Then click ‘Create.’
Modify Settings
Now that the virtual machine is created, we need to point to the ISO for installing Kali Linux in VirtualBox.
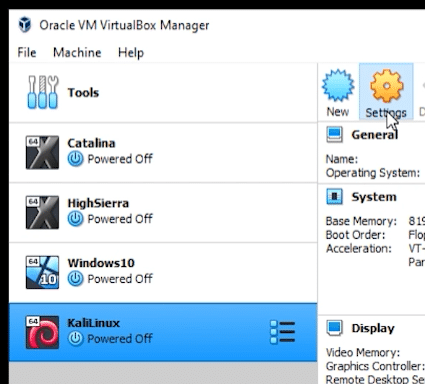
At the main window of the Oracle VM VirtualBox Manager, select the newly created Kali Linux virtual machine on the left and click on the ‘Settings’ icon at the top.
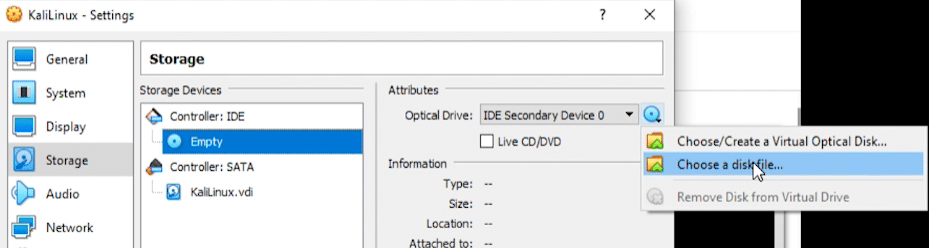
In Settings, select ‘Storage’ in the left menu. Then on the right, under ‘Storage Devices,’ under ‘Controller IDE,’ click on Empty. Then, to the right of it, under Attributes, and next to ‘Optical Drive,’ click the CD icon, then ‘Choose a disk file.’
Here is where you need to locate the ISO file for Kali Linux on your PC. Once you have it, click on ‘Open’ and click OK to close the window.
At the Oracle VirtualBox Manager, select the Kali Linux virtual machine on the left side and click ‘Start’ to begin loading.
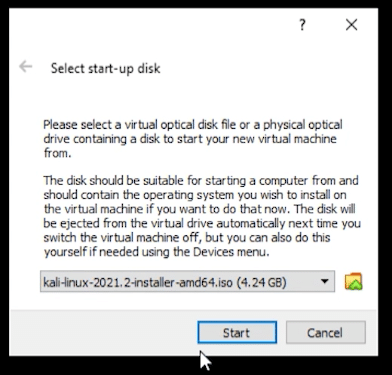
A prompt will pop up to select a ‘Start-up disk.’ Ensure that the Kali Linux ISO file is set in the dropdown menu and click the ‘Start’ button.
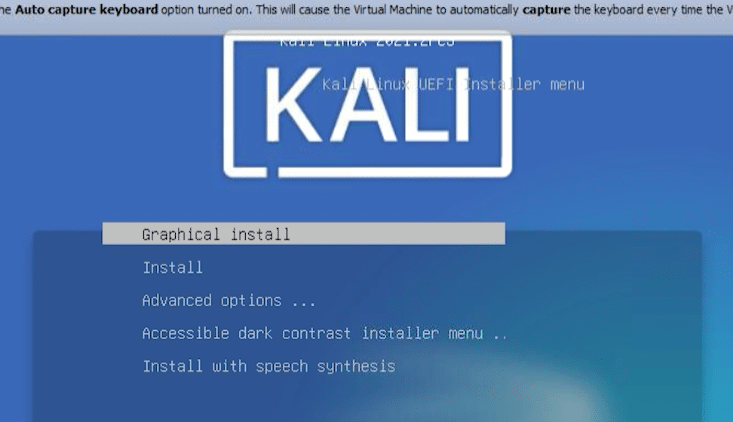
The first option to select is the installation method. We will be using ‘Graphical Install’, and hit enter on your keyboard.
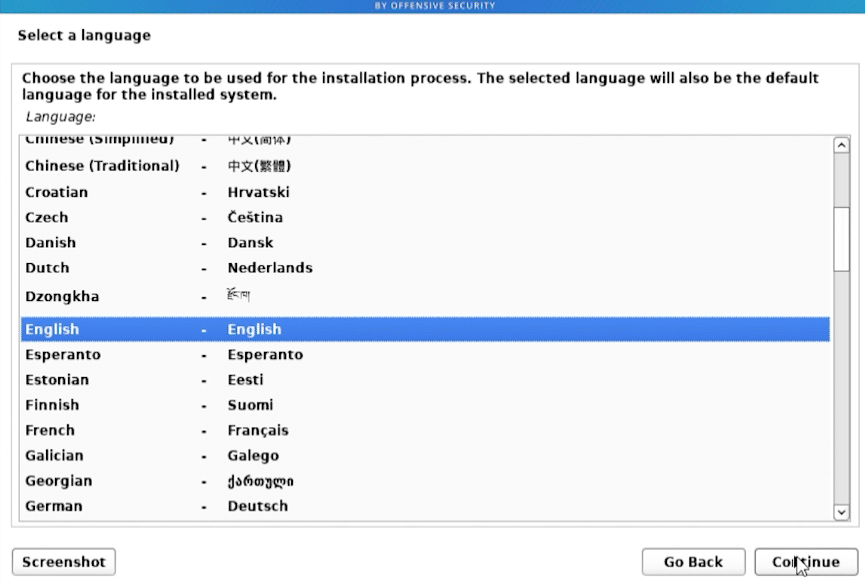
Select a language, Set location, and Configure the Keyboard is next. Pick your desired options and click Continue for each.
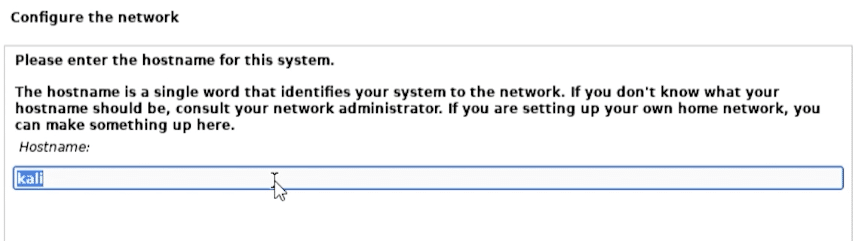
When you reach ‘Configure the network’, the default hostname is Kali. You can leave the default name or change it as needed.
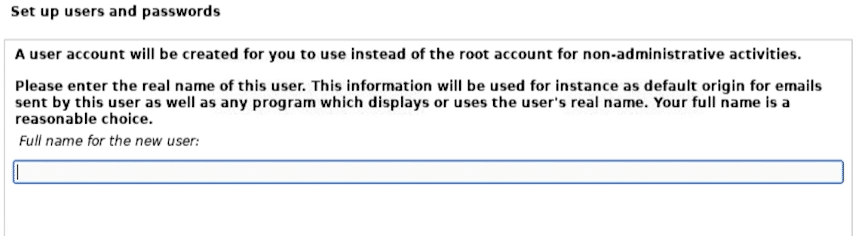
Now you will be setting up the user and password. For this, you can enter whichever username and password you’d like. Be sure to have it written down because you need it to log in after the installation.
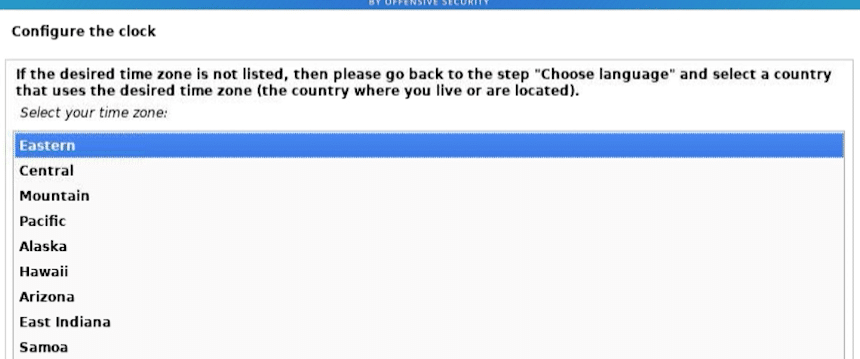
Setting your time zone will follow. It should automatically detect your region based on your pc settings. If it’s wrong, you can change it now. Then click Continue
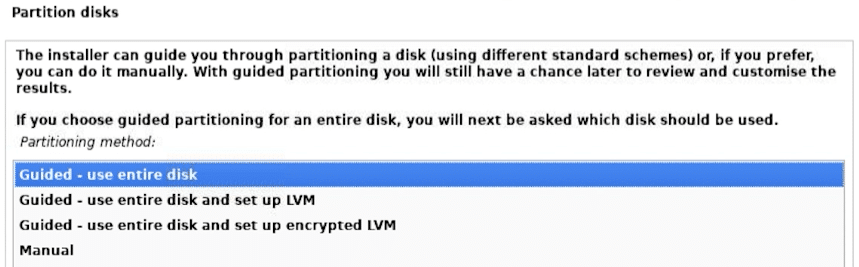
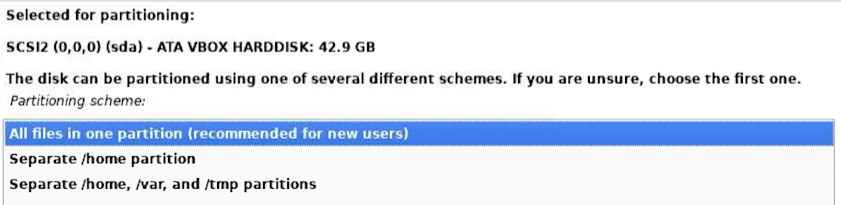
At the Partition Disk window, we will leave ‘Guided – use entire disk’ and click Continue.
We will also leave the selected partition, SCSI2, and click Continue.

Then we will select ‘All files in one partition’ and Continue.
Now that we are done, use the ‘Finish partitioning and write changes to disk’, and click Continue.

A prompt will ask to confirm your decision. Select ‘Yes’ and ‘Continue’.
After the format is complete, the system will start copying and installing files to the virtual machine. This process can take some time.
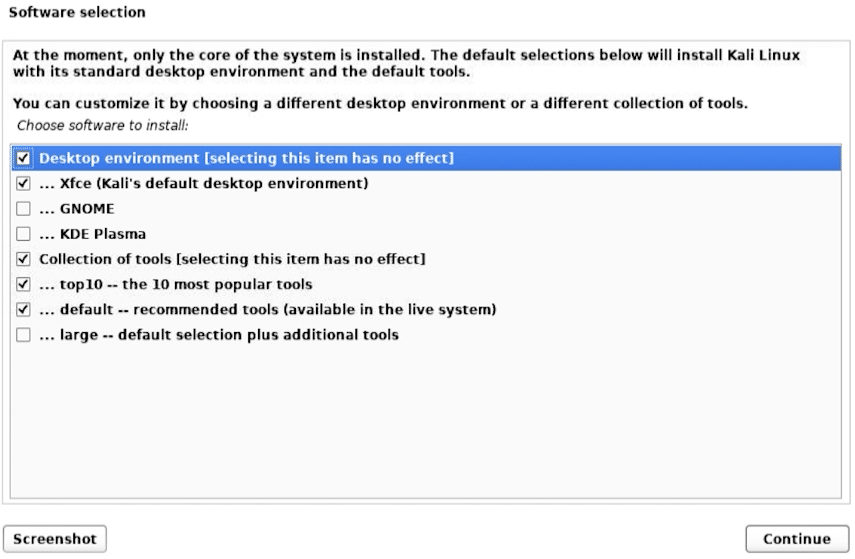
Software selection is one of the final steps of the installation. We will be keeping the default options selected. You can add additional components if you wish. Click ‘Continue.’
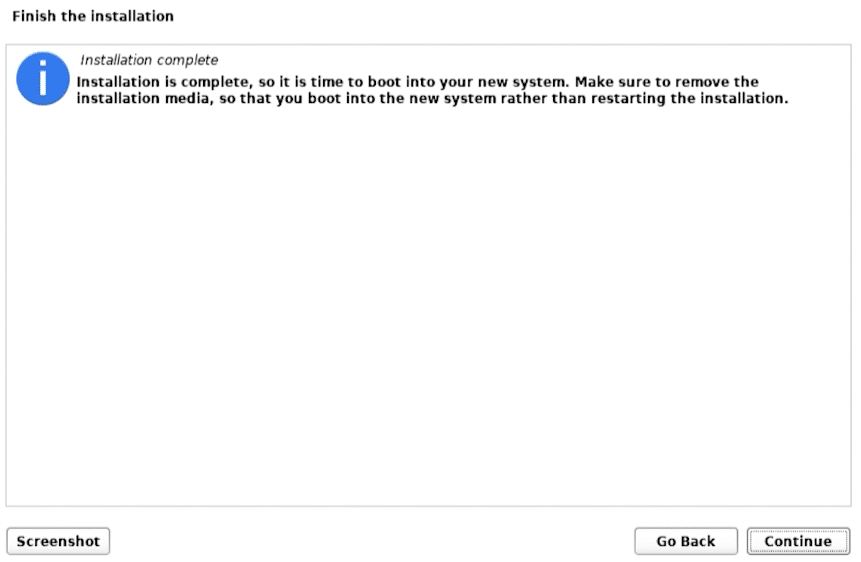
The last step of the installation is to allow the system to reboot. Click Continue, and the virtual machine will restart.
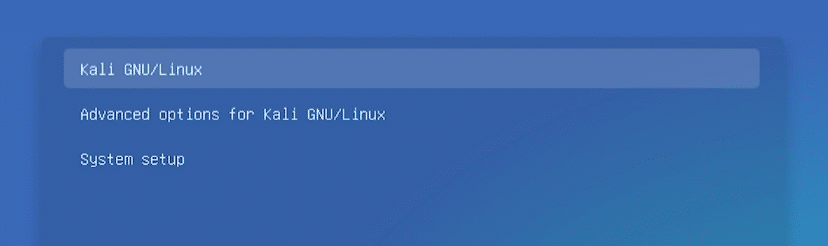
When your virtual machine reboots, you might get a menu with a few choices. Select Kali GNU/Linux and hit enter on your keyboard.
You will find yourself at the login screen. You will need to insert the user information that you created during the installation.

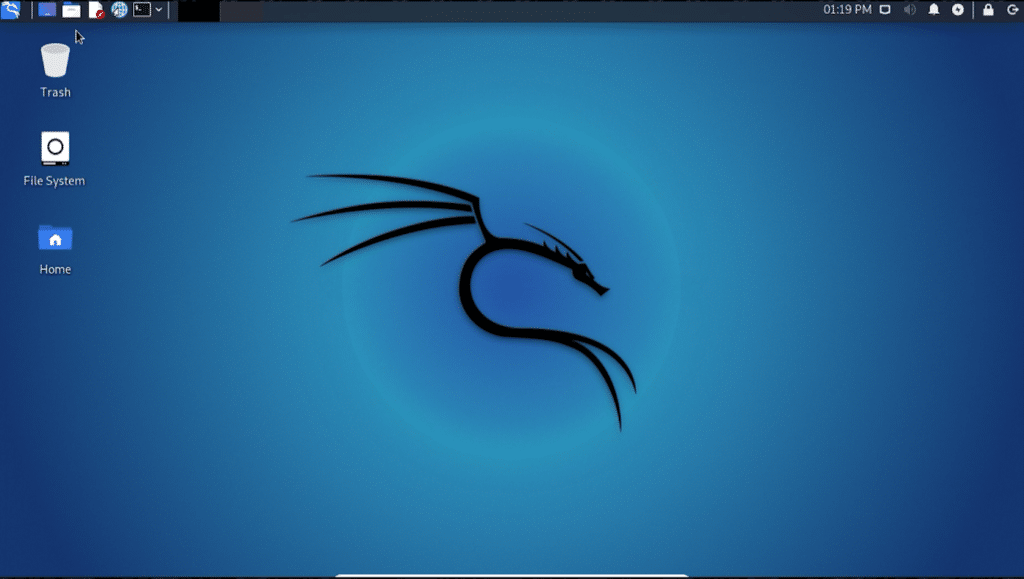
The installation is now complete, and you are at the desktop of Kali Linux in VirtualBox. You can immediately start using the software included or install additional applications as you wish. Its recommended that you change the root password. By default, the root is kali, and the password is kali.
Having issues? check out our forum to post your questions.


