Install Final Cut Pro on Windows 10. In this post, we’ll entirely show how to install Final Cut Pro on Windows 10. Just like Windows 10 which is one of the most used operating systems and people still love, they’d probably like to hands on something new and particularly install macOS Catalina on VMware or install macOS Catalina on VirtualBox on their Windows PC. That’s a whole beautiful opportunity to do. In addition to it, when you’ve installed macOS Mojave or other versions of macOS on Windows, it’s also possible to install Mac apps and work with them.
One of the most highlighted examples is XCode. Most Windows users and iOS developers or Mac apps developers don’t have access to macOS and Mac but uses Windows on PC. For most, it looks like they couldn’t believe how a Mac app can run on Windows but that’s isn’t what the assume. Instead, users could download and install XCode on macOS Catalina on Windows PC. The way it works is pretty simple, first, we download and install macOS Catalina or other versions on VMware or install macOS Catalina on VirtualBox. Then install Final Cut Pro on VMware on there. For this process, we’ve provided you with all the details in these two articles;
With these files, you can definitely install macOS Catalina on VMware or install macOS Catalina on VirtualBox which will run pretty fine. Once you’ve done it, now it’s easier to reach to install Final Cut Pro on Windows. All you’ve to do then is open App Store, search for Final Cut Pro and install it. This is the easiest and possible way to do. Here’s how to install Final Cut Pro on Windows.
Table of Contents
What’s New in Final Cut Pro 10.4.8
For those who aren’t familiar with, Final Cut Pro 10.14.8 which was out in December 2019 has quite useful features. Here are a few of them.
- Prevents problem which could lead to visual artifacts on a Mac with Nvidia graphics card that has the Reduce Transparency accessibility preference turned on.
- Fixed preventing media issue from appearing in the Photos library browser in Final Cut Pro.
- Fixed problem in Final Cut Pro that would sometimes load an incorrect project into the timeline.
- Resolved issue that thumbnails would not update when skimming titles, transitions in the Browser.
- Improves stability while sharing.
Improves stability while skimming media in the Browser.
- Enhances reliability while working with Sony XAVC media.
- Increases reliability while importing and exporting CEA 608 captions.
These are some of the most important and highlighted features of Final Cut Pro latest version. However, there are lots of features which it has already in it and also new features which we can’t explain one by one.
Step One – Download macOS Catalina VMware & VirtualBox Image
The first and most important and primary step is to install macOS Catalina on VMware or install macOS Catalina on VirtualBox. Now for installing macOS Catalina on Windows, you’ll need to download macOS Catalina VMware & VirtualBox image or macOS Catalina ISO for VMware & VirtualBox. This is the file which is used to install macOS Catalina in which we will install Final Cut Pro. This is the first and also quite important step to complete the installation of Final Cut Pro.
There are two ways to install macOS Catalina on VMware and also install macOS Catalina on VirtualBox. That’s why there are two files. Whichever you choose, download macOS Catalina VMware & VirtualBox image from one of them and be ready for the installation.
Step Two – Install macOS Catalina on VMware or VirtualBox
The next step is to install macOS Catalina on VMware or VirtualBox. With the files there, you can now install macOS Catalina on VMware or VirtualBox. We’ve done with steps which is easily done. There are, however, two ways to install macOS Catalina on VMware and VirtualBox. Particularly, there are two more different ways in install macOS Catalina on VMware & VirtualBox installation. One of them is done with macOS Catalina VMware & VirtualBox Image and the other is done with macOS Catalina ISO. We’ve shown both of them.
- How to Install macOS Catalina on VMware
- How to Install macOS Catalina on VirtualBox
- Install macOS Catalina on VMware on Windows PC [New Method]
- Install macOS Catalina on VirtualBox on Windows PC [New Method]
How to Install Final Cut Pro on Windows 10
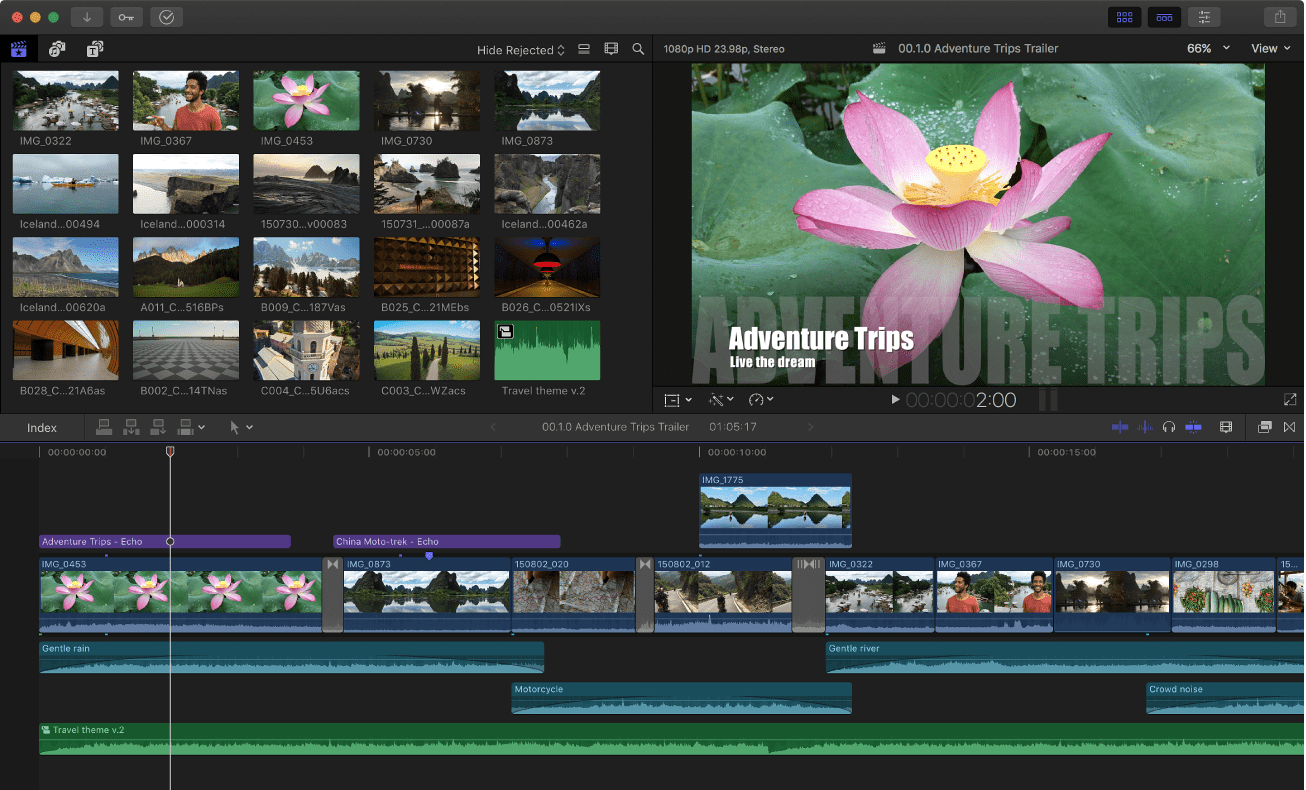
While Final Cut Pro is a premium Mac app which is a video editing app like Adobe Premiere Pro CC 2017 and Adobe Premiere Pro CC 2020. In this case, there’s no solid way to install Final Cut Pro on Windows directly instead we need to use an indirect way to install Final Cut Pro on Windows. So we’ll cover it completely from first like first installing third party software and then we’ll install Final Cut Pro on Windows.
Once that is done, it’s now pretty easy to install Final Cut Pro on Windows 10.
Now open up VMware or VirtualBox and switch on macOS.
When it’s up, sign in there and open App Store.
Search for Final Cut Pro and click on Get.
Purchase it with our Apple ID and it will definitely install.
Wasn’t that easy? That’s how easy it was. So everyone could do it even a beginner or anyone else.
How Final Cut Pro performs and works on a Windows machine might be confusing for most. As predicted, it doesn’t work as well as Final Cut Pro installed on Mac. That’s because Apple doesn’t want its app or operating system to be installed on Mac. But the problem is, most users couldn’t buy Mac which is super expensive.
Even if they could, they’d probably don’t want to purchase two machines for a simple app. In this case, virtual machines are the best option. Anyone even those who only want to try could install macOS Mojave on VMware or VirtualBox and install Final Cut Pro or any other Mac app and hands-on it. Just like we installed XCode on Windows, it is also done similar to it. How was it. Let us know in the comments down below.

