


Everyone knows that the Chromium engine is used for the most popular browsers, including Google Chrome, Opera, and Microsoft Edge. Chromium is an open-source browser that other developers use to create their browsers based on it, but you can use the basic version of Chromium on Windows 10/11.
Previously, installing Chromium on Windows had some difficulties, but now it’s pretty simple. In this guide, we will look at how to install Chromium in Windows 10/11.


Step 1: We will need the latest version of Chromium. You can download it from the Chromium website. You will see a warning on the page that this is a raw build of Chromium for Windows and, therefore, may contain some errors!
At the bottom of the page, you’ll find links to different versions of Chromium, including Chromium for Windows x86, Chromium for Windows x64, Chromium for Mac, Linux, and Android.

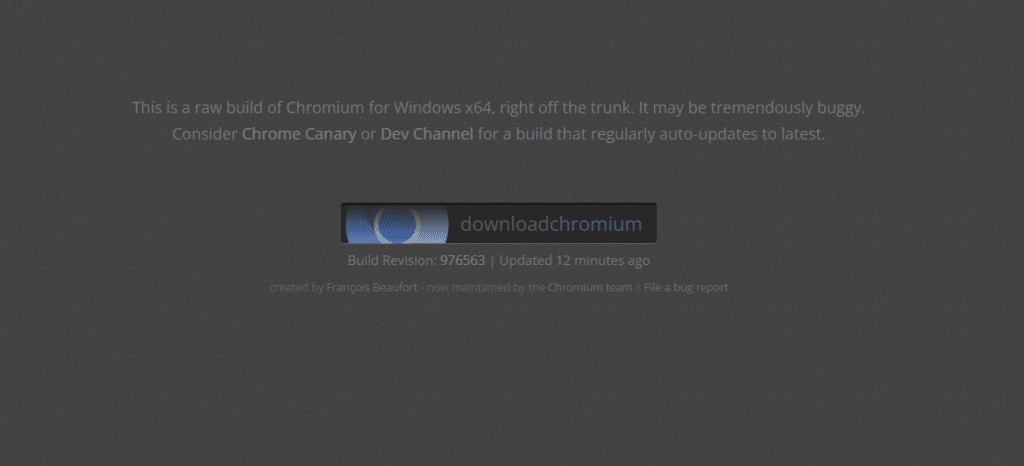
Step 2: Select Chromium for Windows x64 or x86 and click the “downloadchromium” button.
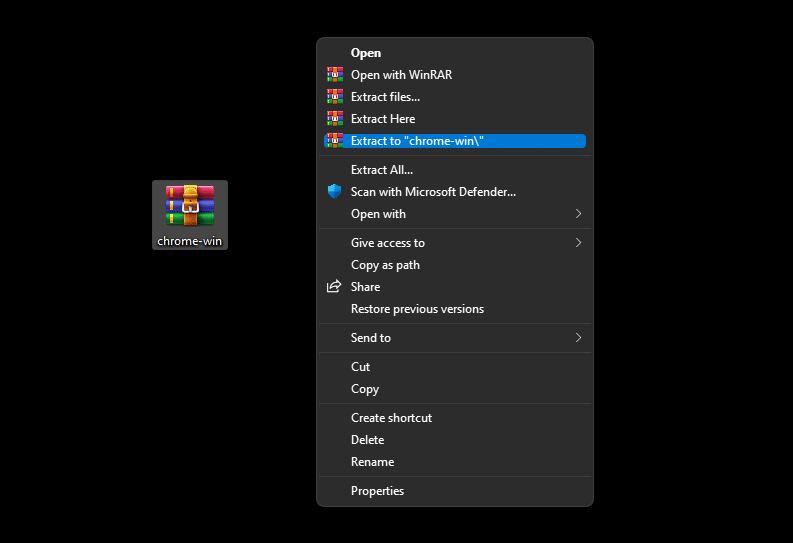
Step 3: Once you have downloaded the ZIP file, extract it using WinRAR to the folder to install Chromium.

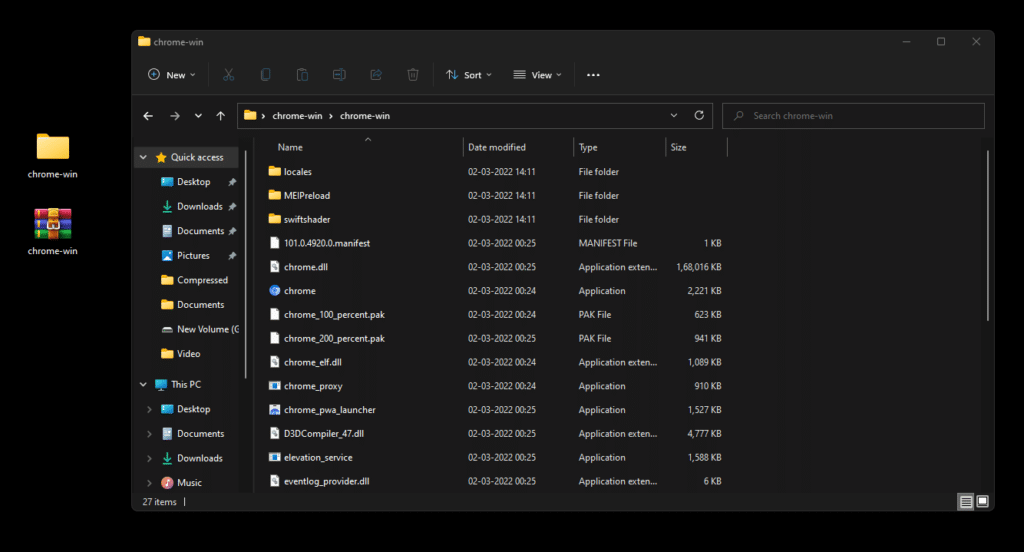
Step 4: Double-click the “chrome.exe” executable file.

Note: You may receive a notification that the antivirus program in Microsoft Defender “Prevented an unrecognized application from running.” If so, click Learn More, and then click Run Anyway.

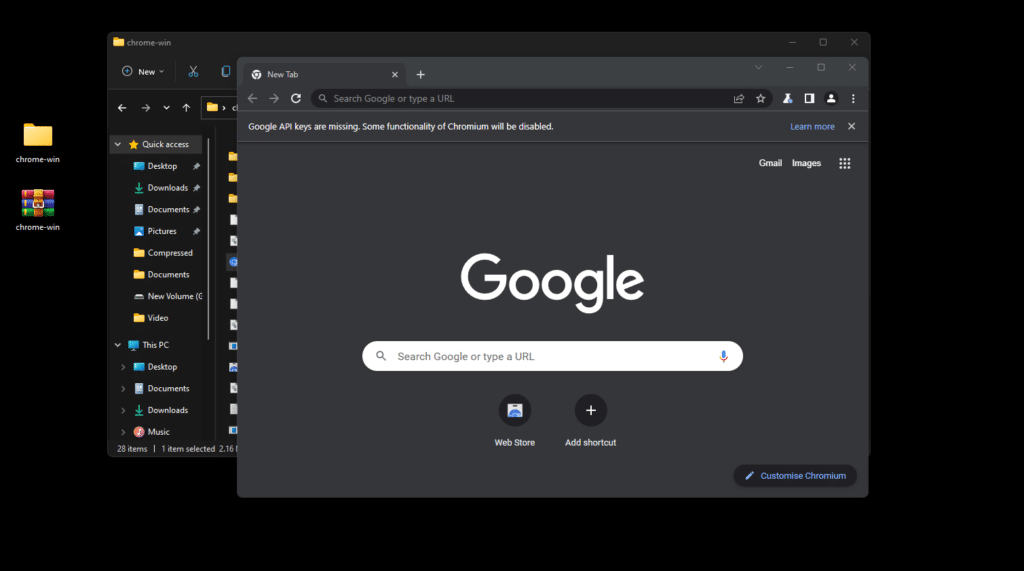
That’s it!
If necessary, you can pin Chromium to the taskbar or create a shortcut to the desktop.
You now have the latest build of Chromium installed on your computer. You should know the browser doesn’t update automatically, so you’ll need to do this manually using the download link above.