


Just like Windows, Google rolls out a new version of Android after some time. This time, Google pulls out the next version of Android, Android 10 Android Q. With every update, Google makes some appealing updates that’s whether in appearance, speed, consistency, security or connectivity. From whatever perspective you see, you’ll notice some updates to it. However, there are some weaknesses and lacknesses that it has which will be also solved in the upcoming updates. Here is How to Install Android Q (Android 10) on Windows PC.
This are some news 📰 but what is the benefit when you have no access. Fortunately, there are some cases that will take you ahead of others. From the moment Google set out their own Google Pixel devices, Pixel users 👥 could attain the upcoming version of Android OS before other devices. Just like now that Android 10 (Android Q) isn’t out there, Pixel users could still take advantage of their devices and update their devices to the latest version of Android.
If you’ve a Pixel device, you’re lucky. But for those who don’t, there’s a different way to do this, which will let you surf and experiment almost whatever what everybody would do on their mobile. This process is even simpler and without heavy risk, even Pixel users would want to try this. While Android mightn’t work perfectly on this but it will definitely give the idea of how it is and how it needs to be.
Table of Contents
Install Android Q on Windows PC
There are a few different ways to adapt and install Android on Windows. Particularly, Android is for mobile devices but since without Pixel phones can’t try it out soon, we’ve a different idea to do it. That is installing Android Q on Windows PC. Think it isn’t easy? Let me tell that definitely it is. Even it is simpler + without risk to make use of. It will work and perform pretty similar to it without those bad incidents moving in your head. In this post, I’ll show how to install Android 10 (Android Q) on Windows PC.
Step One – Download & Install Android Studio
Provided by Android itself, setting and configuring an Android Emulator is a great way to explore and try out Android and its updates and changes. What it mean by Android Emulator in Android Studio that will run Android with, so we’ll do it this way.
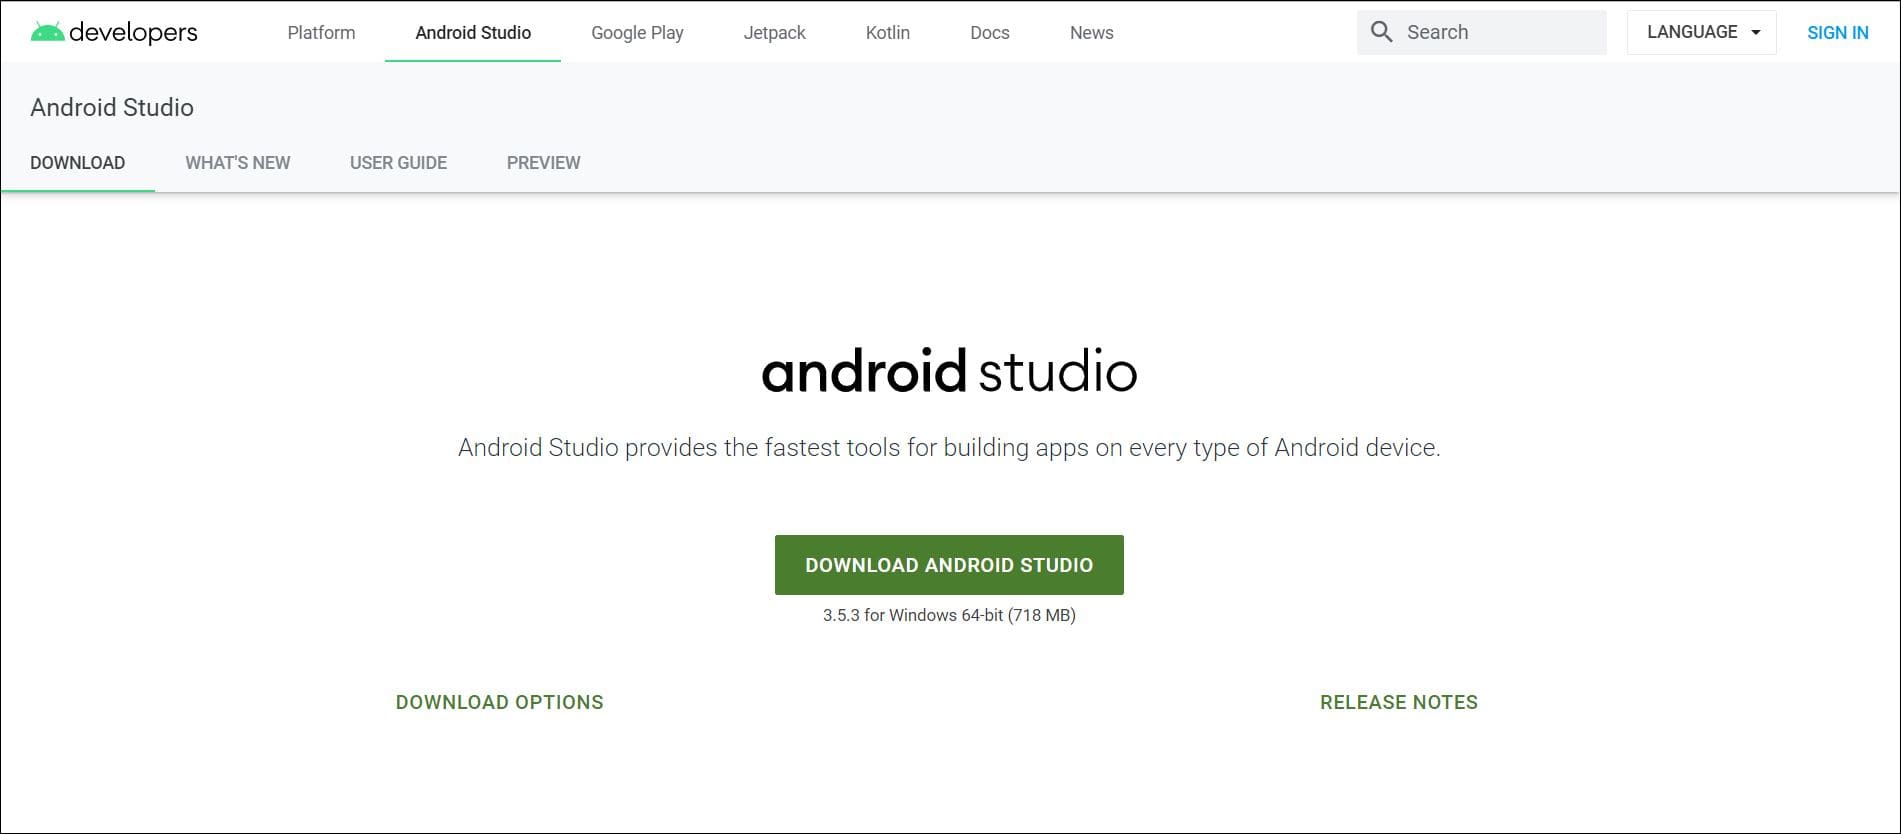
First, we’ll need to download and install Android Studio from its website.
Head to the Android Studio download page and straightly click on Download Android Studio. It will immediately start the process.

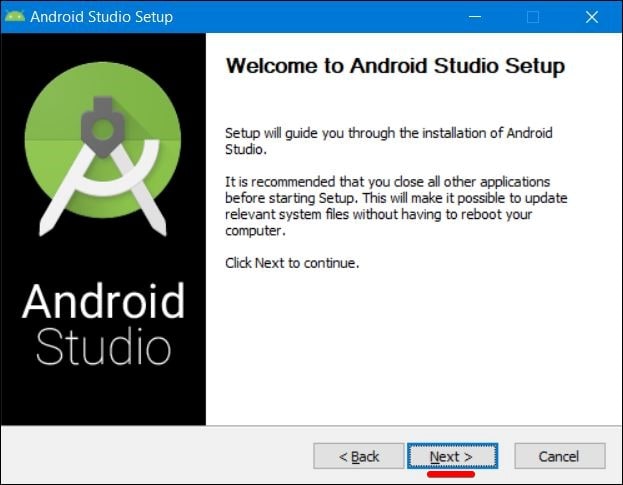
When it’s finished, open it and it will appear with the installation wizard.

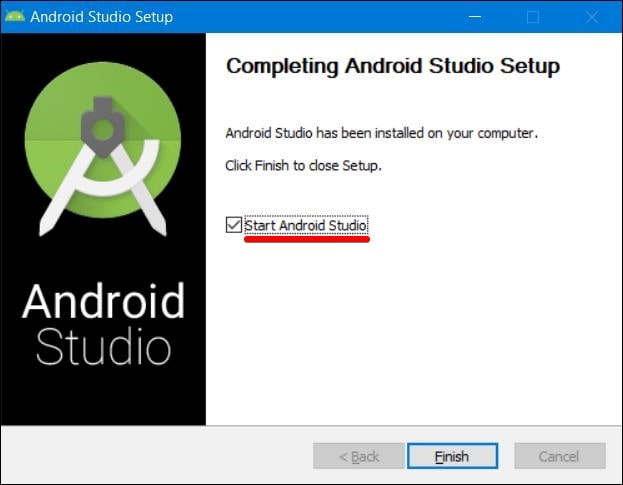
Proceed with it and when it’s completed, let Android Studio starts.

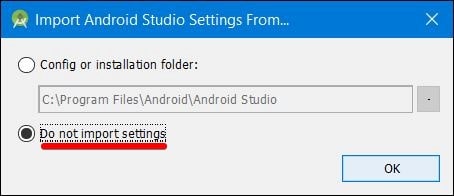
The pop up will appear indicating whether you want to import settings of Android Settings from before, click Do not import settings and click on OK.

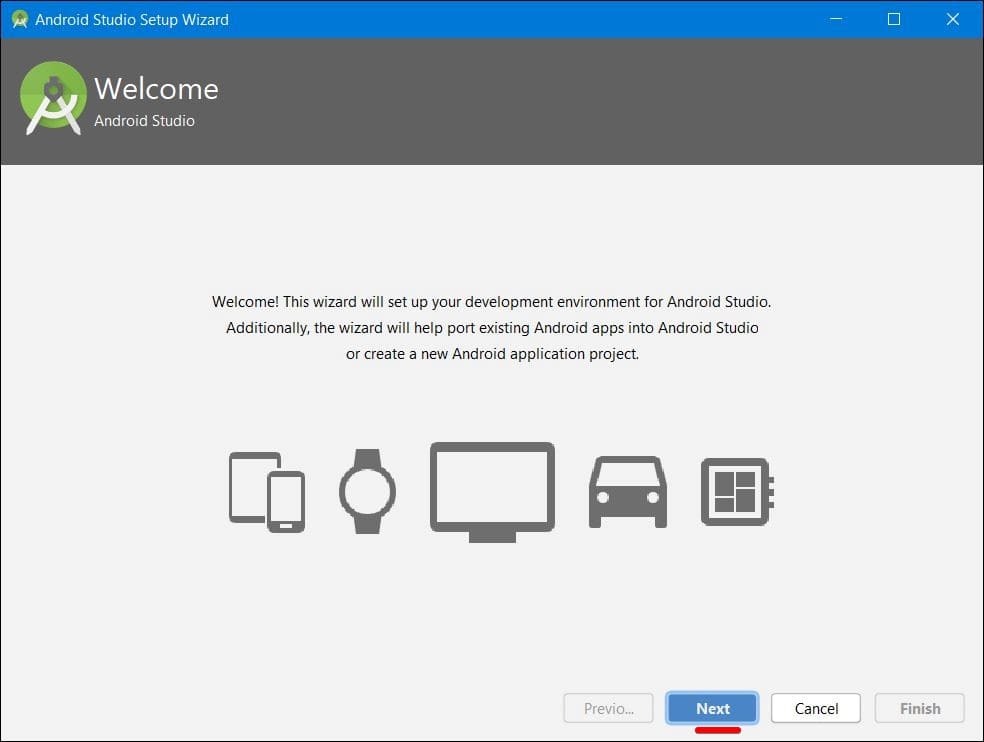
When the wizard opens, click on Next.

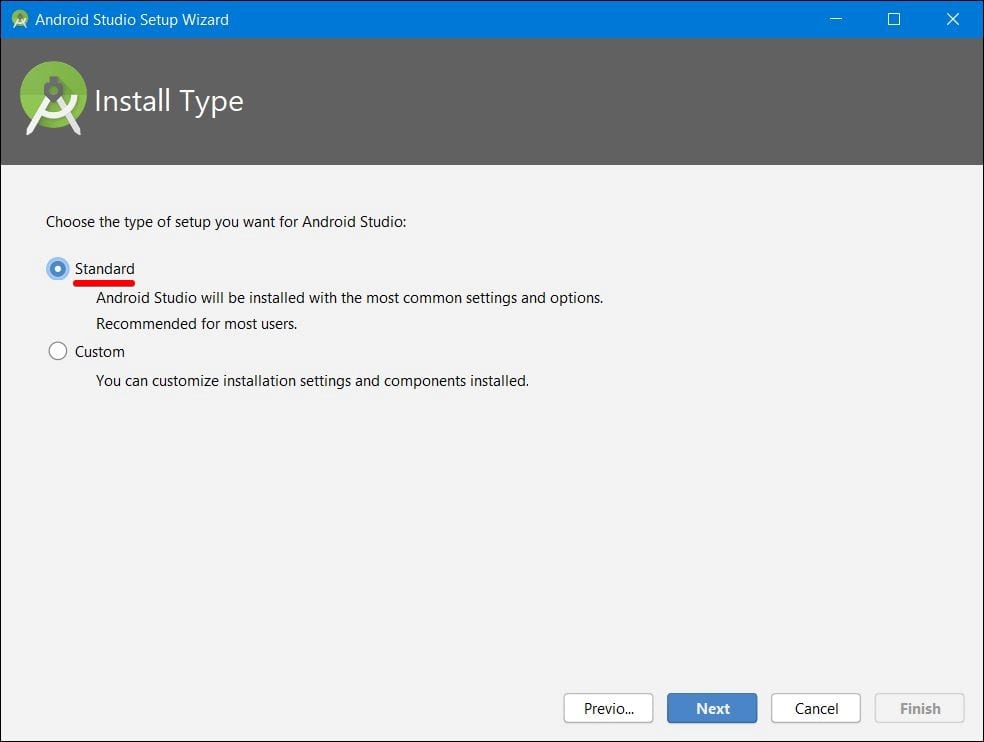
Let it by default as Standard and hit Next.

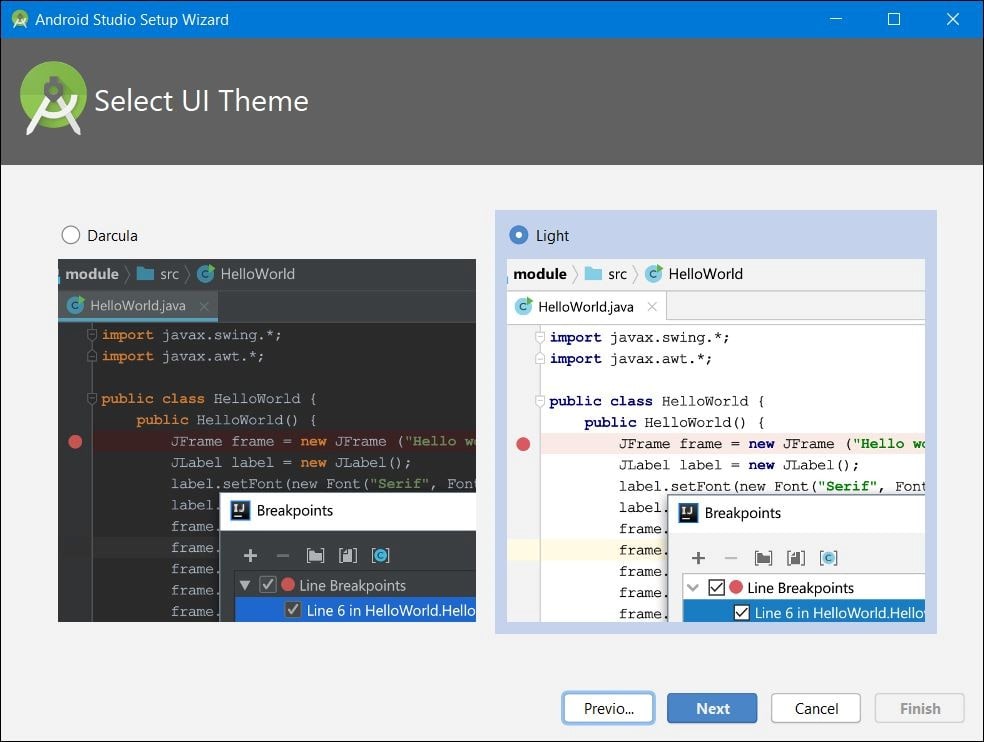
Select however you would like to appear as light or dark and simply click Next.

Review the settings and click on Finish. It will begin downloading a couple of its components without giving you worries.


In the end, when it’s finished, it will be ready to do things so hit Finish.

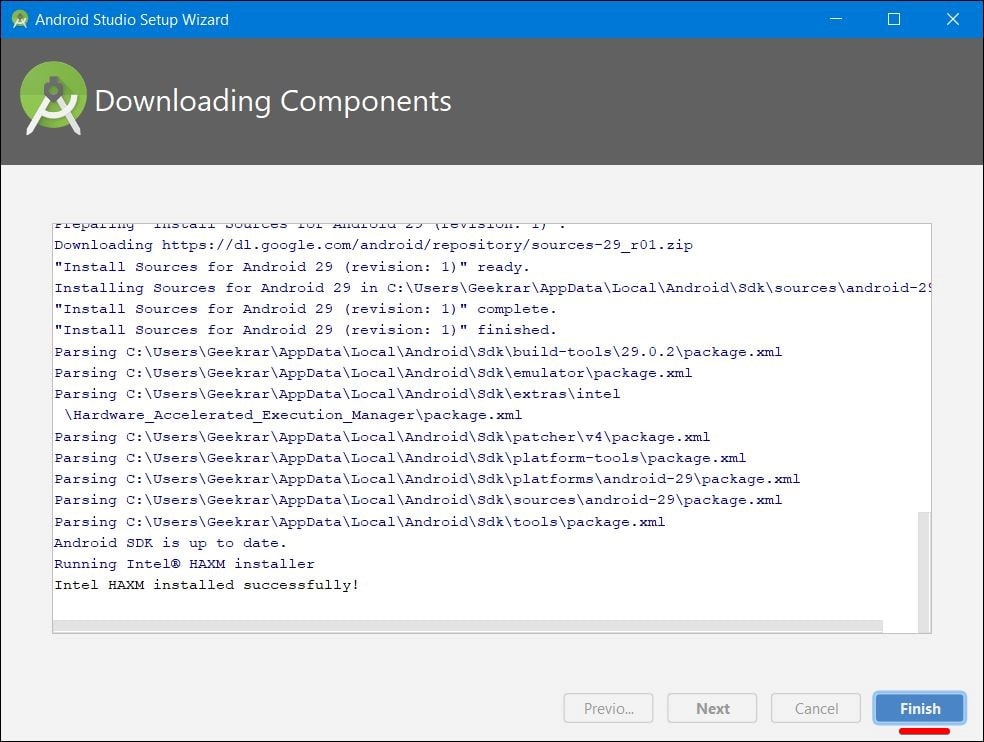
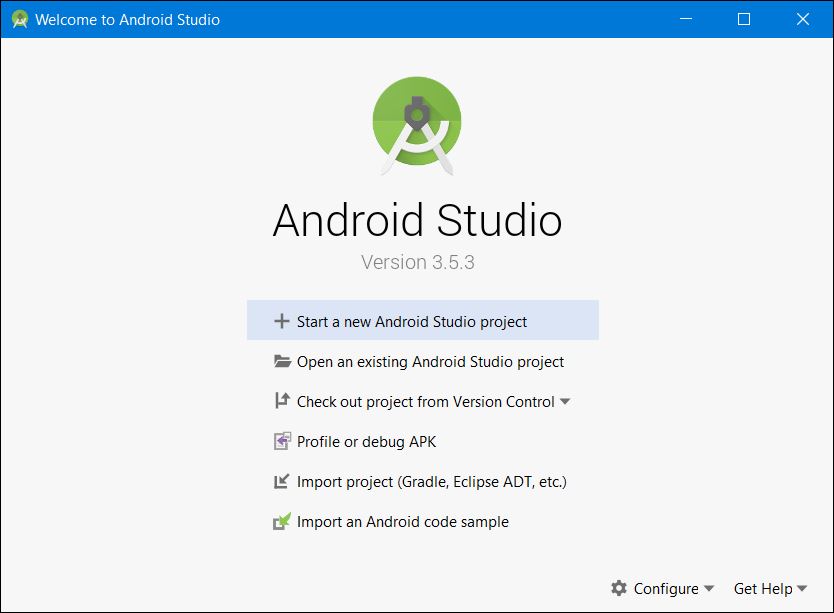
The Android Studio should now open and it will look like this.

Step Two ✌ – Set Up A Virtual Device
After the Android Studio is installed, we need to create a virtual device, so here’s how to do it.
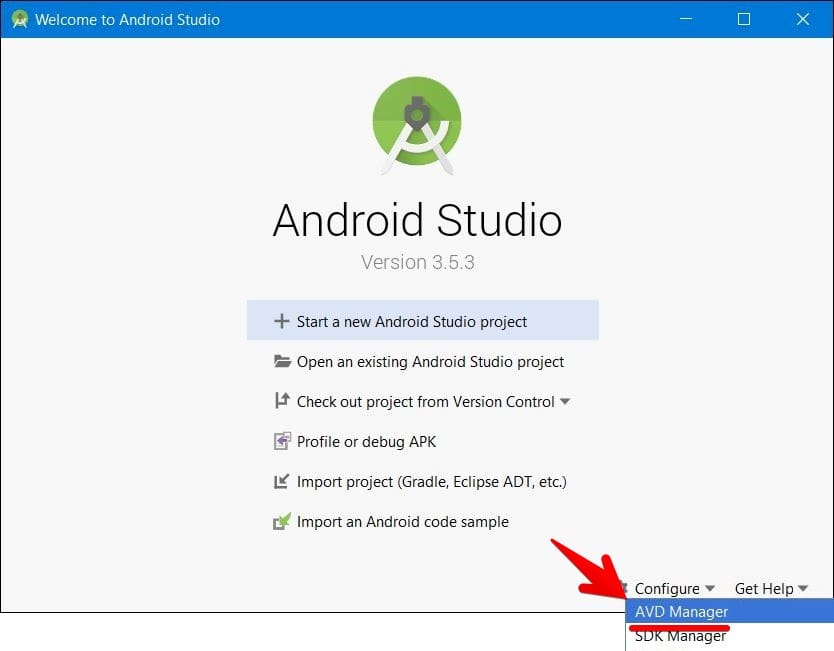
From the Android Studio, click on Configure and select AVD Manager.

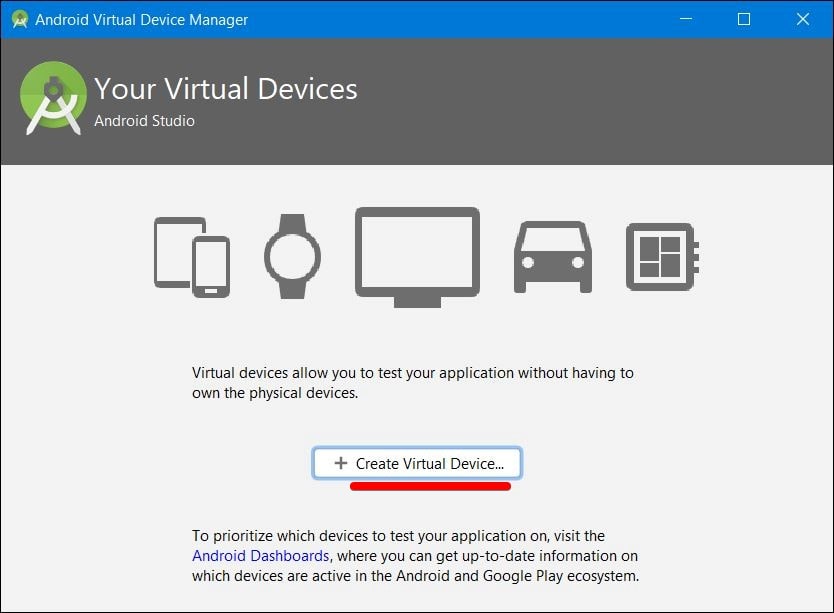
Next, click on Create Virtual Device.

It will download a few files then click on Finish.

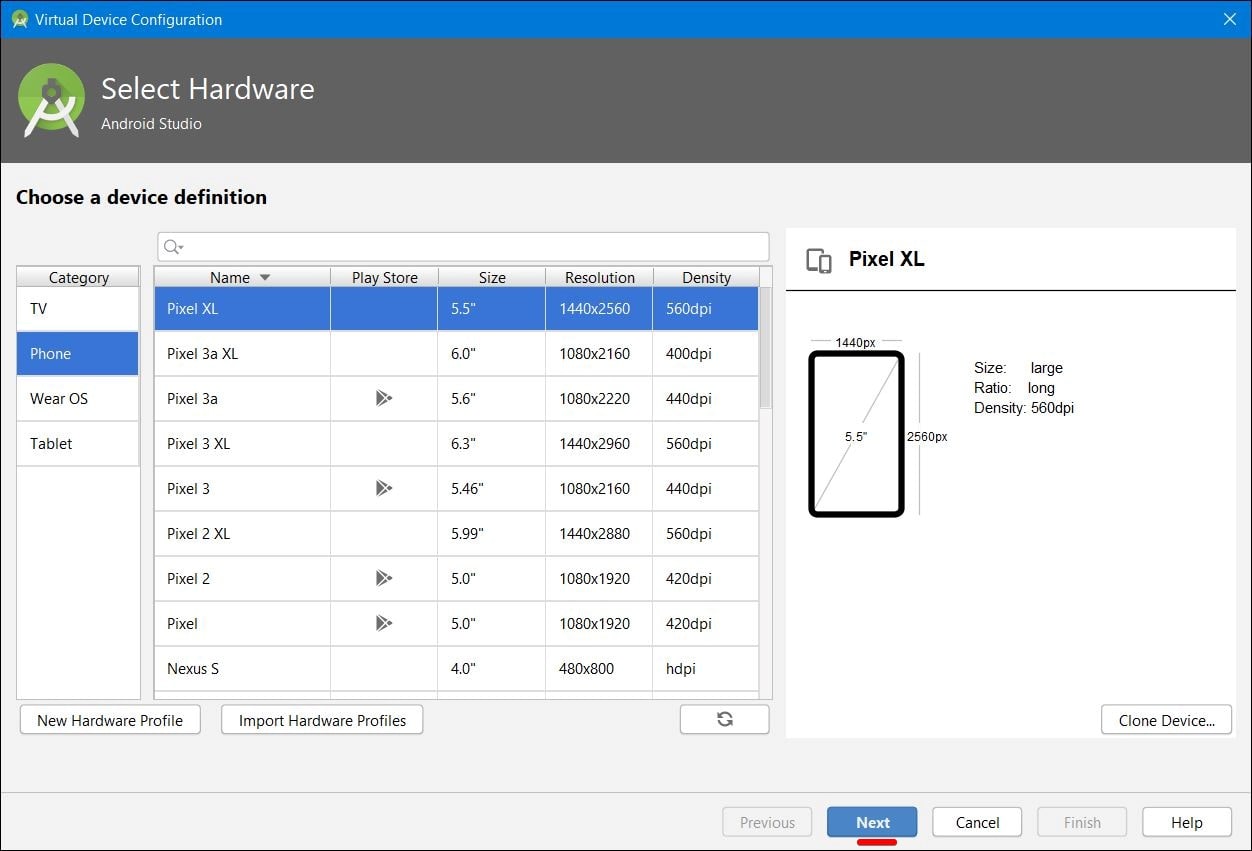
So select a hardware and click Next. You’re free to select anyone of this.

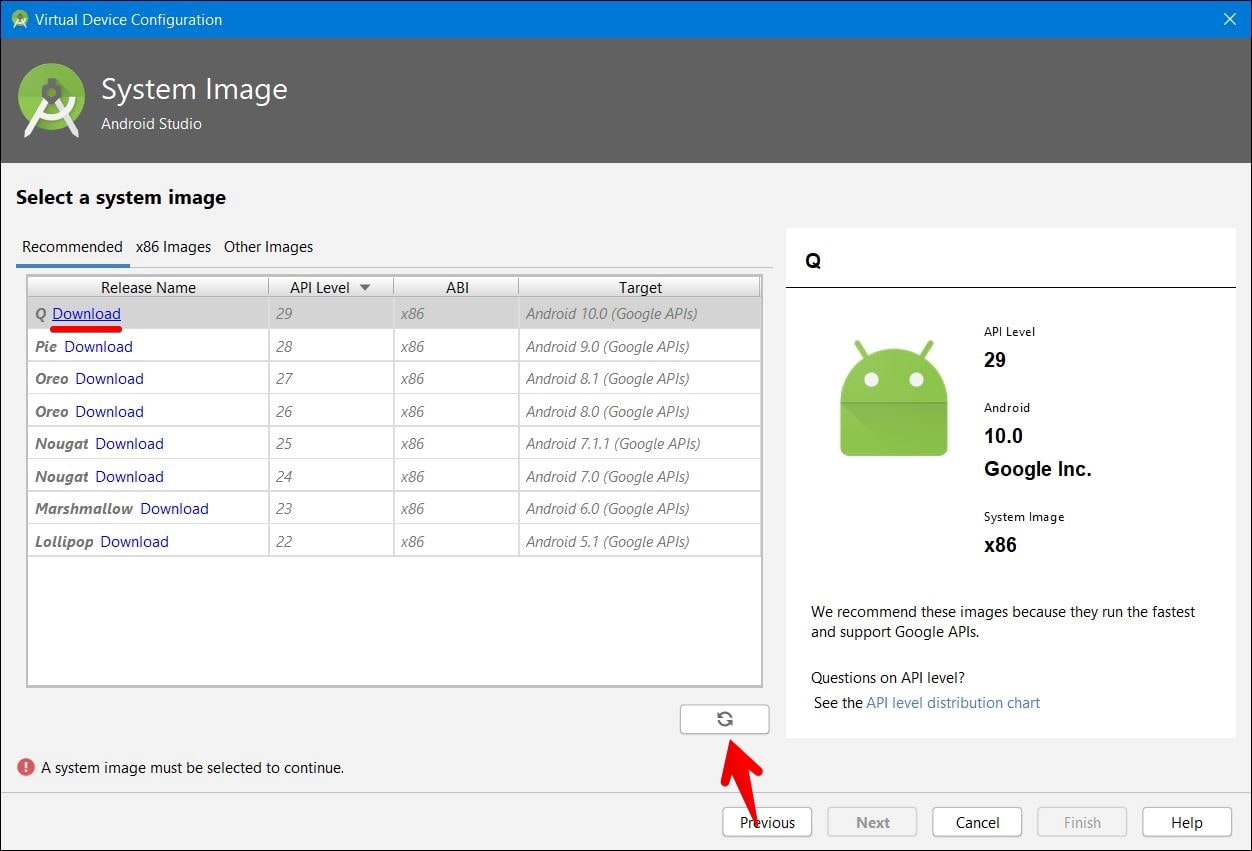
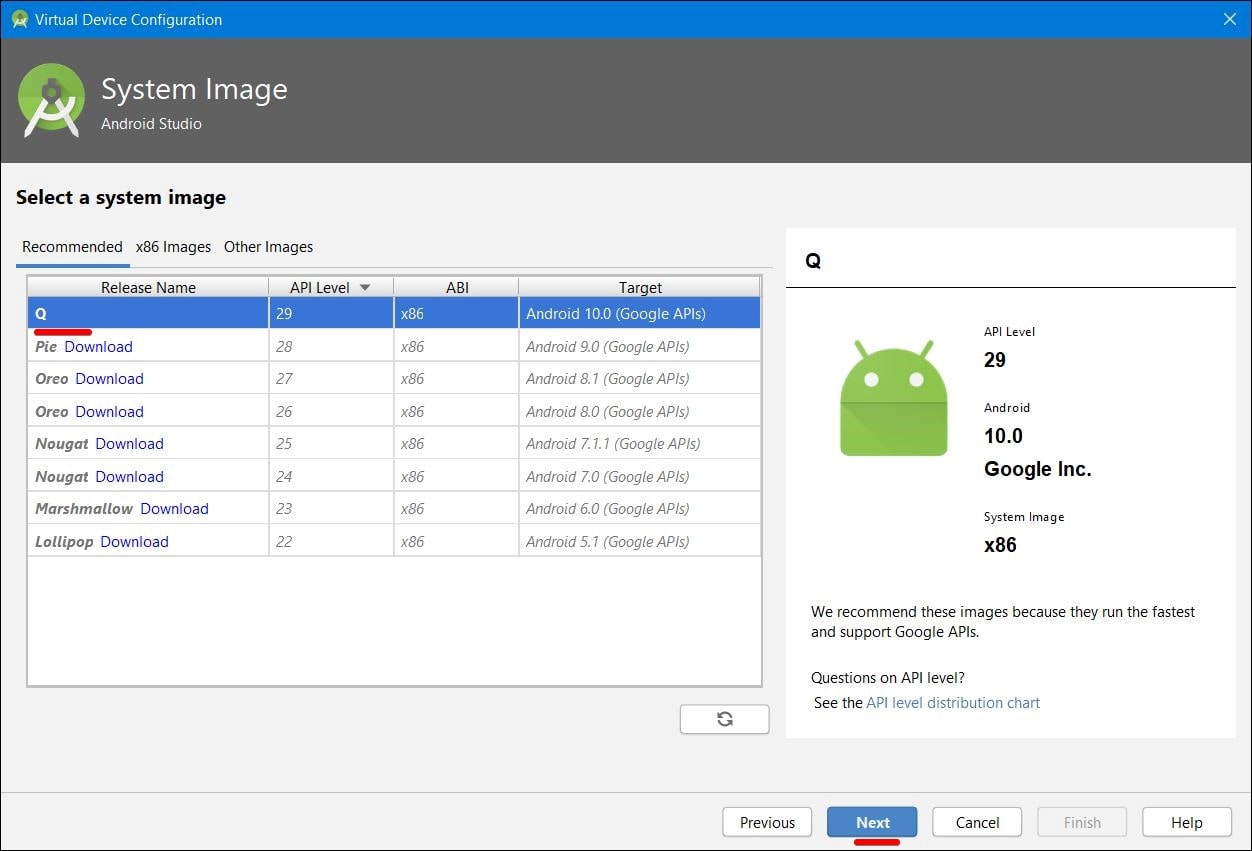
Now, first, click on Refresh icon then when the system images appear, select the Q and double-click on Download.

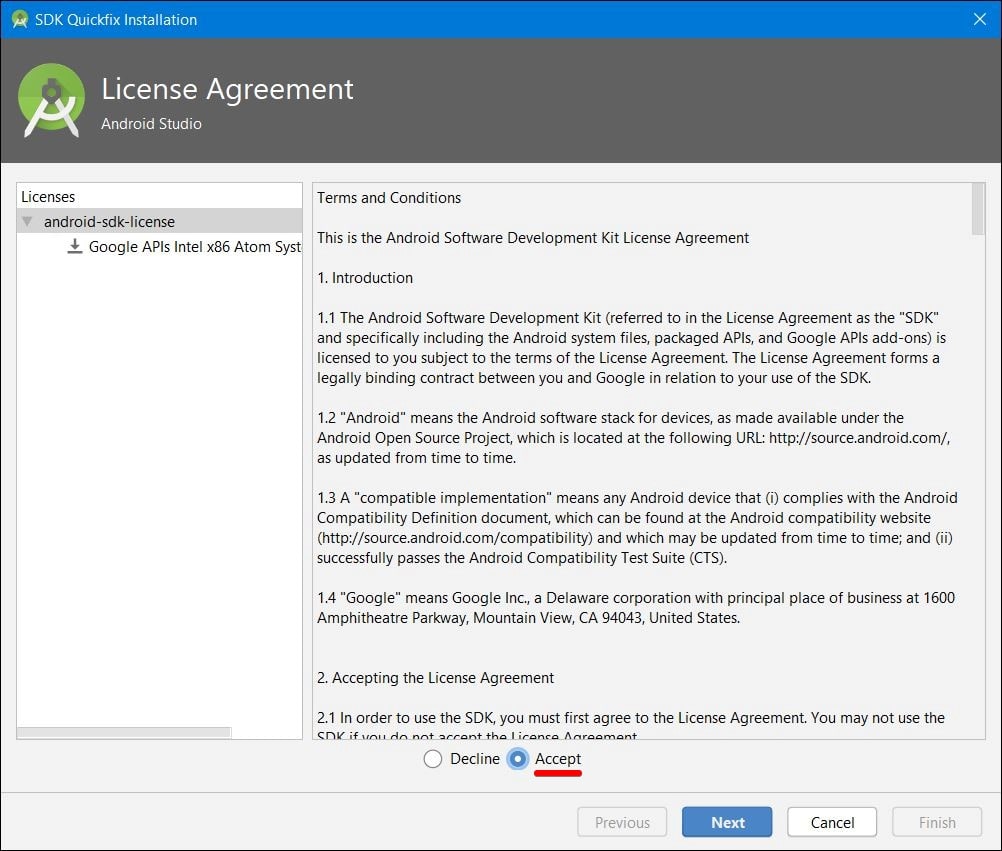
Click on Accept and hit Next.

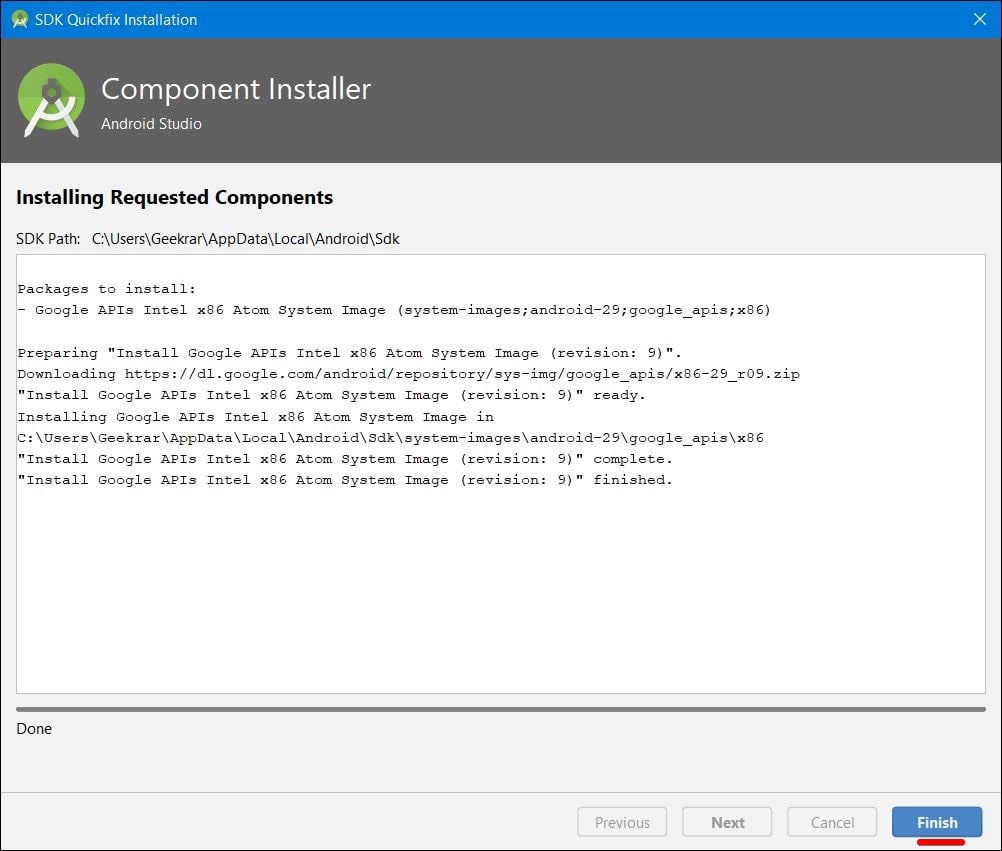
The downloading process will start, give it some time as it’s around 1GB.

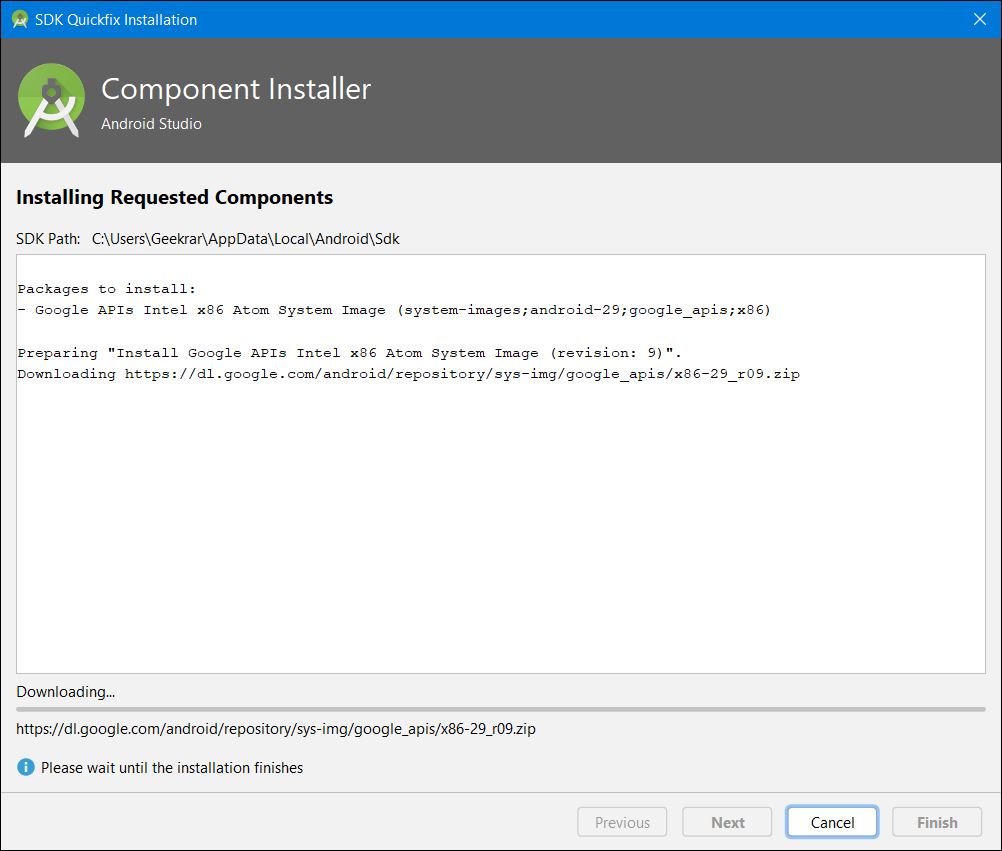
When the files installed, click on Finish.

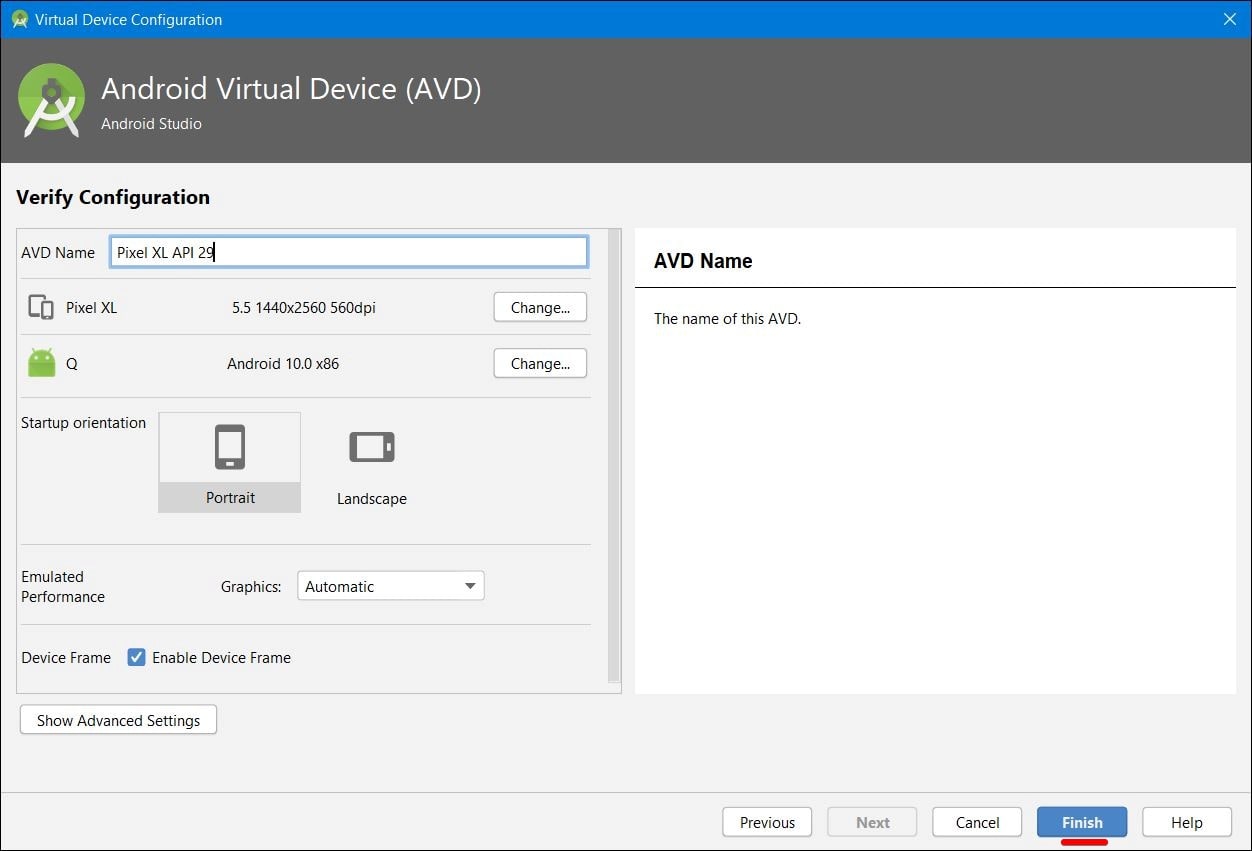
Once that’s done, you’ll see this window, click on Next.

On this window that appears, click Finish.
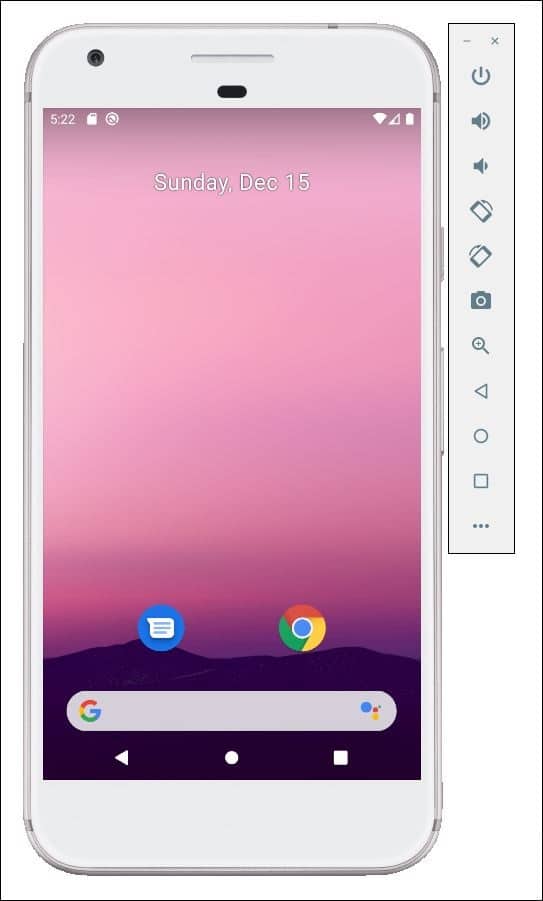
And you’re to the point now, click on the Play button to start it.

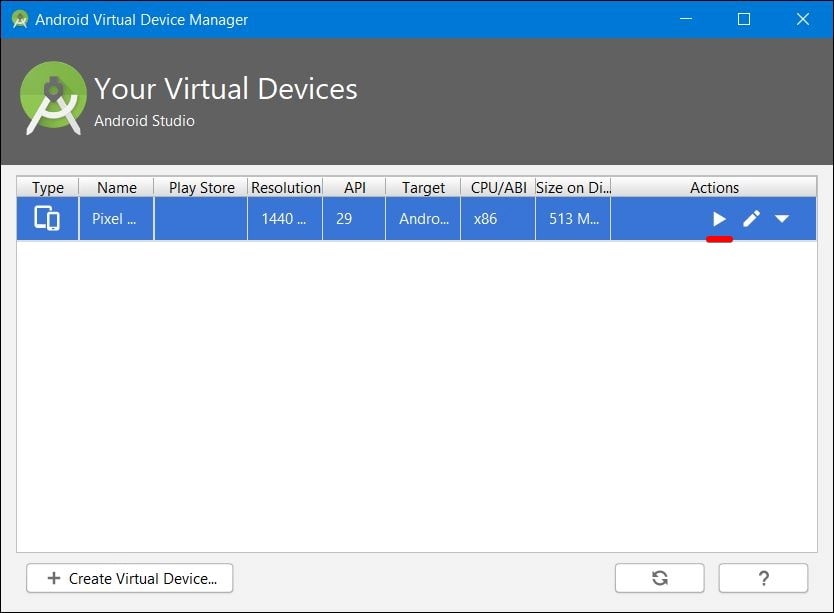
There it is! The Android 10 is now there on Windows running completely fine.

That’s the end of it. There’s nothing remaining to do. Check whatever you would like to and that’s there now.