


Apple’s new operating system is eventually “macOS Catalina” which is shipping this fall. The early preview is rolling out in order that is particularly more for developers. The public preview is out now which opens the way to try all the interesting features out before fall. This lets you test out every cool feature you’d like and if there’s an issue you could send a report to address the issue to Apple. The process is simple to try, with Apple’s beta program, you could download and try macOS Catalina directly on your Mac. Here is How to Fix “EFI VMware Virtual SATA….” When Installing macOS Catalina.
But for Windows users, it’s pretty different, both the download and installation process. While the App Store and Apple’s beta program is on Mac and is for Mac users only, and they could download Catalina within a few clicks. You might also have access to a Mac at least for a short time that maybe of your friends Mac. So you could entirely download the Catalina image but if you’d try installing it on a virtual machine on Windows, you will end up without installing. That’s why we’ve cleared the way for you and made the image ready for you, you could simply download macOS Catalina VMware & VirtualBox image.
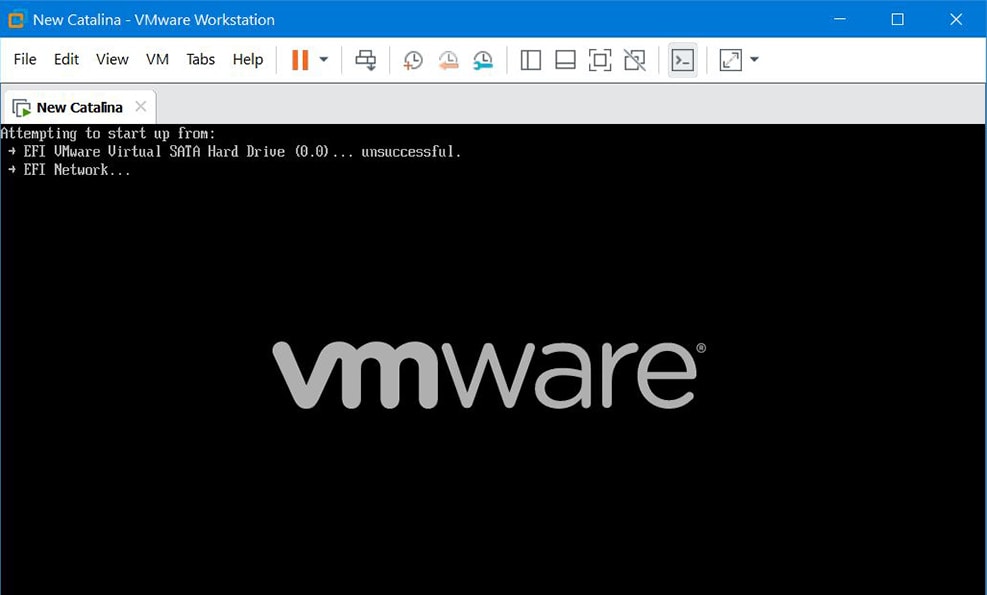
With that done, you’re good to use the image to install macOS Catalina on VMware. But when you attempt to install, you might encounter a black screen with VMware logo ” Attempting to start up from: – > EFI VMware Virtual SATA Hard Drive (0.0) . . . unsuccessful – > EFI Network . . . ” . While this error has been appearing from past, but this time, it’s different and the solution is different too, here’s how to fix EFI VMware Virtual SATA….
Insert Config Key on VMX File
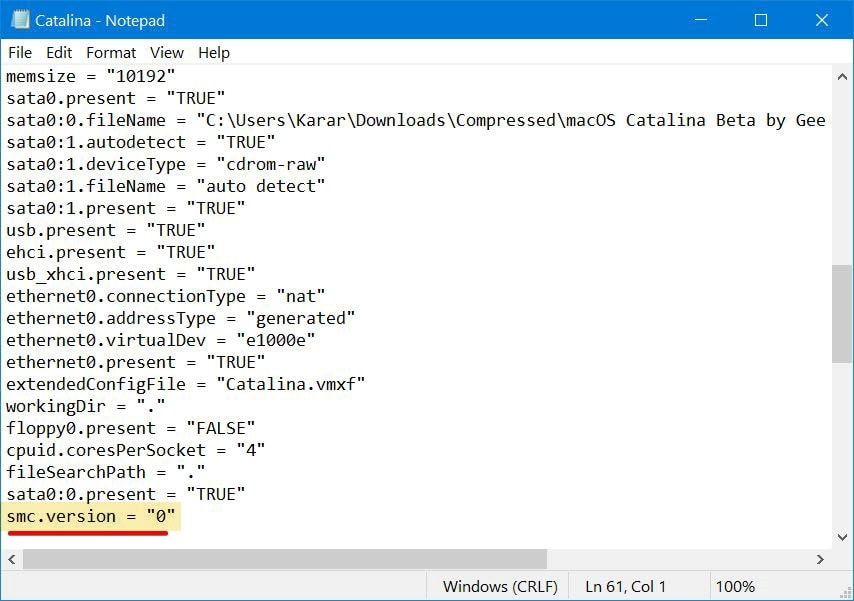
One of the reasons that would appear this error is the config key not inserted. If you’ve created the macOS Catalina virtual machine, and configured, you need to insert the config key.
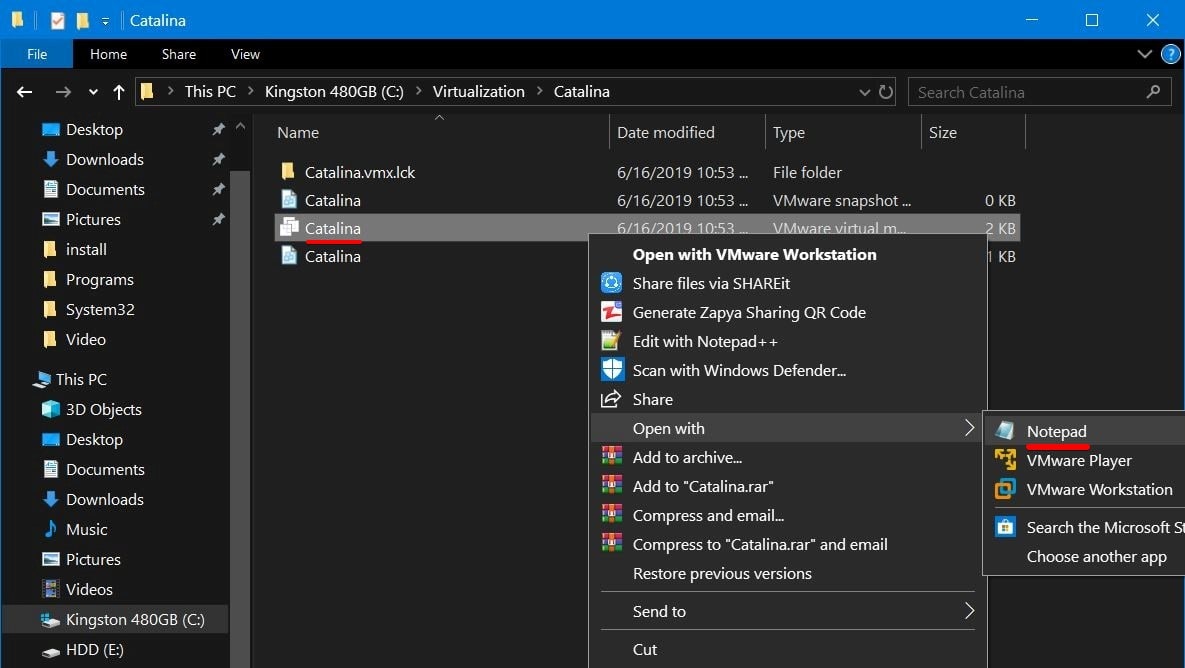
From the virtual machine files, navigate to the Catalina.vmx file and right click on the file then select Notepad.

Next, scroll down to the end and insert the following key at the end.

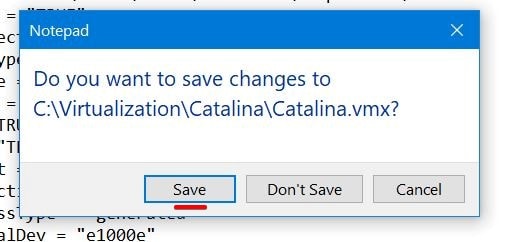
When you’re done, click Save.

If you’ve already inserted the key, then there’s another problem, check the next solution.
Set up Guest Operating System Correctly
Similar to the boot loop problem when installing macOS Catalina we fixed, this problem is a little different from that. When you create macOS Catalina virtual machine, you select macOS X for the guest OS but later on, when you configure the virtual machine, the guest OS will change to Microsoft Windows x64-bit. But if you forget to, you’d end up likely this problem. That’s a simple fix.
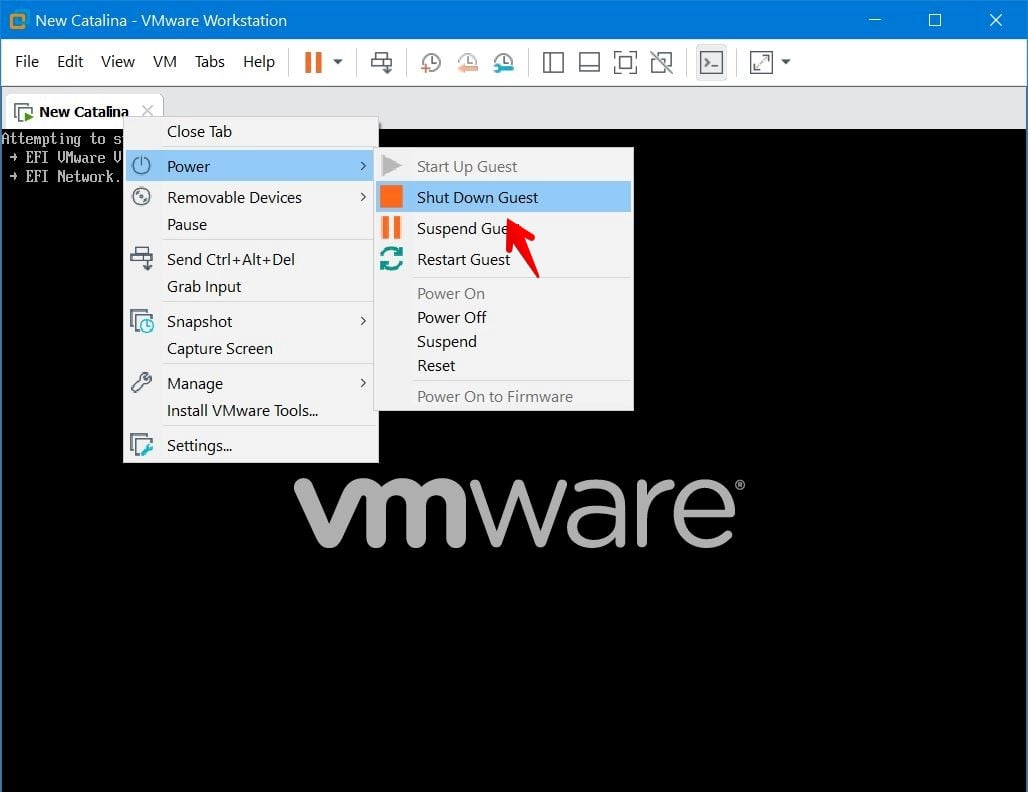
At first, close the virtual machine by right-clicking on the virtual machine’s name and select Power then click Shut Down Guest.

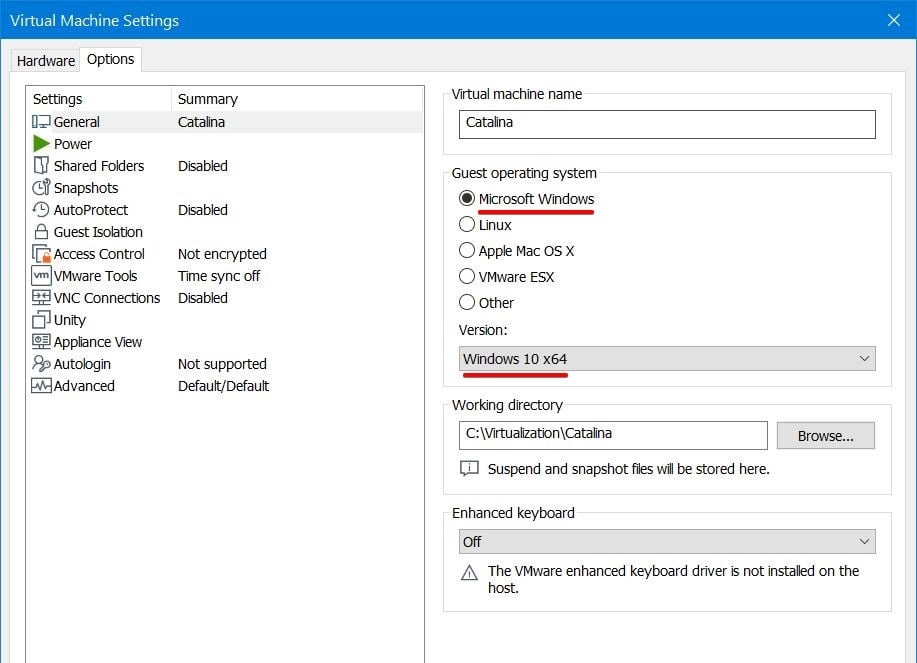
On the virtual machine settings window, click on the Options tab and click select Microsoft Windows from the Guest Operating system and choose Windows 10 x64 for the version.

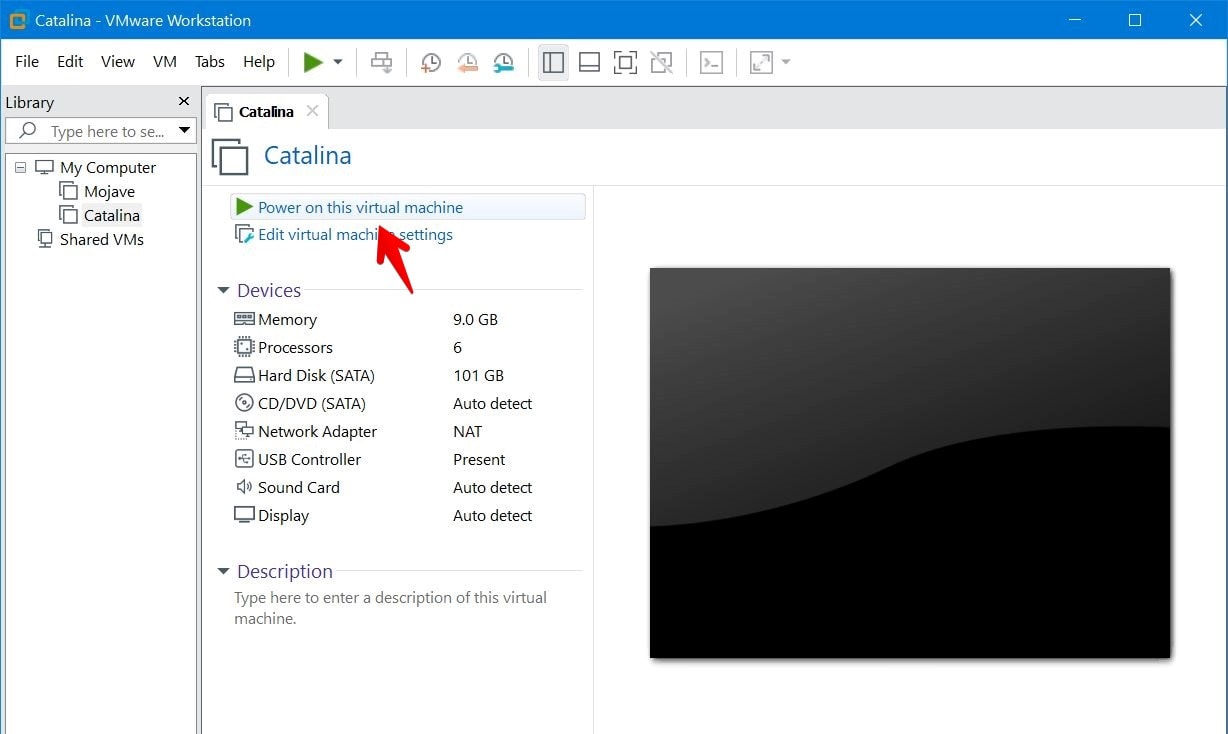
Now power on the virtual machine.

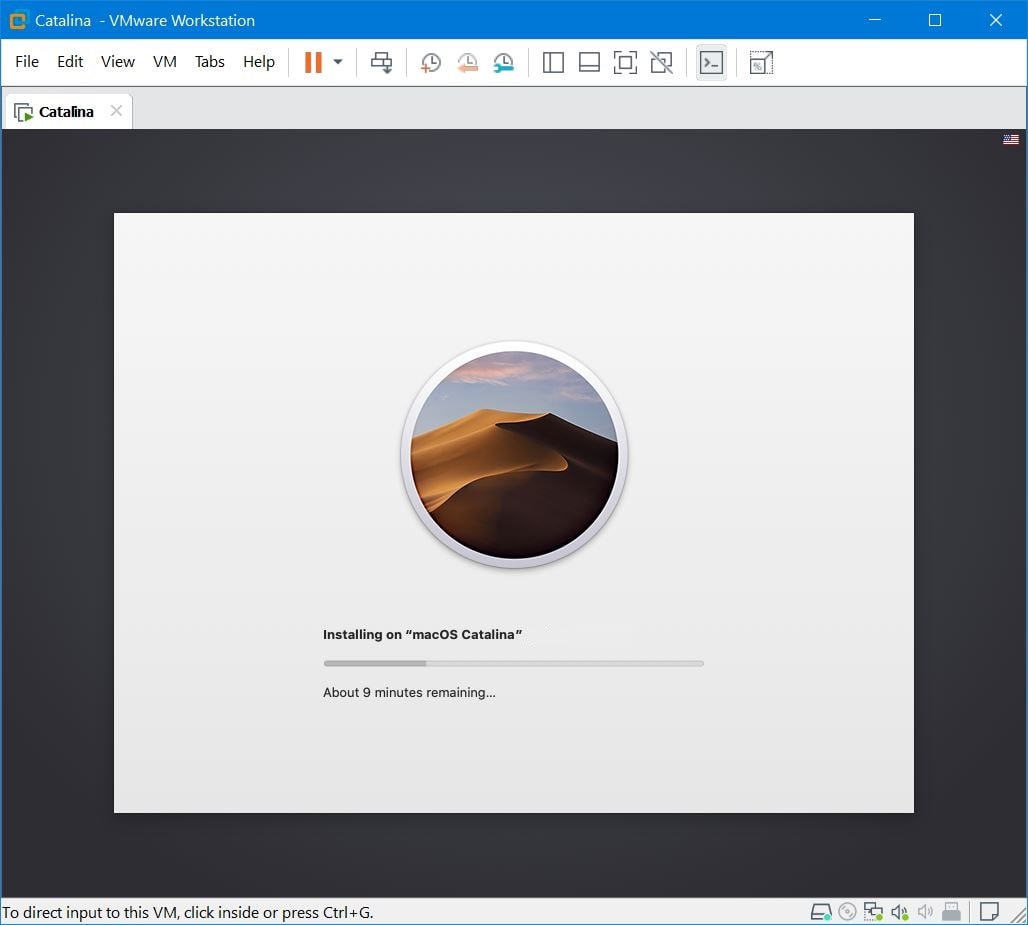
The virtual machine will straightly boot to the installation.

Okay now that you’ve accomplished the installation, you’ll now need to change the guest OS to macOS X. For those who are stuck after the installation, here’s what you need to do. This one is for you.
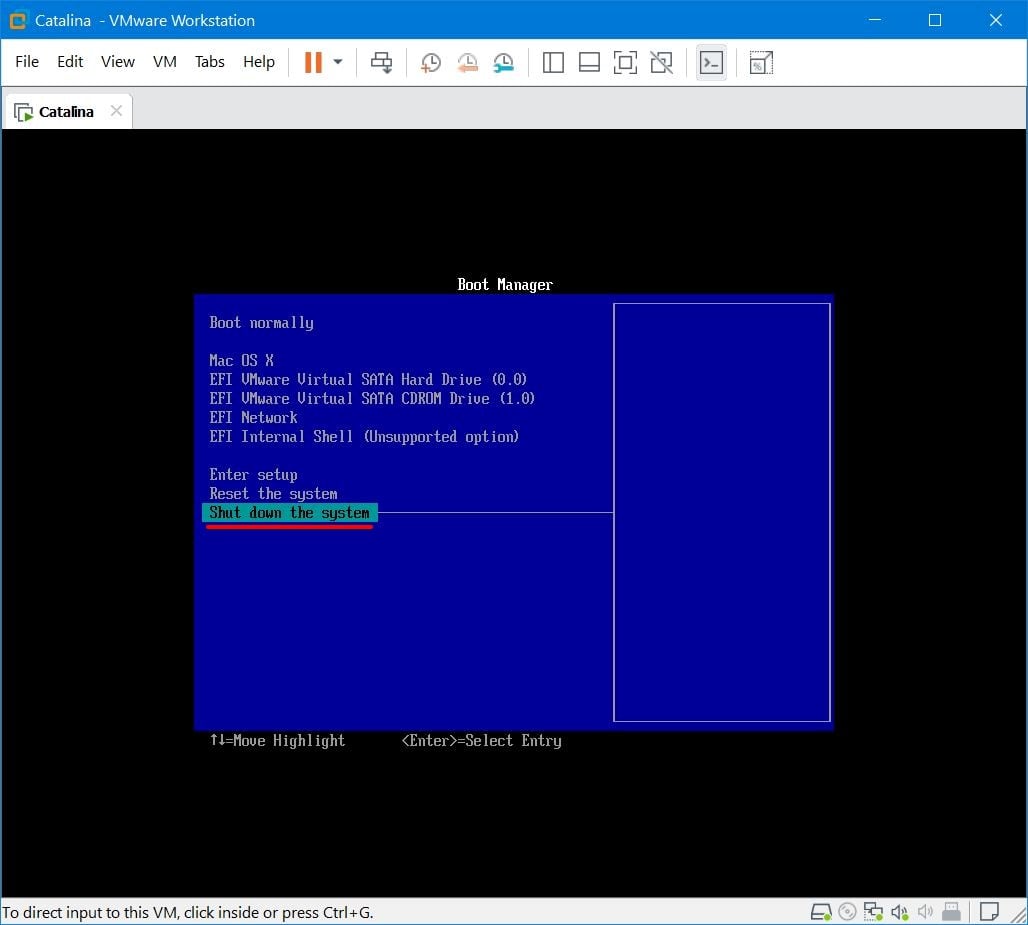
After you’re done with the installation, you’ll boot into the boot manager. From there, select Shut down the system.

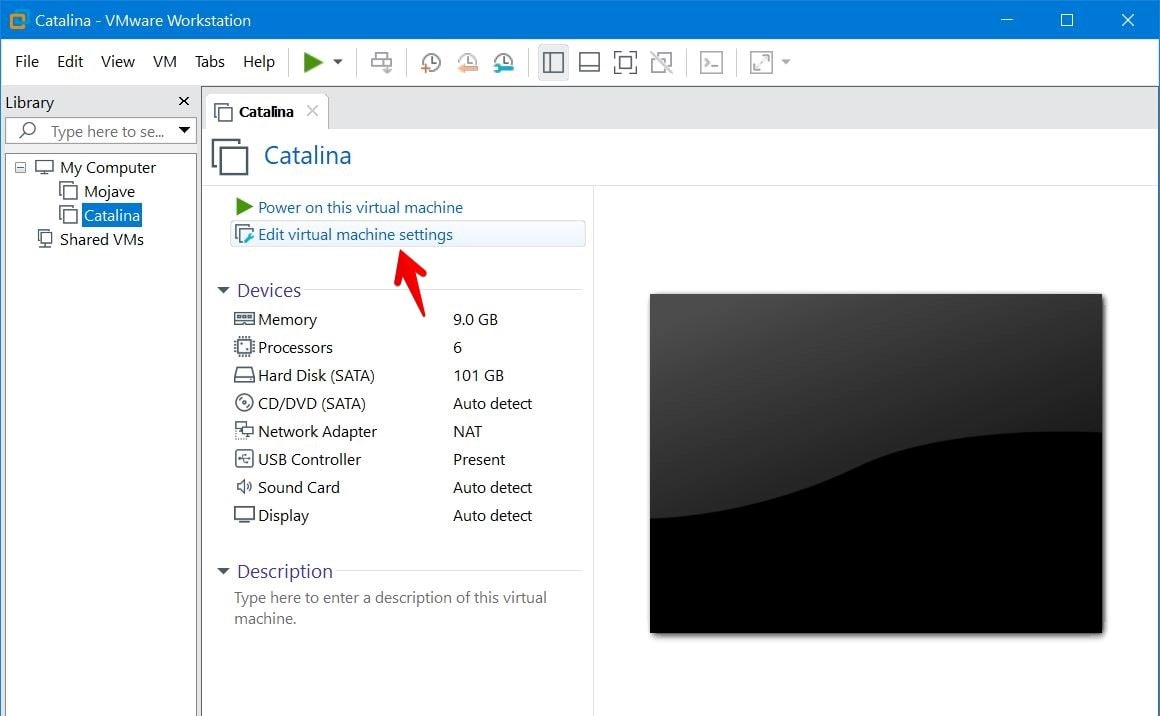
Once the virtual machine powered off, simply open the Edit virtual machine settings.

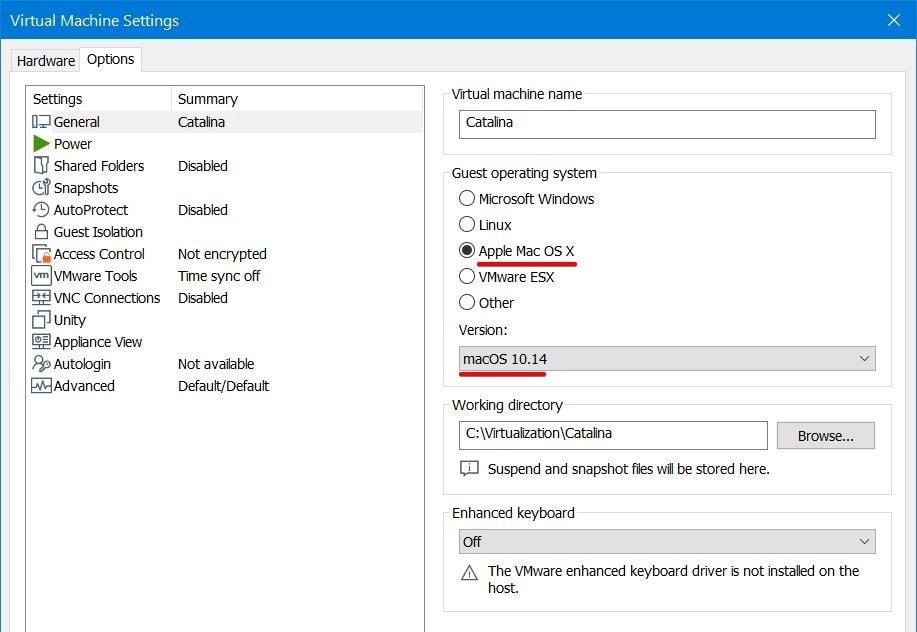
At this point, from the virtual machine settings, navigate to the Options tab and click the Options tab then change the Guest operating system to Apple macOS X and select the version macOS 10.14 or above. Once you’re done, click OK.

All that’s left to do now is select start the macOS Catalina, and you’re good to go! This time you’ll enter into the final installation part where you’ll personalize and create your account and start surfing it.

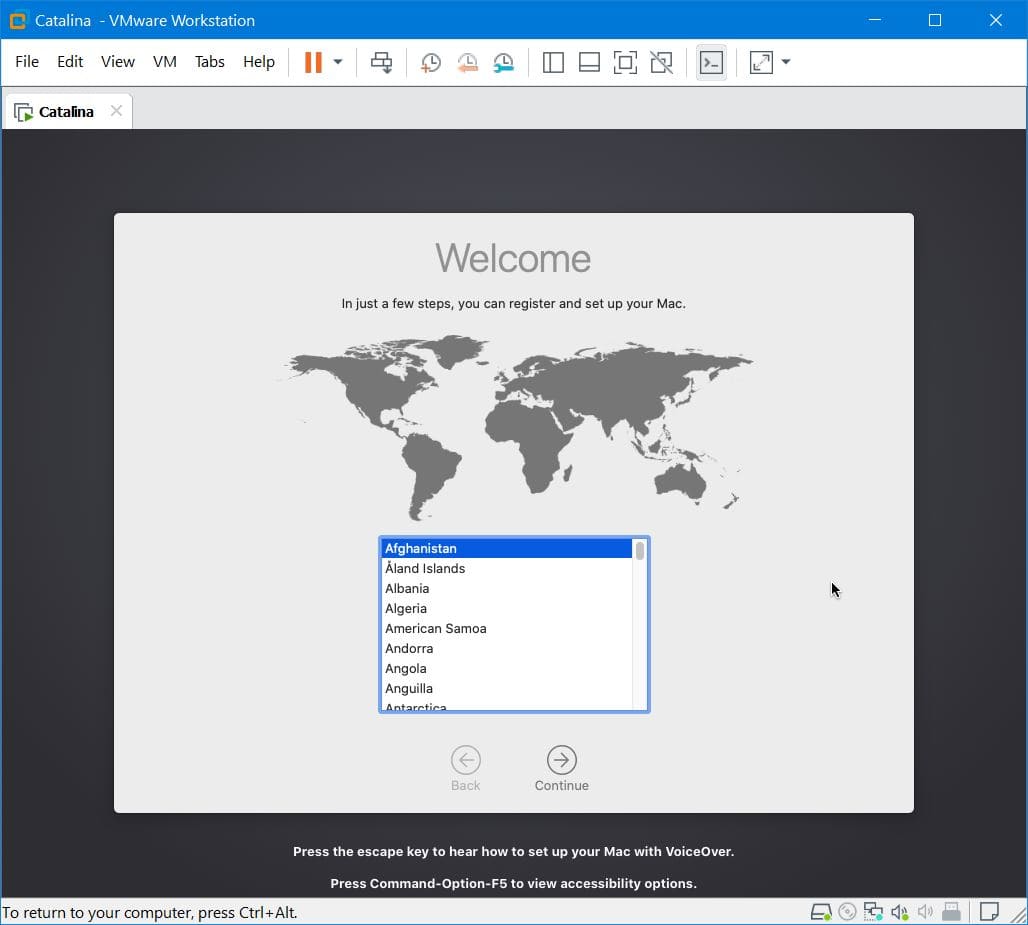
All done! When you’ve finished all the things, you’ll have the newest version of macOS right into your Windows PC.

Fine, that’s the end to it. If there’s something you’d like to tell us, we’re happy to hear from you.