
Are you tired of creating bland, uninteresting video tutorials? Want to take your tutorials to the next level with professional-grade editing and high-definition recording?
Look no further than iTop Screen Recorder!
This powerful software makes it easy to capture all the activity on your PC screen, including video, audio, and even webcam footage. And with its built-in video editor, you can easily create engaging, polished tutorials that will help you stand out from the crowd.
Today, we will guide you through the best ways to use iTop Screen Recorder to create video tutorials that will keep your audience engaged and coming back for more.
Table of Contents
The Best Way To Create a Professional Tutorial with iTop Screen Recorder
Recording your screen with iTop Screen Recorder is super easy! Just follow these simple steps:
Step 1: Download and Install iTop Screen Recorder
- Go to the official website of iTop Screen Recorder and download the software.
- Once the download is complete, install the software on your computer.
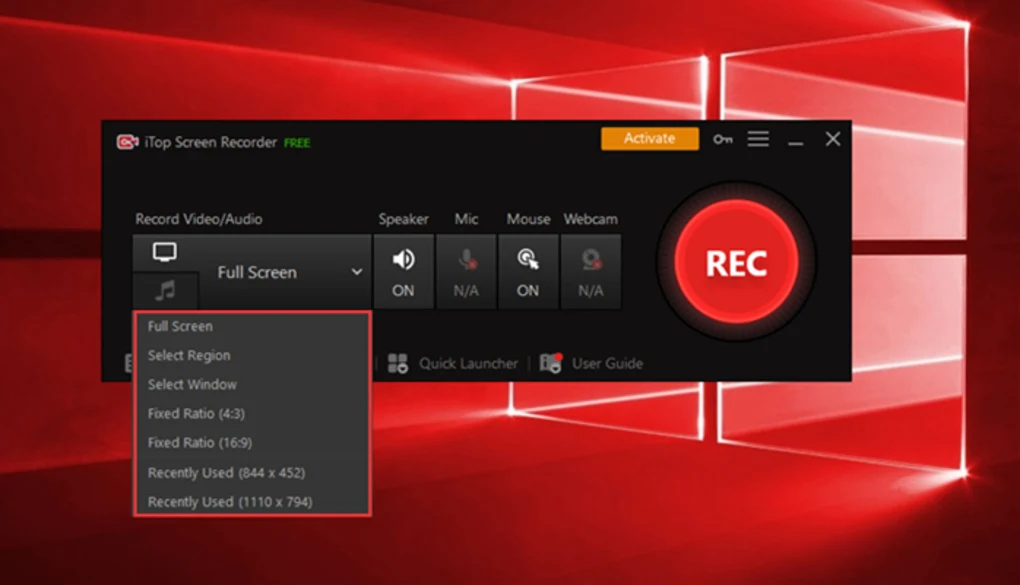
Step 2: Select Recording Option
- Once the software is open, select the recording option that you prefer: full screen, specific window or custom region.
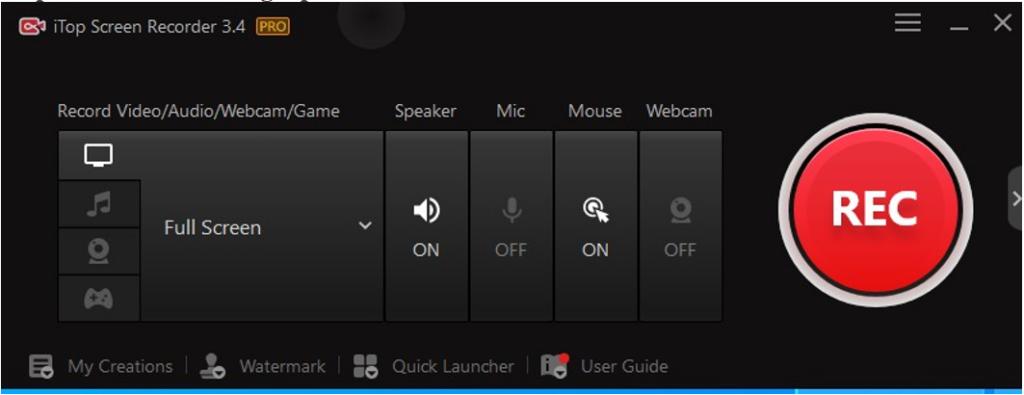
Step 3: Configure Audio Settings
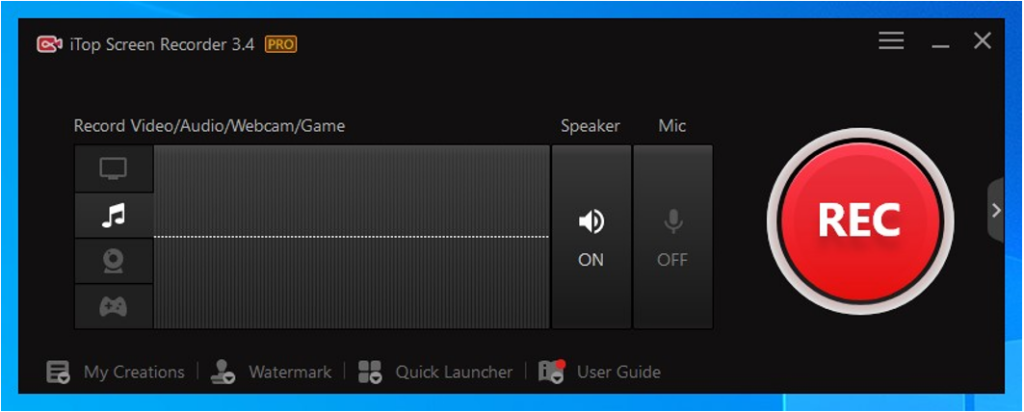
- Configure the audio settings that you prefer: system sound, microphone or both.
Step 4: Record Your Webcam
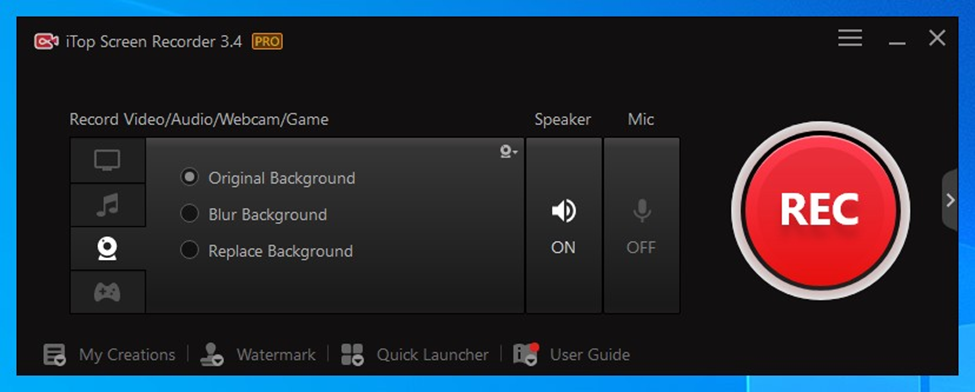
- In the main interface of iTop Screen Recorder, click on the “Webcam” button to enable the webcam recording.
- Adjust the webcam recording window size and position.
- Hit the “Record” button to start recording your screen and webcam simultaneously.
Step 5: Start Recording
- Hit the “Record” button to start recording your screen.
Step 6: Stop and Save the Recording
- Once you have finished recording, click on the “Stop” button to end the recording.
- A window will appear, allowing you to save the recording to your PC in the desired format (MP4, AVI, WMV, etc.).
And if you want to make it even easier, you can use the hotkeys feature to start and stop recording with just a few keystrokes. No need to fiddle with the software while you’re recording – just press the hotkeys and you’re good to go!
Step 7: Use Hotkeys
- You can also use the hotkeys feature to start and stop recording with just a few keystrokes. This can make the process of recording even more convenient and efficient.
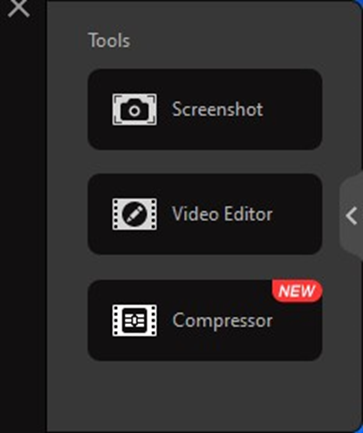
Editing Your Footage with iTop Screen Recorder
With the iTop screen recording software’s built-in video editor, you can easily create polished, professional-quality videos that will help you stand out from the crowd.
And with its user-friendly interface, you can edit your footage with ease, even if you have no experience with video editing. Here’s a step-by-step guide to help you get started:
Step 1: Open the Built-in Video Editor
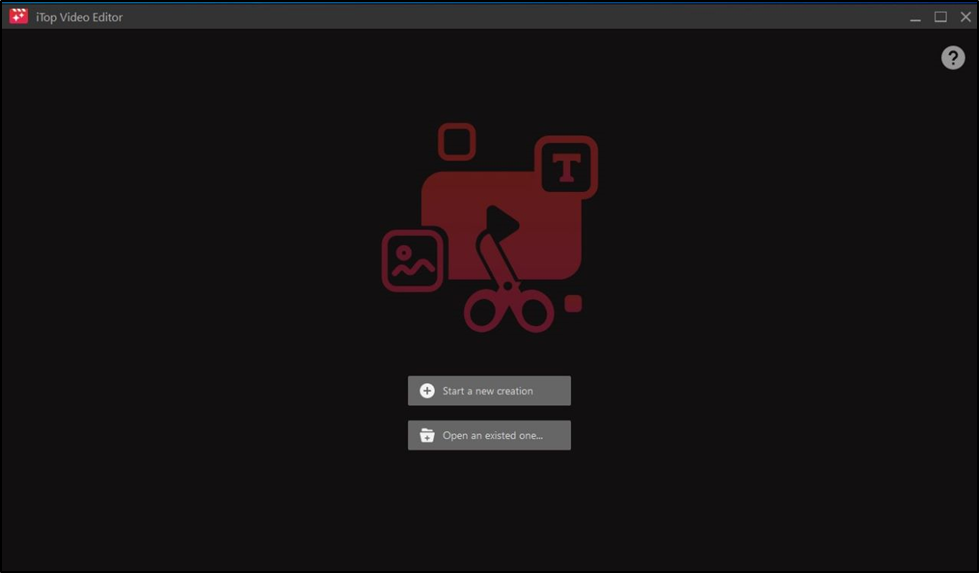
- After finishing the recording, the recording video will automatically open in the built-in video editor.
- Alternatively, you can also use the “Edit” button in the main interface to open the editor.
Step 2: Trim your Tutorial
- Use the trimming tool to cut out any unwanted footage from the beginning or end of your recording.
Step 3: Add Text or Effects
- Use the text and effect tools to add annotations, transitions, and other effects to your footage.
Step 4: Export your Tutorial
- Once you’re happy with your edits, use the export button to save your footage in your desired format (MP4, AVI, WMV, etc.)
Step 5: Share your Tutorial
- You can also share your footage on social media or upload it to video platforms.
Conclusion:
iTop Screen Recorder is a powerful and versatile screen recording software that makes it easy to capture all the activity on your PC screen, including video, audio, and even webcam footage. The software offers a wide range of features, including recording options, advanced settings, and a built-in video editor, that make it easy to create and edit professional-quality video content.
So, if you’re looking to up your screen recording game, give iTop Screen Recorder a try and see the difference it can make.


