


Installing macOS on Mac whether Mojave or Catalina requires a few things. The most important one is the macOS installer image. With App Store or enrolling to Apple’s beta program or getting the macOS Catalina DMG file will do the most of the job. With the installer image, sticking to the prompts will end up installed macOS. But if you’re installing macOS on lots of Macs, in this case, you might need to create a bootable USB installer. For this, consider taking help of this instruction in your mind. Here is How to Create macOS Catalina USB Installer on Windows – Hackintosh.
Instead, installing macOS on non-Apple hardware actually and virtually both is somehow easy as you’d install any other operating system. For installing virtually, we’ve prepared everything beforehand which you can use to install macOS Catalina on VMware and install macOS Catalina on VirtualBox. Until here, everything seems fine until you’d like to actually install macOS on your actual Hackintosh PC.
Installing macOS might be somewhat easy but creating a macOS Hackintosh installer is never easy. For installing macOS actually on PC aside from your actual operating system, you’ll need a super-configured, super set-up USB installer. This process is one of the primary and important parts of succeeding for the installation. But it has never been easy to do this since there’s no app for performing this process automatically for you.
Table of Contents
Create macOS Catalina USB Installer
There are several ways around to do this. Since the process will be entirely done on Mac, we’ll use macOS Catalina or macOS Mojave installed on VMware or VirtualBox. They work no different from an actual Mac. If you’ve a Mac, that’s fine, you can use that for this. For your information, this process is entirely done on Catalina installed on VMware to create a complete working macOS Catalina USB installer for installing macOS on a Hackintosh PC.
For those who are curious enough, a Hackintosh is a basically Intel-based machine‚ not by Apple, which can run MacOS. Often, they’re custom-built desktop machines, but laptops with the right specifications work as well. Usually, they are custom built desktop but can be laptop machines that are Intel-based. Since Macs are Intel-based, the Hackintosh machines a little more compatible for installing macOS.
That said, if you’re interested in installing macOS Catalina on your Hackintosh PC, you’re good to create macOS Catalina USB installer on Windows with this. For performing this process, you’ll need some files which are seriously needed. However, we’ve entirely caught you up both with the files and the process. Here’s how to make it actually happen and How to Create macOS Catalina USB Installer on Windows – Hackintosh.
What You’ll Need
There are a number of things you’d need for this. Here’s the list I’ve outlined for you.
- A 12GB+ USB Installer drive that doesn’t mind erasing – Since Catalina is around 6 Gigabytes and we’ll add some more files, we’ll need to have a 12GB or bigger USB flash drive. In this process, everything on the drive will be erased, so make sure you take a solid copy of the files from the drive.
- Access to a system running macOS – Since this process is entirely done on macOS, you may need to access a system running macOS. If you have a Mac, that’s fine. If you don’t have one, we’ve held your hands up. Installing macOS is what’ll do the job for you, whether that’s on VMware or VirtualBox, both are fine.
- A copy of macOS Catalina Installer Image – Getting a copy of macOS Catalina is easy when you have a running macOS installed. From the App Store or Apple’s beta program, you can simply grab a copy of the macOS Catalina which will be used in this process.
- The Clover Bootloader – Since real Macs have a custom firmware that lets them boot macOS, we’ll use the Clover which is a bootloader for this. It also includes kext injection, ACPI renames, kext patches, and lots of other functions.
- Kexts – FakeSMC.kext, Ethernet Kext, NullCPUPowerManagement.kext, Config.plist – A kext is actually kernel extension that is quite similar to drivers on Windows.
These aren’t the whole thing for making things work, but a chunk of patience, tolerance, and enthusiasm is also necessary. Is everything seems ready to you? So what are you waiting for, let’s get started startightly.
Getting Started
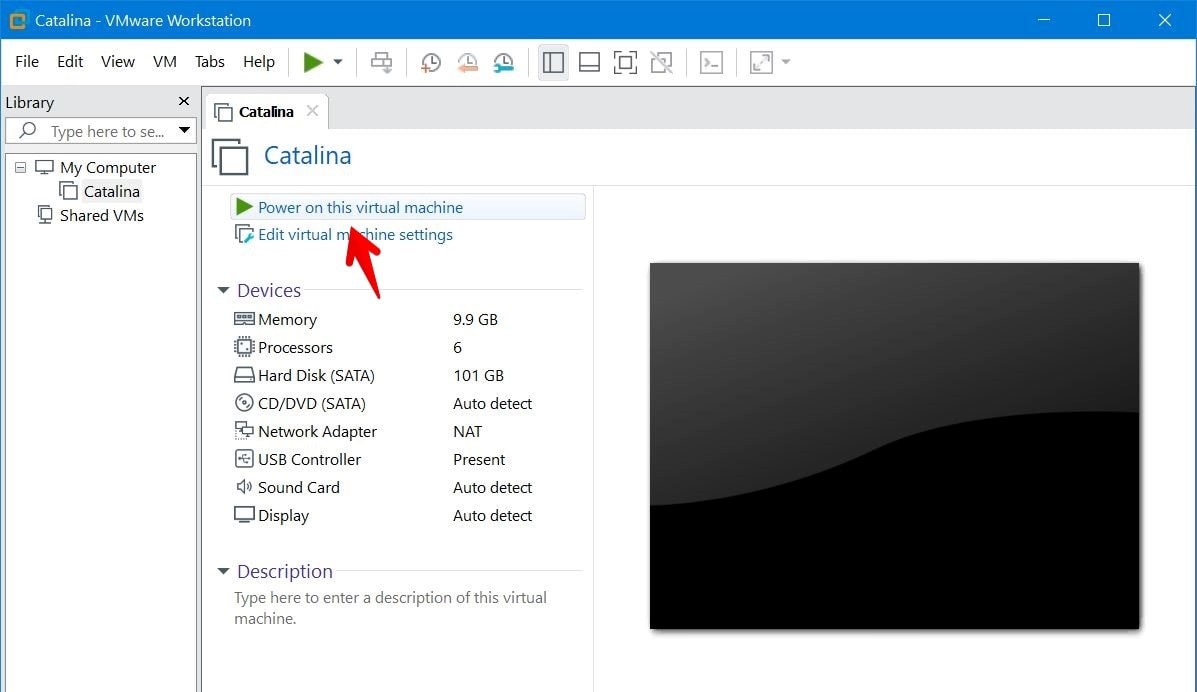
Creating a working macOS Catalina USB installer requires accessing to a running macOS. This can be a real Mac or macOS Mojave or Catalina installed on a virtual machine whether VMware or VirtualBox. There’s no difference between them.
If you’ve a Mac, that’s fine, you’re good to skip this. If you don’t own one, you’re nowhere back. We’ve instructed you on installing macOS Catalina on VMware and installing macOS Catalina on VirtualBox both.

Step One: Download macOS Catalina (Preferably from App Store)
Since Catalina is still in beta version, we’ll turn to Apple’s popular beta program. When it’s entirely released, we’ll download from the App Store. This is pretty straightforward.
When you’ve macOS installed on VMware or VirtualBox or you’ve a Mac, start up.

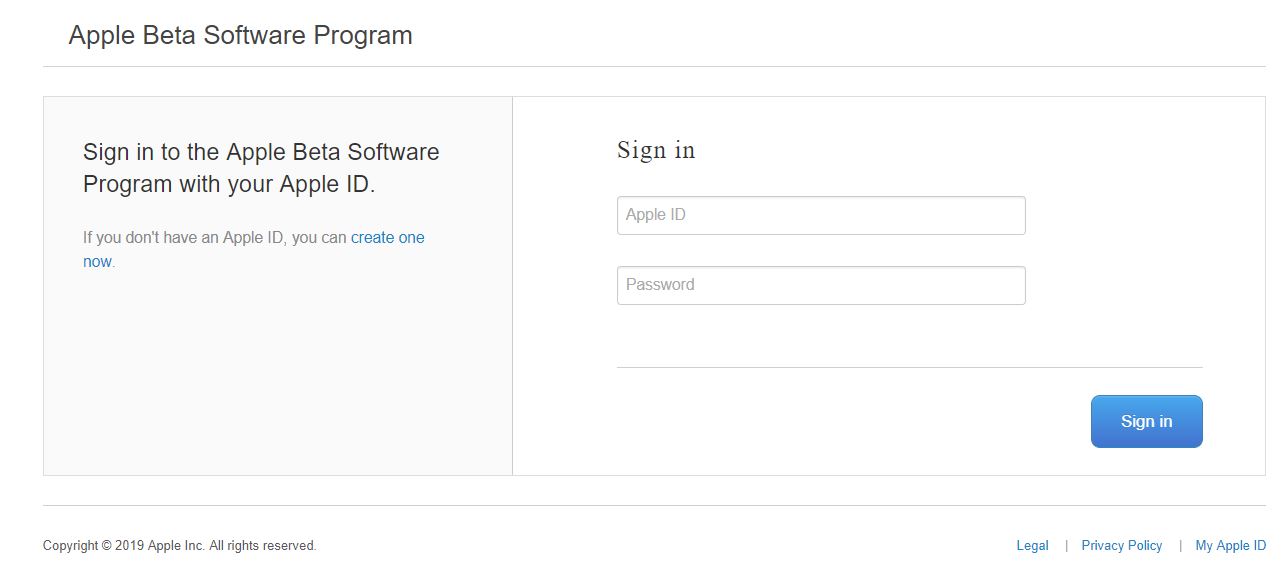
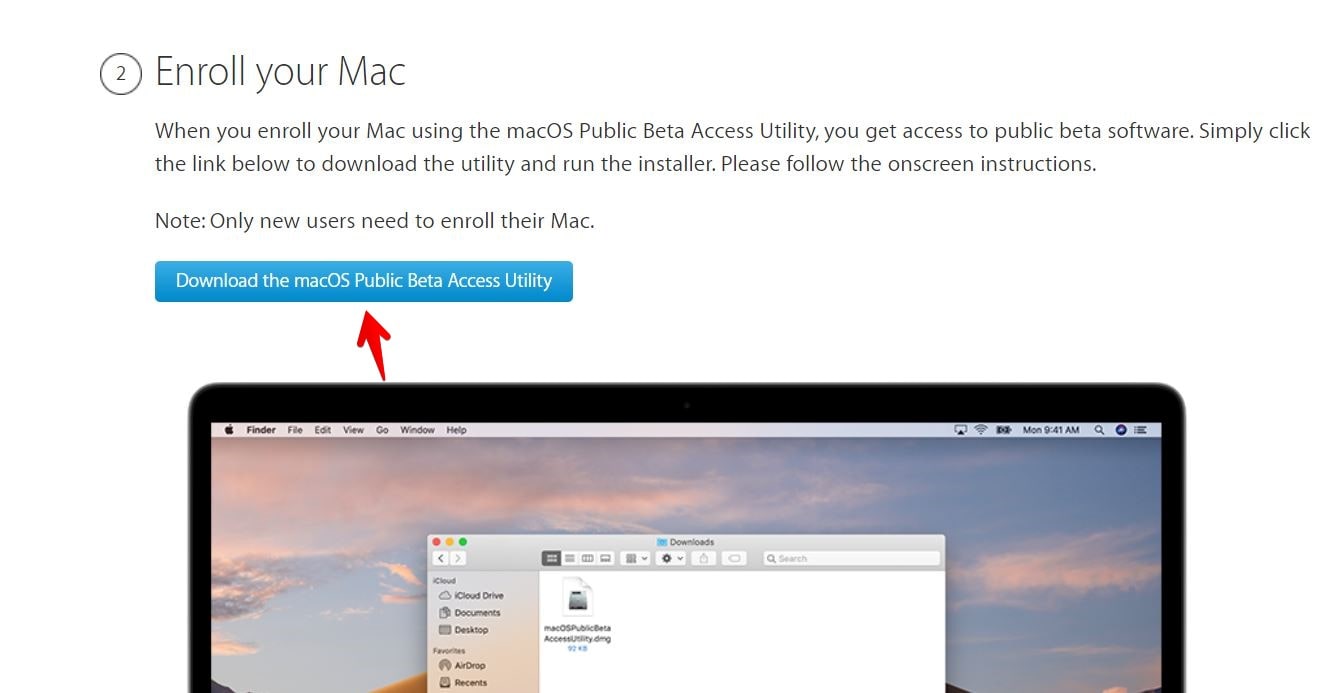
Now navigate to the Apple’s Beta Software Program login page, sign in there.

Once you’ve signed in, click enroll your device from the top menu and scroll down click Download the macOS Public Beta Access Utility.

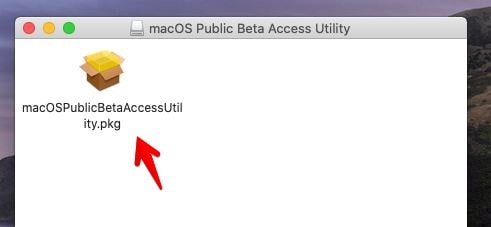
After that, open the macOS access utility package and click on it twice.

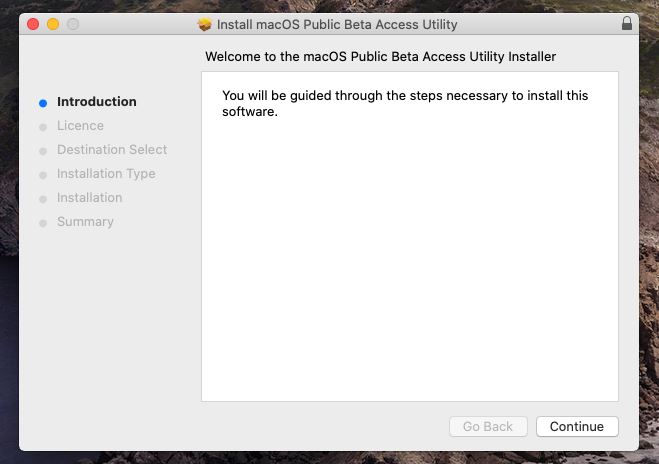
Following the prompts will end up macOS downloading from system preferences.

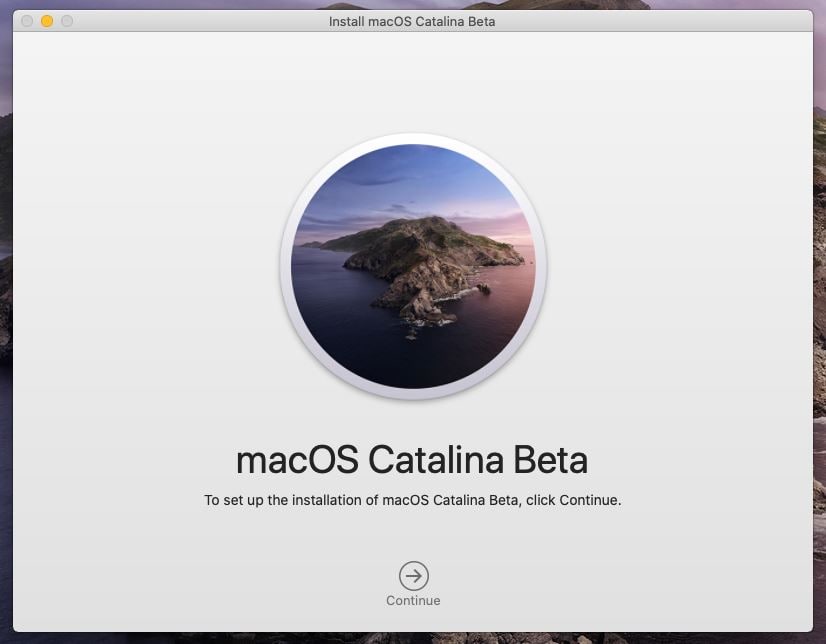
Once it’s done, the macOS Catalina installer window will pop up. Close it.

Step Two: Format USB Installer Drive
One of the important task for this process is formatting the USB correctly. This drive should be configured in order to make this working properly.
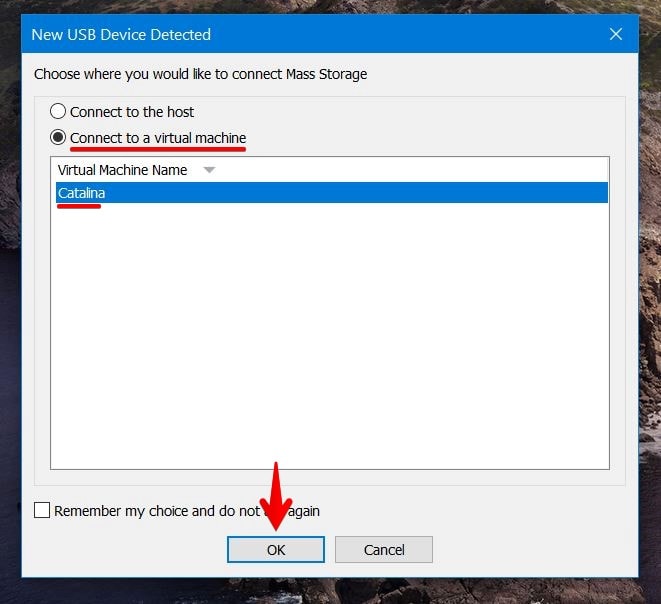
First, insert the USB drive into your computer and select Connect to a virtual machine and click OK. On Mac, there’s nothing you need to do, simply insert.

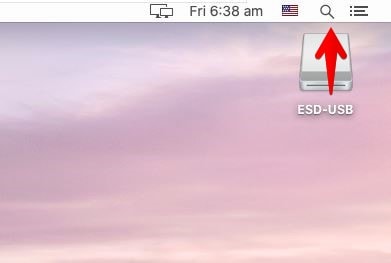
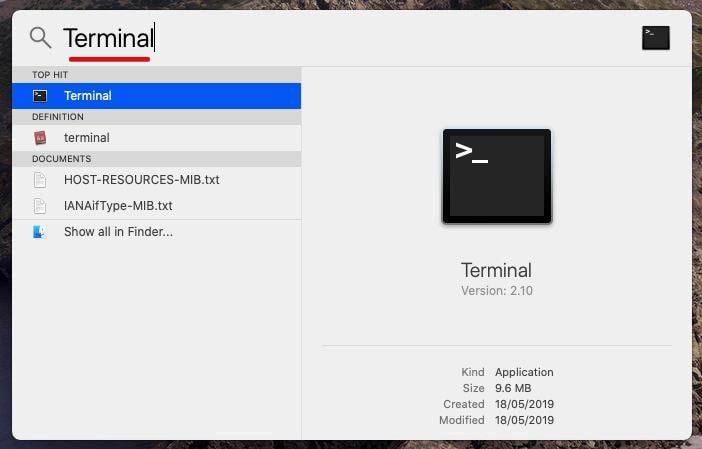
From the top-left corner, click on Spotlight to open it.

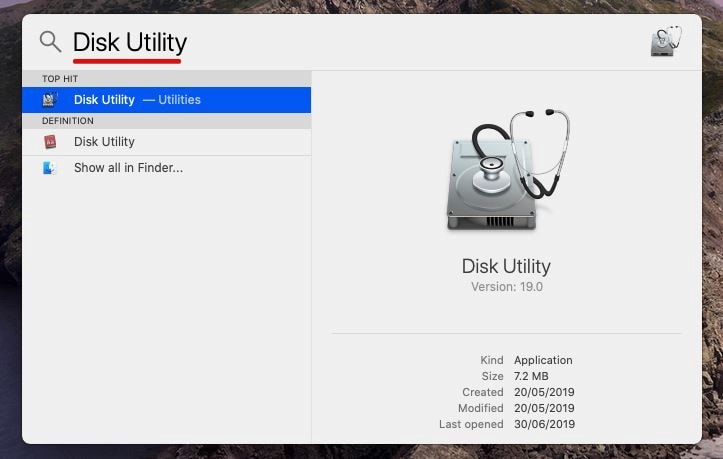
There, type Disk utility and hit Enter.

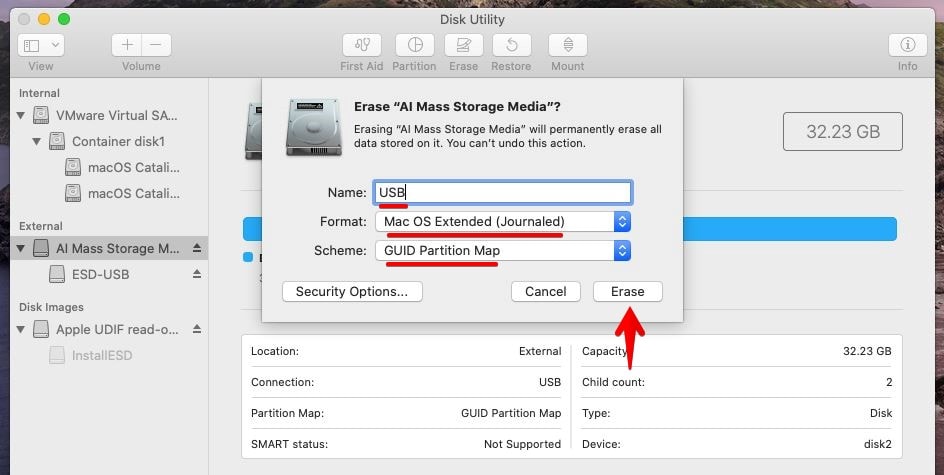
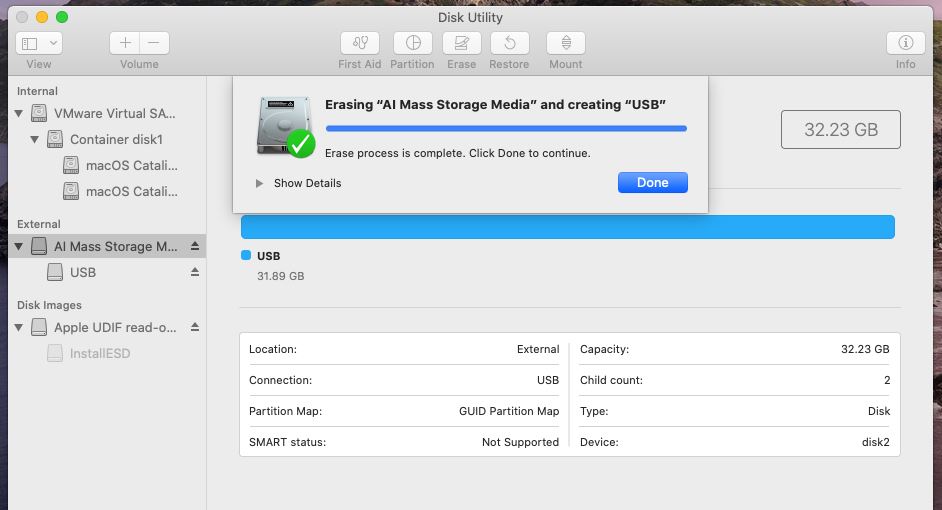
On the Disk Utility window, select the USB thumb drive and click Erase. Then type a name for e.g USB and select Mac OS Extended (Journaled) then click Erase. Make sure all the devices are shown so you can choose the drive correctly. Here’s how it looks like.

After it’s done, click on Done.

Step Three: Create The Bootable USB Drive
Now it’s time to create the drive bootable with applying some commands from Terminal.
At this point, pull up Spotlight and type Terminal then hit Enter.

On this window that appears, copy and paste this command and hit Enter. Following that enter your password then hit Enter. This will definitely take some time, be patient.
sudo /Applications/Install\ macOS\ Catalina\ Beta.app/Contents/Resources/createinstallmedia --volume /Volumes/USB Flash Drive/Applications/Install\ macOS\ Catalina\ Beta.app --nointeraction
Note down that if the USB has a different name other than “USB”, you’ll need to change it from the command. For this, simply change the “USB” to whatever your USB name is.

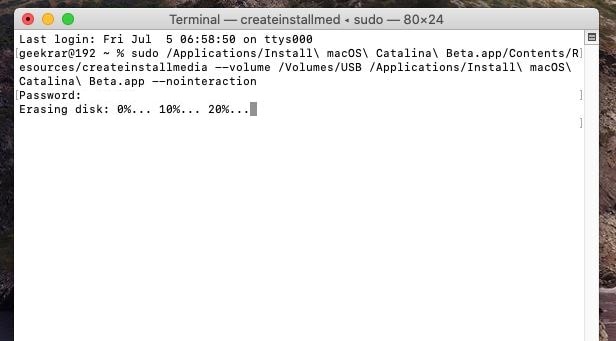
When you’re done, simply close it.
Step Four: Install Clover EFI Bootloader
The bootable USB has now been created but it won’t work for installing macOS on PC. Instead, it will work for installing macOS on Mac. So in order to make this working, we’ll install the Clover Bootloader. This isn’t difficult.
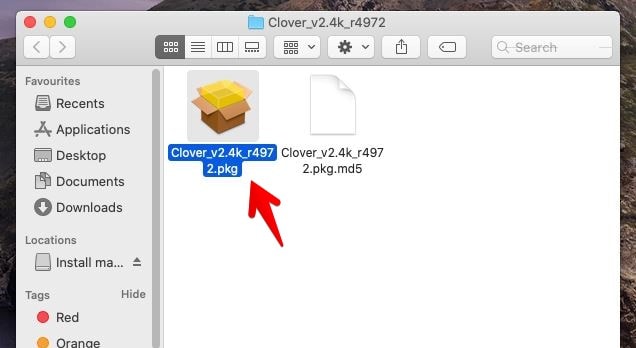
Open Clover package and click on it.

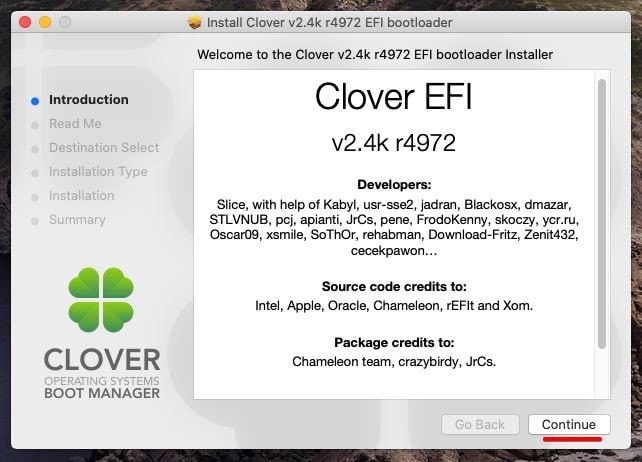
On the Clover EFI Bootloader window, click Continue.

In the next step, simply click Continue.

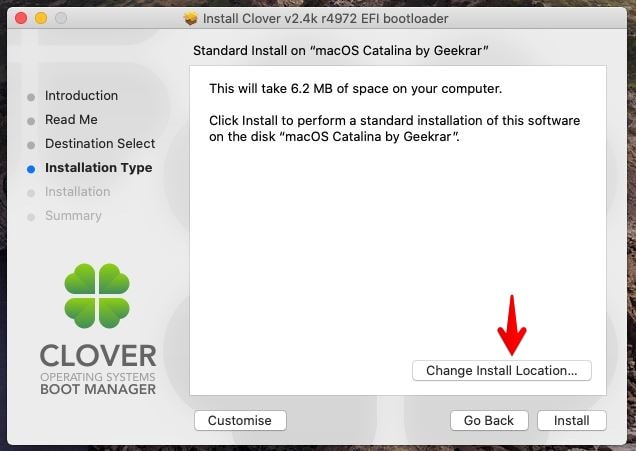
Now click Change Install Location and click Continue.

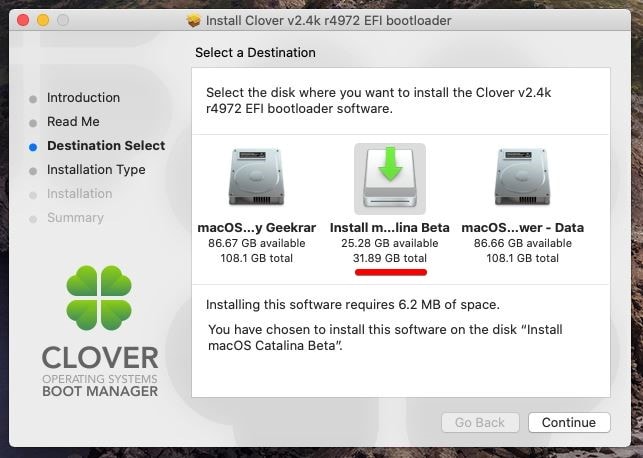
Select the USB Drive which is Install macOS Catalina Beta and click Continue. Since the USB drive was previously changed to Install macOS Catalina Beta, we’ll select this.

Now click on Install.

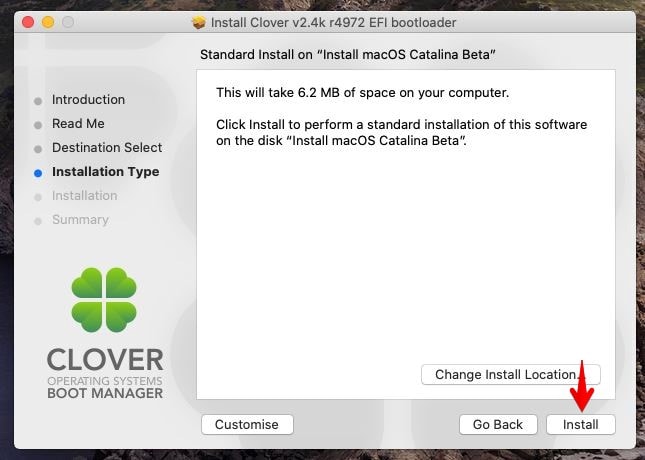
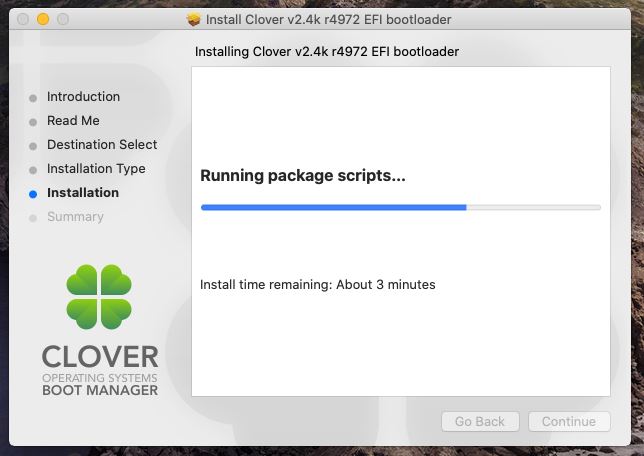
When you’re asked for your password, enter it and let it install. It will take some time, so please wait.

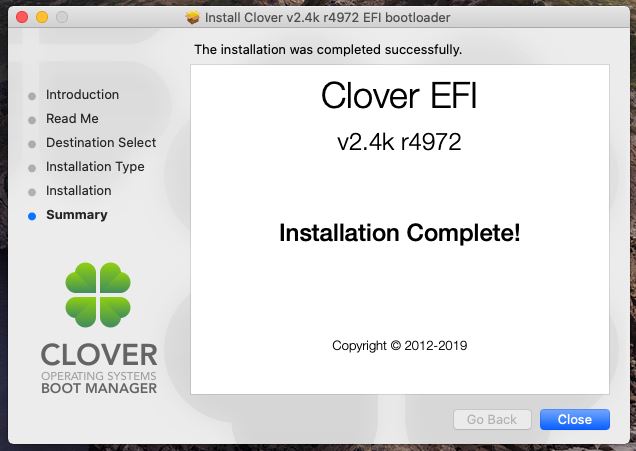
When it has finished, simply click Close.

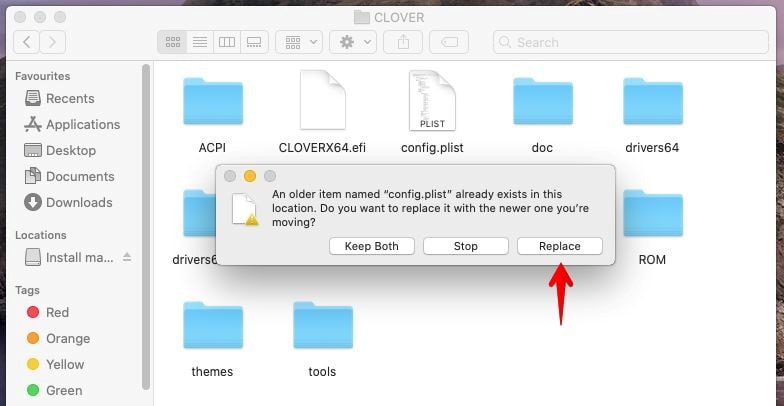
Step Five: Replace Config.plist with the Provided one
This file is important for the installation and we’ve provided the configured one to you so here’s what to do with it.
Navigate to EFI > Clover and drag and drop the file into it. You’ll be asked whether you want to replace, click on Replace.

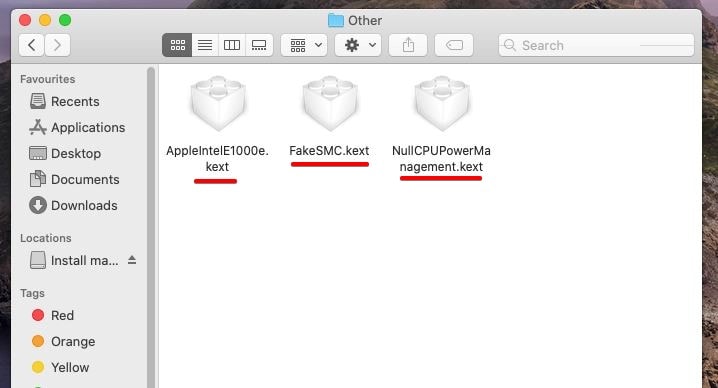
Step Six: Include Kexts
The kexts convince the operating system pretending it is a real Mac, which makes the booting successful. We’ll add some kexts. While you’ve the kexts downloaded before, it’s time to include the kexts to the Bootable drive.
Navigate to EFI/CLOVER/kexts/Other/ and add Fakesmc.kext, your ethernet kext, NullCPUPowerManagement.kext.

All set! We’ve come a far way, but that’s the end to it. If you’ve some questions or concerns regarding it, we’re happy to answer.