

In this post, I’ll show how to Check CPU Temperature in Windows 10. The computer which is commonly used nowadays requires us to check, analyze and manage from every aspect. One of those important aspects is the CPU Temperature to keep an eye on the temperature of the device we are using. Checking a CPU temperature is quite important and unchecking it for a long time can cause huge problems like burning, refreshing of the computer or maybe shutting down for at least minimum 1 hour.
Mostly developers or video editors use their computers for so long and if they don’t check their CPU temperature, it can shut down or maybe destroy their PC with all their work or even worse. But unfortunately, Windows doesn’t have any features for checking that out but don’t worry as the problem is born the solution is also created. In this post, how to check CPU Temperature in Windows 10.
Table of Contents
What is Max Temperature of Your CPU
To find the Max Temp, you’ll need to Google or Safari to search for your specific CPU and then find out where is the max ideal list temperature for your processor. The temperature for every processor differs from each other. When you find the CPU Temperature, you can divide the particular number to 2 or half of the number that will be the best temperature for your CPU. After you find out what is ideal CPU Temperature for your processor, and you also find out what is the max temperature for your processor try to keep your processor temperature under that level. Now see the below how to Check CPU Temperature in Windows 10.
How to Check CPU Temperature via Core Temp
There are several ways to check CPU Temperature. By default, there’s no app or feature in Windows which should do the work but we can definitely check CPU Temperature through third-party apps. Choosing from them, we’ve picked the most reliable and working one which we will show in a moment. ThereHow to Check CPU Temperature in Windows 10.
You can check your CPU temperature on Windows 10 using a third-party program, but there is a literal boatload of programs out there that let us check CPU temperature on Windows 10.
-
Core Temp
Core temp is easy to use, lightweight, and the standout from everyone is dedicated to only one function. The Core Temp monitors CPU temperature and other compatible with other popular third-party applications such as Rainmeter. Core temp is a completely non-intrusive program and it simply runs in the background. This app is perfectly compatible with Windows 10.
Go to Download Core Temp and click on the Download to download the .exe which is the setup file. After you hit the button click on save to download and then choose a location to save it.


Right-click on the file which is there and Runs as administrator. When the Windows ask for permission, click Yes.
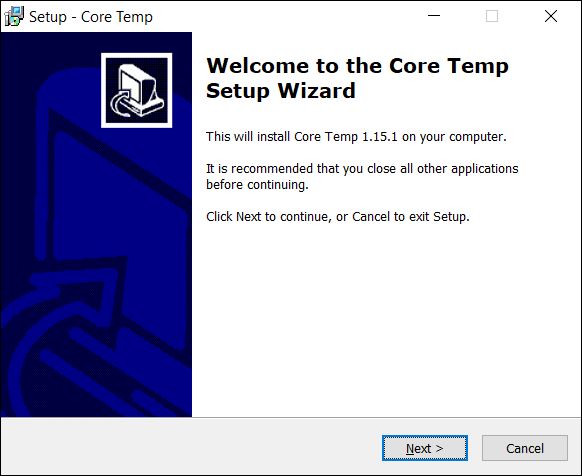
Following the wizard, press Next.

Accept the License Agreement and click Next.
Select a location and click Next.
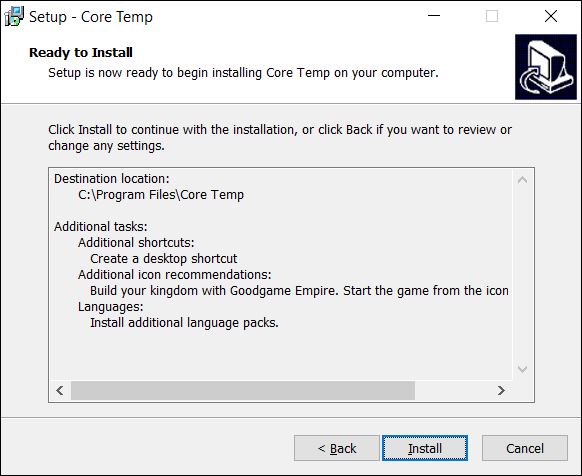
At this page, recheck the settings you’ve made and if there’s no problem or changes need to make, you can rewrite that so simply click Next.
Click on install.

Wait for the installation to complete and uncheck the view Readme.txt and check on Launch Core Temp and click Finish.


Once the core temp is installed, it will appear as a series of icons in your computer system. In the bottom of your desktop, there will be as many icons as your processor. Each core temp icon will display the temperature of one core of your CPU. You can click on any core temp. Core temp’s main window will display everything from the model of your CPU to the speed and temperature of each of the cores and the max value of your processor.
Tj Max value is the maximum temperature in Celsius, a processor is considered to be overheated if it’s temperature is anywhere near its Tj Max. The optimal temperature for a CPU is generally considered to be at least 10 to 20 degrees lower than its Tj max value.


How to Check CPU Temperature via (HW) Hardware Monitor
If you prefer being privy to a lot of information pertaining to your computer’s hardware than just the temperature of your processor’s cores, you can opt to use HW Moniter.
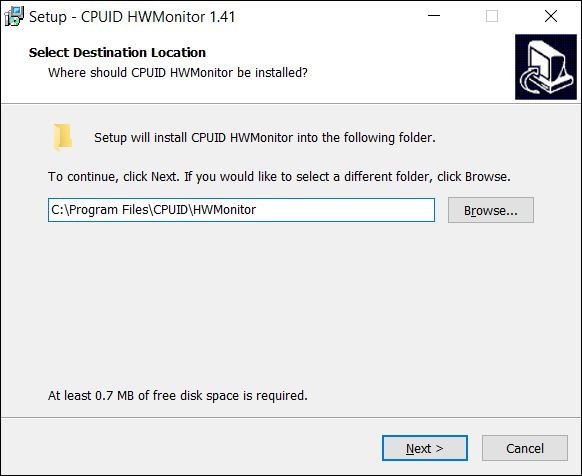
To use HW Moniter, you need to move HW Monitor website and download the zip archive or installer file of HW Monitor.


I will download the zip file but you can download the installer also. Choose any of them and click download now and click on Save.
After it is downloaded open the folder where it is downloaded and extract the file. After you choose the version click on Yes and then prompted for a user account and press Control.
When the installation wizard opened, click Next.

After some prompts, the install panel will appear so click on Install.

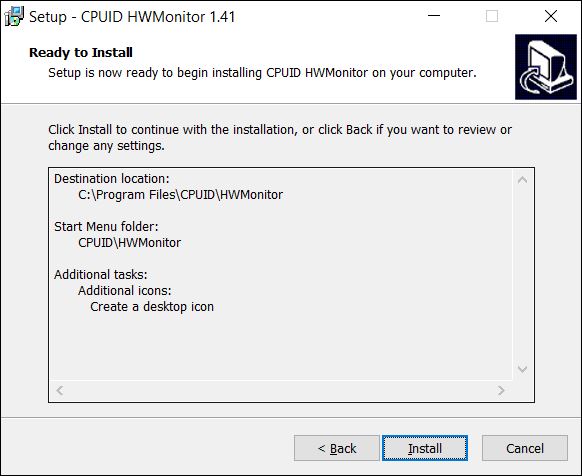
Once it’s done, click on Finish.

When the HW monitor launched you will see the listing of everything from the voltage, name, model, speed, temperature and many details.

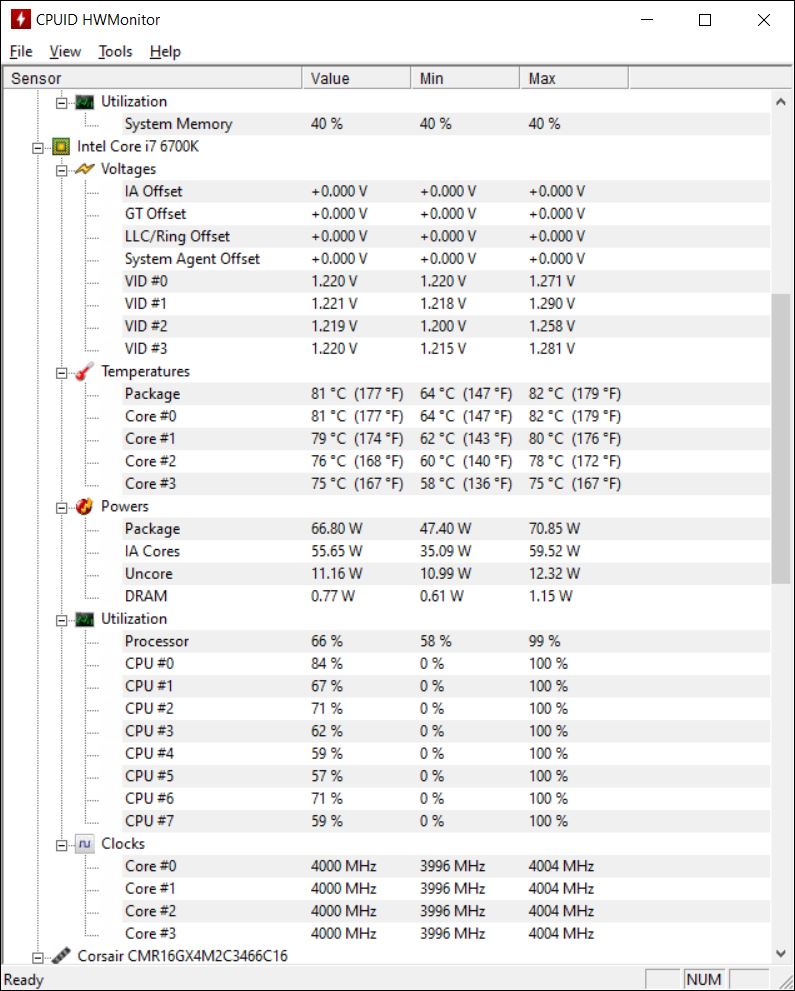
This method is tested and it has no harm for your computer. Instead, it only provides information about the CPU and other parts of your computer.
However, it’s worth knowing that these programs whether Core Temp or CPUID HWMonitor takes some space and also uses a huge part of the processor that may result in high usage of CPU and processor.
You may try this and share your opinion in the comments. If you have any advice or problem you can always ask them in the comment section.