


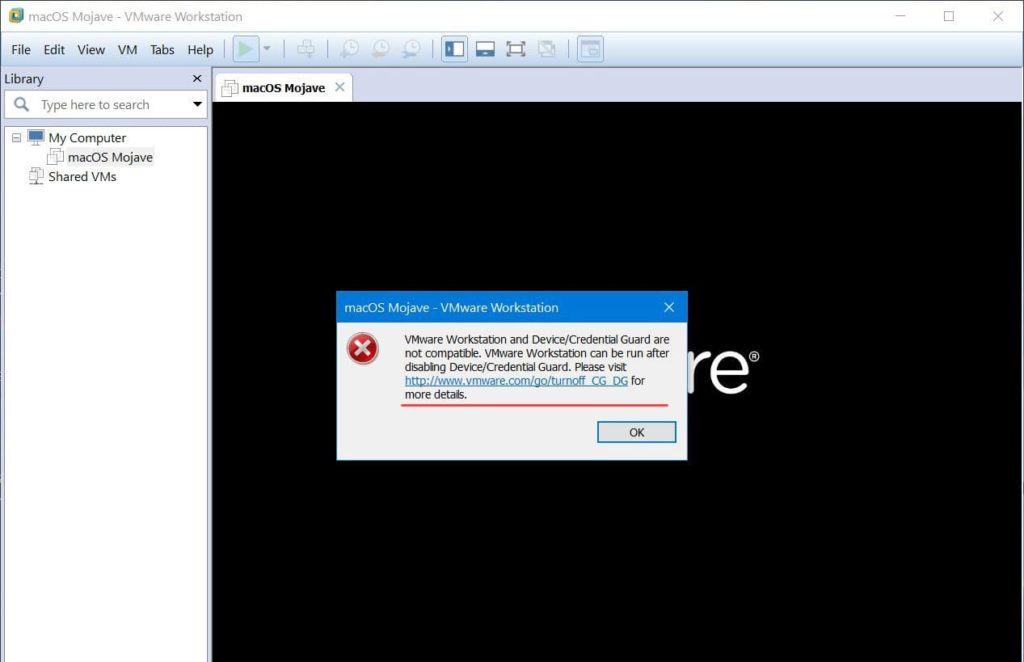
In this article, we are going to share with you How to Fix VMware Device/Credential Guard & VirtualBox – Error. If you’re a guy who switches to operating systems on virtual machines occasionally, you’ve probably encountered this problem. This happens when you attempt to install or work with an operating system on a virtual machine in a program with another virtualization program (Hyper-v) installed.


In other words, if you’ve Hyper-v installed on your computer with VMware and VirtualBox or one of them, you’ll likely get this error. This error is apparently different on the programs as VMware does show for disabling credential guard or VirtualBox simply gives the error of failed session. They all are the same thing. The reason is that Hyper-v and VMware can’t function and work at the same time, due to the credential guard. This feature (credential guard) uses hardware virtualization or virtualization-based security that only privileged system software can access them. Due to that, this will definitely interfere or literally won’t let VMWare or VirtualBox VM’s you want to use.
When multiple programs particularly Hyper-v use the same technology, (even not using at the same time), the Hyper-v installed on your Windows will prevent access to hardware virtualization for other programs, due to security reasons and already being in use of Hyper-V.
In this case, you’ll probably need to get rid of and uninstall Hyper-v, or a better solution maybe, you can disable particularly the only single feature of Hyper-v that uses VT-x and develop the problem. However, you can work and run VMware, VirtualBox without having to uninstall Hyper-v, except the Hyper-v hypervisor feature. Here’s how to diagnose and fix it.
Fix VMware Device/Credential Guard & VirtualBox – Error
Whatever version of Windows you’re using and whether you’re using VirtualBox or VMware, the steps will certainly work for the problem. There are two ways you can fix this. The easiest and favorite you’d like to do will be with command prompt using commands.
The process to this is pretty straightforward. All you have to do is uninstall or disable the Hypervisor feature of Hyper-v that installs with Hyper-v when you enable.
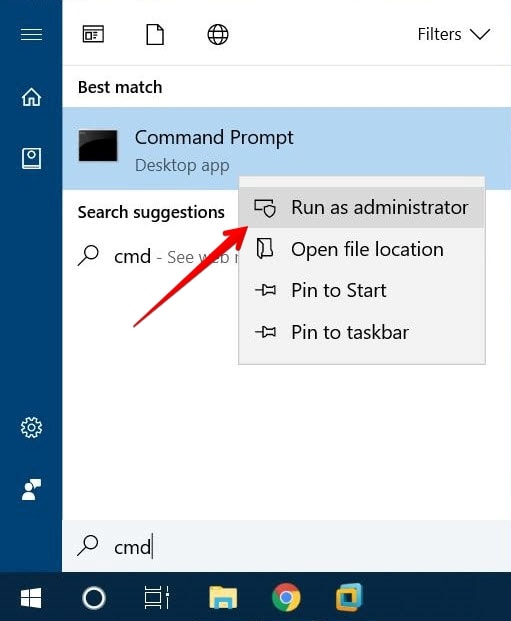
To do that, first off, launch Command Prompt as Administrator. For that, hit the start menu or search button on your taskbar and type cmd. When the Command Prompt appears, right click and choose Run as Administrator. When you’re prompted to run, click Yes.

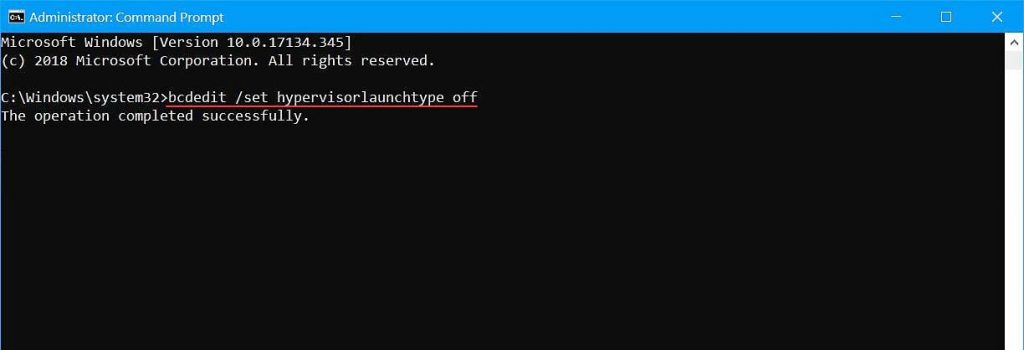
When the Command Prompt opened, run the following commands. This will just disable the Hypervisor feature from Hyper-v, that won’t damage the Hyper-v or its virtual machines. So don’t worry, this won’t do anything wrong.
bcdedit /set hypervisorlaunchtype off

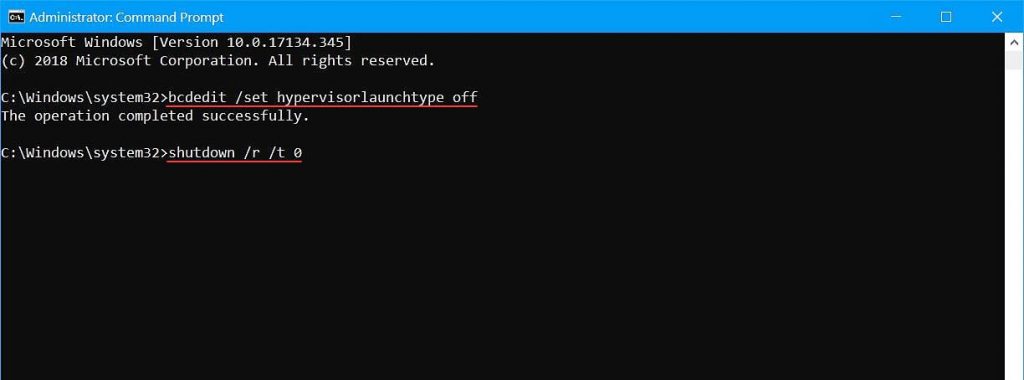
In order to apply this, you’ll need to restart your computer, for that, just enter this.
shutdown /r /t 0

Once you’ve restarted, navigate to VMware or VirtualBox you’re using, and switch on a virtual machine, it will probably run and work fine.
Note: If you don’t use or work with Hyper-v, you are good to uninstall it completely instead of only disabling a feature.

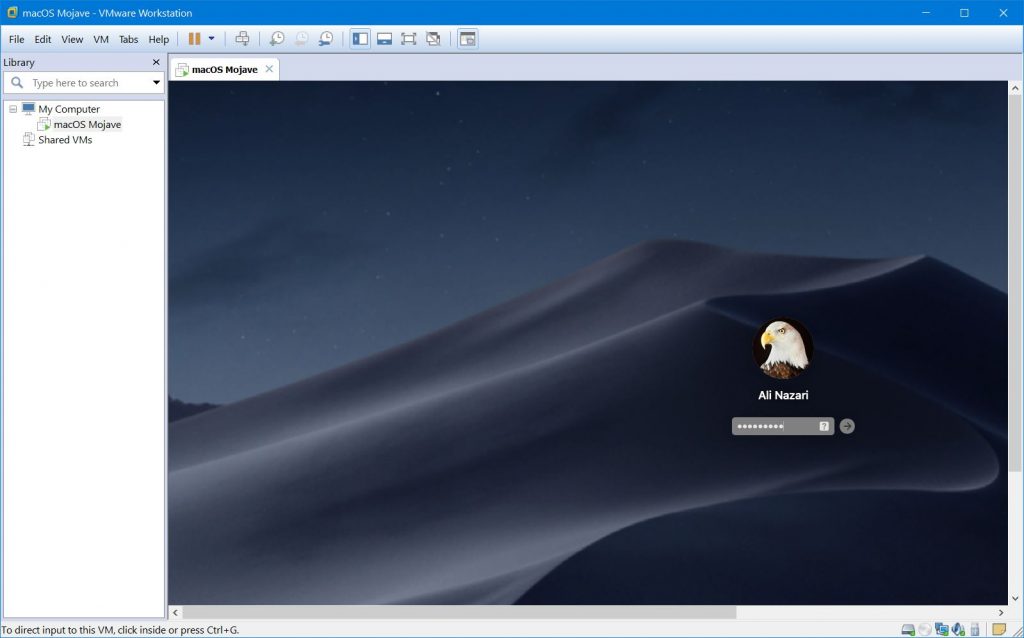
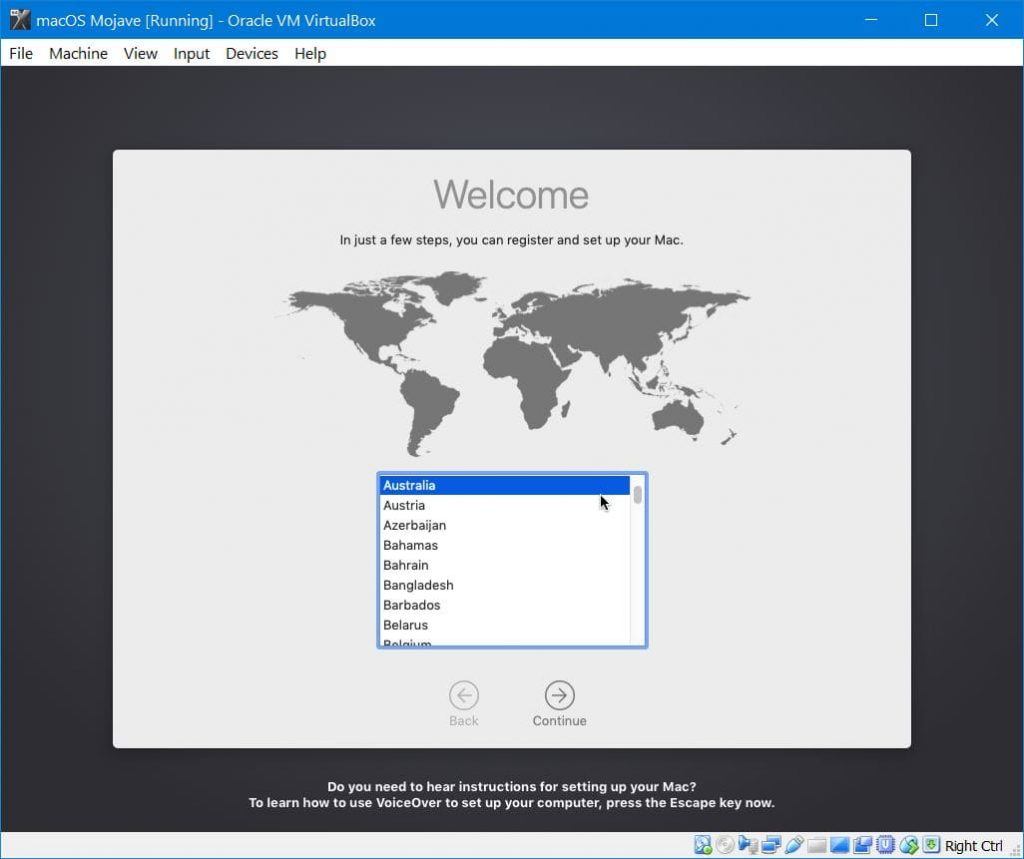
Or if you were about to install macOS Mojave or another operating system, you’ll be able to do that fairly.

And you’re done! Now you can run virtual machines on both VMware and VirtualBox without hesitation.
In case if the solution above didn’t work for you, you may need to uninstall Hyper-v completely including features. It should work correctly. If there’s something left or you have an idea for us, we are impatiently waiting to listen to you.