


As Apple released macOS Mojave on the App Store, Mac users were able to download and install Mojave on their systems right away. But since it was new and not tested by users, it had obviously some bugs and stability problems with it. In order to fix, Apple released several updates to fix things. But that didn’t work since a huge number of users couldn’t even update their Macs due to a frustrating problem that won’t be allowed users to actually update whether on a real Mac or macOS on a virtual machine installed. Like these, there are many problems that users experiencing which are not fixed yet. Here is How to Fix macOS Mojave Common Problems.
We are going to have a glance on the issues and of course solving them. These instructions will definitely work on both real Mac and Mojave installed on VMware or Mojave on VirtualBox installed.
Table of Contents
Not Booting & Installation Problems
One of the most common problems that many users encounter is macOS not booting properly or not booting at all. If your macOS isn’t booting properly as it did before, there’s likely a software problem. This indicates your Mac’s disk may be corrupt or virus contain.
This is similar to Mojave install problem that when you attempt to install Mojave you will see up error saying “An error has installing macOS” or “An error occurred validating the installer data”. However, these problems can be fixed with this single trick. This will also do File system consistency check (fsck for short) which will check and fix disk problems. Here’s how to fix it quickly. Here is How to Fix macOS Mojave Common Problems.
To fix, you will need to access recovery mode. On an actual Mac, you can do this by pressing and holding the Command + R keys when booting. You should do this as soon as you turn on the Mac before Mac boot up process.
On macOS on virtual machine whether VMware or VirtualBox, you can access the recovery mode with macOS recovery boot image.
On the recovery screen, click on Disk Utility and Continue.

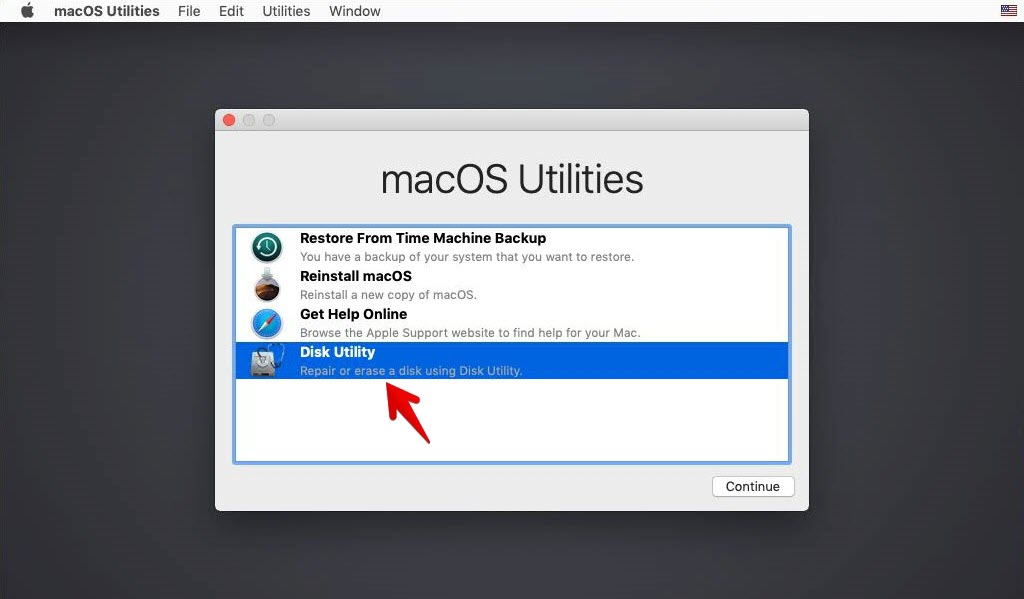
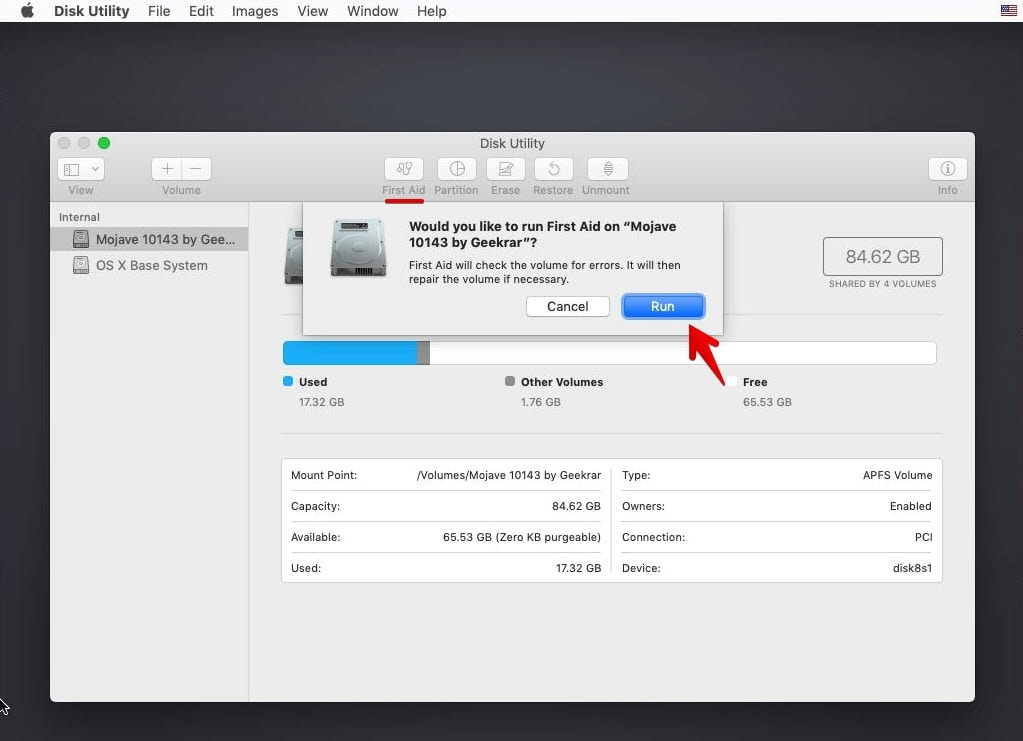
Next, select your startup disk and click over to the First Aid then click Run. This will diagnose and troubleshoot the disk and try to fix problems.

When you have done that, you are good to restart your Mac and try booting into it. This will likely work. If it doesn’t, however, check if your Mac is the supported list of Mojave and is compatible with Mojave. If it is, try re-installing Mojave from the recovery.
Mojave Not Downloading in App Store
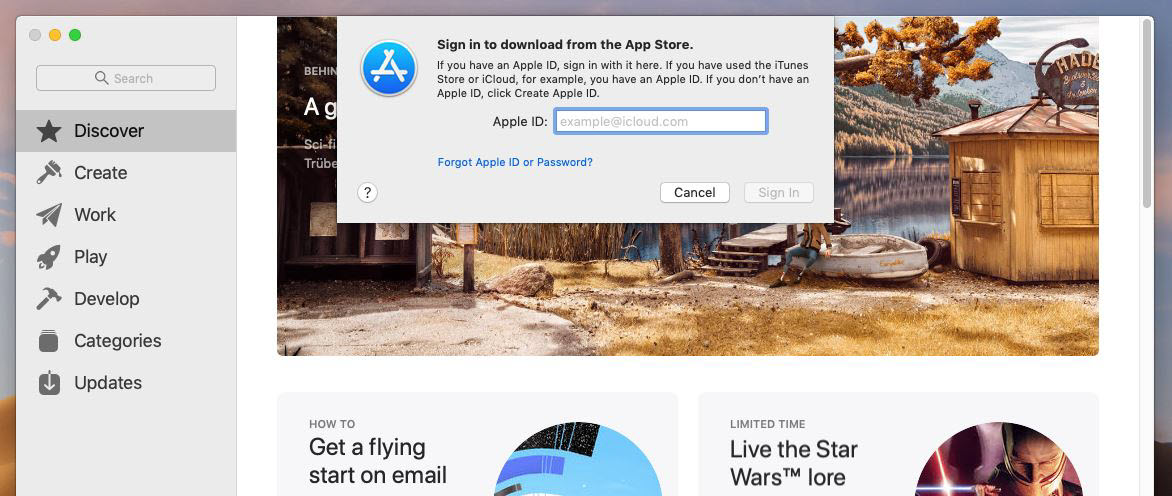
Whether you want to upgrade or do a clean installation of Mojave or only want to create a USB installer, you’d probably need Mojave. To get Mojave, what you typically do is go to App Store, search for it and click on Get. After a moment, instead of beginning the download, you might see “macOS Mojave download has failed” or “cannot connect to App store.” or “Installation of macOS could not continue or “Installation requires downloading important content. That content can’t be downloaded at this time. Try again later.”
This happens due to different reasons. One of the reasons is that there are a lot of users trying to download at the same time. While this commonly doesn’t happen but however, it is possible. Another reason which might tackle is you don’t have enough storage on your Mac. While Mojave is about 6GB, you will need at least 12.5GB. If you are upgrading from the previous version you will need around 18.5GB of free storage. If you have checked these and it is not the case, here are some fixes you could do to fix those problems.Here is How to Fix macOS Mojave Common Problems.
Try Signing Out & Signing In again
The most common and quick but pretty useful fix is to sign out and sign in back to your account.
Open the App Store and click on Store then click Sign Out.

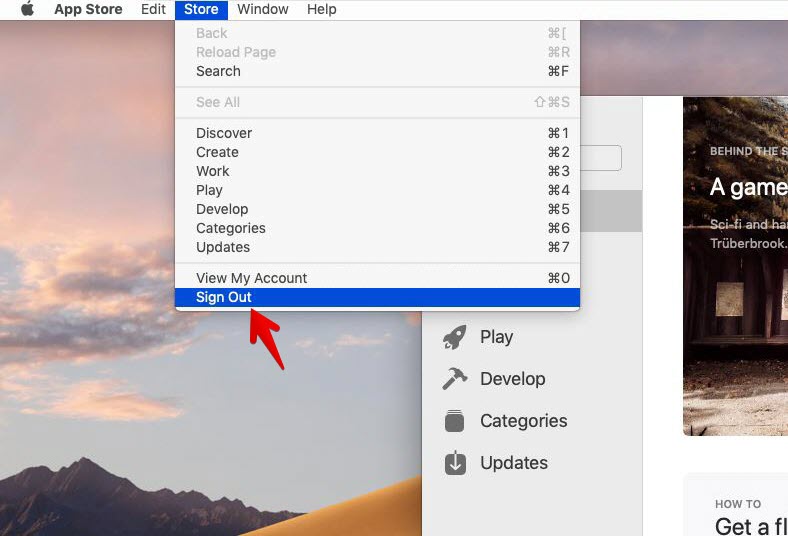
Now restart the Mac and try logging in again to see if it downloads. I have done this with iPhone and it works like a charm so it would work here also.

Try Deleting The App Store Cache
If you have a problem with downloading from App Store or updating your machine, you’ve still some options despite those fixes. As you use the App Store or even if it’s unused it’s new, it will likely have some caches in the folder. In order to fix this problem, you will need to delete all the cache from its folder which might solve the problem.
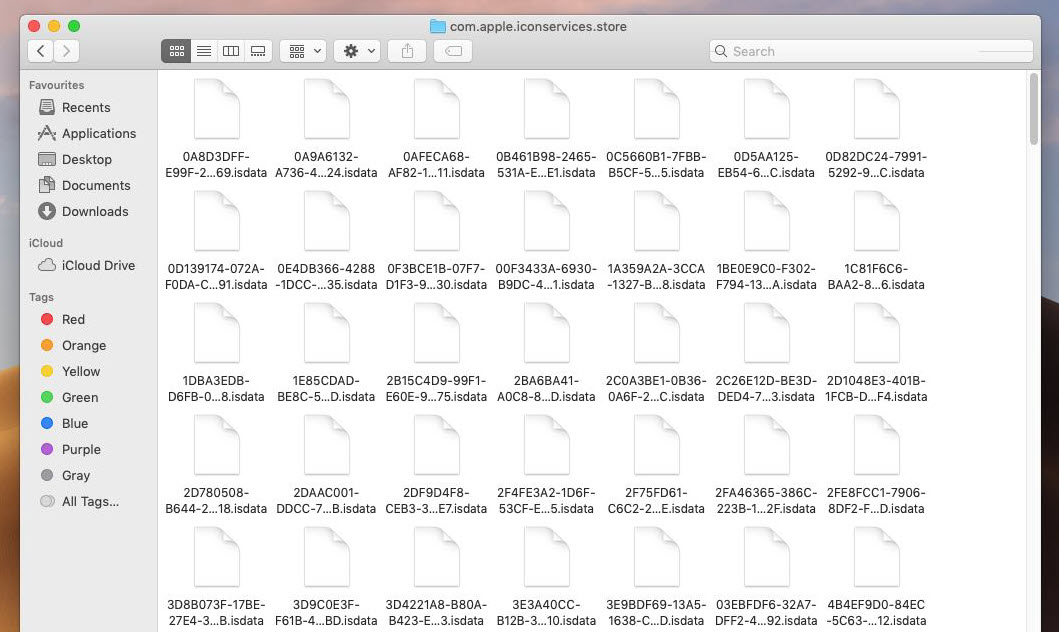
Head to Finder and search for Library. Open up the Library and click on Caches then double click on “com.apple.iconservices.store” and select all its contents including store-info.plist.

Now go to /private/var/folders and open 4_ folder then double click on the folder that appears. Next, click on C folder and delete the com.apple.appstore folder. This will delete the app store cache.


Once you do that, restart your Mac and try downloading Mojave again.
Try Deleting App Store “plist” Files
If you have access to App Store and is signed into it but couldn’t download apps and items, this would solve it with a quick fix you do. To fix this, you will need to delete some specific plist files of the App Store because most of the times, these preferences files get corrupt or don’t work which causes issues using the App Store. You can also drag these files out of the folder and see if it works.
Let’s not forget that you should always have a backup before anything worse happens like if you delete these files, that can make something go wrong, you would probably want to restore, so take note.
From the top menu, click on Go and select Go to Folder.

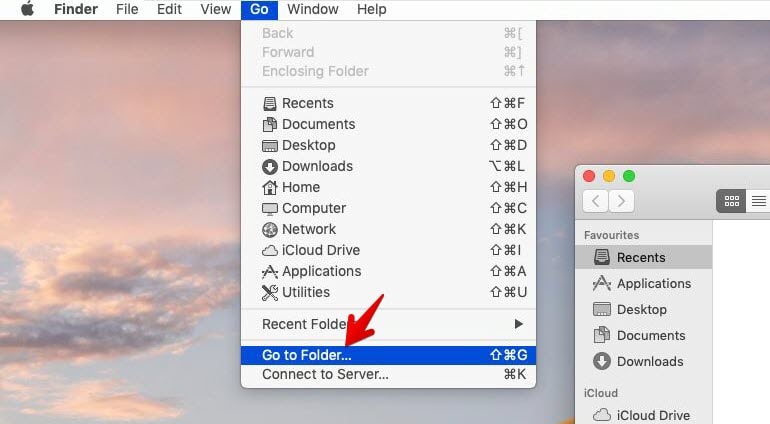
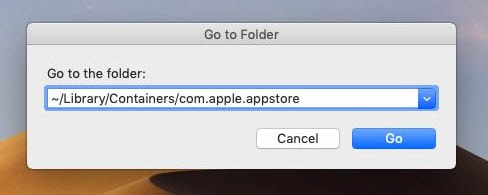
Now copy and paste ~/Library/Containers/com.apple.appstore and click Go.

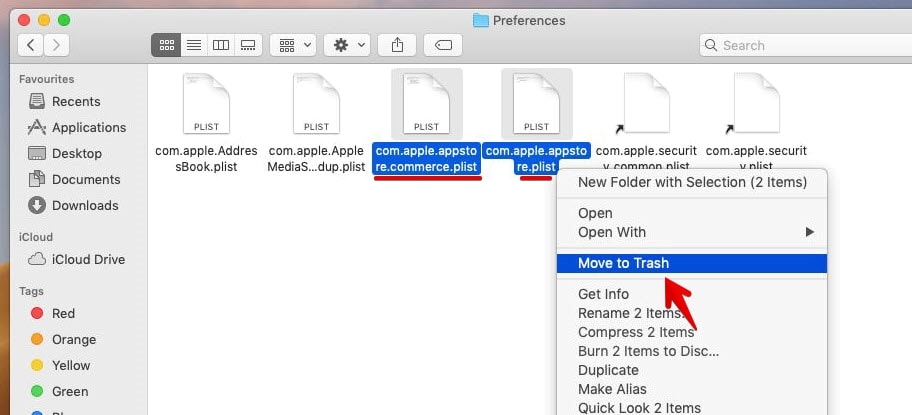
On the next screen, click Data > Library > Preferences and remove the following files.
- com.apple.commerce.plist
- com.apple.appstore.plist
Once you do that, you should now download items without any problem.

Try Deleting Redundant Copies of App Store
As unnecessary copies of App Store may exist on your system via older backup, so it may prevent you from downloading things.
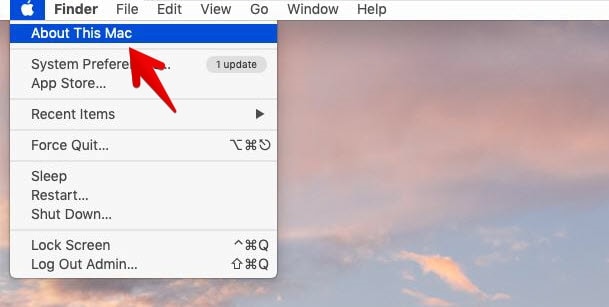
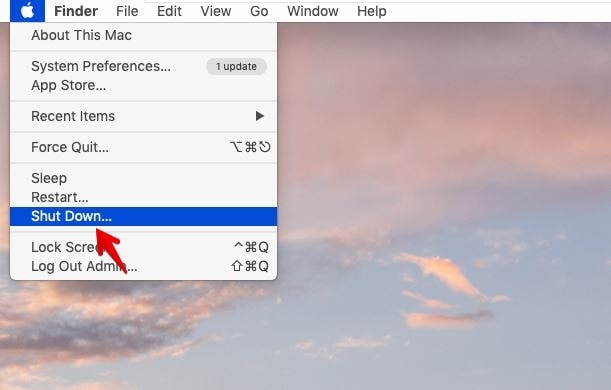
To delete this, click on the top-left corner on the Apple icon and select About This Mac.

There, click on System Report.

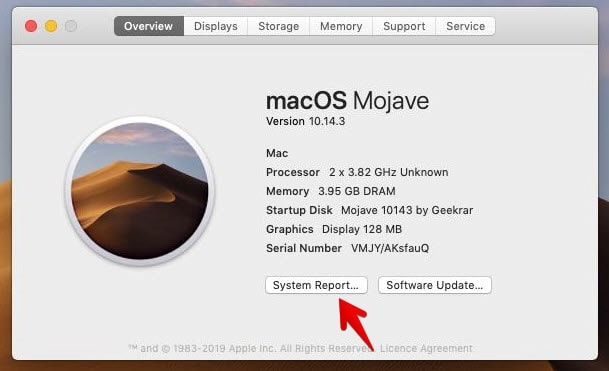
In the system report screen, you should see a single App Store app, or if you do find the second one, track the location and delete it from there. When you click on an app, like the App Store you’ve clicked here, you will see the details down here with its location mentioned there.


Check your Internet Connection & App Store Account
If you encounter the error “cannot connect to App Store” for some reasons, and the instructions above didn’t work for you, there are good chances of a problem with your internet connection.
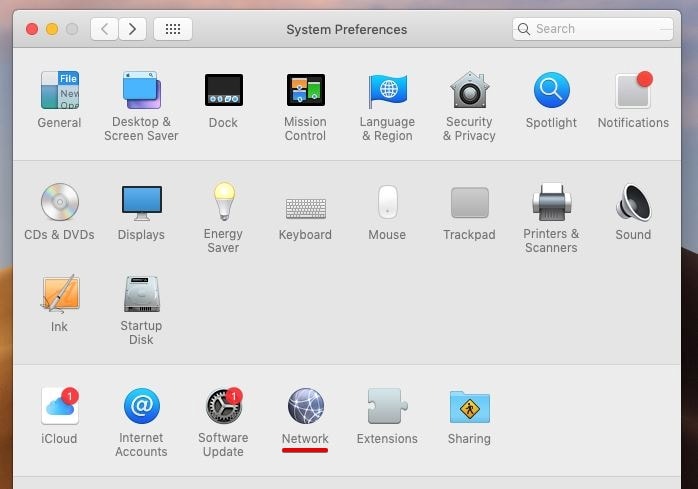
To find out, open Settings and click on Network.

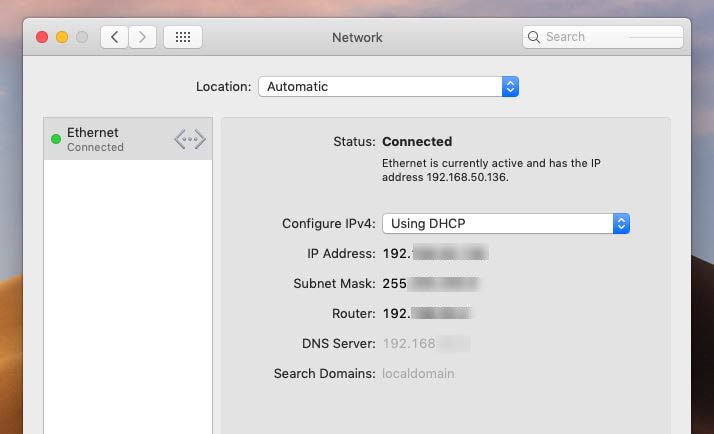
On the network, you’ll see the network status connected to your Mac. If there is a red icon in place of the green icon at the left side of Ethernet or WiFi if you are connected with, then there’s a problem with your connection, not with the App Store.

If your internet connection is working well, there might be some problem with your Apple ID, which doesn’t show here.
If all else fails and nothing here worked, you can, however, re-install macOS from the recovery mode which will automatically download the recent version of macOS so you could install it easily.
Not Working Properly Mouse, Keyboard, Speakers Volume, Screen Resolution
After you have installed Mojave on Mac, everything should be fine and doing well. But when you surf a little bit around, you may notice things do not work normally. Maybe the mouse scrolling and speed, or keyboard not responding or hanging sometimes, or problem with time zone or screen resolution. If you have one or more of these problems, you can absolutely fix them with the steps here.
To fix this, you will need to reset the PRAM or NVRAM. Don’t worry, you won’t need to figure out which one to reset because it really doesn’t matter because they have the same reset process.
PRAM (parameter random access memory) and NVRAM (non-volatile random access memory) hold information about the configuration of a Mac. This includes things like the date and time, as well as desktop, volume, mouse, and other control settings. These are a little amount of memory which are powered by a small battery, so these settings don’t get lost every time you turn your computer off. While modern Intel-based Macs have NVRAM, older PowerPC models have PRAM, it doesn’t really matter as you can reset them with this way which will certainly help you fix this problem.
The first thing you need to do is shut down your Mac.

Now power on and immediately press Command, Option, P, and R keys at the same time. On a Windows keyboard, it will be Windows + Alt + P + R. Hold this until your computer restarts and you hear the startup chime sound another time. You should do this before the Mac boots up. If it doesn’t, you probably didn’t press the keys soon enough — restart your Mac and try again. When done, release the keys and you are good to go.
After you reset the NVRAM or PRAM, you might lose some of your settings such as time, volume, mouse settings and keyboard preferences. If you remember the previous settings, you can set them up as it was before. Here is How to Fix macOS Mojave Common Problems.
Problems with Battery, Fan Speed, Trackpad, Wi-Fi Connecting, Keyboard Backlight
System Management Controller (SMC for short), available in Intel-based Macs, is responsible for running a huge range of parts, such as fan speed, battery, keyboards, trackpad, Wi-Fi, Mac power, Mac speed and some more. If you have a problem with any of these, you have a quite solid solution. While this is responsible for most of the things, resetting this will probably help fixing these things you’ve problem with.
To reset the SMC on a MacBook (2018 or later) or macOS on a virtual machine, shut down your Mac.
Now press and hold the power button for 10 seconds, then restart.
To reset the SMC on a MacBook (Pre – 2018), shut down your Mac.
Next, press and hold Shift, Control, and Option on the left side of the keyboard. Now press and hold the Power button. Hold all the keys down for 10 seconds and then release it.
With that done, you are on your way. This should fix any of these problems you experience.
One of the best way to fix problems is booting into Safe Mode which will automatically checkup and troubleshoot problems.
And that’s all about it. Hopefully, this would get away the problems. If I have missed something, I will be happy to know it.