
We’ll download macOS Catalina ISO and make macOS Catalina ISO file. Now macOS Catalina ISO VMware and macOS Catalina ISO VirtualBox. Whether you want to install macOS Catalina on VMware or install Catalina on VirtualBox, you’ll definitely need the macOS Catalina ISO image file. For installing macOS on a virtual machine, the first and most important step is to download macOS Catalina ISO which is accessible online but doesn’t promise to work. Those images are never completely functional and as well maybe there’s any other problem with it. In this case, those aren’t better than creating macOS Catalina ISO file with your hands. Here’s how to Create macOS Catalina ISO File.
The method we’ll make this Catalina ISO is pretty straightforward. The primary image of the macOS Catalina will be certainly from the App Store or Apple’s Beta Software Program as of now. So first, we’ll download the macOS Catalina from one of the places (App Store or Apple’s Beta Software Program). Then we’ll apply some commands on Terminal that will make this part to the end. So let’s dive in.
Table of Contents
How to Create macOS Catalina ISO File
Though we’ve made macOS Catalina VMDK or Catalina VMware & VirtualBox beforehand accessible which are pretty easy to obtain. But for some reasons, if you’d like to create and utilize macOS Catalina ISO, you can probably do so. In this case, creating macOS Catalina is useful which we’ll show how to create macOS Catalina ISO file and accomplish with it.
Creating macOS Catalina ISO file for installing macOS Catalina on VirtualBox and VMware is not different. This works for both. Except this, it will work anywhere else where the file is required. For this process, we’ll need an actual working Mac. That can be a real Mac or macOS Catalina running on VMware or Catalina on VirtualBox.
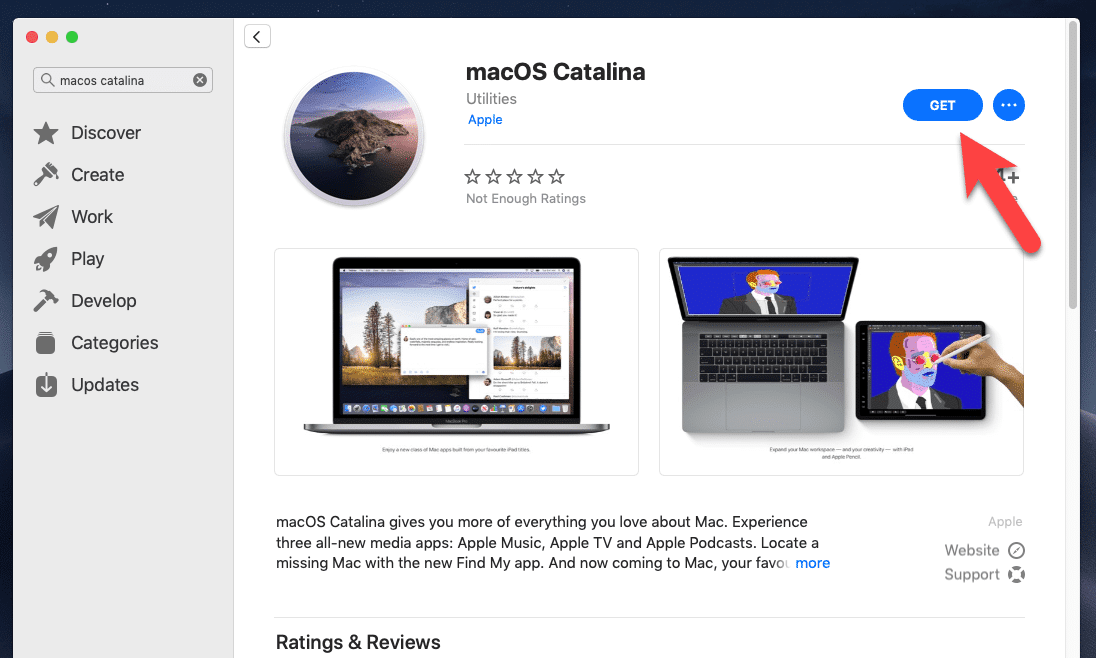
Step One – Download macOS Catalina From App Store
While the macOS Catalina is entirely out, you can take a copy of macOS Catalina from App Store. From a Mac, simply head over to the App Store and search for macOS Catalina. When it appears, click on it then click on Get.
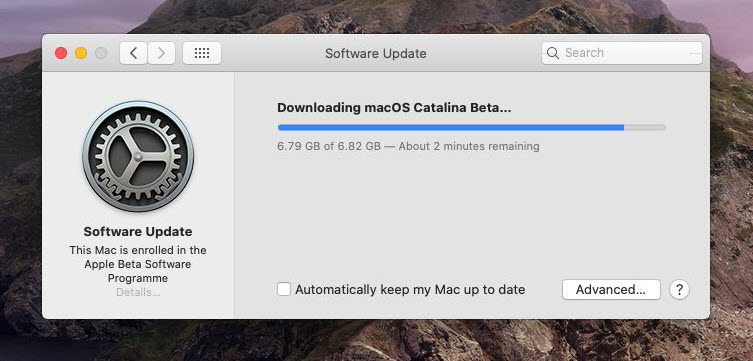
Then it will start loading to download.
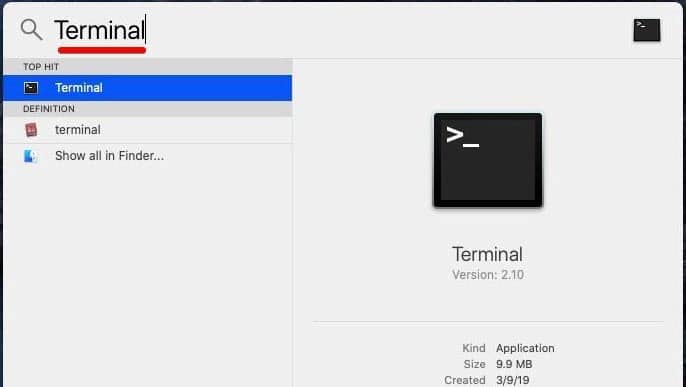
Step Two – How to Create macOS Catalina ISO With Terminal
That done, now from the top-right corner open up Spotlight.
There, type in Terminal and hit Enter.
In this step, copy and paste these command one by one.
- Create a DMG Disk Image
hdiutil create -o /tmp/Catalina -size 8500m -volname Catalina -layout SPUD -fs HFS+J
- Mount it to your macOS
hdiutil attach /tmp/Catalina.dmg -noverify -mountpoint /Volumes/Catalina
- Create macOS Catalina Installer
sudo /Applications/Install\ macOS\ Catalina.app/Contents/Resources/createinstallmedia --volume /Volumes/Catalina --nointeraction
- Unmount Catalina Disk
hdiutil detach /volumes/Install\ macOS\ Catalina
- Convert the DMG file to an ISO file
hdiutil convert /tmp/Catalina.dmg -format UDTO -o ~/Desktop/Catalina.cdr
- Rename and Move to Desktop
mv ~/Desktop/Catalina.cdr ~/Desktop/Catalina.iso

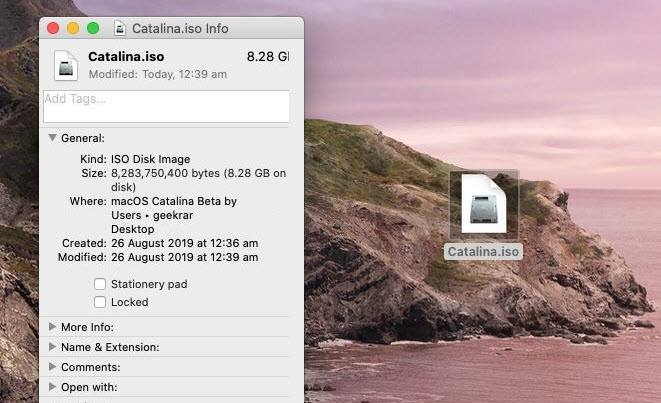
After it’s done, you’ll see the macOS Catalina ISO on desktop.
Step Three – Install macOS Catalina on VMware or VirtualBox
That done, now it’s a perfect idea to install macOS Catalina on VMware or VirtualBox with ISO file, so we’ve it prepared beforehand.
Here’s how to install macOS Catalina on VMware and how to install macOS Catalina on VirtualBox.
- How to Install macOS Catalina on VMware on Windows PC
- Install macOS Catalina on VirtualBox on Windows PC

This is the perfect and working ISO image of macOS Catalina and can be used everywhere.
And that’s all to there it is. If there’s something remaining, let me know in the comment down below.


Yeah- I can’t get past this part either. Running very latest catalina and attempting to do this for bigsur. Big surprise something not working on catalina eh?
I am running on APFS; this may be part of the problem. Whatever it is, the installer can’t reformat the HFS journaled image file:
To continue we need to erase the volume at /Volumes/Catalina.
If you wish to continue type (Y) then press return: y
Erasing disk: 0%… 10%…
Error erasing disk error number (22, 0)
An error occurred erasing the disk.
If anyone figured this out you should post the answer.
I suppose a workaround is to partition an AFS drive, create the image into the partition, then convert to iso. But this is truly annoying.
ya, it’s annoying, I’ve had many failures in the process for different reasons. not exactly sure what the cause on this one…
if you want a copy of the ISO, check the forum, we have all the ISO’s for download there.
I found a fix for the error:
Error erasing disk error number (22, 0)
in my case the name “Catalina” for the volume was conflicting so I just used another name for the volname:
hdiutil create -o /tmp/Catalina -size 8500m -volname CatalinaOSX -layout SPUD -fs HFS+J
and then used CatalinaOSX in the other commands as well
When using terminal, the phrase “Install macOS Catalina.app” becomes “Install\ macOS\ Catalina.app” as the \ is required before every TEXTUAL space character in your path/file name.
I couldn’t unmount the disk because I kept getting the “resource busy” error. Any solutions?
Try restarting your computer, worked for me.
Hi, I’ve tried following the instructions several times but keep getting the same error:
andrew@Andrews-MacBook-Pro ~ % sudo /Applications/Install\ macOS\ Catalina.app/Contents/Resources/createinstallmedia –volume /Volumes/Catalina
Password:
Ready to start.
To continue we need to erase the volume at /Volumes/Catalina.
If you wish to continue type (Y) then press return: y
Erasing disk: 0%… 10%…
Error erasing disk error number (22, 0)
An error occurred erasing the disk.
I’ve searched for hours but could not find a resolution. Does anyone have any ideas what is causing the error and how to fix it?
When I type this command : hdiutil attach /tmp/Catalina.dmg -noverify -mountpoint /Volumes/Catalina
the answer is : hdiutil: attach failed – no mountable file systems
What I can do ?
Please recheck the steps. You might be missing something!
Nice tuto, work perfectly, thank you.
I am also getting the command not found error. Anyone figure that out?
what if i already have a dmg file of mac os cataline
Thank you! Great guide!
The Administrator password to your Mac.
Since the command is using sudo, you need to enter your login password. This only works if you are an administrator. If you are not an administrator (or a sudoer), then you need to login as an admin.
Same here. Try to type “–volume” part instead of copy paste as it pastes a long dash which can’t be taken by the command
As others have commented, the command line arguments are double dashes, e.g. – – volume and – – nointeraction. WordPress seems to auto-convert them into another (long-dash) character automatically
what is the password ? after the step Create macOS Catalina Installer ? please help
I could not run the command: sudo /Applications/Install\ macOS\ Catalina.app/Contents/Resources/createinstallmedia –volume /Volumes/Catalina –nointeraction
I get: sudo: /Applications/Install macOS Catalina.app/Contents/Resources/createinstallmedia: command not found
Thanks for sharing. It’s very useful.
In Create macOS Catalina Installer Step,
before “volume” and “nointeraction” is — (two dash sign)
run commad:
sudo /Applications/Install\ macOS\ Catalina.app/Contents/Resources/createinstallmedia –-volume /Volumes/Catalina –nointeraction
I get:
The volume could not be found.
but the volume is mounted
drwxr-xr-x 6 carlosvieira staff 272 Nov 16 20:11 Catalina
some help
This command seems incorrect:
-> Create macOS Catalina Installer.
These two argument need to have two dashes:
–volume –nointeraction
for anyone getting an error during install, that says couldn’t copy the prelinked kernel: the release needs more space. i used
-size 9000m
but i think thats a lil bit too much.